One of my fondest memories as a kid were frequent outings with my family to get ice cream at Thrifty’s. Those cylinder-shaped blocks of ice cream that were scooped atop another were irresistible. My parents would ask me how many scoops I wanted, and I’d always ask for two. Ice cream was a lot cheaper back then–.59 cents a scoop. My dad remembers them being .10 cents a scoop at Thrifty’s when he was a kid. Now, Thrifty’s sells their ice cream for about $1 a scoop. Oh, how times have changed. But my love for their Chocolate Malted Crunch ice cream has not. Those little bits of chocolate chips and mini crunchy malted bits in the creamy malted chocolate ice cream were to-die-for! The weather has been heating up here in the Bay, so my best attempt at recreating this retro favorite was very fun and hugely successful.

Two scoops, please.
And because I love a good ice cream sandwich (who doesn’t?), CLICK HERE for my Whoppers Cookie recipe. These cookies are good on their own, too. Just sayin’. Then follow this LINK for NSFW ice cream sandwich assembly pics.
Chocolate Malted Chip Ice Cream
Recipe slightly adapted from The Perfect Scoop by David Lebovitz
Yields 1 quart
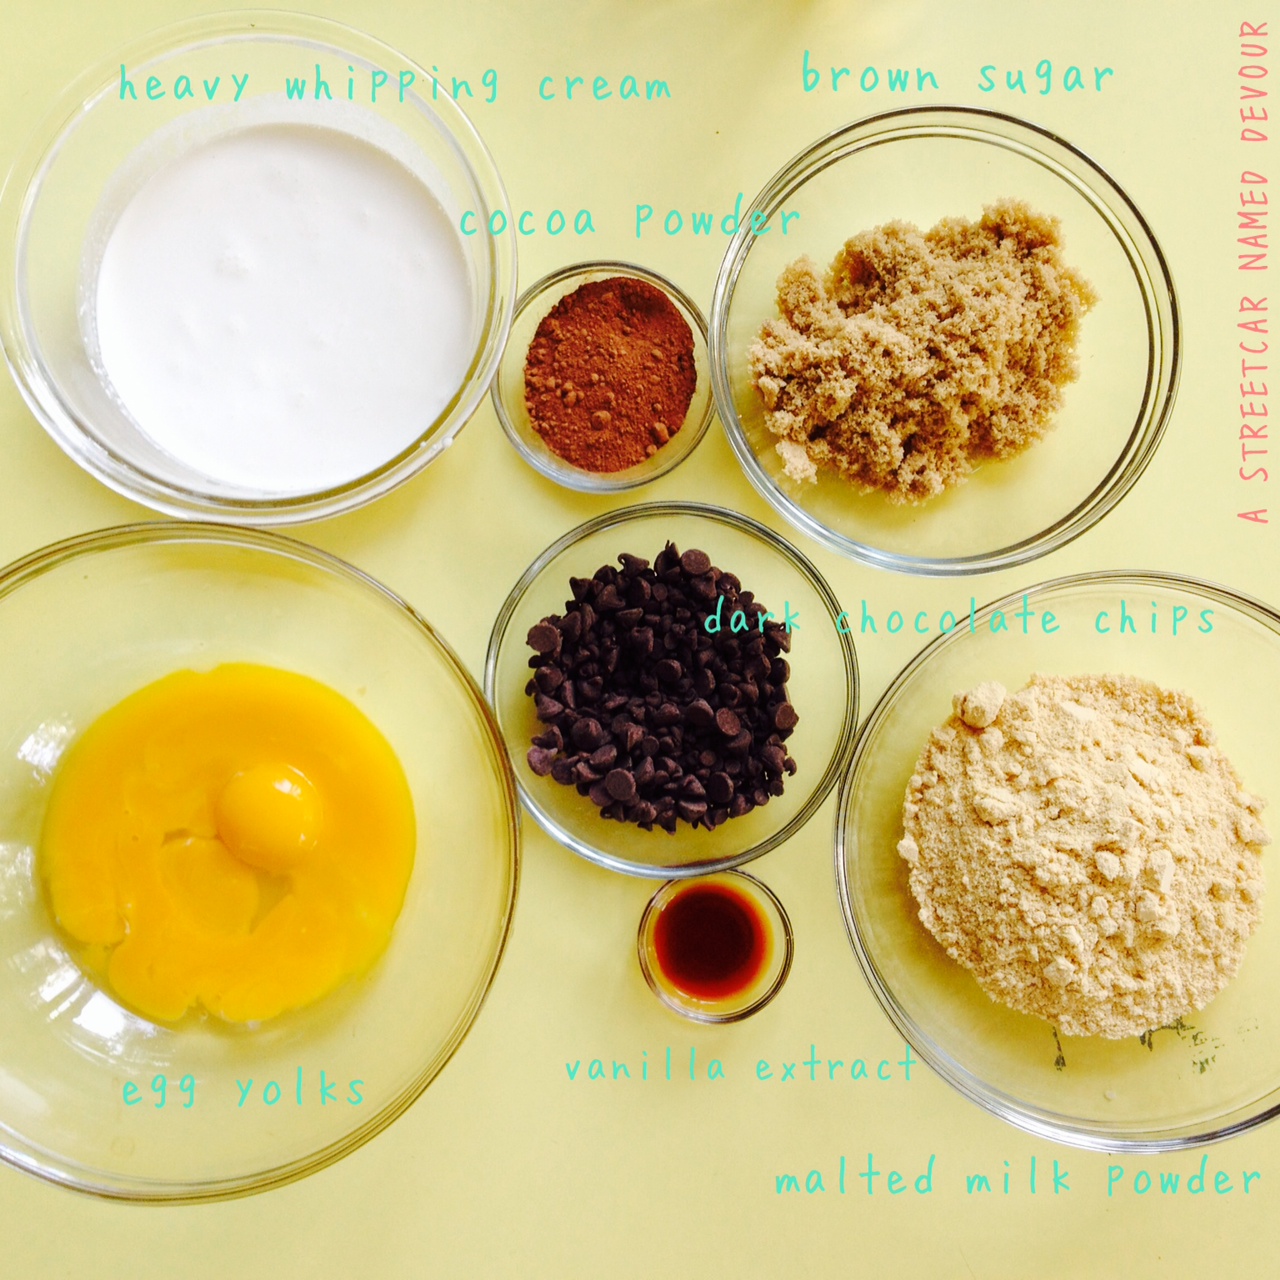
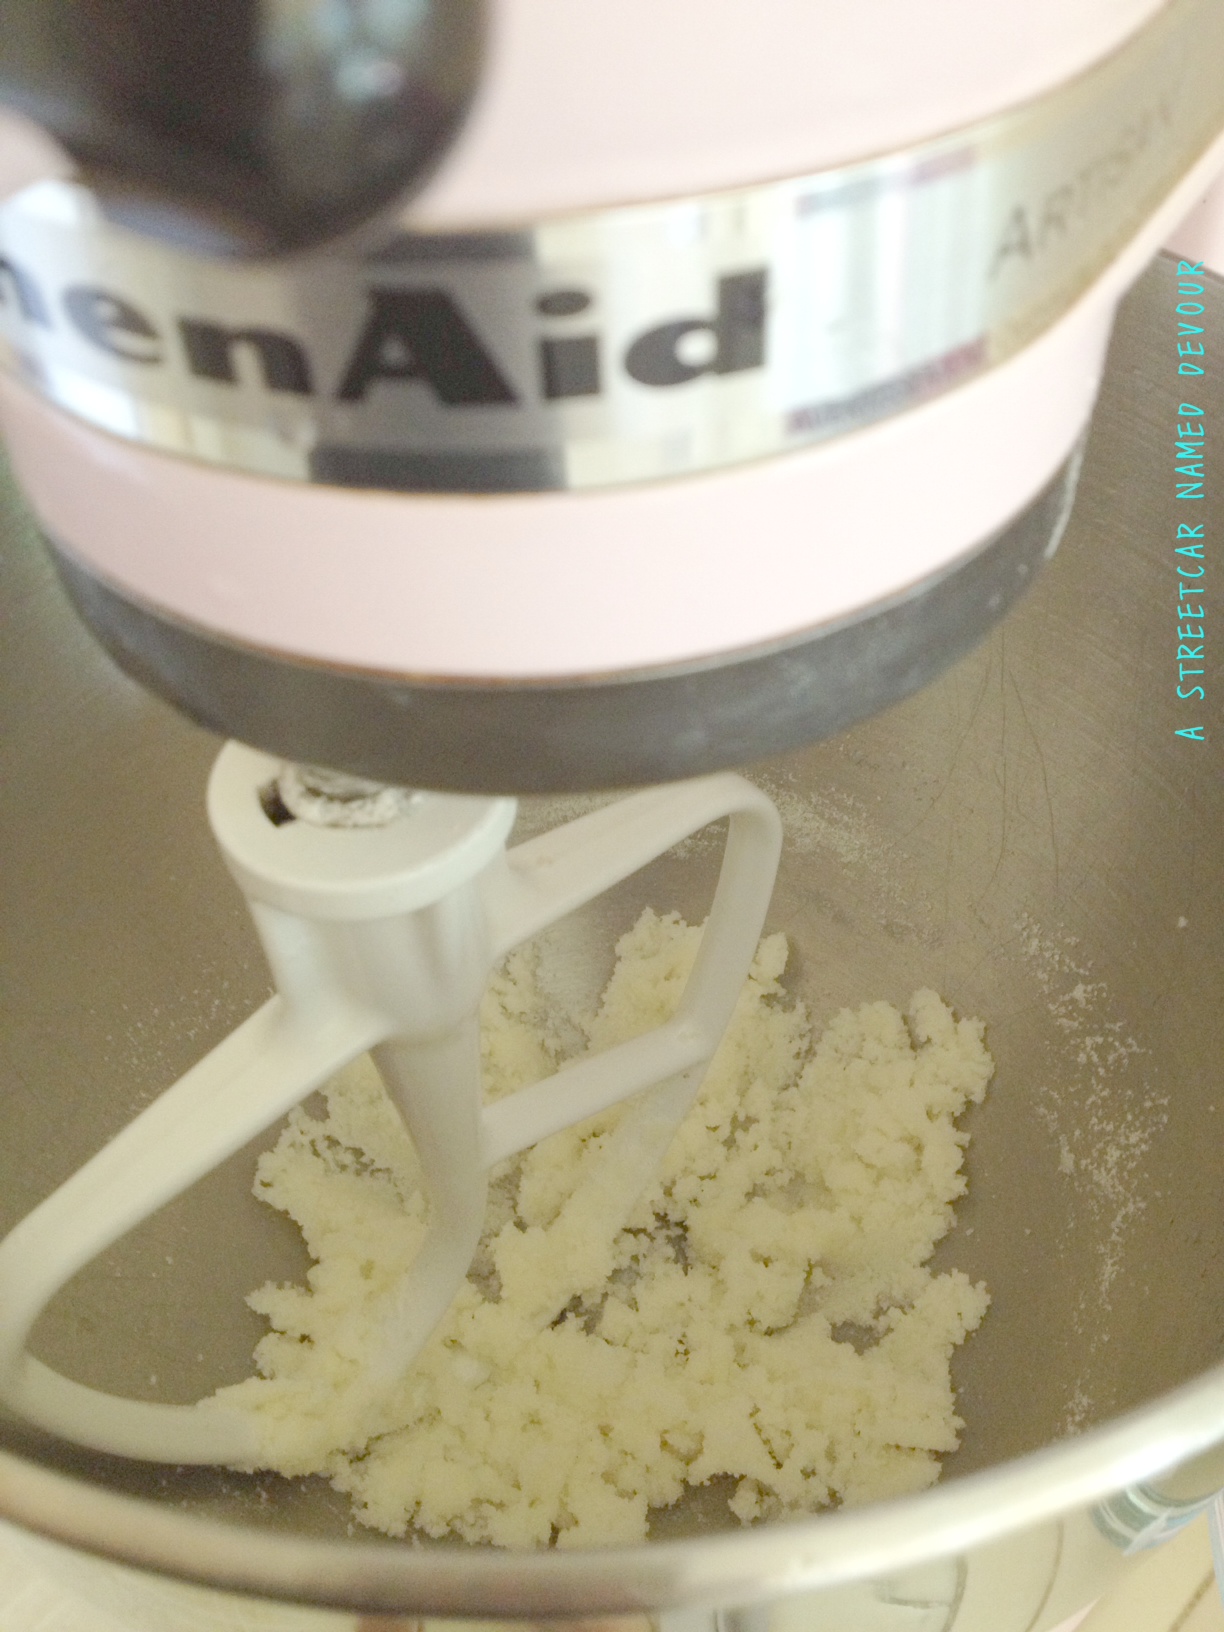
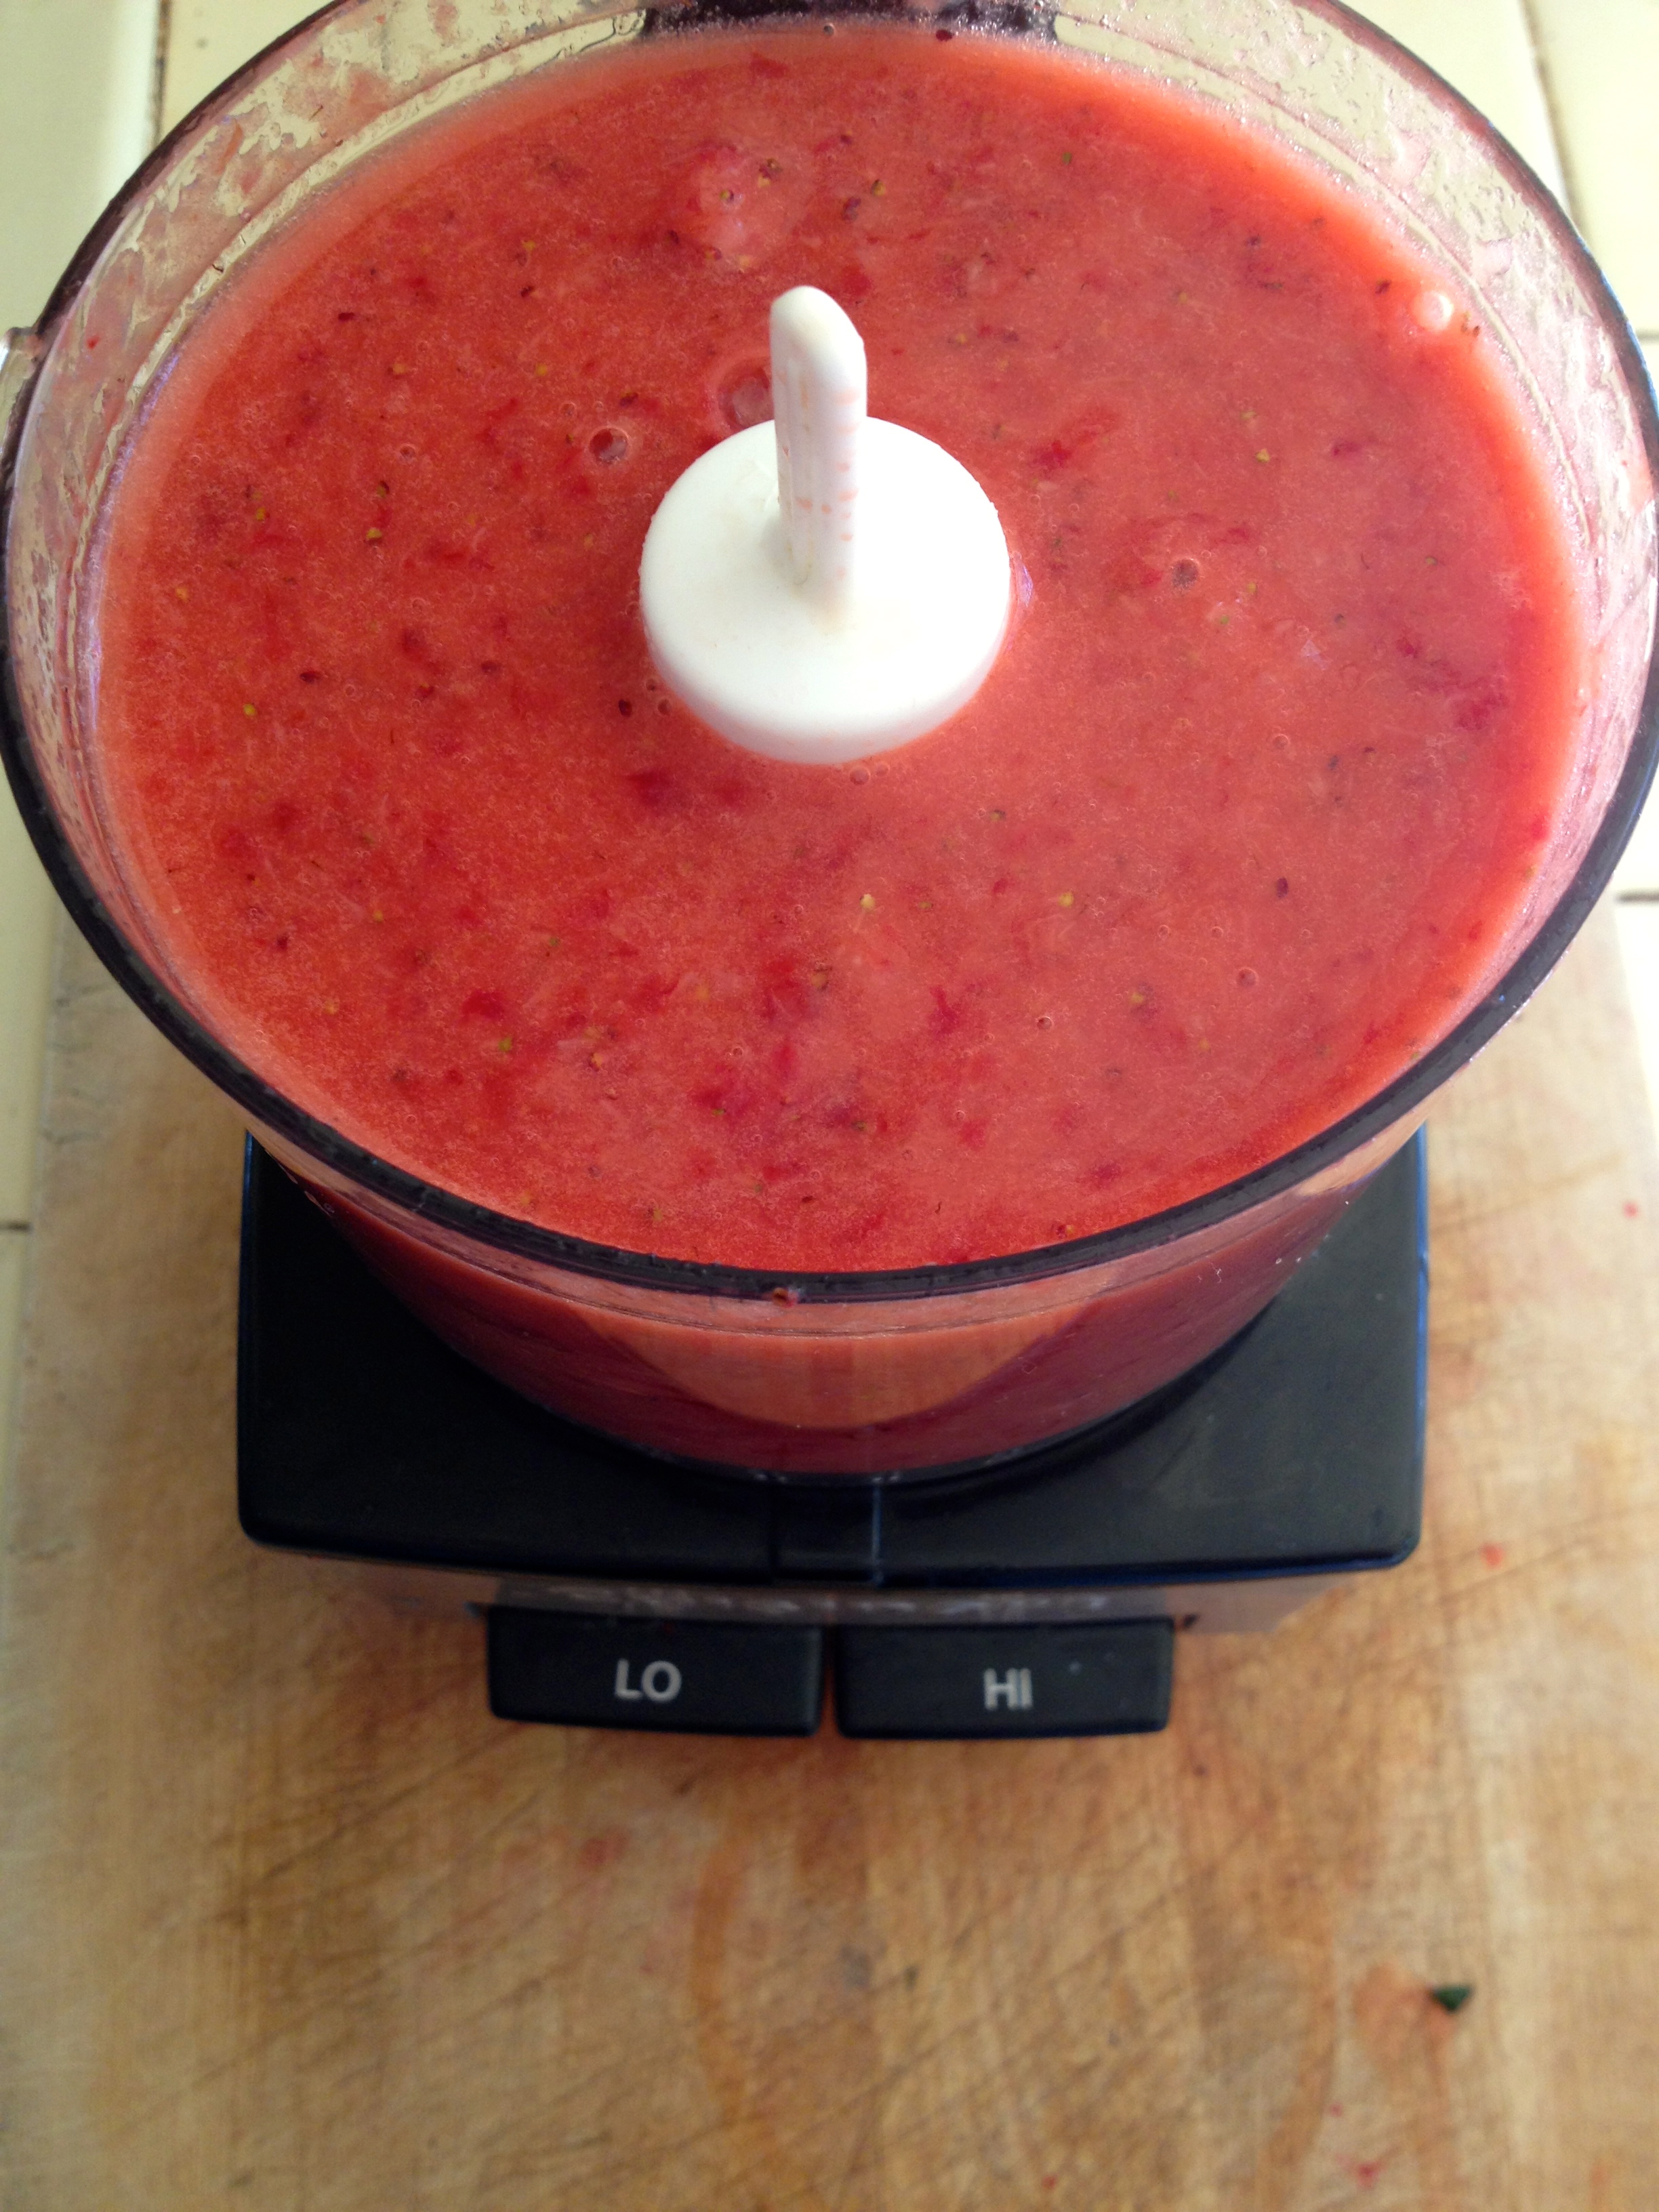
Ice cream mis en place
INGREDIENTS
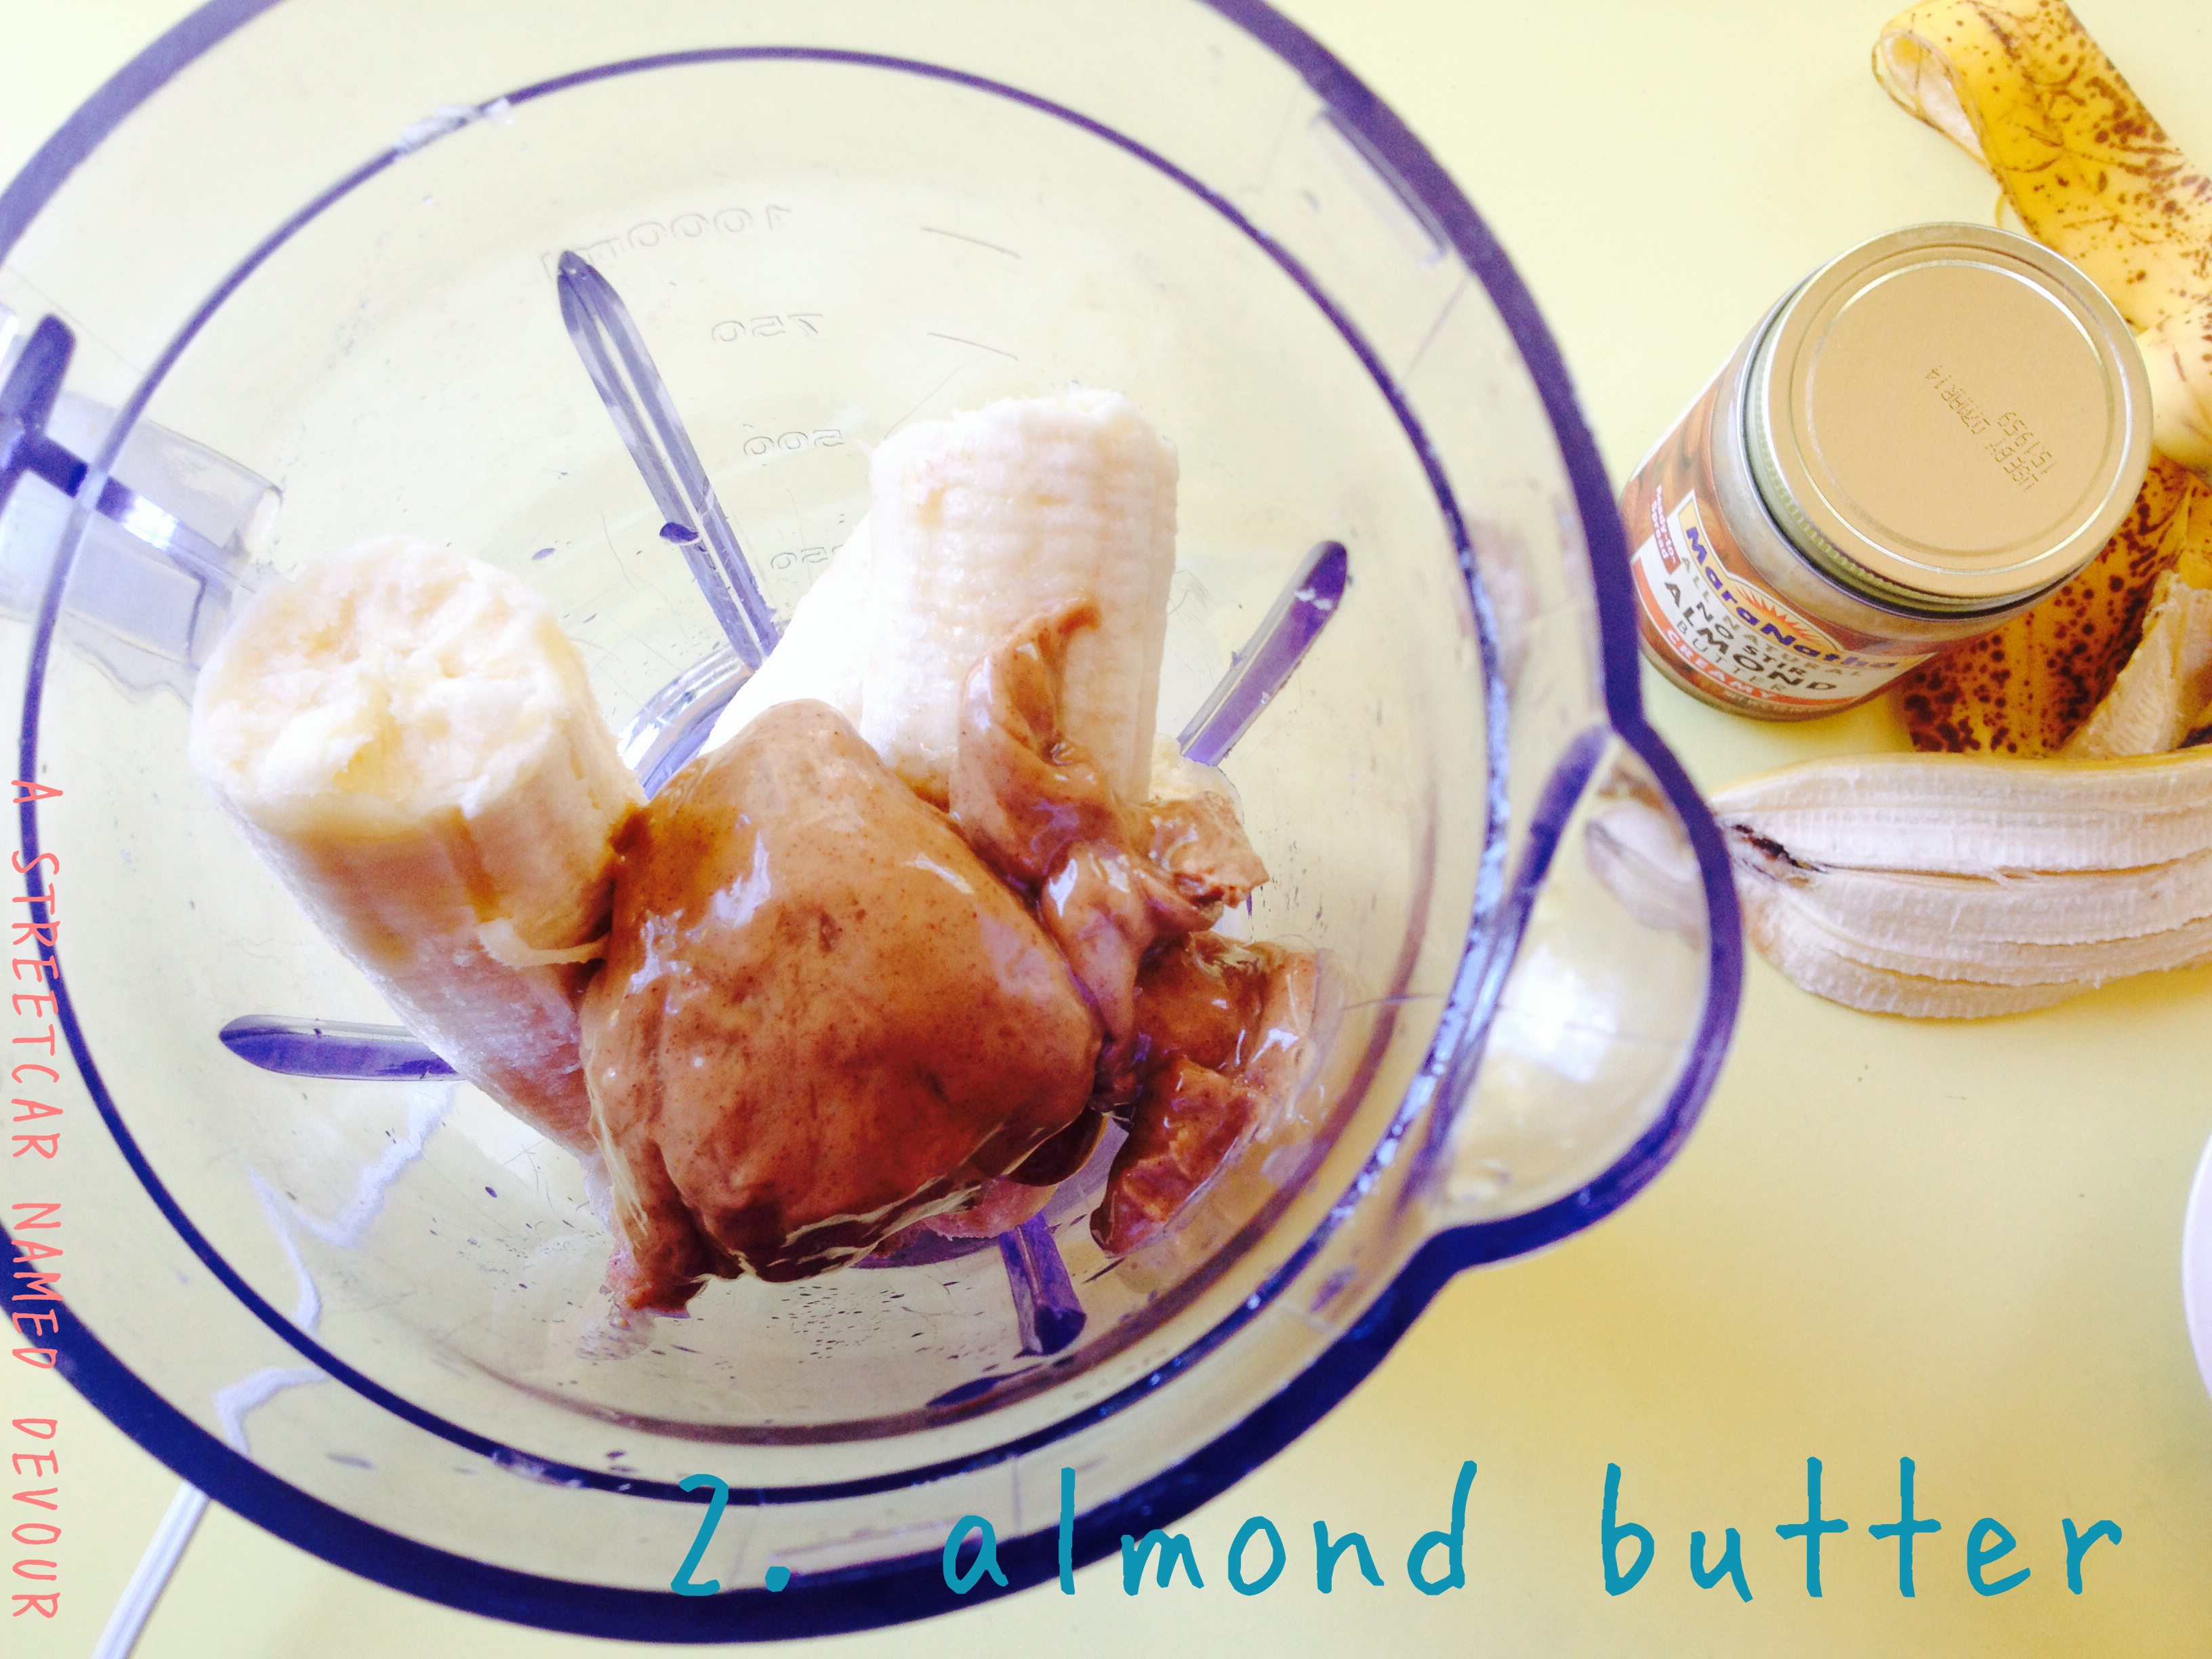
2 cups heavy cream, divided
3 tablespoons cocoa powder
4 ounces bittersweet chocolate, chopped and divided (chocolate chips work, too)
1 cup whole milk or heavy whipping cream
3/4 cup brown sugar (I prefer it taste-wise to white sugar)
pinch of salt
5 large egg yolks
1 teaspoon pure vanilla extract
1 1/2 cups malted milk powder (Please please please use real malted milk powder! Many brands like Ovaltine contain added sugars and don’t produce the same results. The original recipe called for 1 cup of the powder, but I found that adding a 1/2 cup more produced better results.)***
METHOD
Combine 1 cup of the heavy cream with the cocoa powder in a medium-size saucepan and whisk together until there are no lumps.
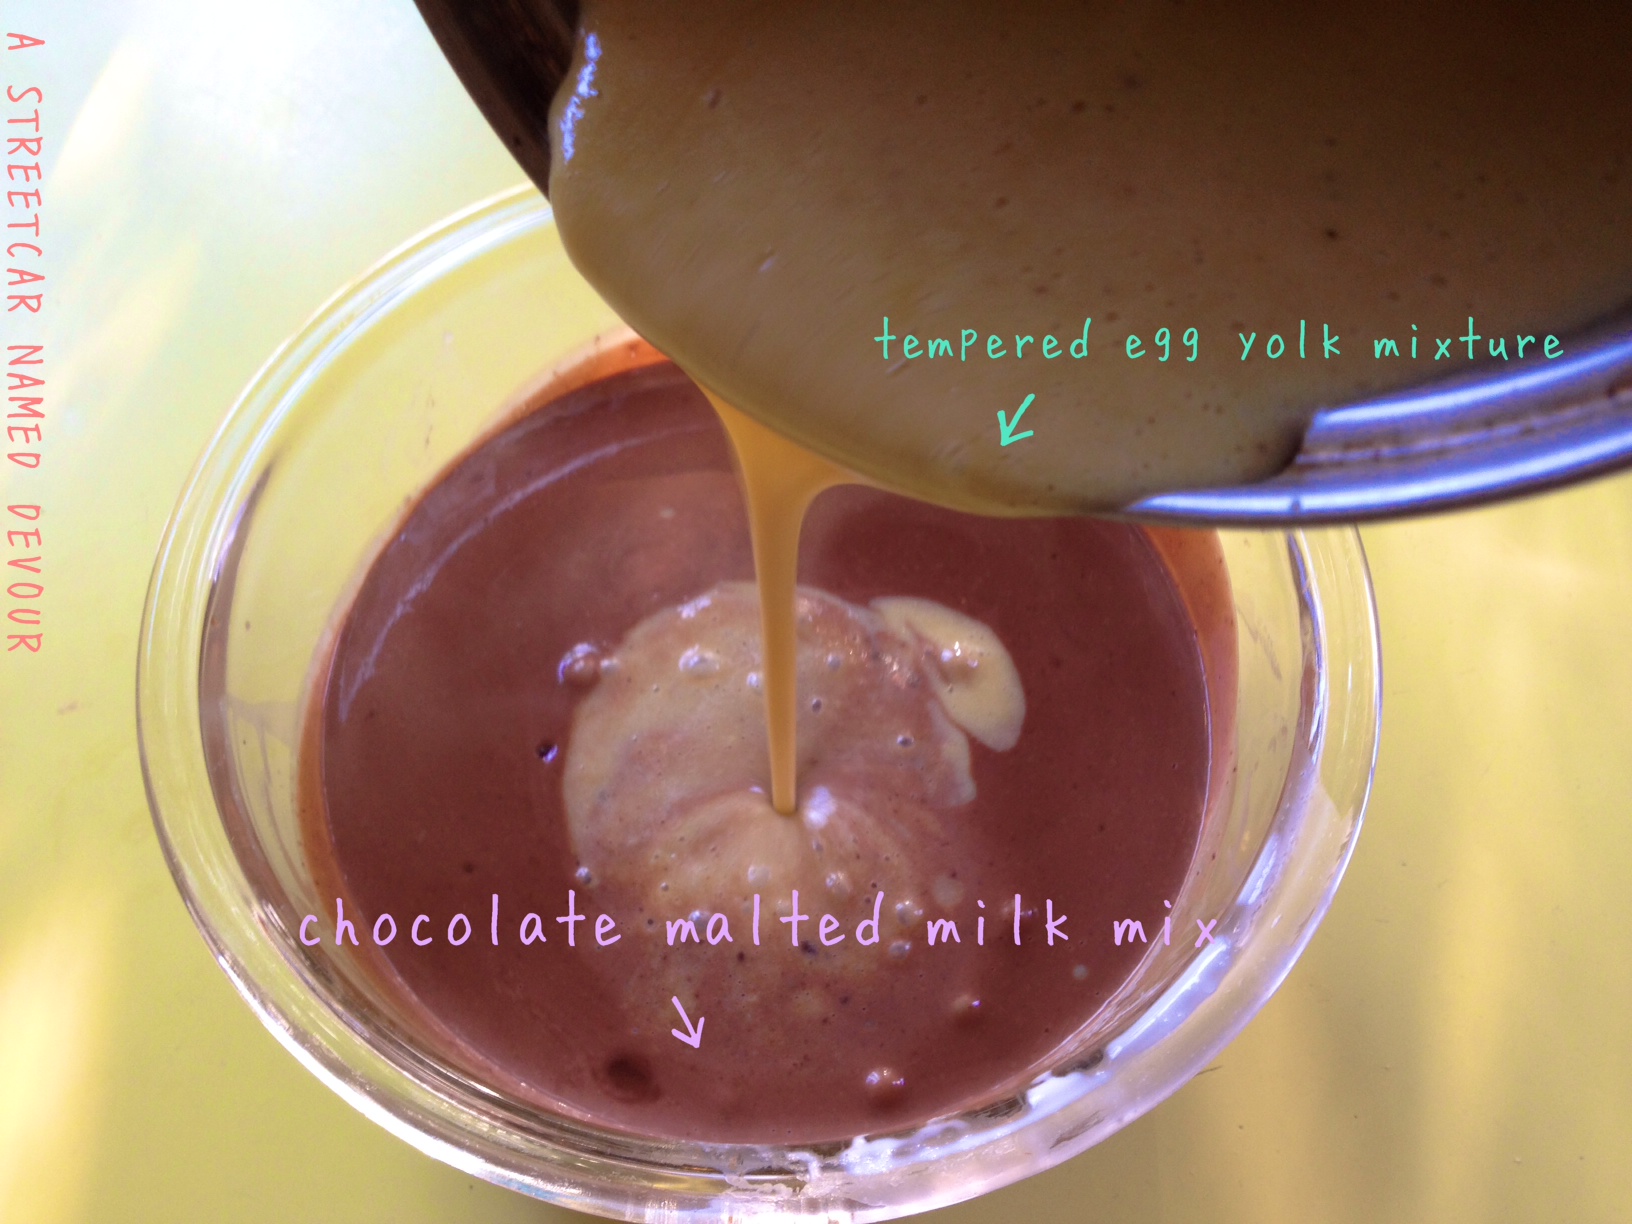
Bring mixture to a boil then reduce to a simmer for 30 seconds whisking constantly. Remove the pan from the heat and add in half of the chopped chocolate (2 ounces) and whisk till it’s completely melted and smooth. Stir in the other cup of heavy cream and pour into a large bowl, using a rubber spatula to scrape all of the mixture from the saucepan.
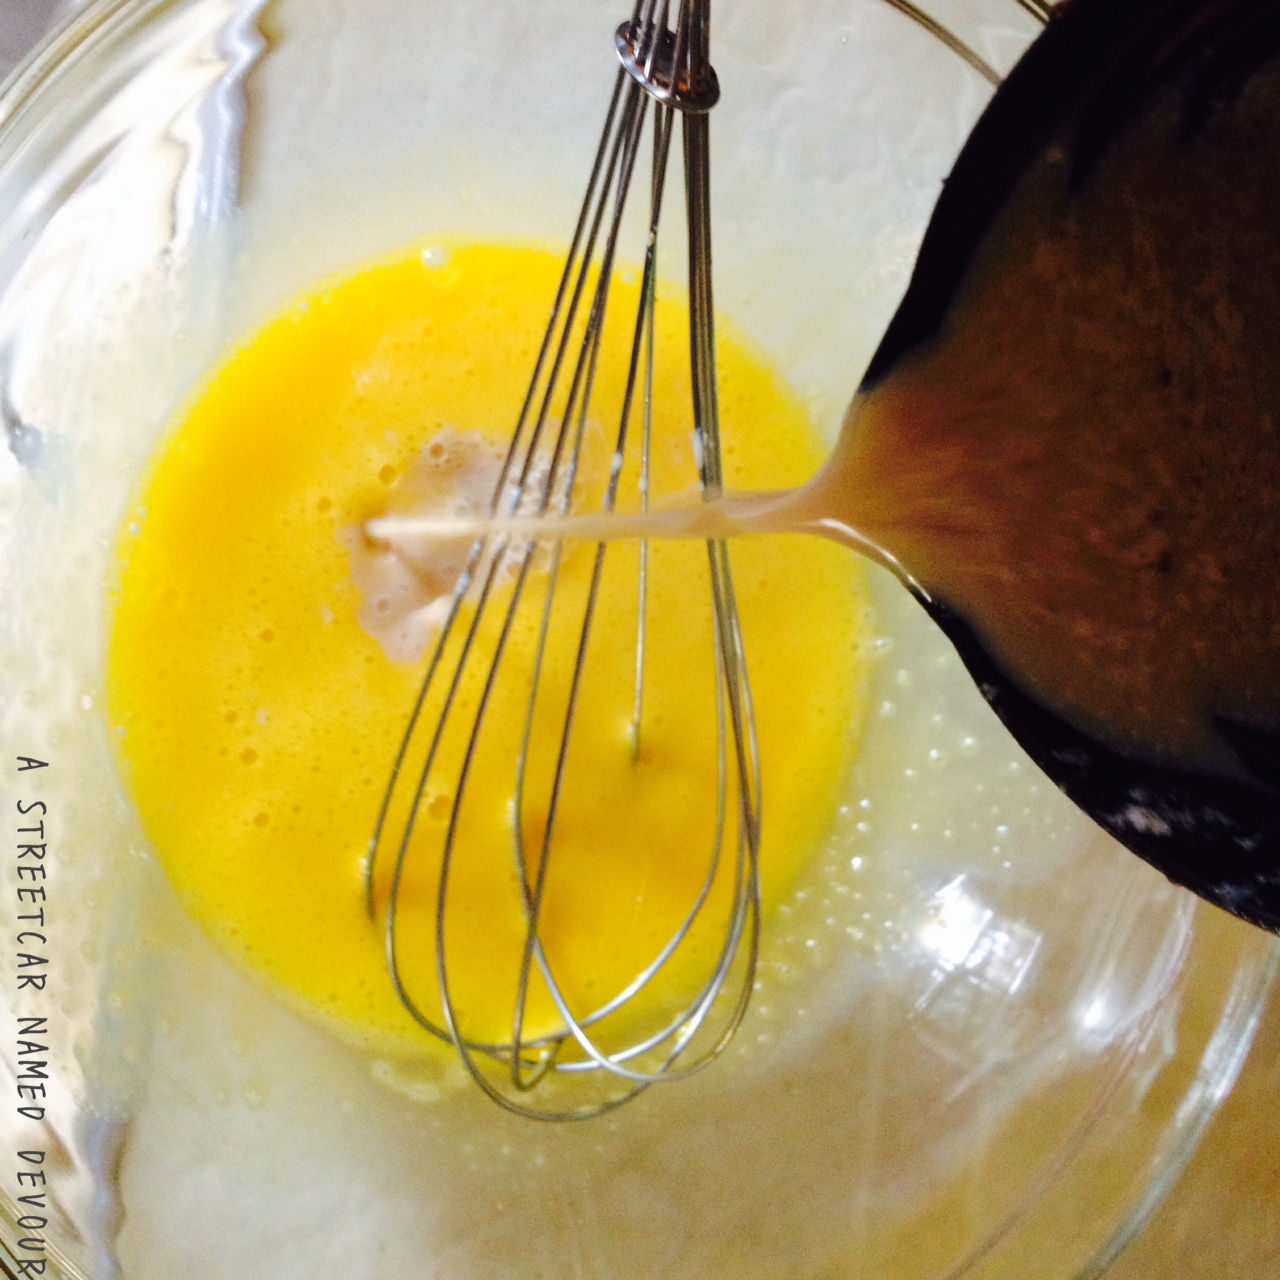
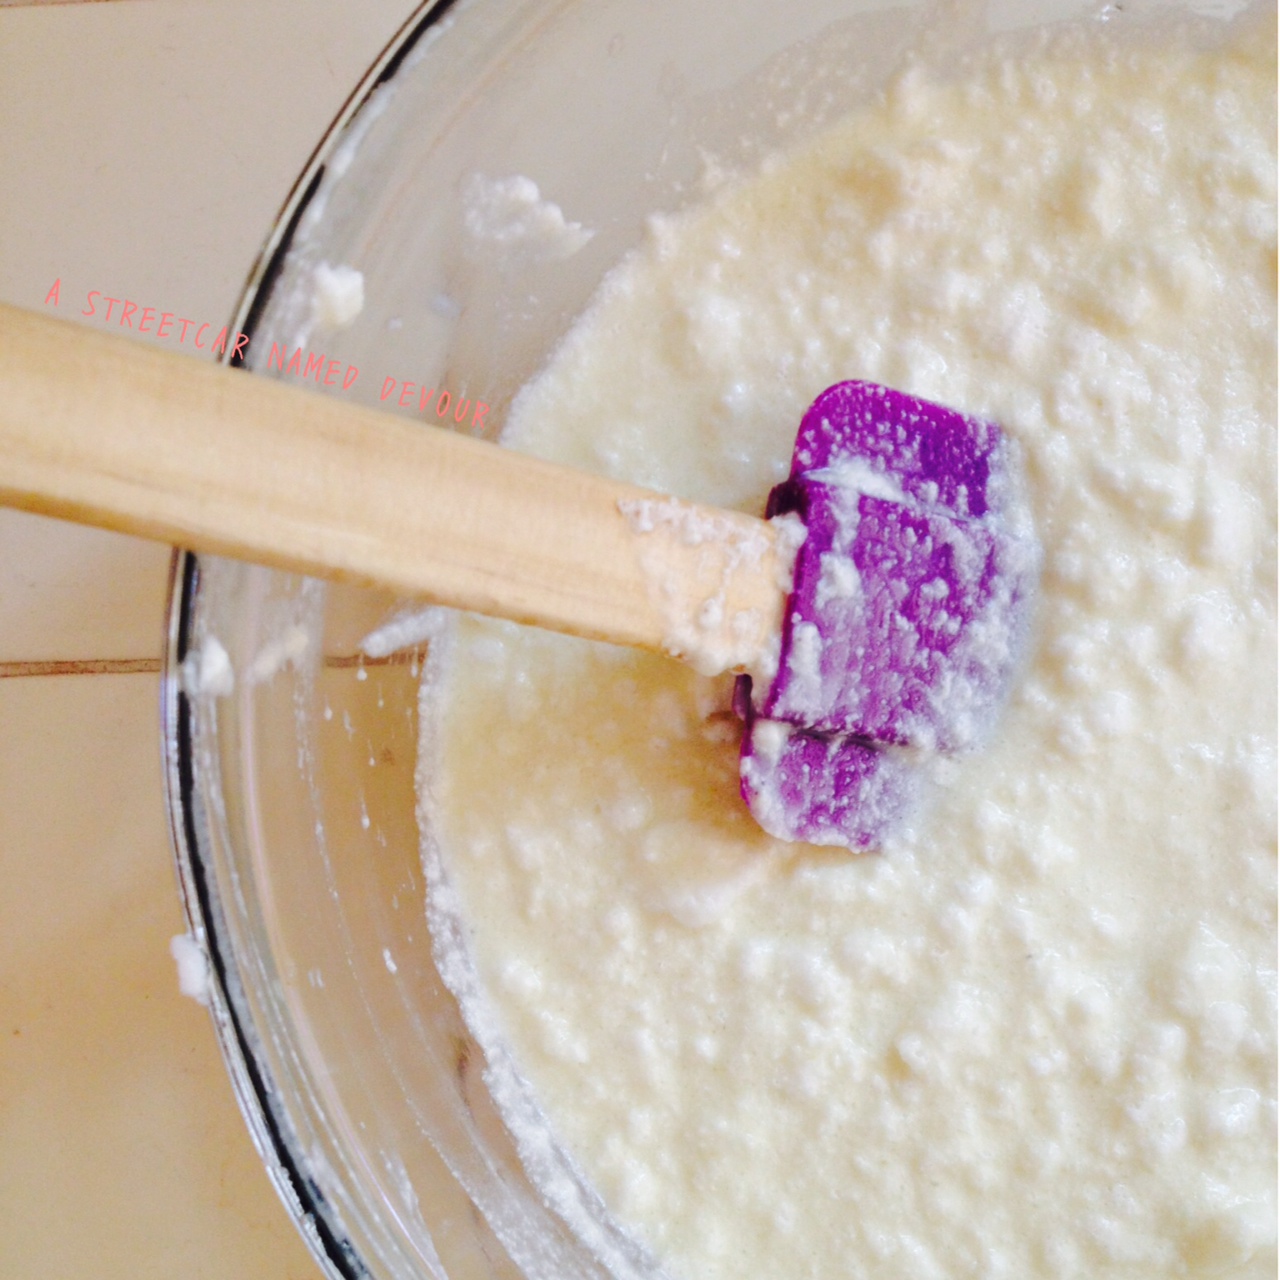
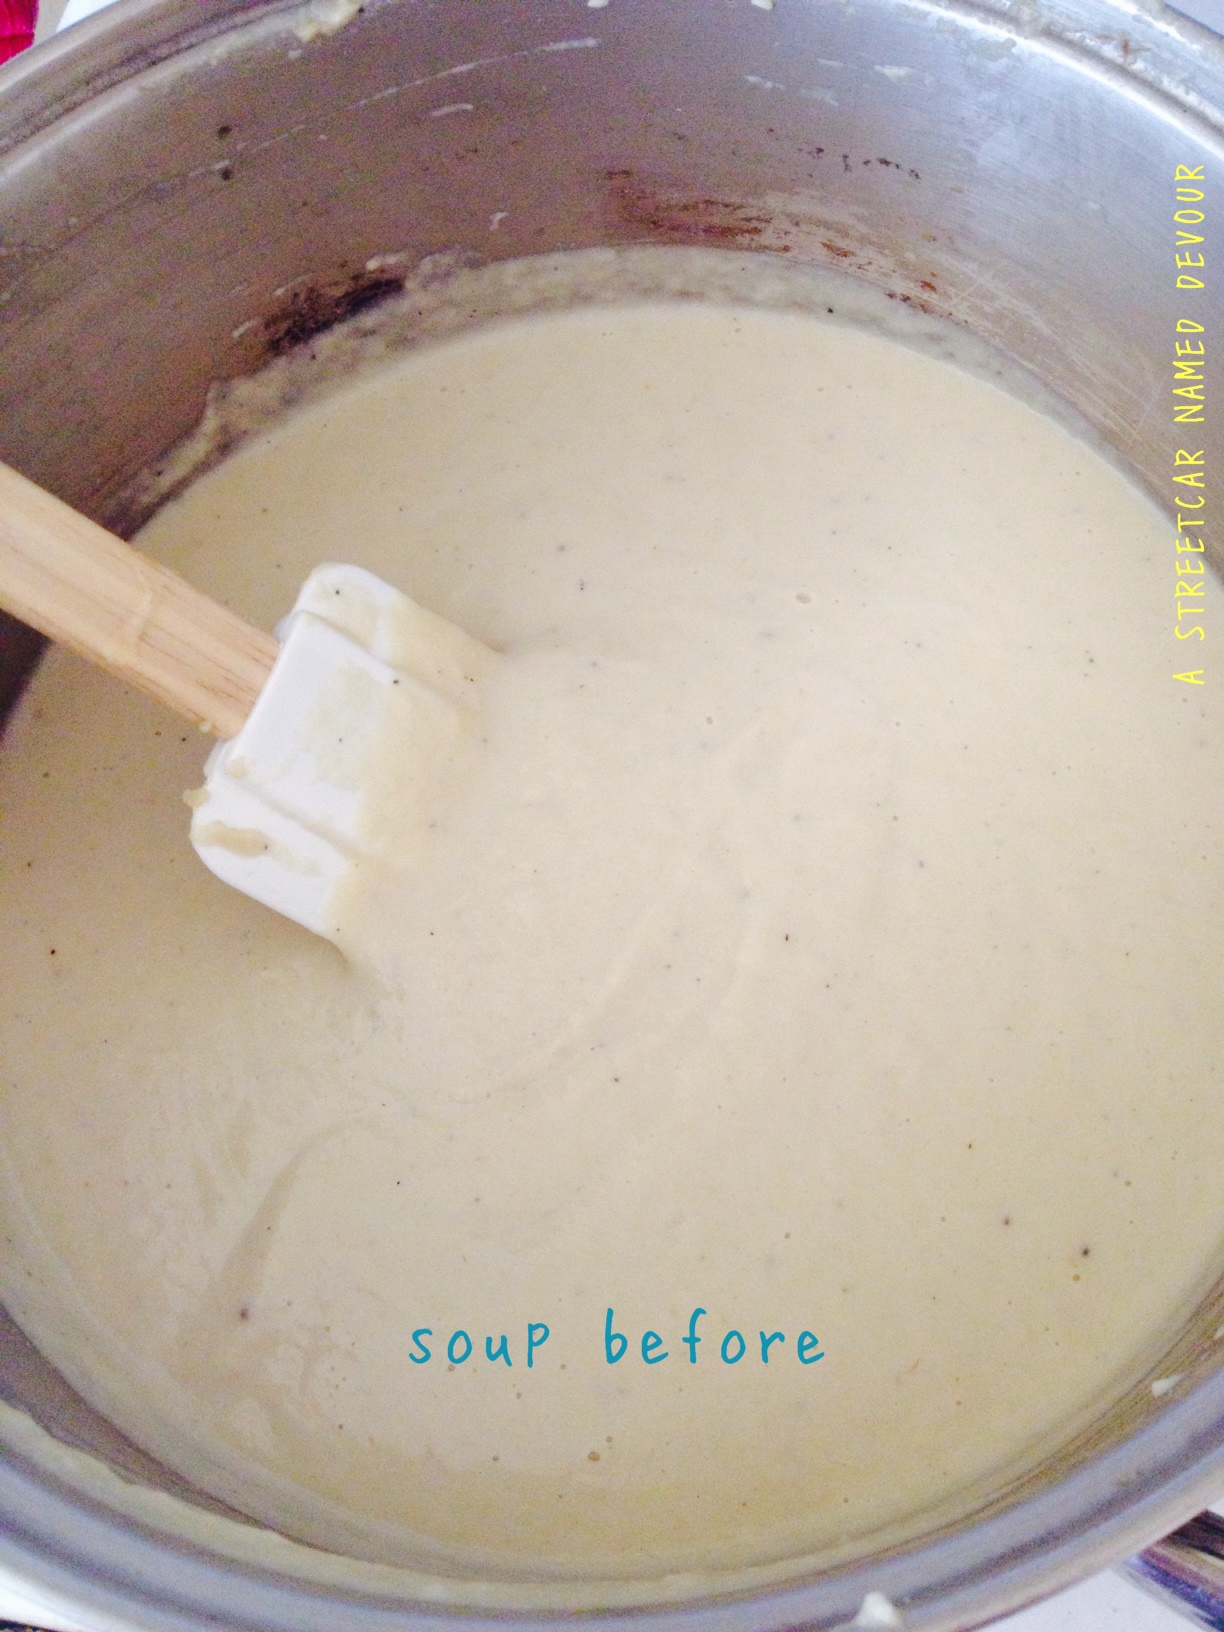
Properly tempering the eggs into the milk reduces clumps.
In the same saucepan, warm the milk, brown sugar and salt. In a separate medium-size bowl, whisk together the egg yolks. Add a cup of the warmed milk to the egg yolks, whisking constantly to temper the yolks. Once the egg yolks have been tempered, add them to the saucepan and whisk on medium heat. Continue to scrape the sides with a rubber spatula, scraping the bottom as you stir until the egg mixture thickens to a custard-like consistency and coats the back of the spatula.
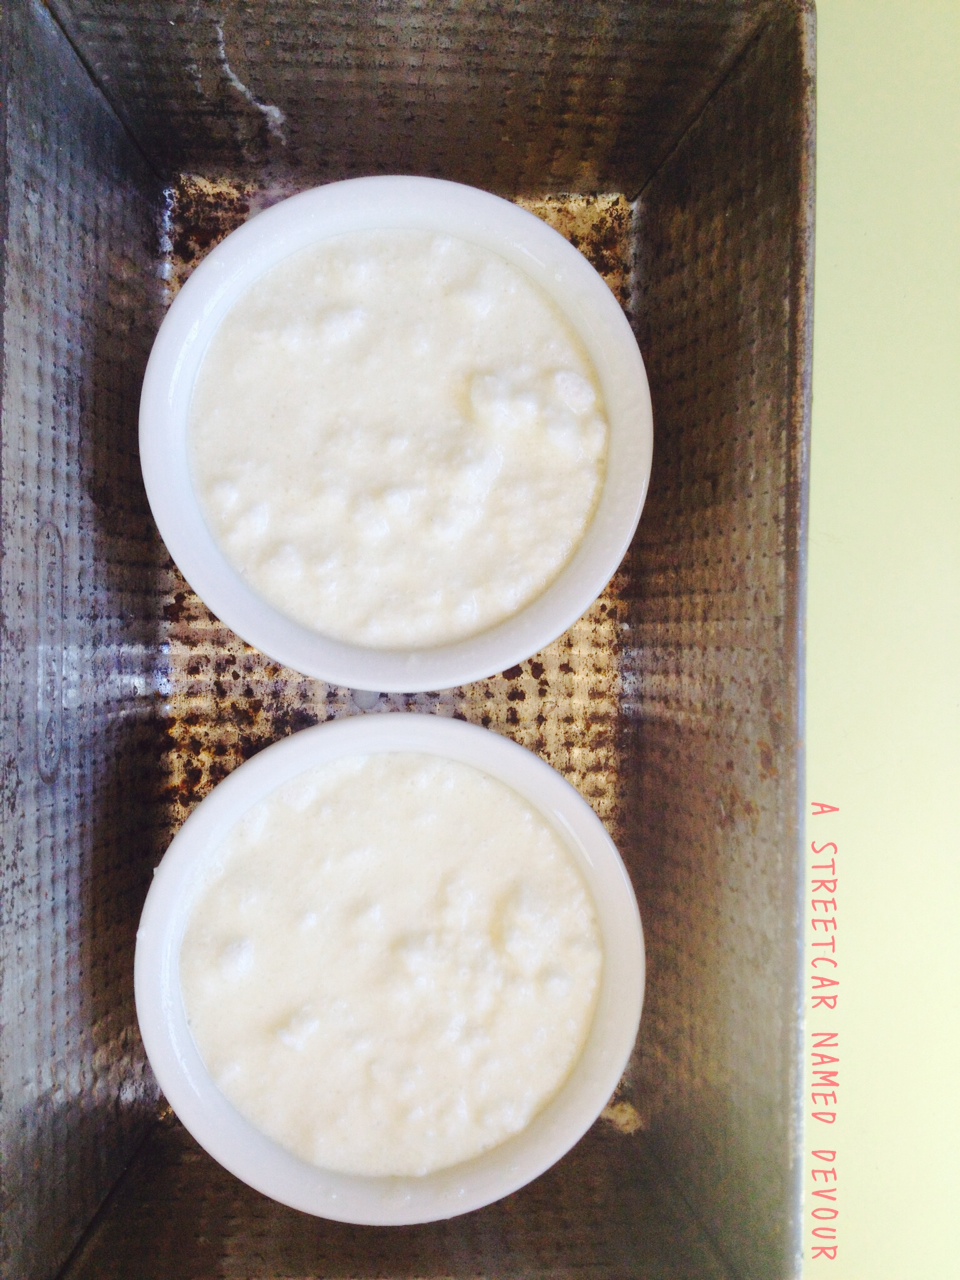
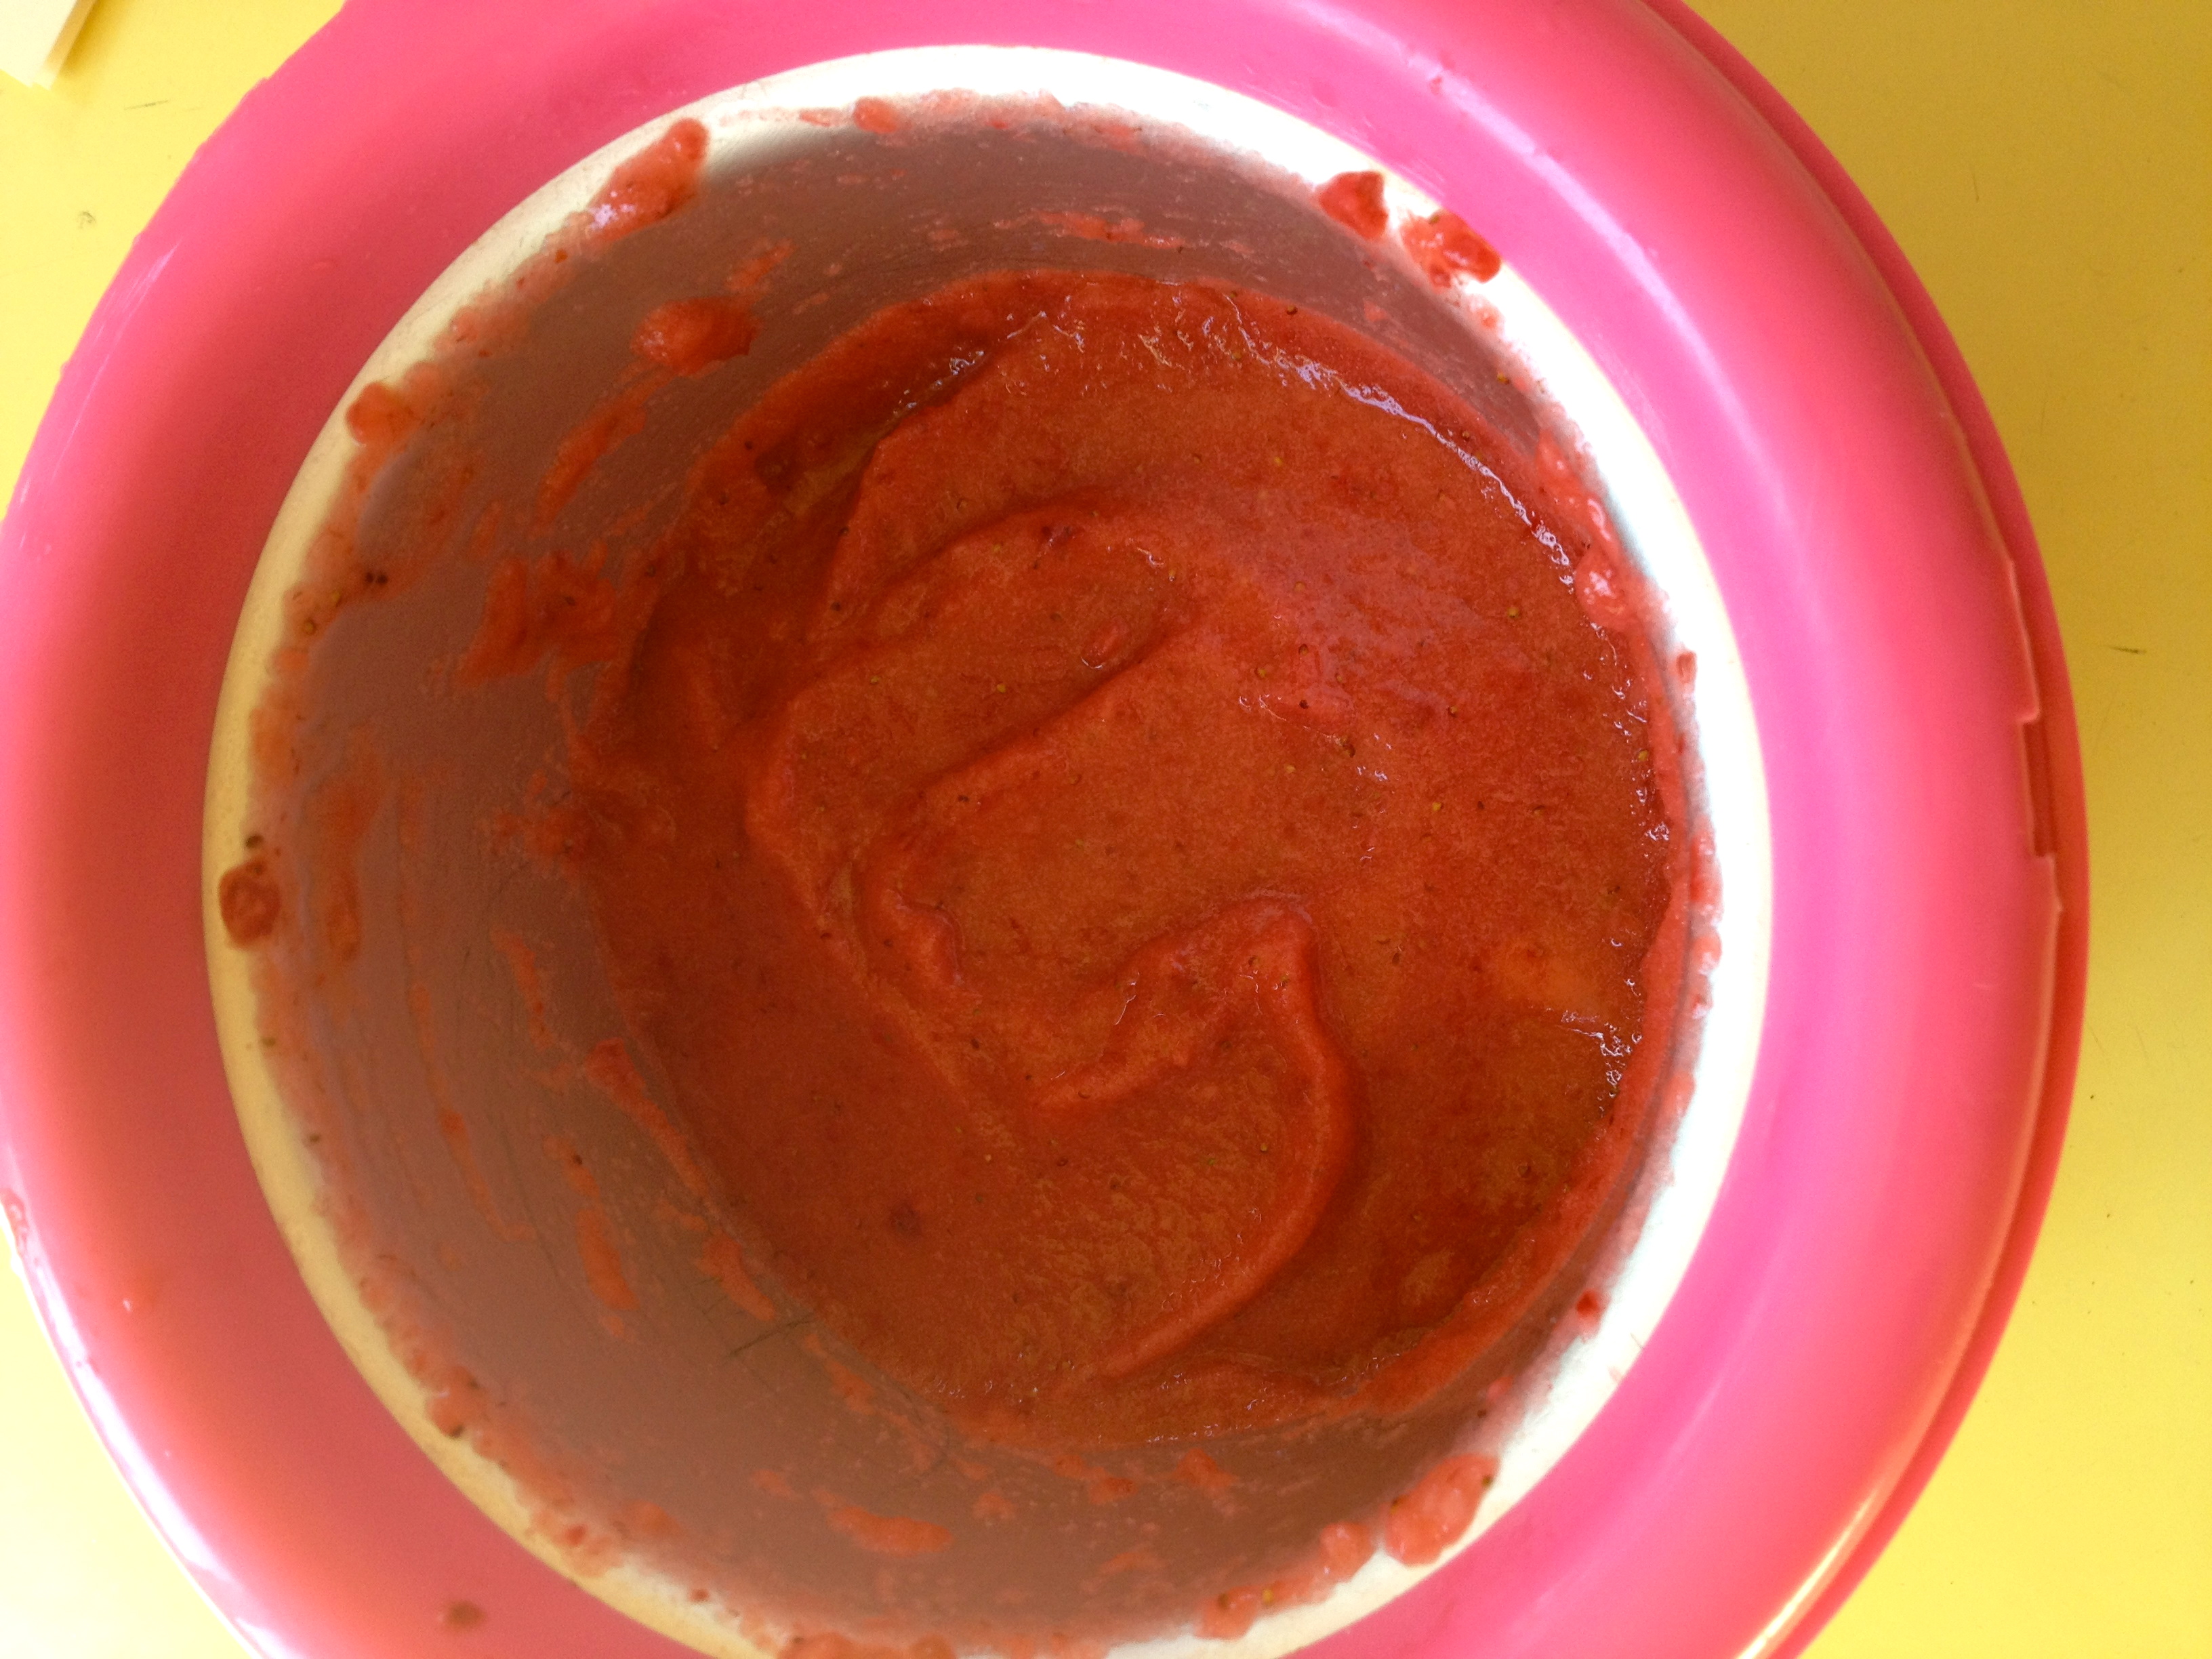
Almost there!
Pour the custard through a fine-mesh sieve or strainer and str into the chocolate mixture. Stir in the vanilla extract and malted milk powder, whisking until the mixture is completely combined.
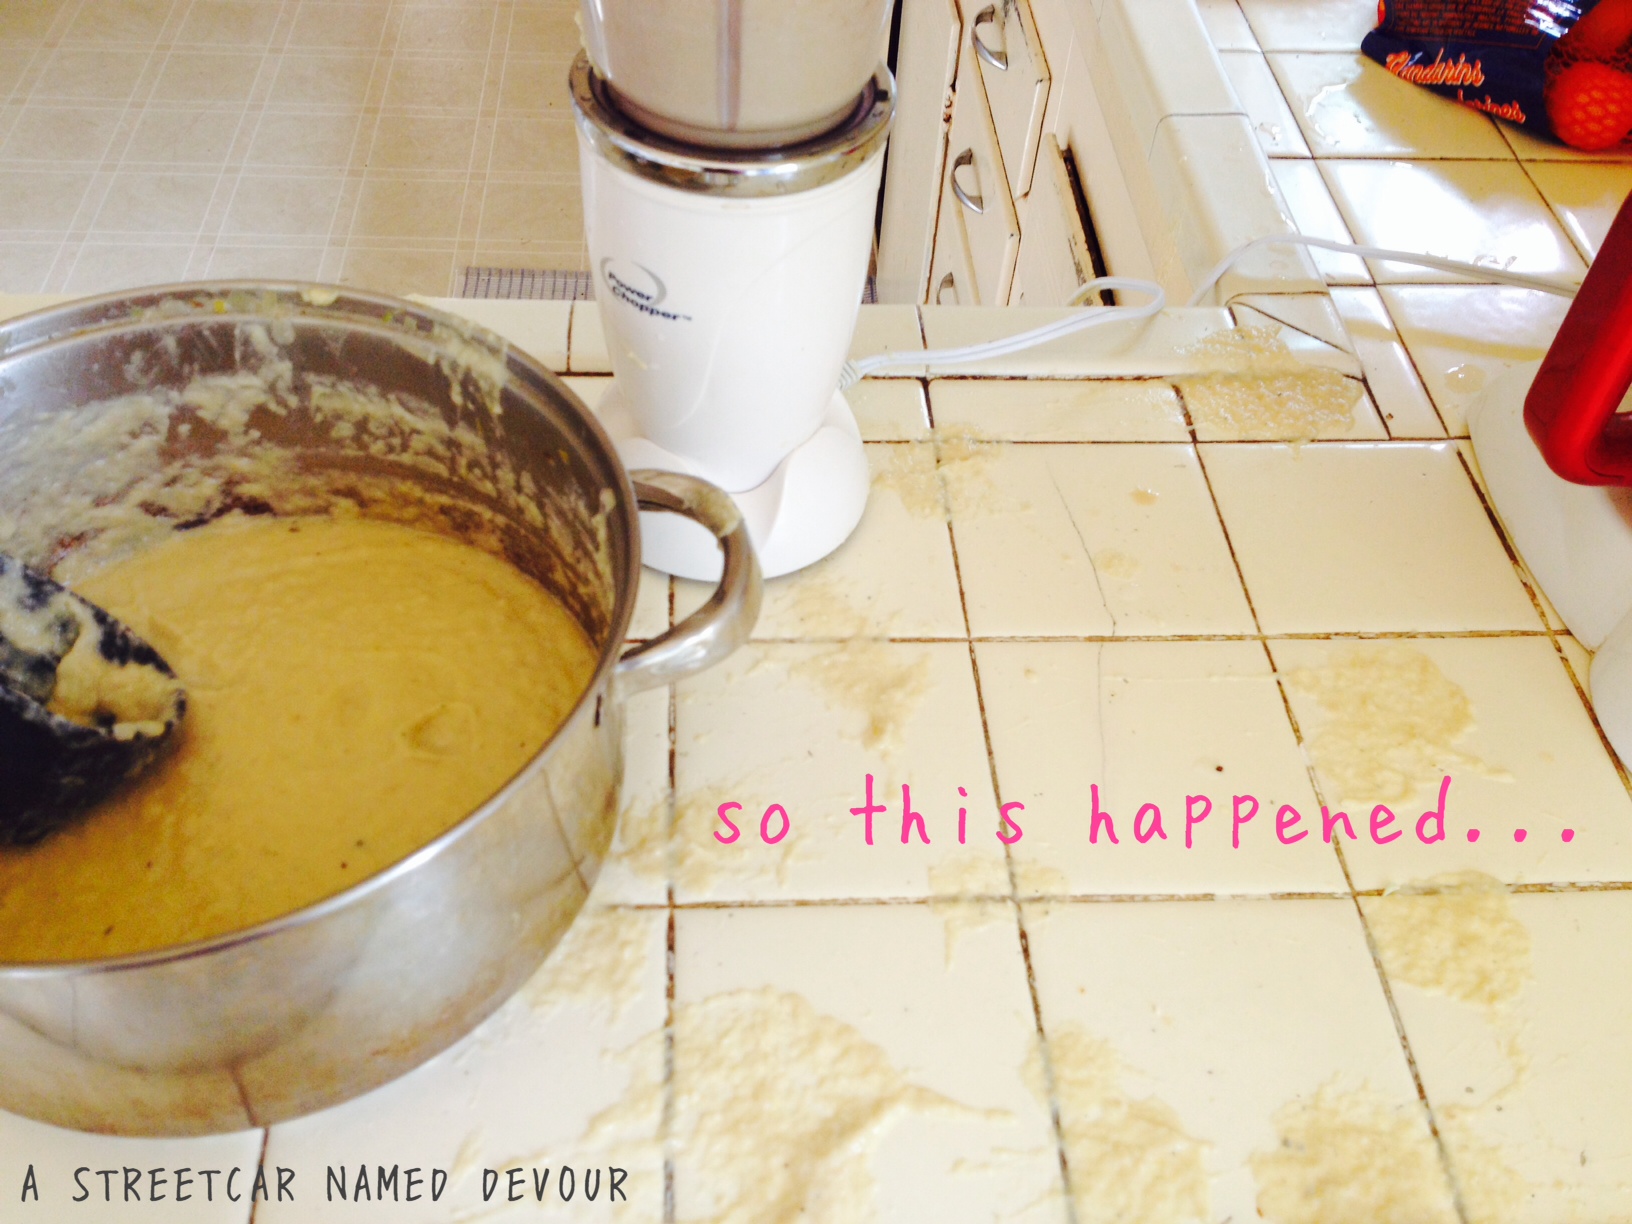
Cool the chocolate custard base in the refrigerator till it’s completely chilled. This should take at least 4 hours.
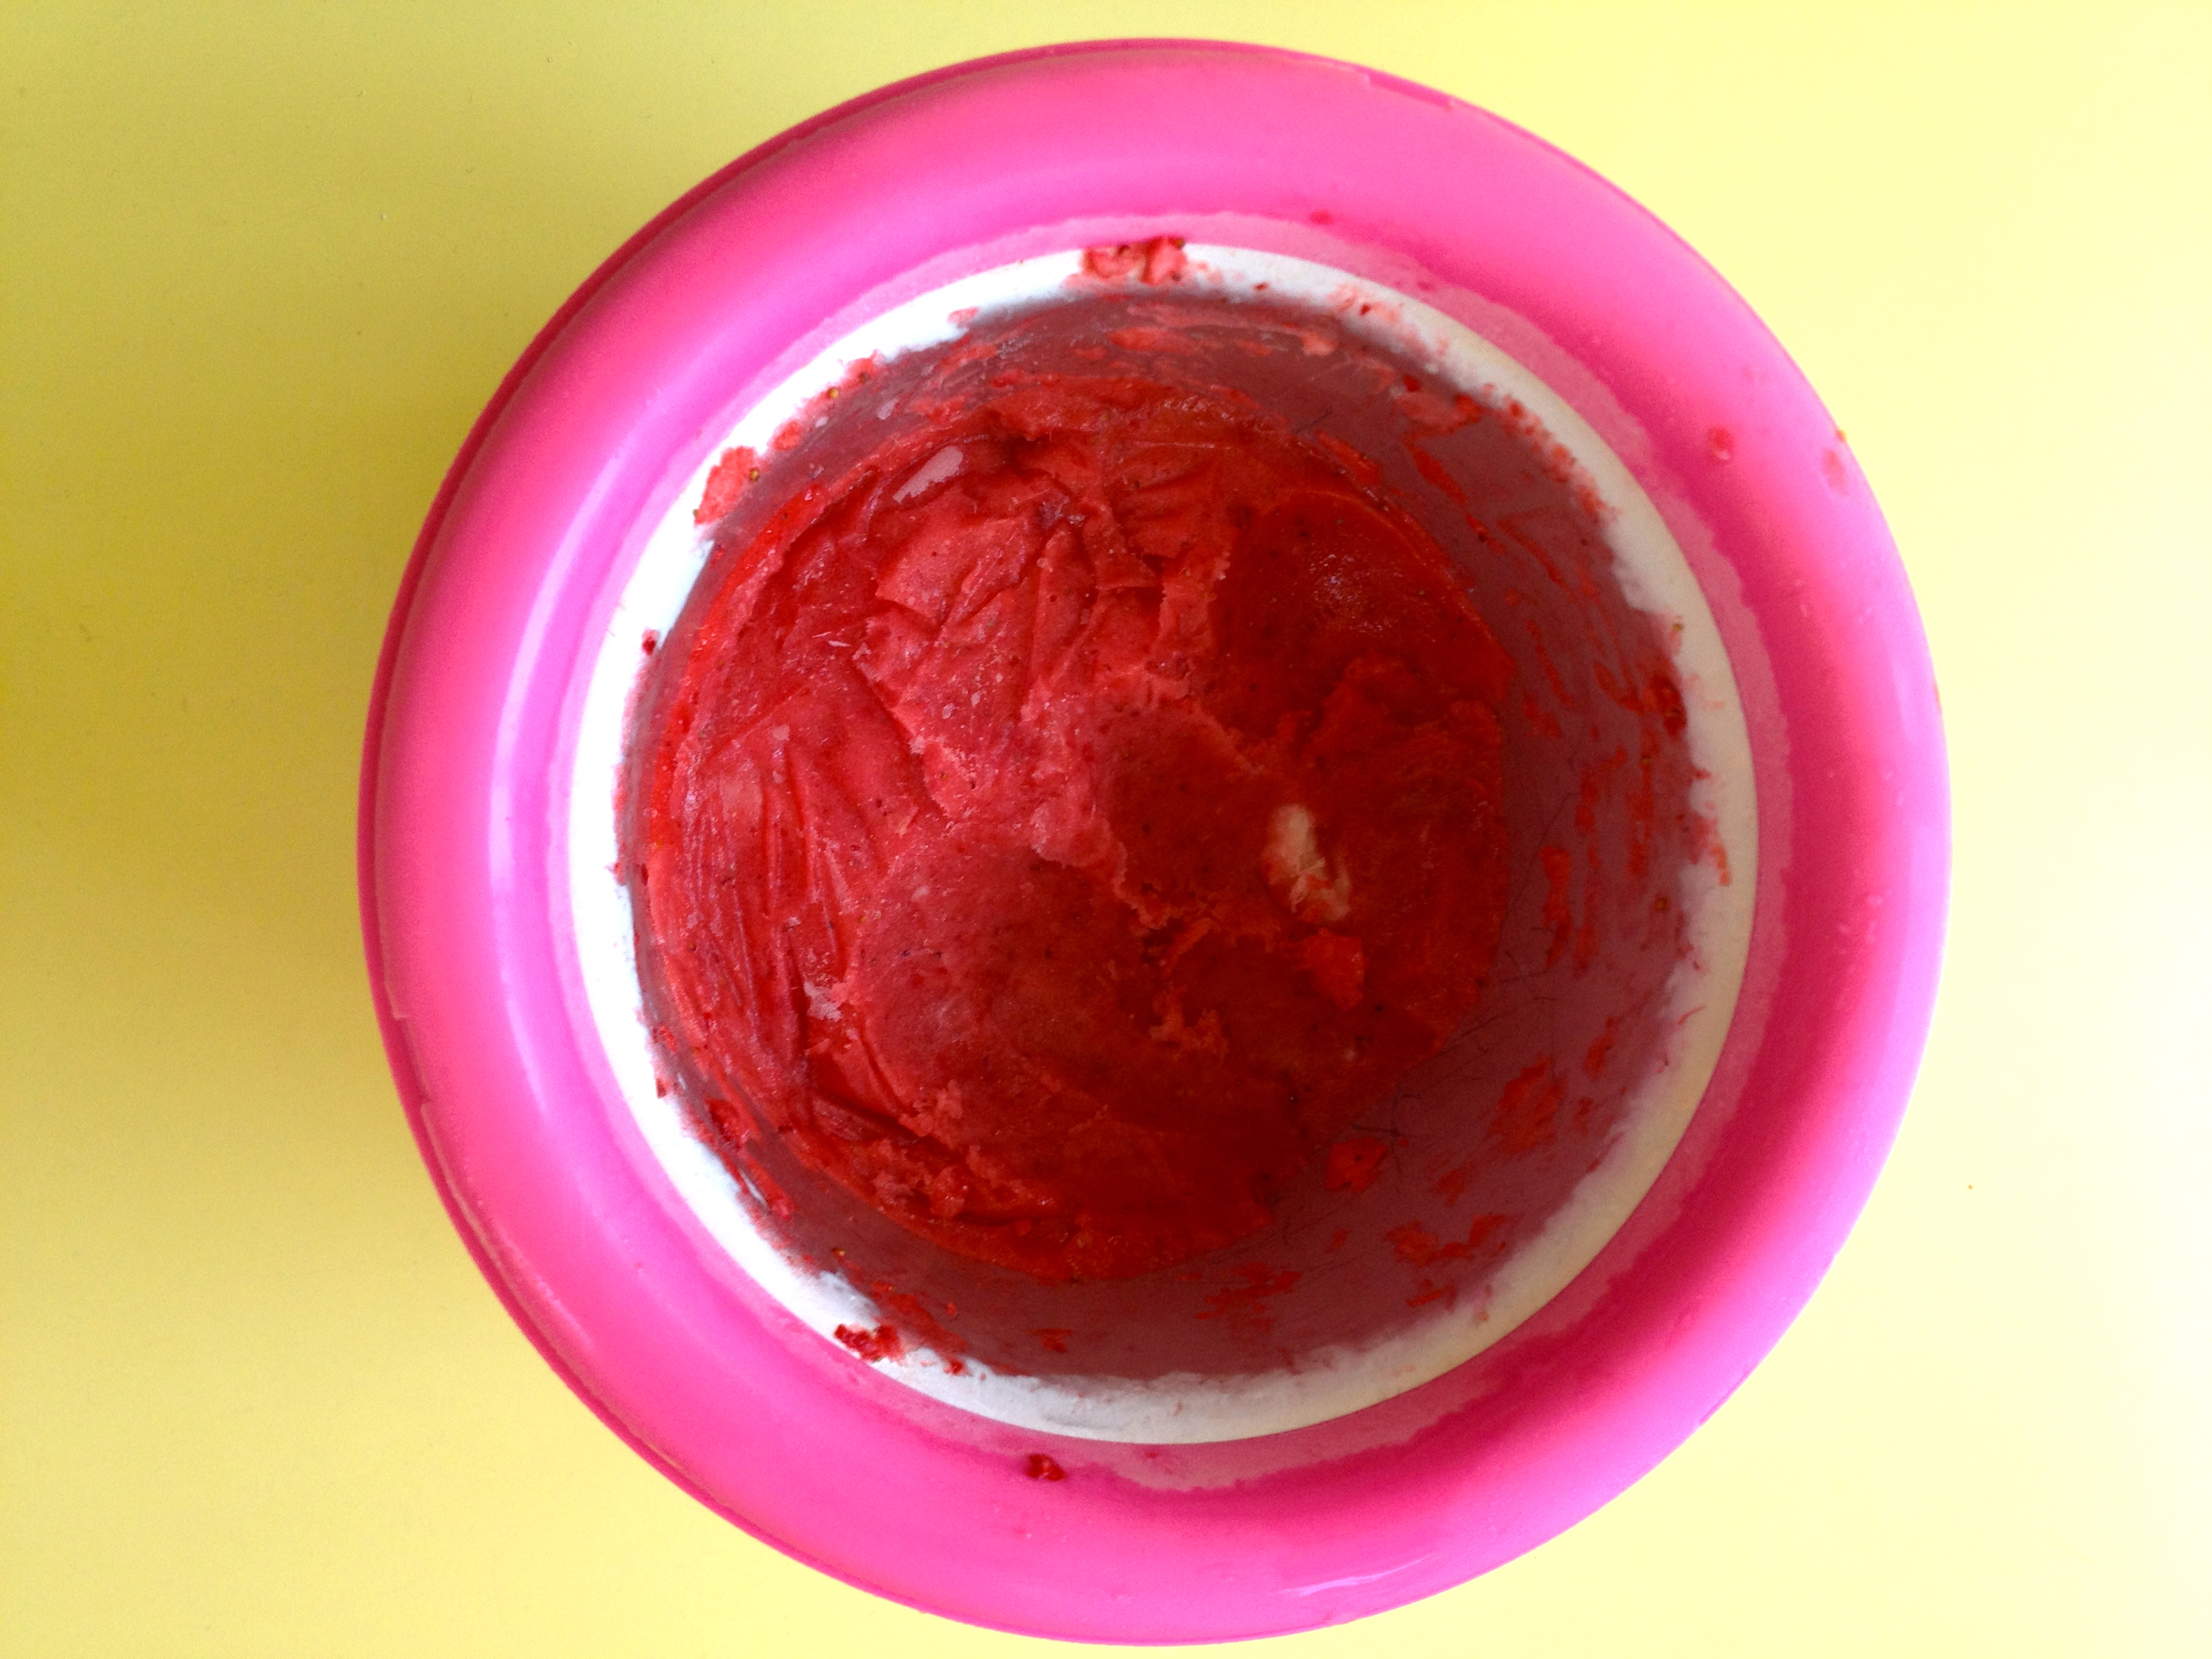
It’s happening!
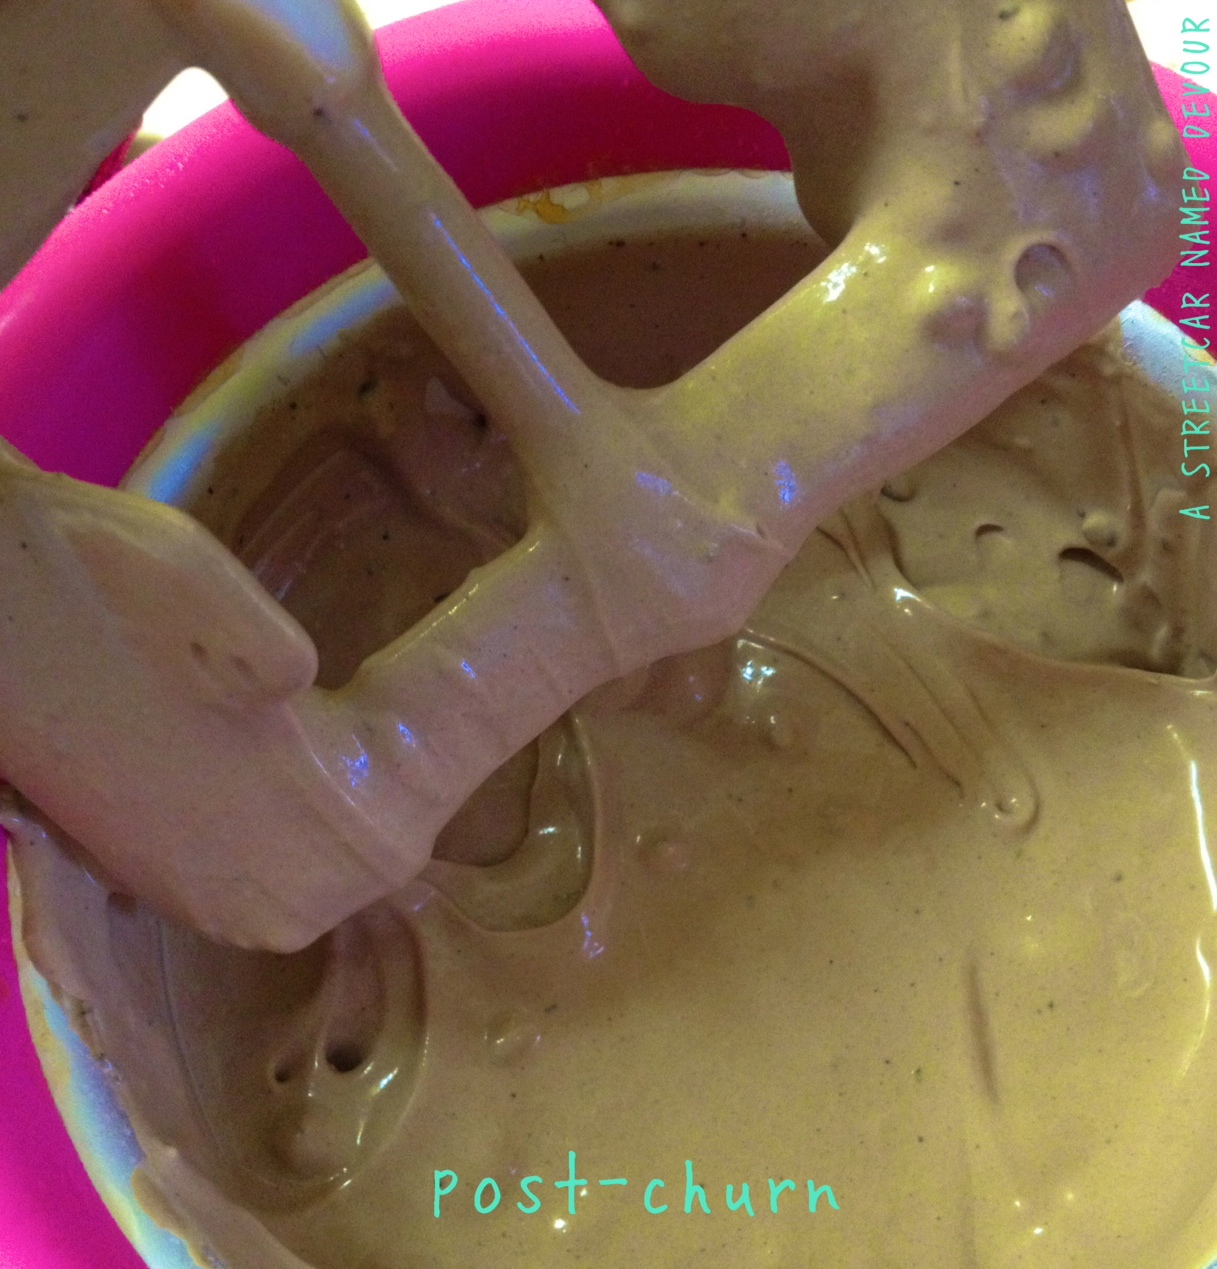
Pour the chocolate malted custard into an ice cream maker and churn according to the manufacturer’s instructions. While churning, add in the remaining 2 ounces of chopped chocolate to the mixture.
Place a sheet of plastic wrap atop the churned ice cream mixture to avoid freezer burn or forming ice crystals while it freezes.
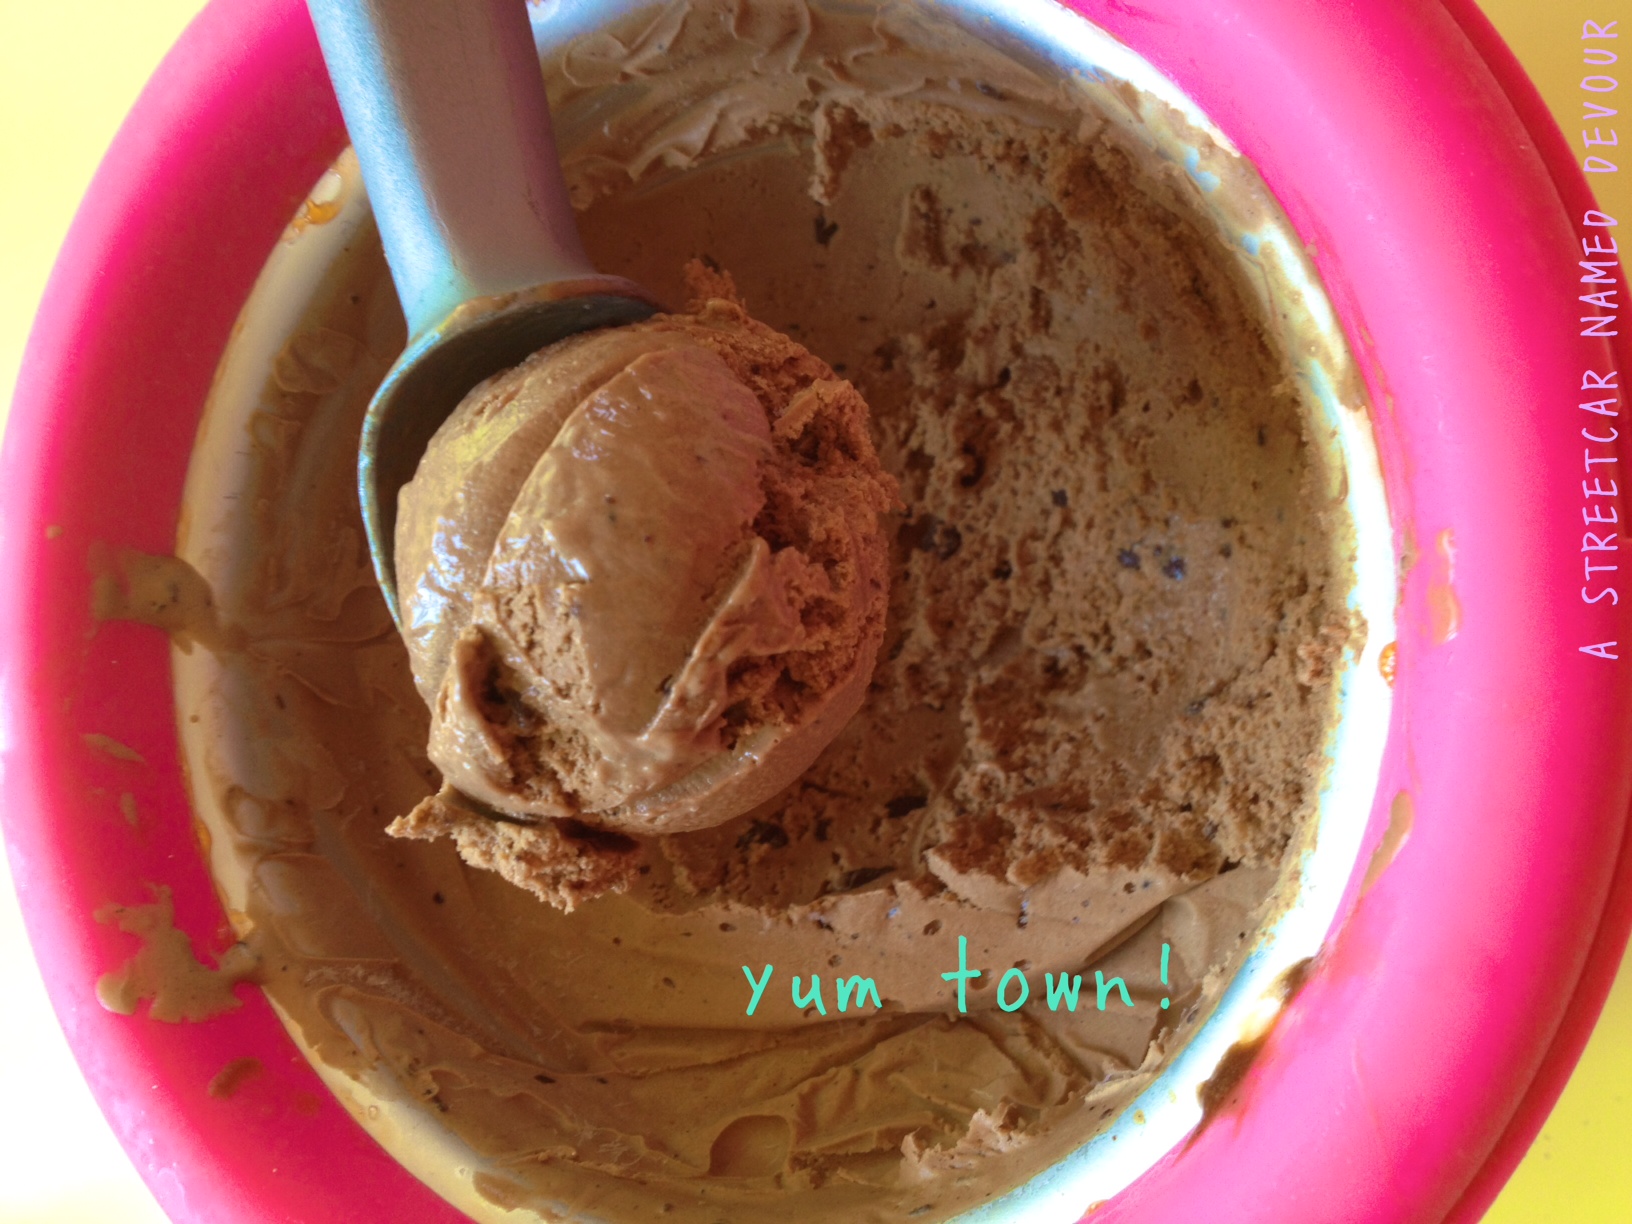
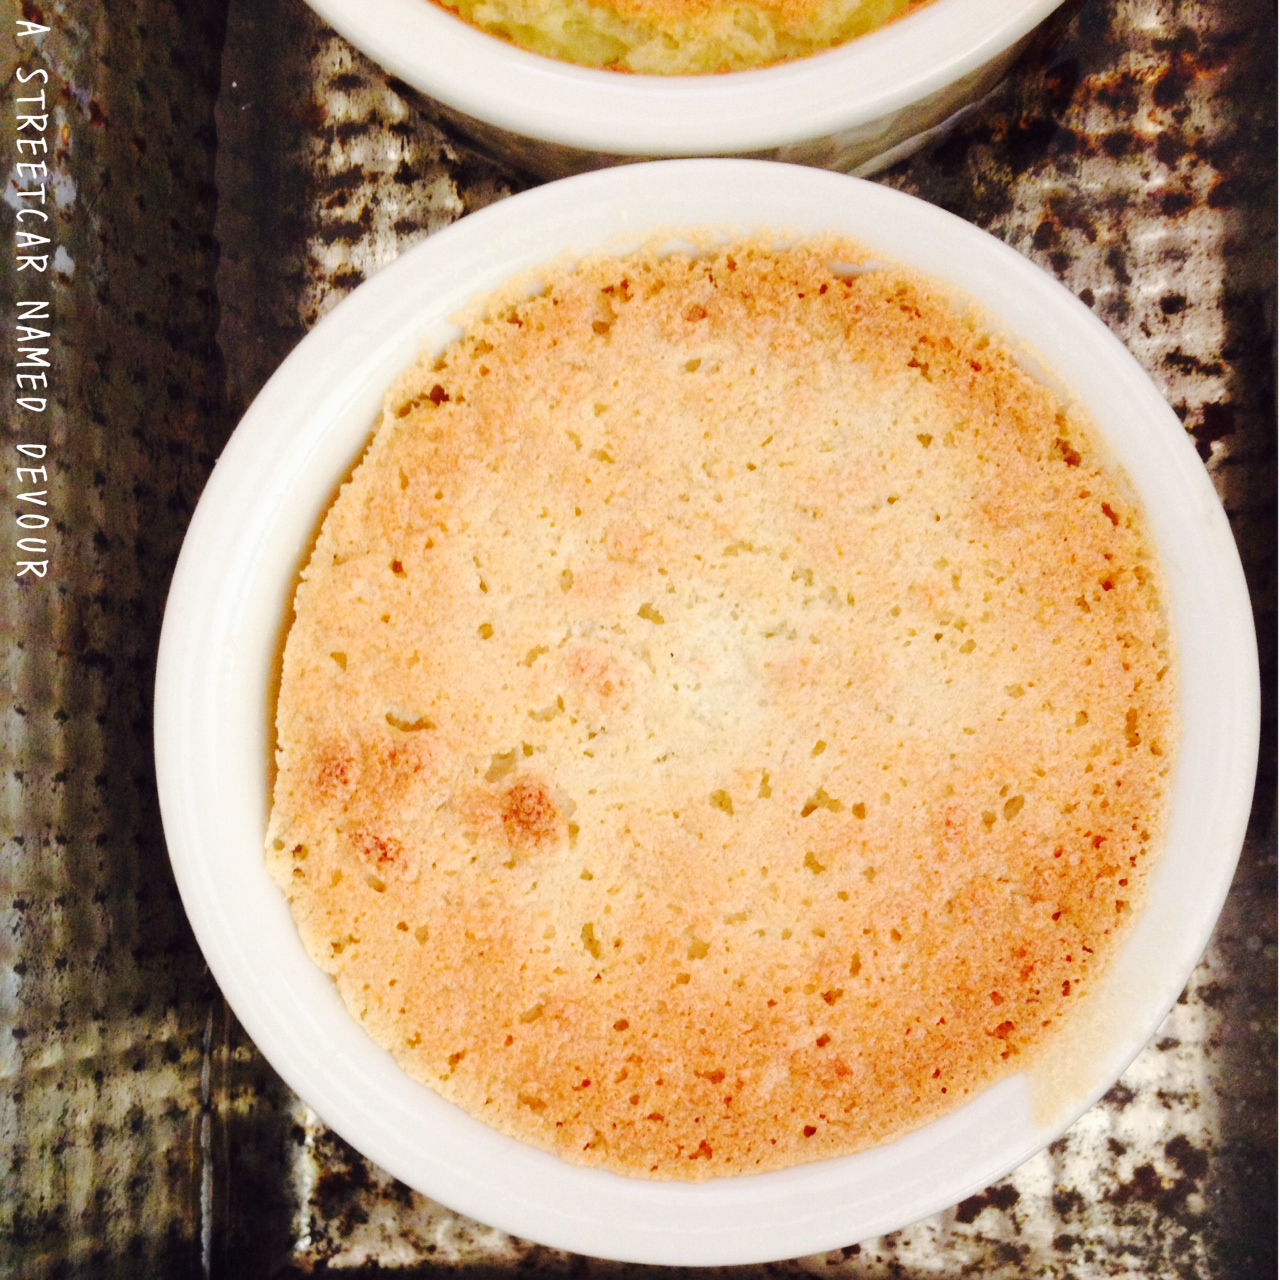
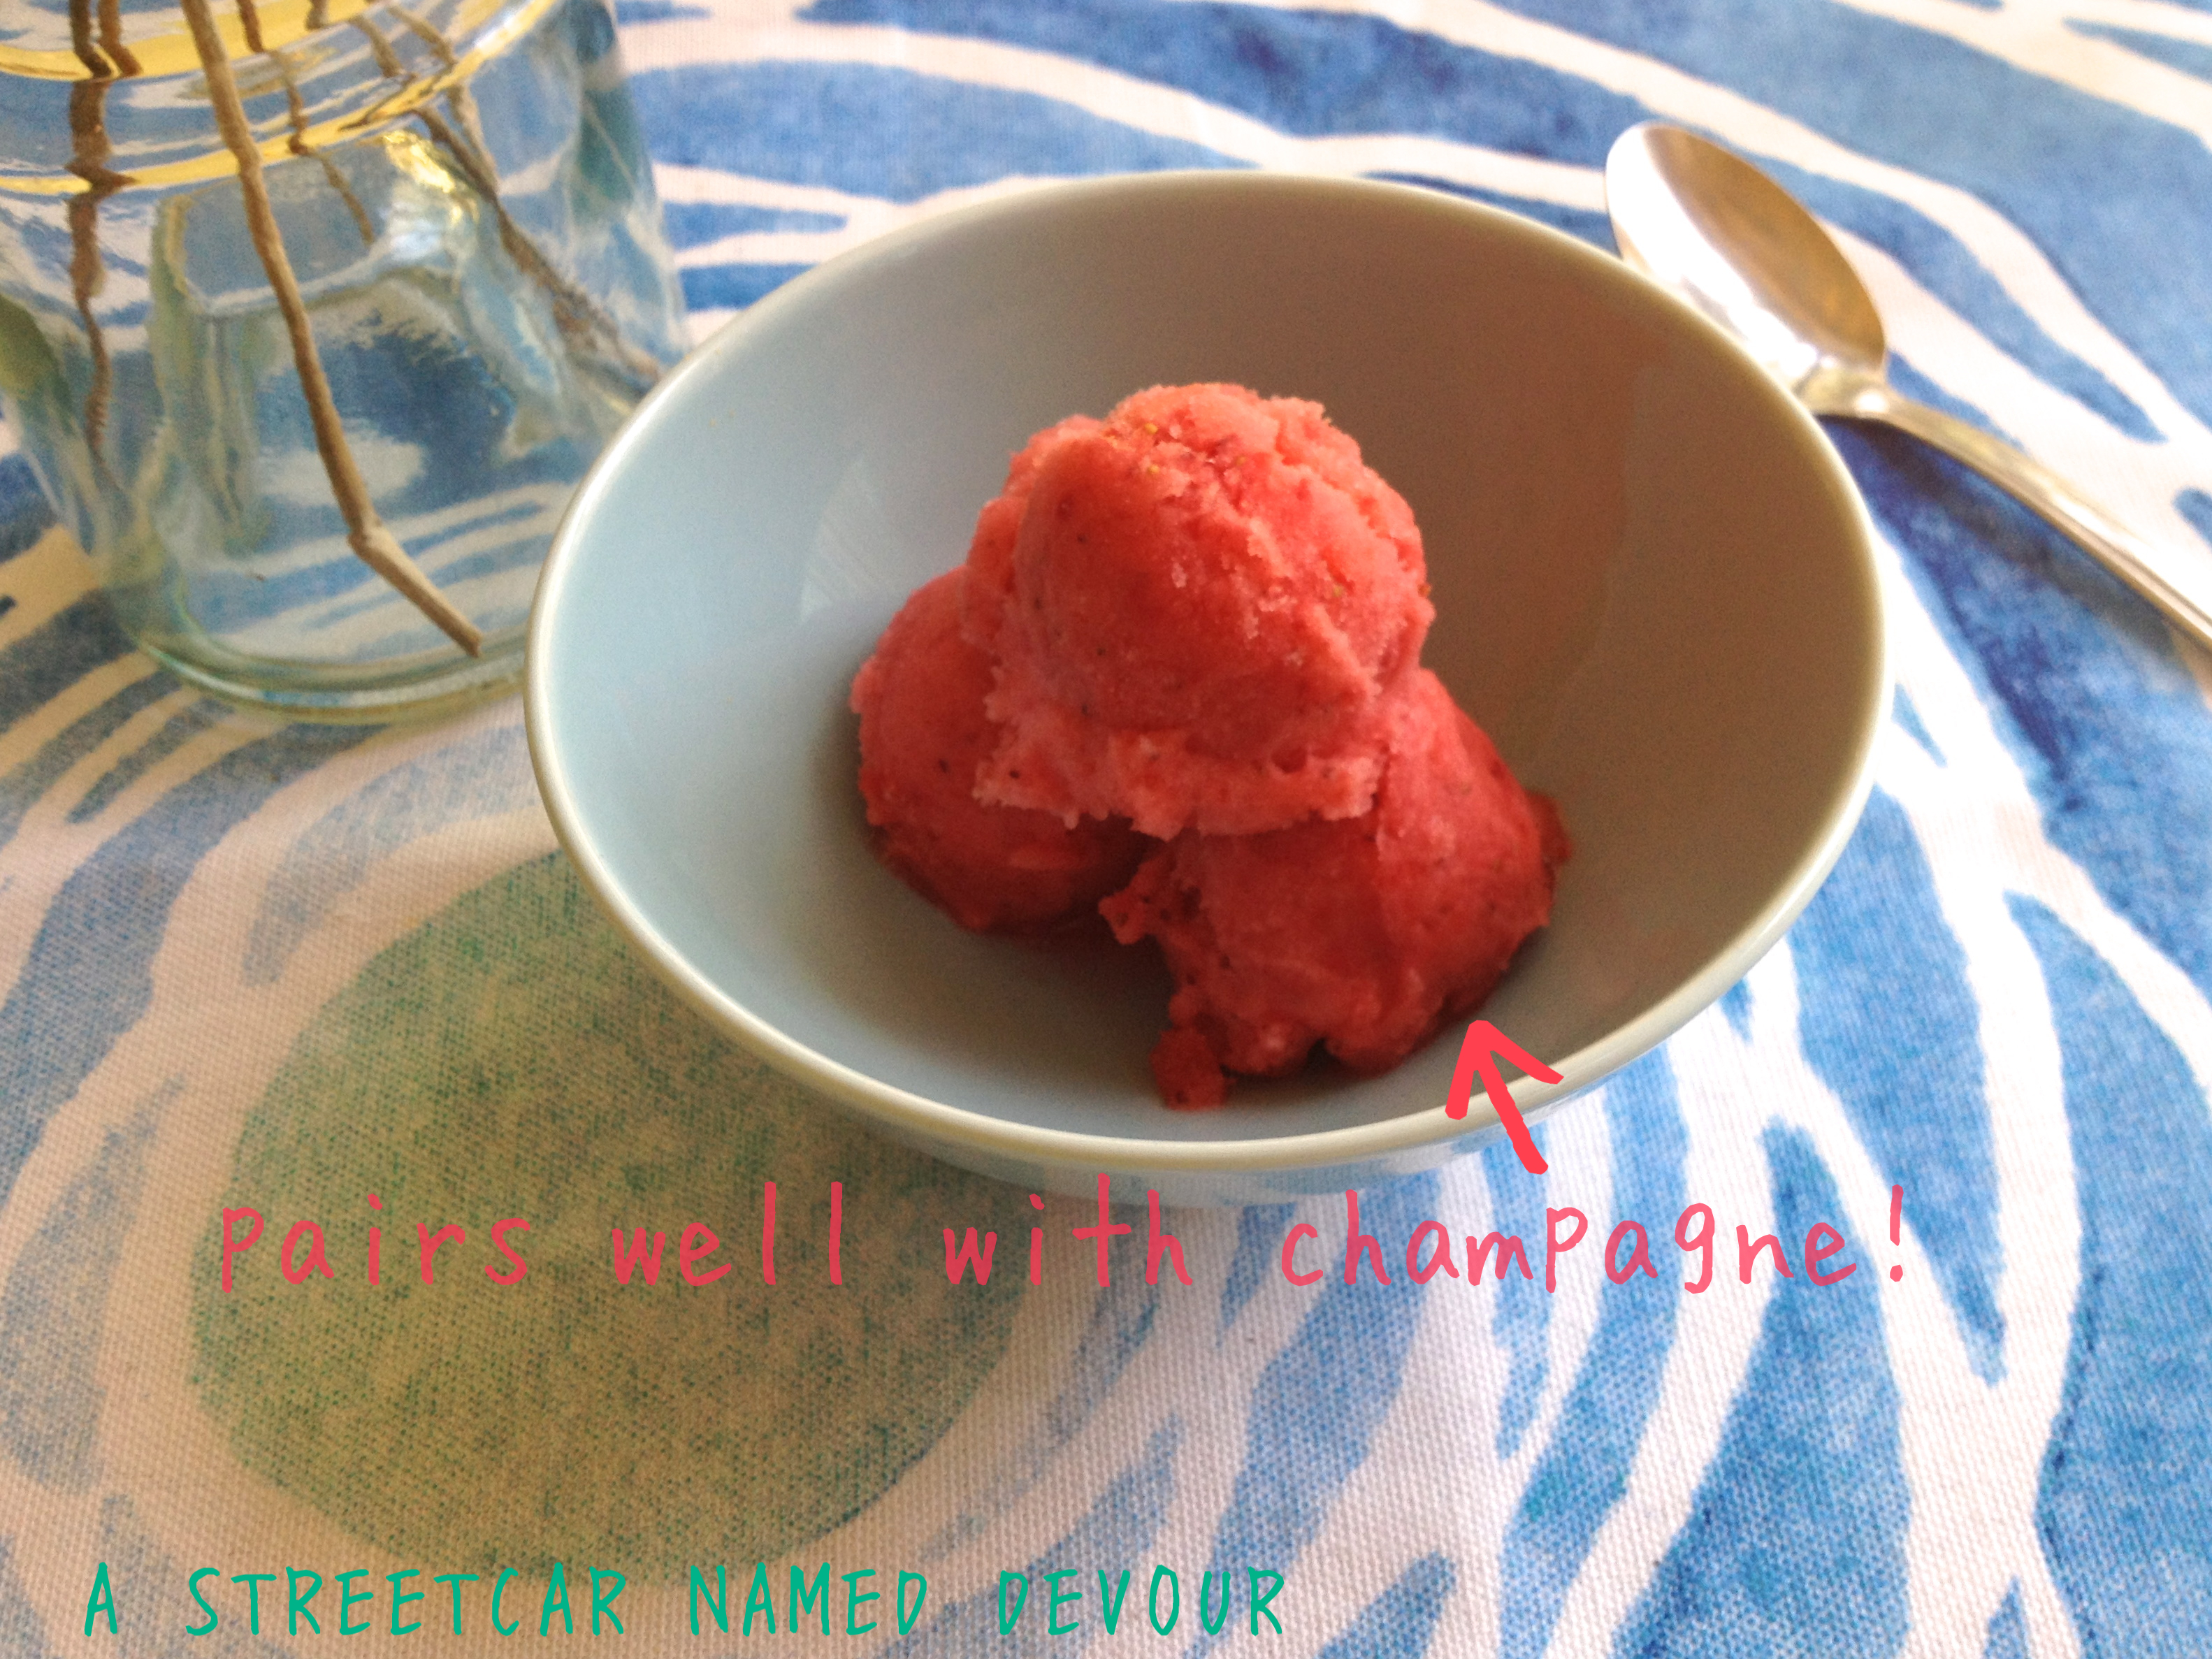
If you ask me, I’m ready
***COOK’S NOTE: So what is malted milk powder? Besides its use as a base for beer and whiskey, malt is used to add a sweet, nutty flavor. It’s a grain (oftentimes barley) that’s sprouted and quickly dried. The grain is finely ground with the addition of wheat flour and powdered milk.