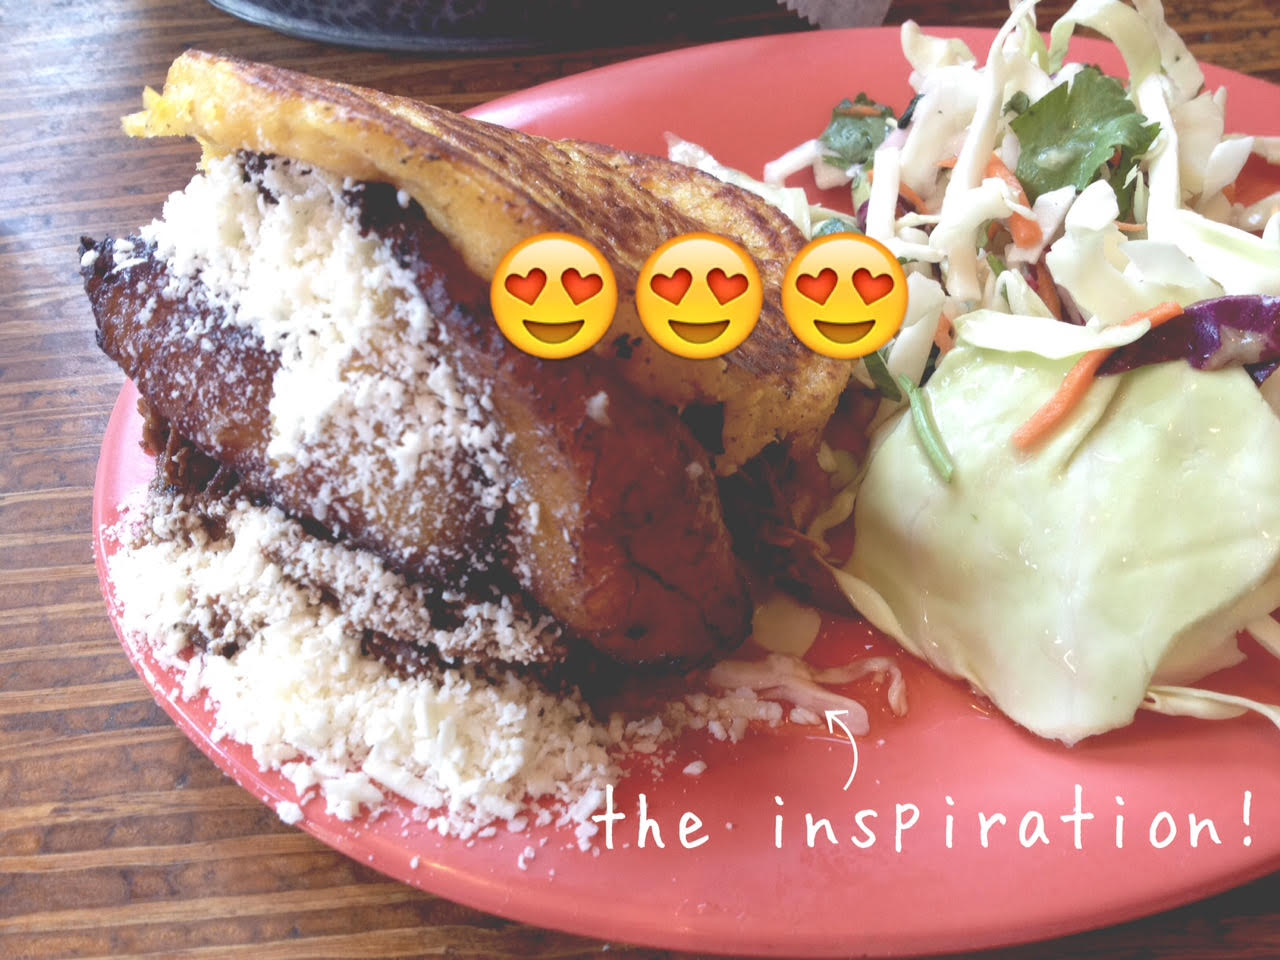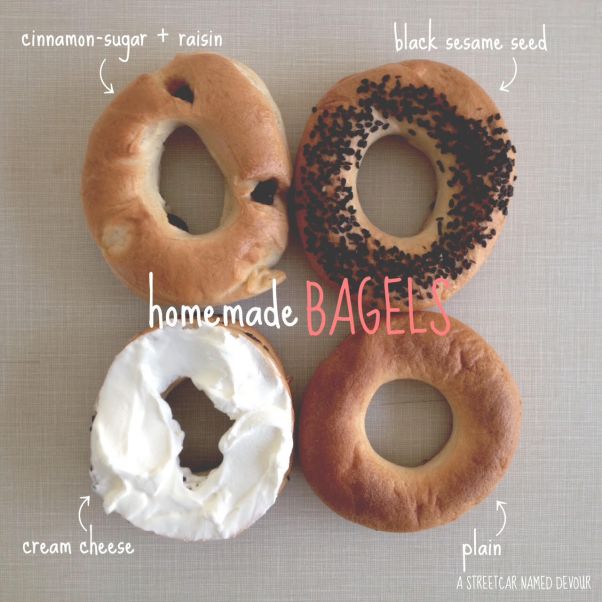
Bagels are such a versatile treat–you can pretty much top them with anything and they’ll be delicious. Cream cheese, jam, peanut butter, avocado, lox, pesto, seriously anything.
Here’s a super-easy recipe via Sally’s Baking Addiction.
Homemade Bagels
Recipe adapted from Sally’s Baking Addiction
Yields 6-12, depending on size
INGREDIENTS
1 and 1/2 cups warm water
2 and 3/4 teaspoons Instant Yeast
4 cups bread flour
1 Tablespoon brown sugar
2 teaspoons salt
FOR THE WATER BATH
2 quarts water
1/4 cup honey
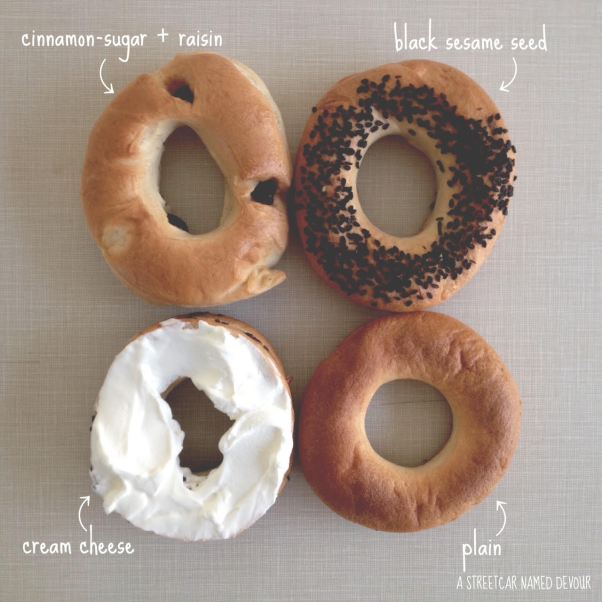
OPTIONAL TOPPINGS
2 Tablespoons sesame seeds
1 Tablespoon coarse sea salt
1 teaspoon cinnamon + 3 teaspoons white sugar
3 Tablespoons raisins
egg wash: 1 egg white beaten with 1 Tablespoon of water
METHOD
Quickly whisk in the yeast into the warm water till completely
dissolved. Allow to sit for 5 minutes.
Using a stand mixer fitted with a dough hook attachment, mix on medium speed the flour, sugar, and salt for about 30 seconds. With the mixer continuing to run on medium speed, slowly drizzle the bloomed yeast mixture, making sure to scrape out any undissolved yeast with a spatula, getting all of the yeast into the dough.
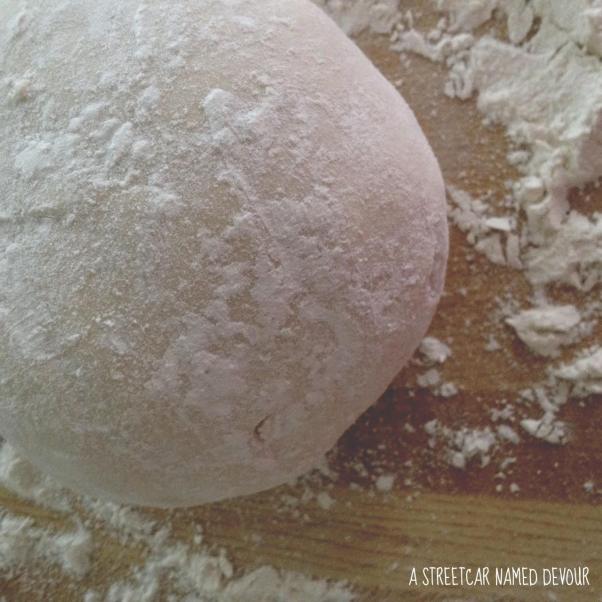
Turn down to low speed and mix until all the flour has been well incorporated into the dough. The dough will look choppy; once you get it to this point, bump up the speed to medium and mix for 8 minutes. Once done mixing, the dough will be super stiff, that’s OK.
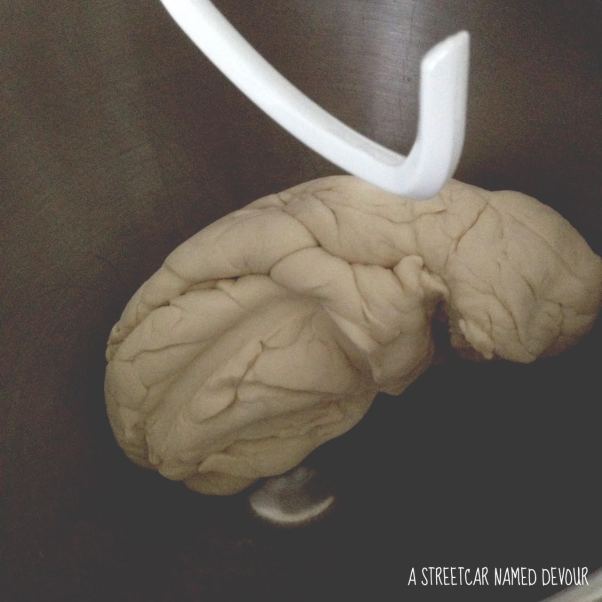
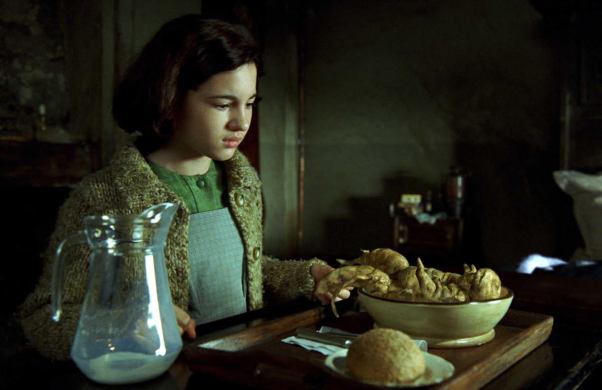
(Mine somehow managed to resemble the mandrake root in Pan’s Labyrinth. Creeeeepy.)
(Note: If you’re making cinnamon and raisin-flavored bagels, section off about 1/3 of the mixture and hand-mix the raisins into the dough.)
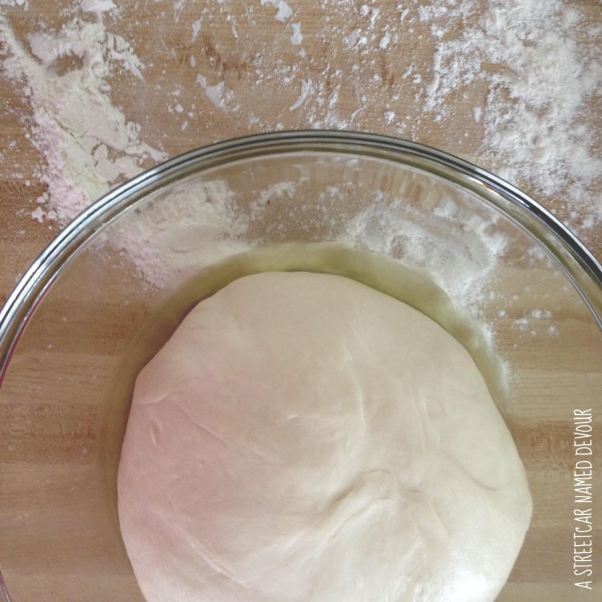
Otherwise, remove from the mixing bowl and shape the dough into a ball on a lightly floured surface. Lightly grease a large bowl with oil and place into the bowl, turning the dough ball to coat all sides with oil. Cover the bowl with a clean towel and place in a warm area of your kitchen to allow the dough to rise for about 1 to 1 1/2 hours. The dough should to be noticeably larger.
Line two large baking sheets with parchment paper or SILPAT mats if you have them. Place a wire rack over a third baking sheet.
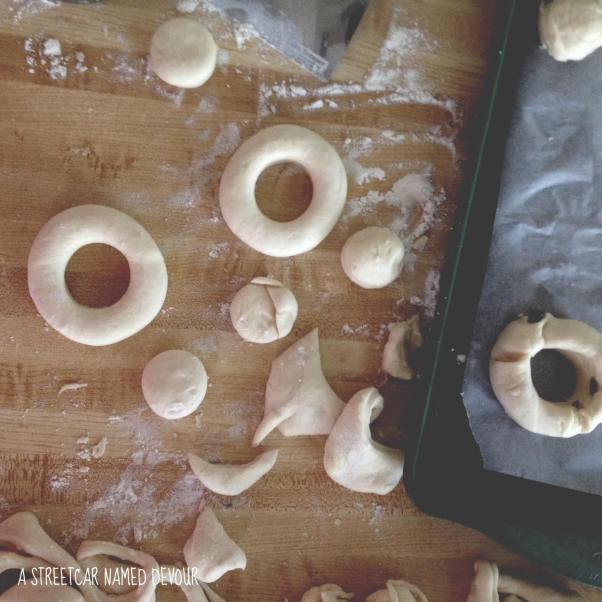
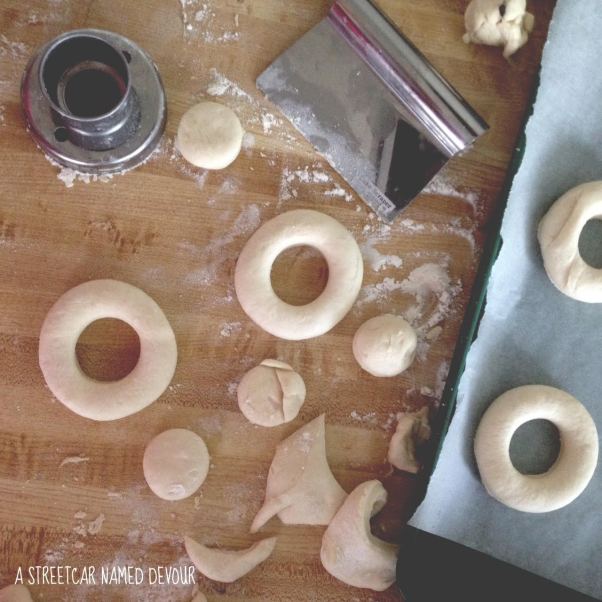
To shape the bagels, gently punch down the dough if you notice any air bubbles. Turn it out onto a clean surface and divide the dough into 8 equal-sized pieces.
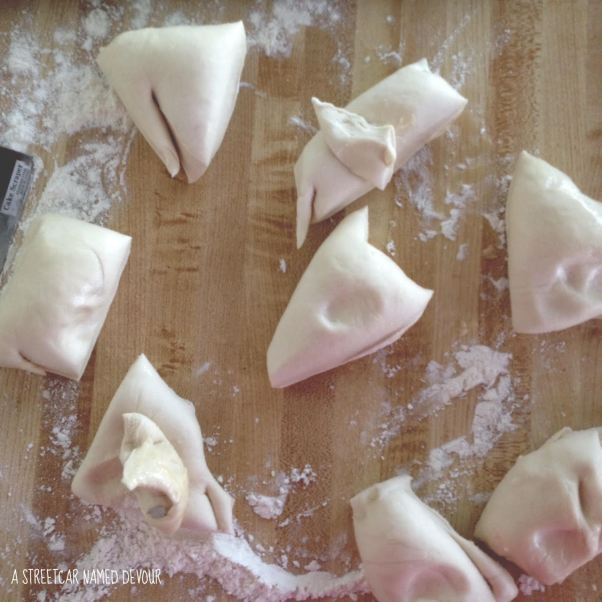
Shape each piece into a ball and place 4 balls onto the two lined baking sheet. Then, hold up one dough ball and press your index finger through the center of each ball to make a hole, widening it. Cover the shaped bagels with a damp kitchen towel and allow to rest as you prep the water bath.

Preheat your oven to 425°F.
To prepare the water bath, fill a large, wide pan with 2 quarts of water. Whisk in the honey. Bring the water to just-simmering. Once simmering, add in the bagels, about 2-3 at a time, making sure not to overcrowd them. Cook the bagels for about 1 minute on each side, then transfer each bagel to the cooling rack.
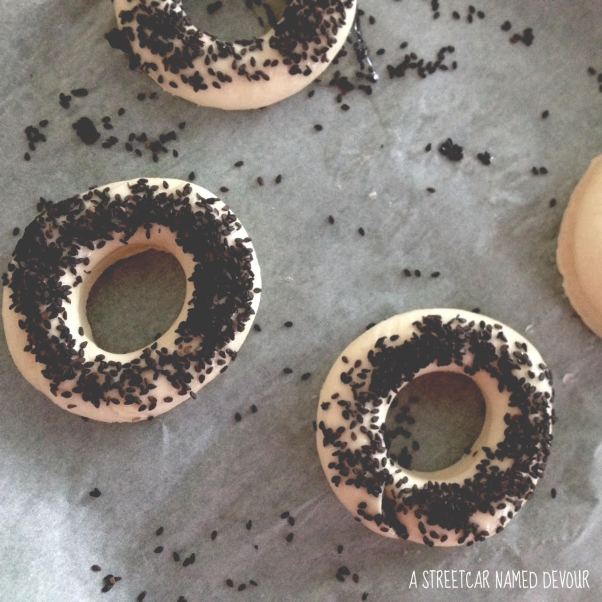
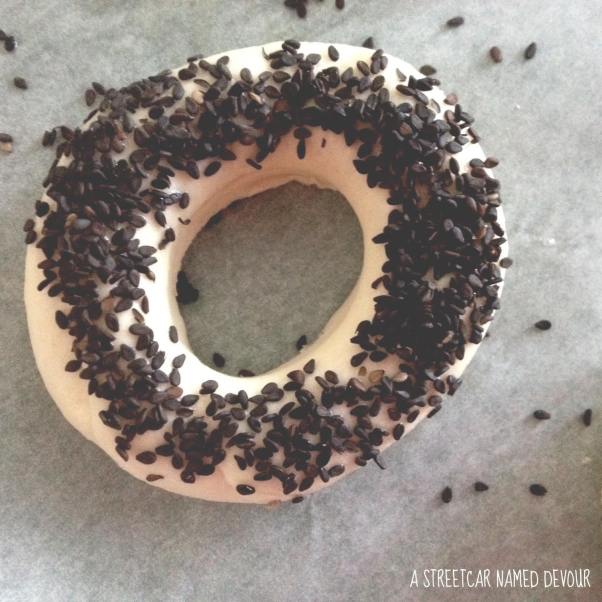
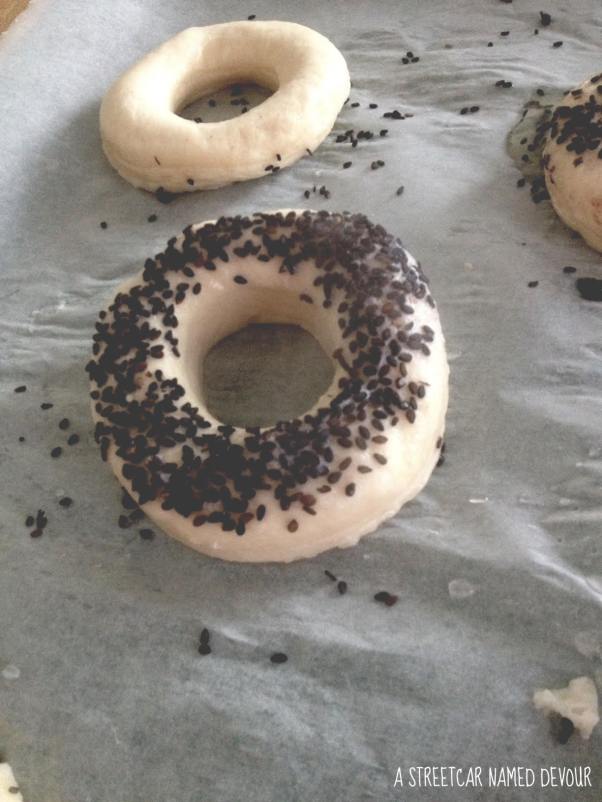
To prepare your optional toppings: Use a pastry brush to brush the egg wash on top and around the sides of each bagel, then sprinkle each with your desired toppings.
Place the bagels on the lined baking sheets, and bake for 20-25 minutes, rotating the pan halfway through to get an even coloration. The bagels should be golden brown and delicious.
Remove the cooked bagels from the oven and to cool for about 20 minutes before enjoying.
(Cook’s Note: You can freeze your bagels in an airtight bag. Refrigerated bagels will keep for about 7-10 days.)
(Editor’s Note: All movie screenshots in this story are property of Estudios Picasso, Tequila Gang, Esperanto Filmoj, Sententia Entertainment and Telecinco.)