Recreating the Father’s Office Burger » Click here

In culinary school, you learn how to make mayonnaise in the “classic” technique: using a whisk. The art of incorporating air into the egg yolks till they’re pale yellow in color and like “ribbons” when you run your spatula or finger through. A little salt is added with lemon juice, vinegar and Dijon mustard. Then whisk whisk whisk! And whisk some more as you very slowly drizzle droplets of oil into the mixture. Whisk whisk whisk. Repeat until the mixture is completely emulsified, like (you guessed it!) mayonnaise. It’s a good workout, really.
I’m used to making mayonnaise this way at home. But at an old job I made mayonnaise quite often. In very large batches. Like, 22 quarts. Weekly. (Which is pretty gross when you think about it.) In that case, I would make the mayo with a Robot Coupe (an industrial-size food processor which costs upwards of $2000) or by using a large, hand-held Robot Coupe Power Mixer which looks like a slightly larger version of the Ghostbuster’s Proton Gun (minus the Proton Pack).
Using a food processor makes this recipe quite easy. Of course, if you don’t have a food processor, you can always go old-school with the whisk method. I liken myself to be an old-school kinda gal, so I prefer the latter.
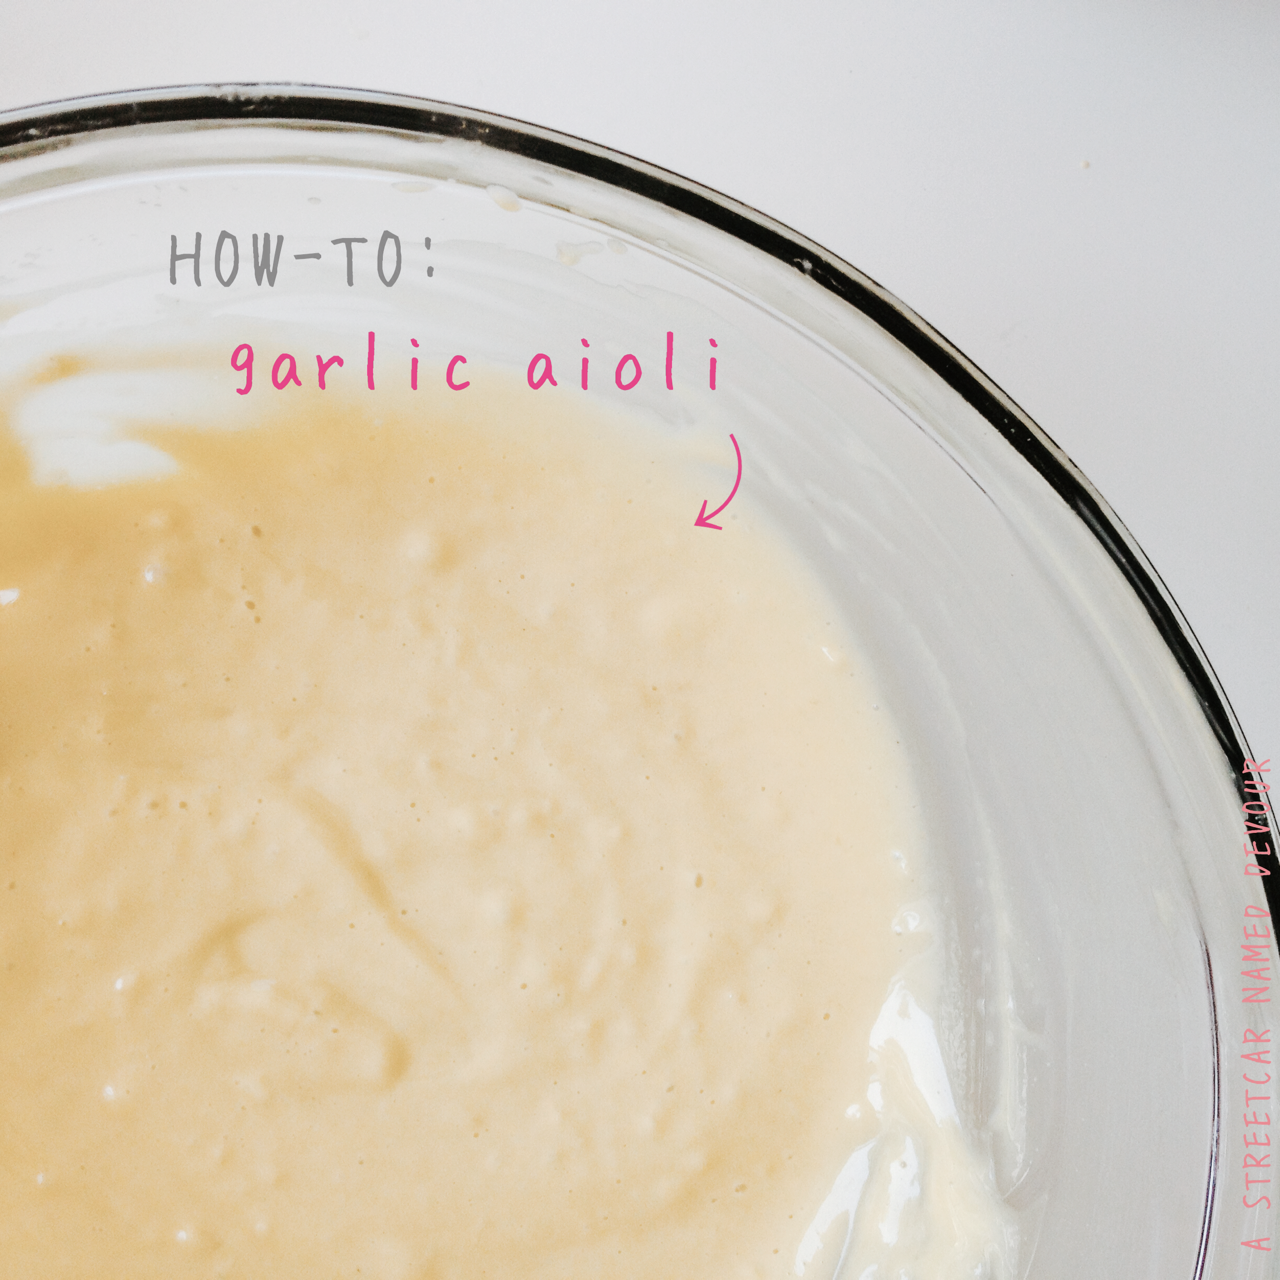
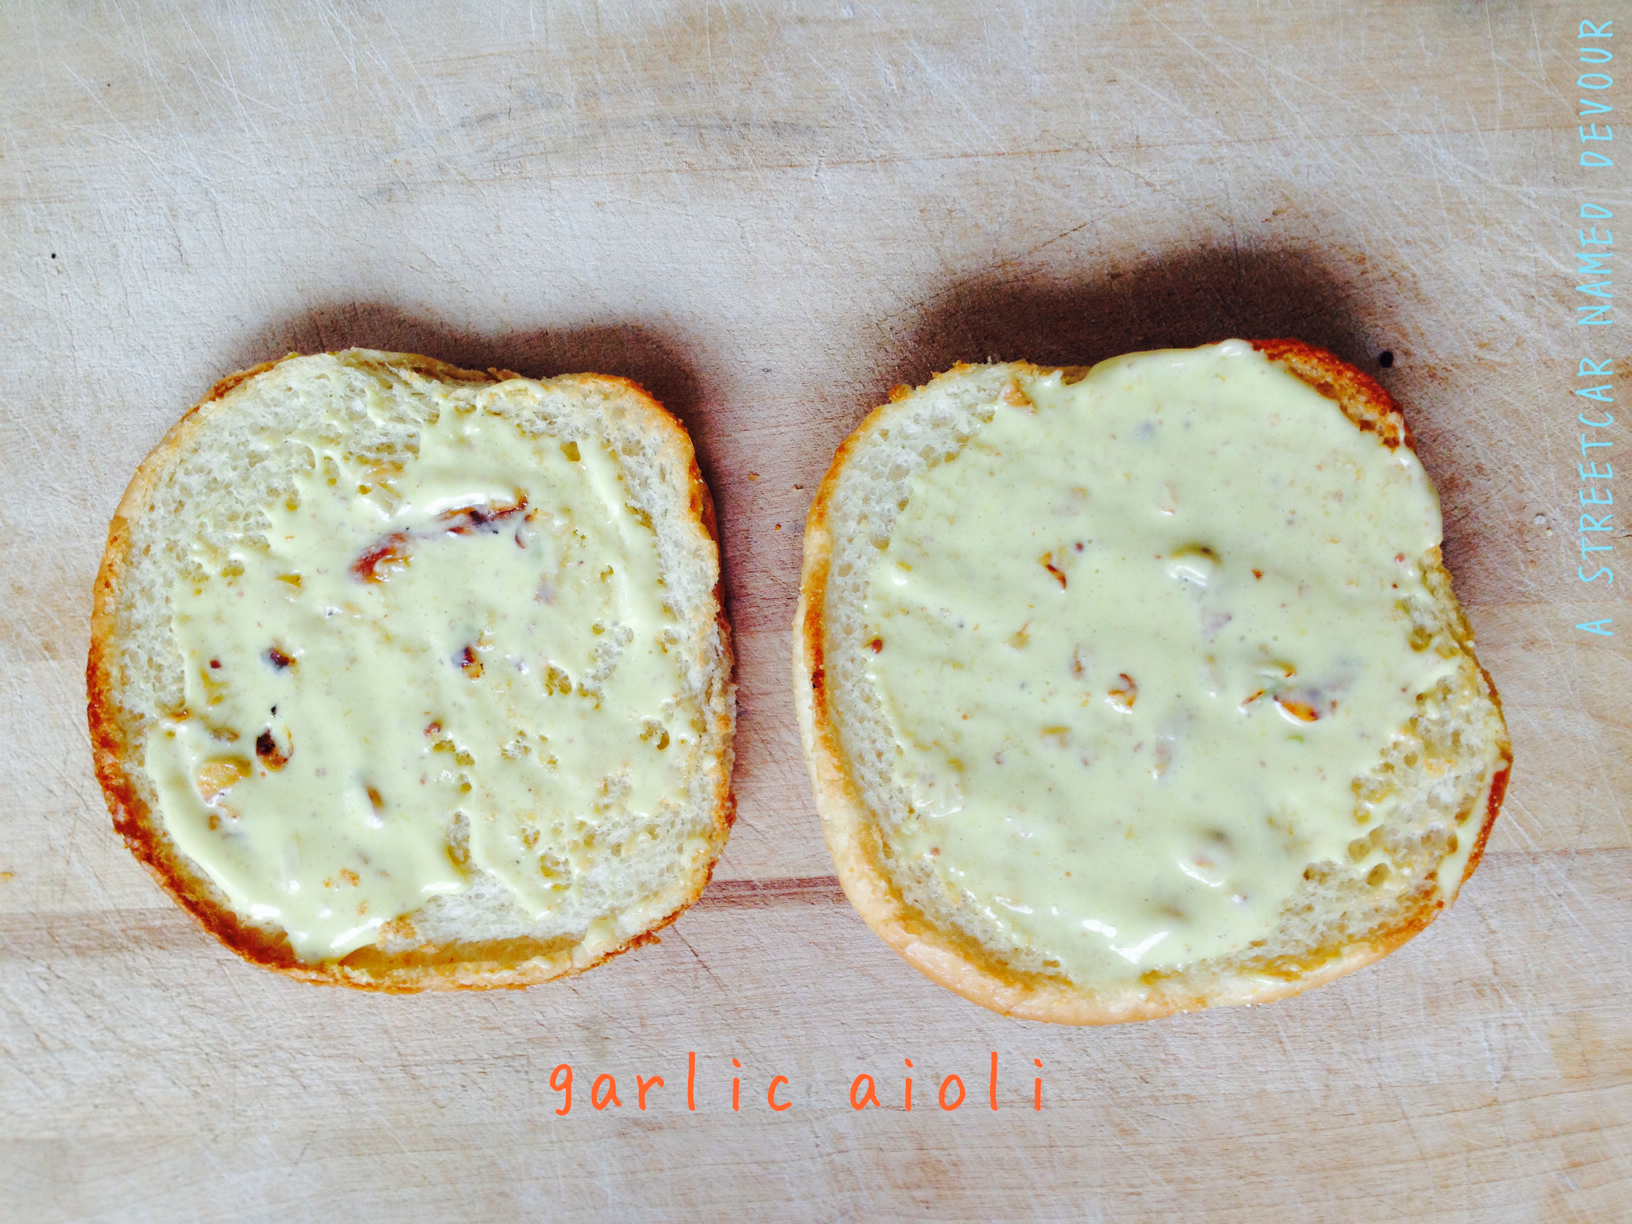
Garlic Aioli
Recipe slightly adapted from the Food Network
Yields 1/2 cup
INGREDIENTS
3 ea. egg yolks
2 tablespoons fresh lemon juice
1/4 cup red wine vinegar
1 tablespoon Dijon mustard
1 1/2 cups oil (preferably vegetable, canola or peanut oil)
Salt and fresh ground black pepper, to taste
4 garlic cloves, minced
METHOD (the whisk method)
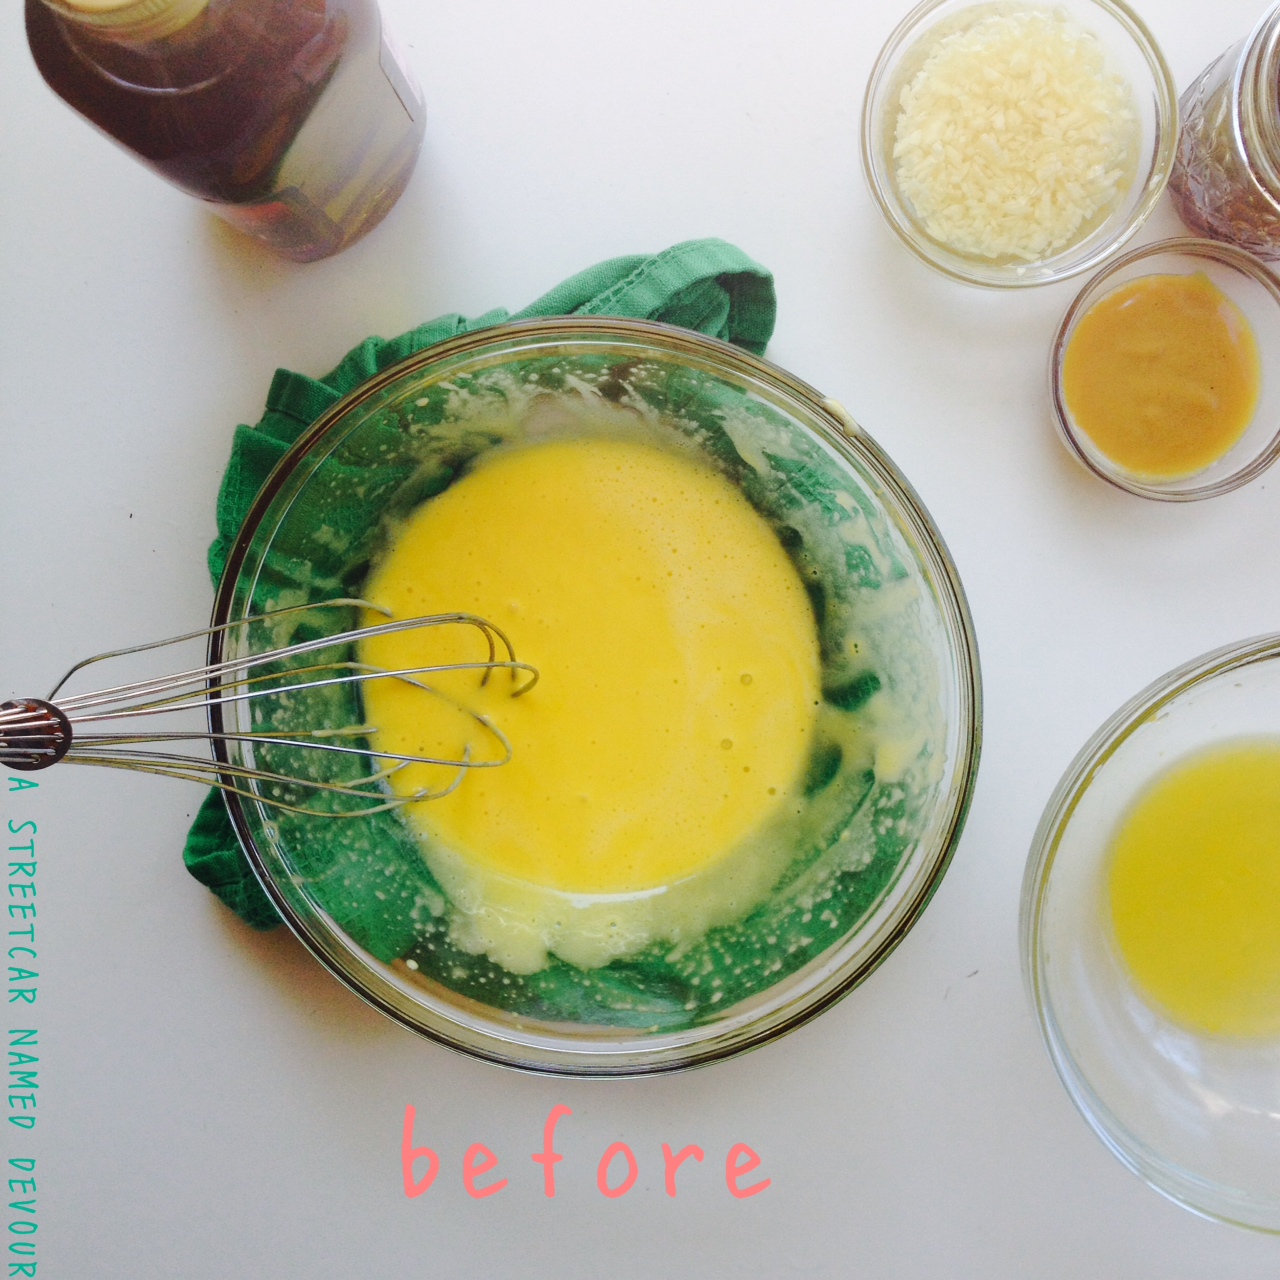
In a glass bowl whisk the egg yolks together till they’re a pale yellow color.
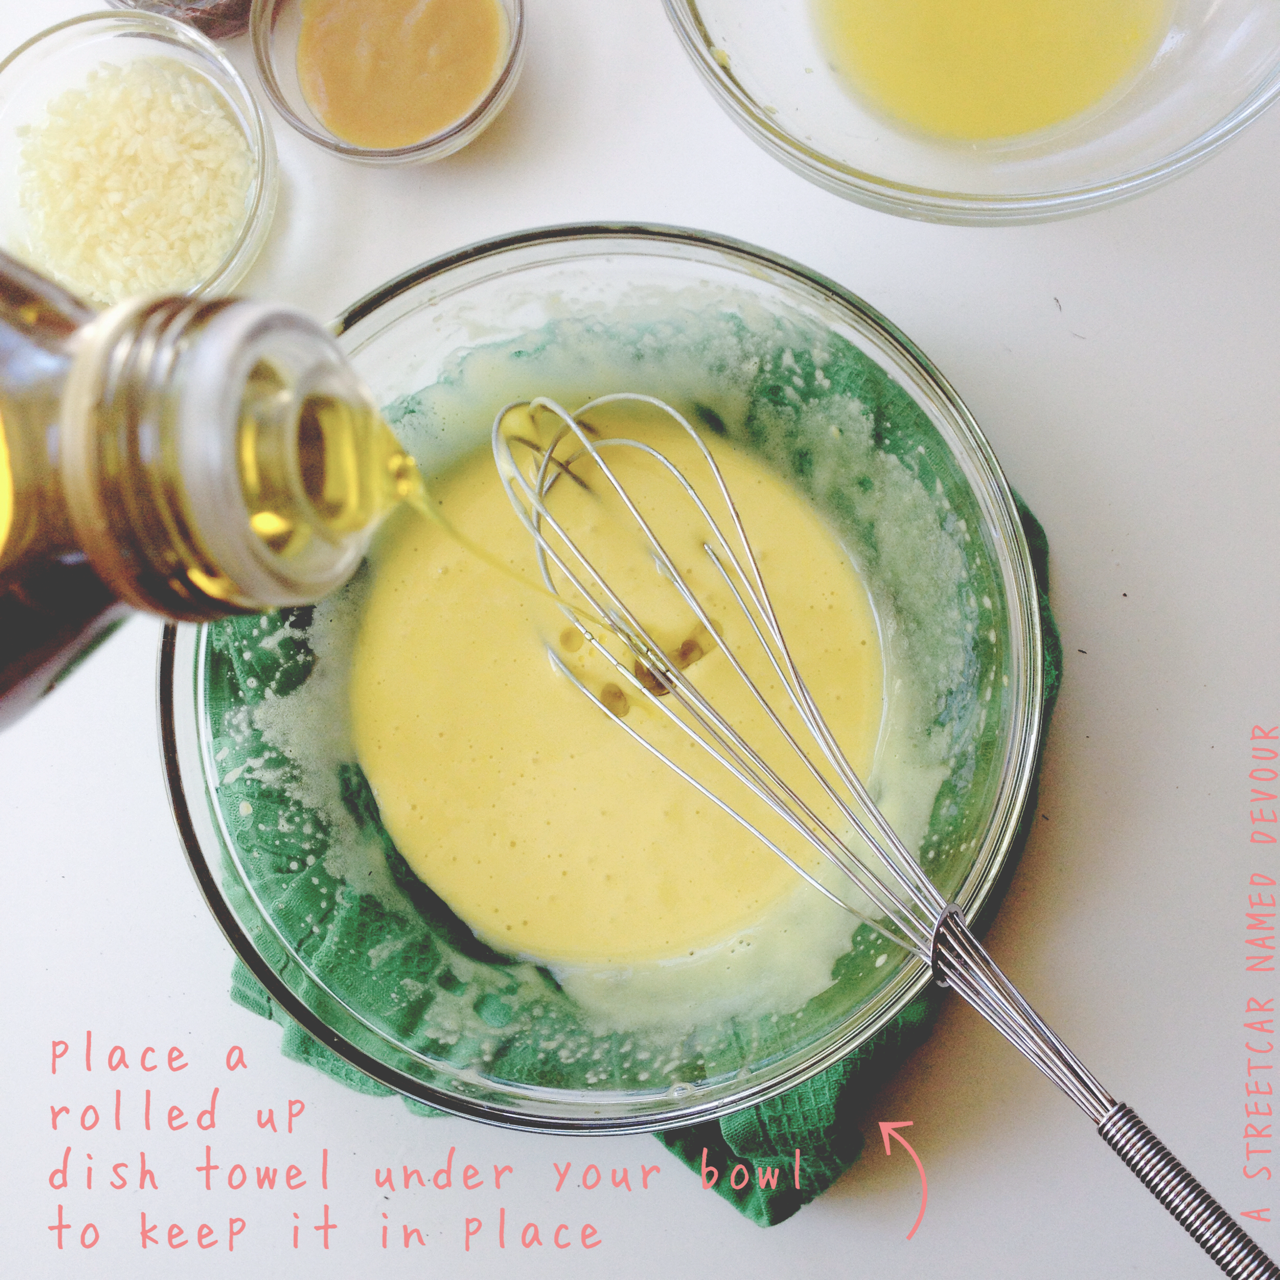
In a separate bowl combine the lemon juice and the vinegar. Add half of the mixture to the egg yolks. Start whisking briskly, then you can start slowly (and there’s an emphasis on slowly) a few droplets of the oil into the bowl. Continue to whisk the mixture, adding drops of the oil at a time. Once the mixture starts to thicken a bit, you can start adding the oil in a slow but steady stream, alternating between streaming the oil and whisking.
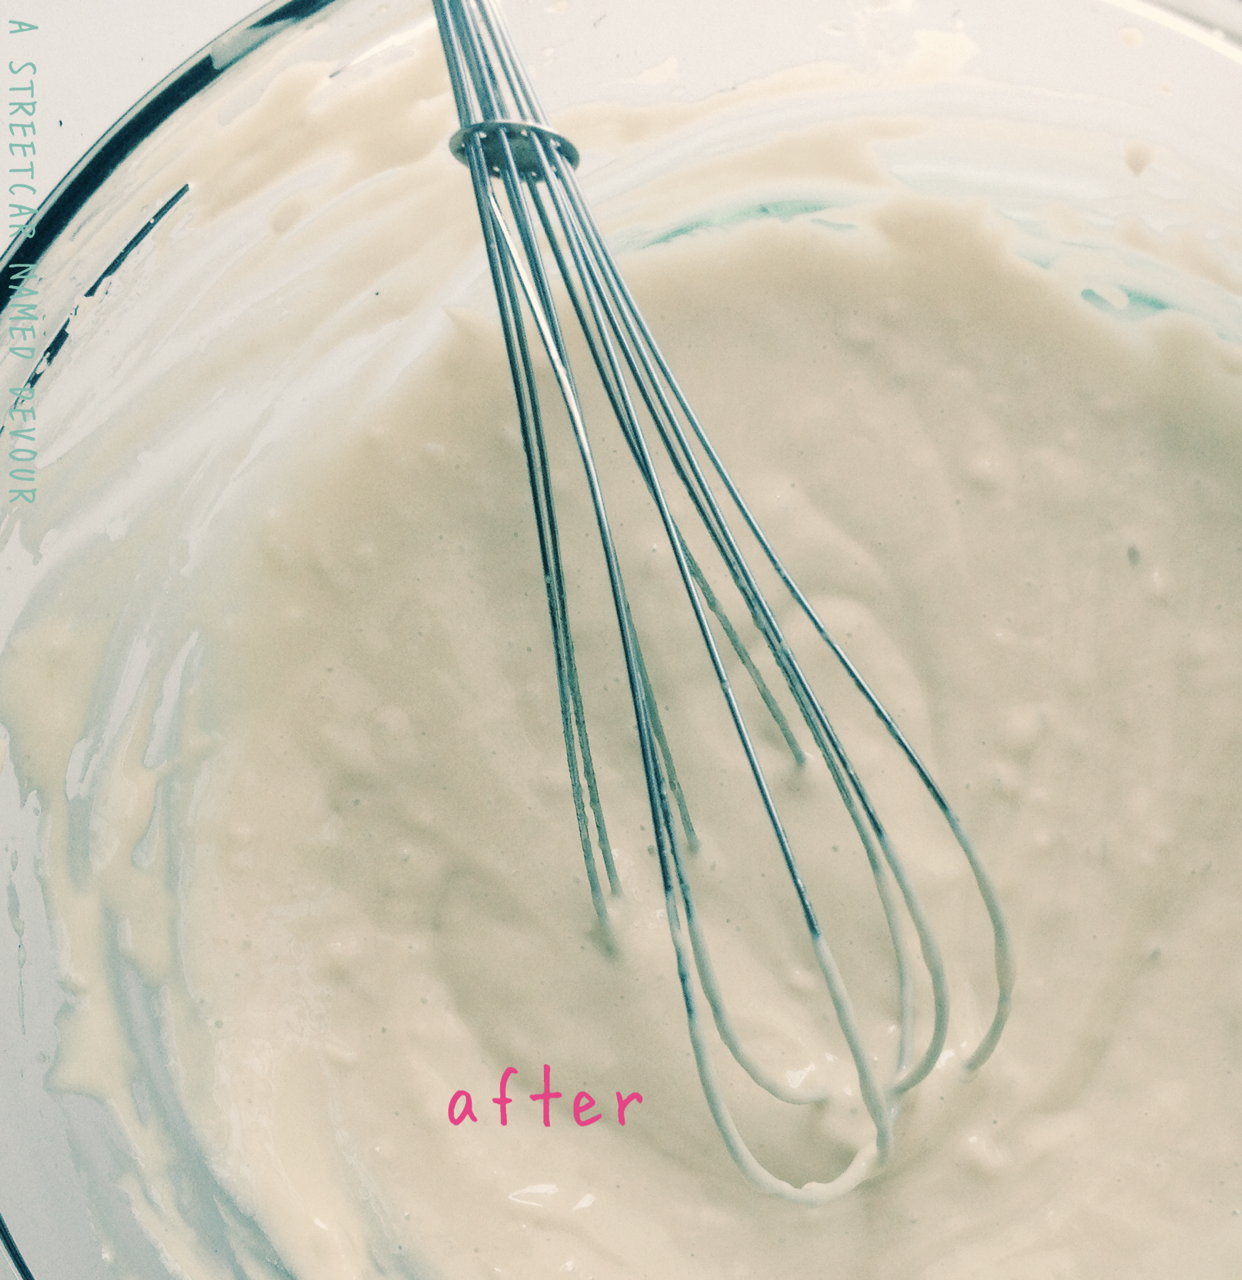
When half of the oil has been added to the bowl, add in the rest of the lemon juice, vinegar mixture and the minced garlic, continuing to whisk until all of the oil has been incorporated and you have a nice, thick (like mayonnaise!) emulsion. Add the Dijon mustard, salt and pepper to taste. Set aside. (Refrigerate the aioli for up to 1 week.)
METHOD (the tech-y route)
Place the egg yolks into a food processor. Process the yolks until they’re a pale yellow color. Add a pinch of salt and continue to pulse. Add the lemon juice, vinegar, Dijon and agave and pulse till well combined. Slowly stream in the oil, pulsing between small batches. Pulse until all of the oil is added. By now you should have a nice thick emulsion. Prepare the garlic as instructed above and place into the aioli.
Recreating The Father’s Office Burger » HERE
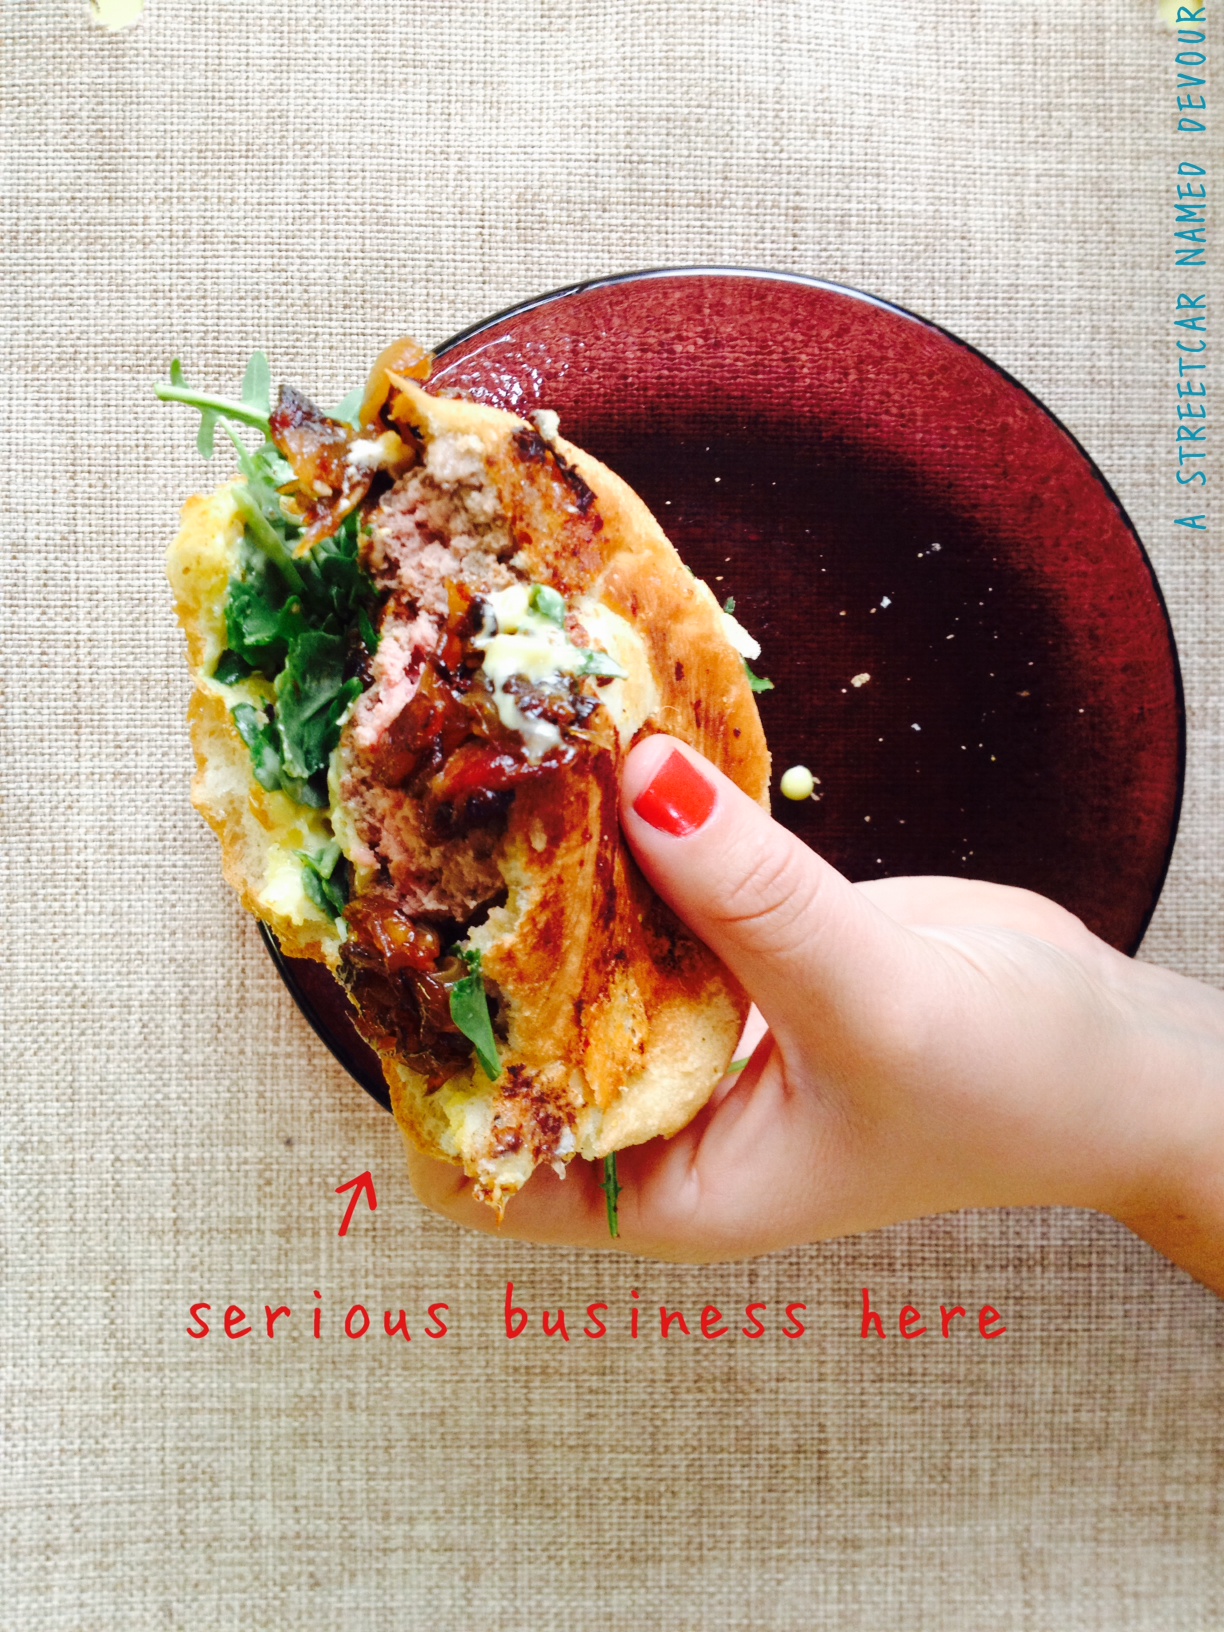
Arguably the best burger I’ve ever had (thus far) is from Father’s Office, a gastropub with two locations in L.A. The famous, “Father’s Office Burger” has been garnered as the very first “Gourmet Burger,” created by FO’s Owner-Executive Chef Sang Yoon, in 2001. (That’s the Chef Sang, who you may’ve seen on the last season of Top Chef Masters.)
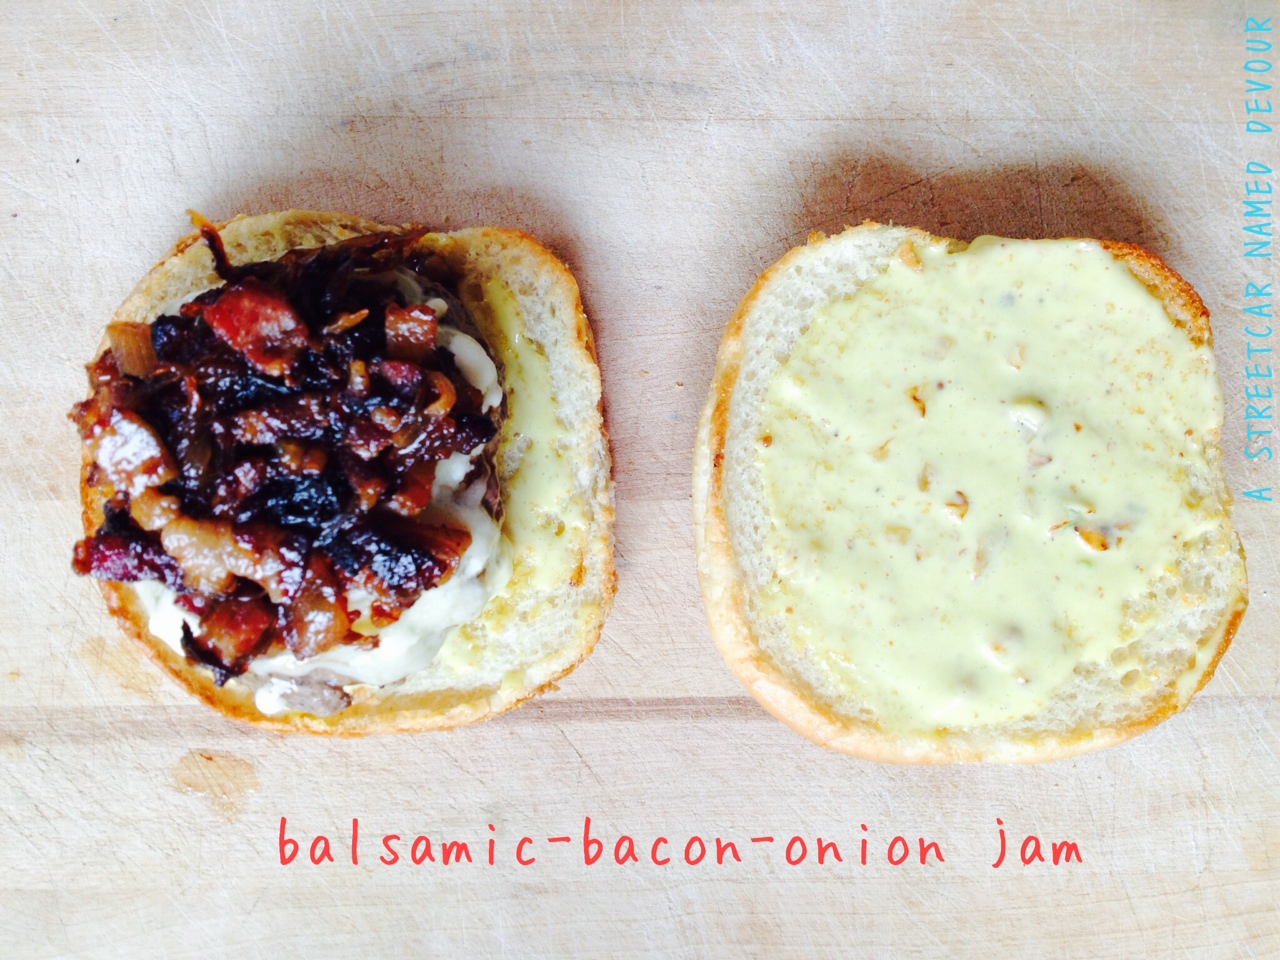
The dry-aged beef patty is topped with a French onion soup-like jam, applewood-smoked bacon compote, melted gruyere and bleu cheese and a bed of arugula. The gastropub has a very strict no-substitutions, no modifications policy. Don’t even think about asking for ketchup–that’s considered taboo at the Office.
My first dining experience at FO was 9 years ago with my good friend Connie, who took me to this place that she deemed had “the best burger, EVER.” That’s pretty big shoes to fill, I thought. As we sat at the dimly lit bar, she warned me right away not to ask for any condiments or to even try to modify the burger in any way. “I’m not a fan of Bleu cheese,” I said. “Trust me, it’s good,” she assured me. The first bite was this incredible mouth-watering, melt-in-your-mouth explosion of flavors: the umami from the beef, the sweetness from the caramelized onions, the hint of smokiness from the bacon, the tang from the bleu cheese and the peppery and crunchy bite from the arugula. I couldn’t believe it. She was right: hand’s down, this is truly the best burger I’ve ever had.
Since my move almost 4 years ago to the East Bay, I often crave that L.A. burger that reminds me of home. For those of you who have never tried the Father’s Office burger, you’re in luck. With a little research, recipe testing in my kitchen, and taste memory, I’ve found a recipe that tastes as close to the real thing as possible. Of course, nothing beats the original, but until my next trek down south, this will do.
Who makes the best burger you’ve ever had? Share your answers in the comments below! I’d love to hear your stories and suggestions!
The Father’s Office Burger
Recipe slightly adapted from Bakelist
Yields 2 burgers
For the Balsamic Bacon Onion Jam
INGREDIENTS
1 tablespoon extra virgin olive oil (EVOO)
1 large yellow onion, peeled and julienned
4 slices applewood bacon, cut into lardons
2 tablespoons balsamic vinegar
1/4 cup water
Kosher salt and freshly ground black pepper, to taste
METHOD
Heat a saute pan over medium-high. Once hot, add a tablespoon of EVOO and bacon into the pan with the onions, stirring occasionally. Once the onions become translucent in color, lower the heat to medium, continuing to render out the bacon fat. If the bacon begins to burn before the onions caramelize, add some water to the pan and lower the heat. This should help.
Once the onions begin to turn a golden brown color, add the balsamic vinegar and water to the pan. Cover and cook for an additional 10 minutes or until all of the liquid is dissolved. Season to taste. Remove from the heat.
For the Burgers
INGREDIENTS
14 ounces ground beef (preferably dry-aged)
2 buns, buttered and lightly toasted
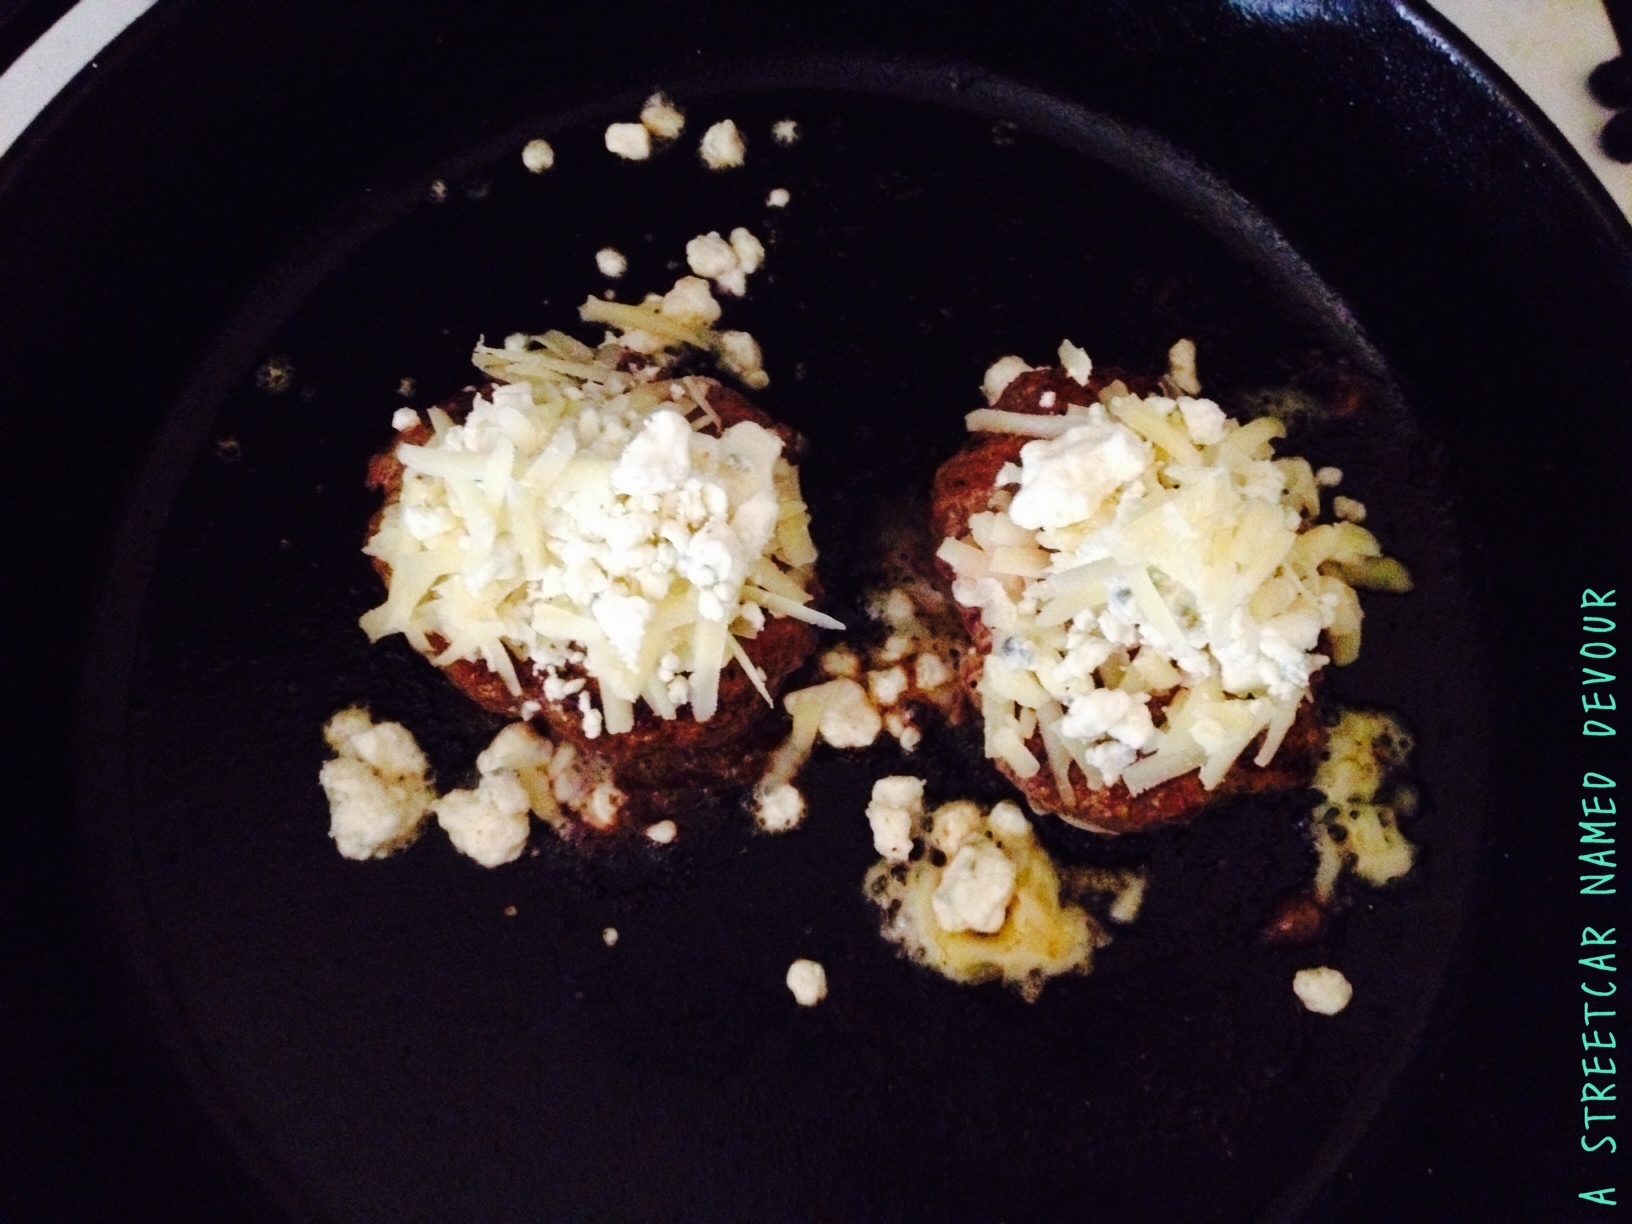
4 ounces Gruyere cheese, grated
2 ounces Bleu cheese crumbles
1/2 cup baby arugula, washed and patted dry
*1/2 cup garlic aioli (see my recipe HERE)
METHOD
Heat a cast-iron skillet, grill or, non-stick pan with a little oil over medium-high heat.
The crispy cheese bits that hit the pan are the best snacks!
While you’re waiting for your pan to heat up, shape the beef into two 7-ounce patties. Season both sides with salt and pepper. Place the patties onto the pan and allow to sear for 3-4 minutes per side. In the last minute of cooking, place the cheeses atop each patty. Cover with a lid for another minute or until melted.
Butter the burger buns and place on the grill or oven on broil for 1-2 minutes, just until lightly toasted.
ASSEMBLY
This aioli is seriously good for French fry dipping
Spread the toasted buns with the garlic aioli.
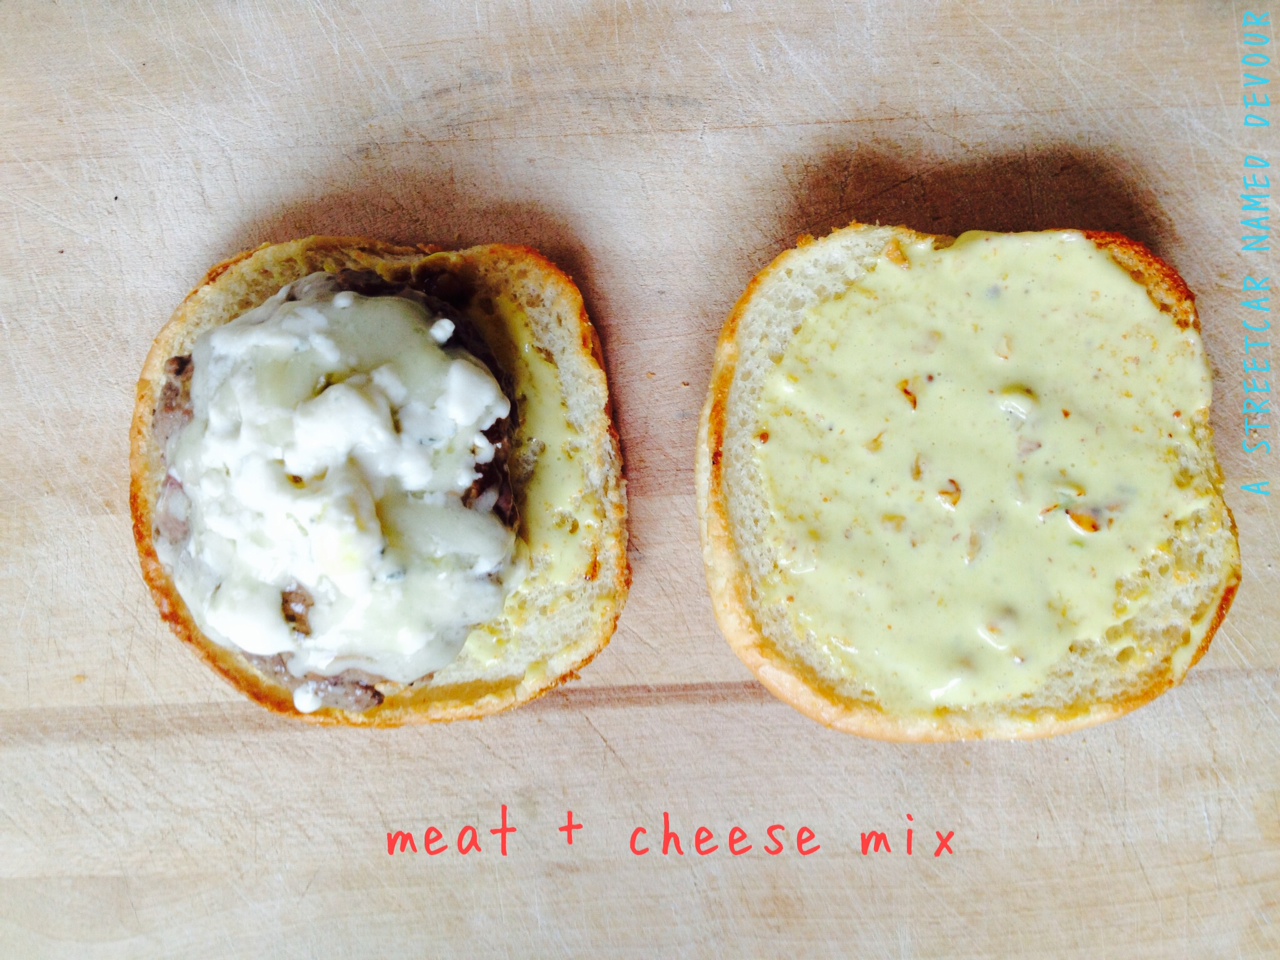
The more cheese, the better.
Top the bottom bun with a patty.
This just keeps on getting better, right?
Then add 1-2 tablespoons of the balsamic onion-bacon jam.
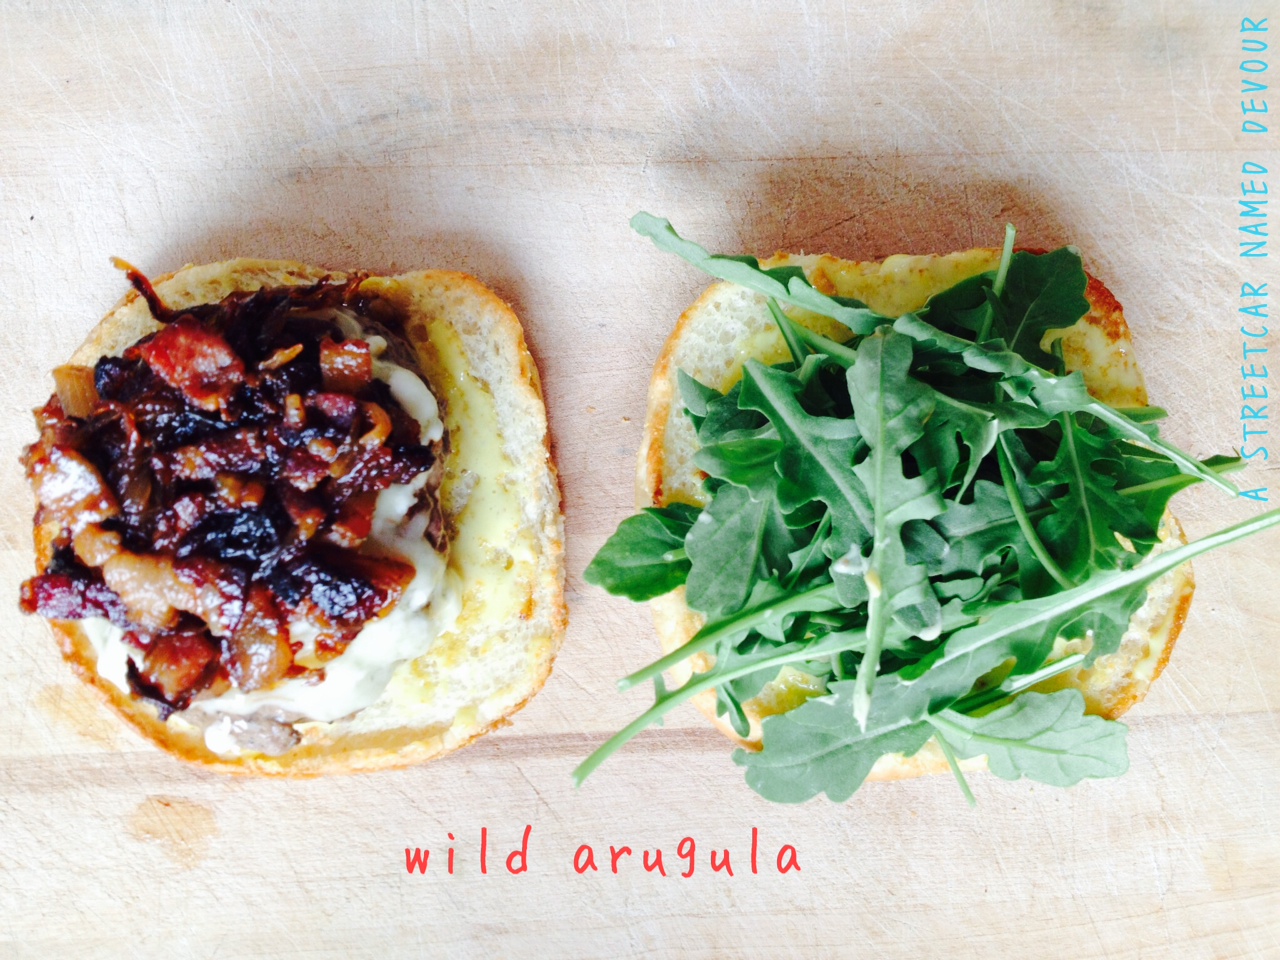
If you like, you can place more arugula into a small bowl, hit it with a pinch of salt, a splash of EVOO, some freshly ground black pepper, and mix it together for a side salad in lieu of fries.
Finish with the arugula, then the top bun. Serve with shoestring fries and the rest of your aioli.

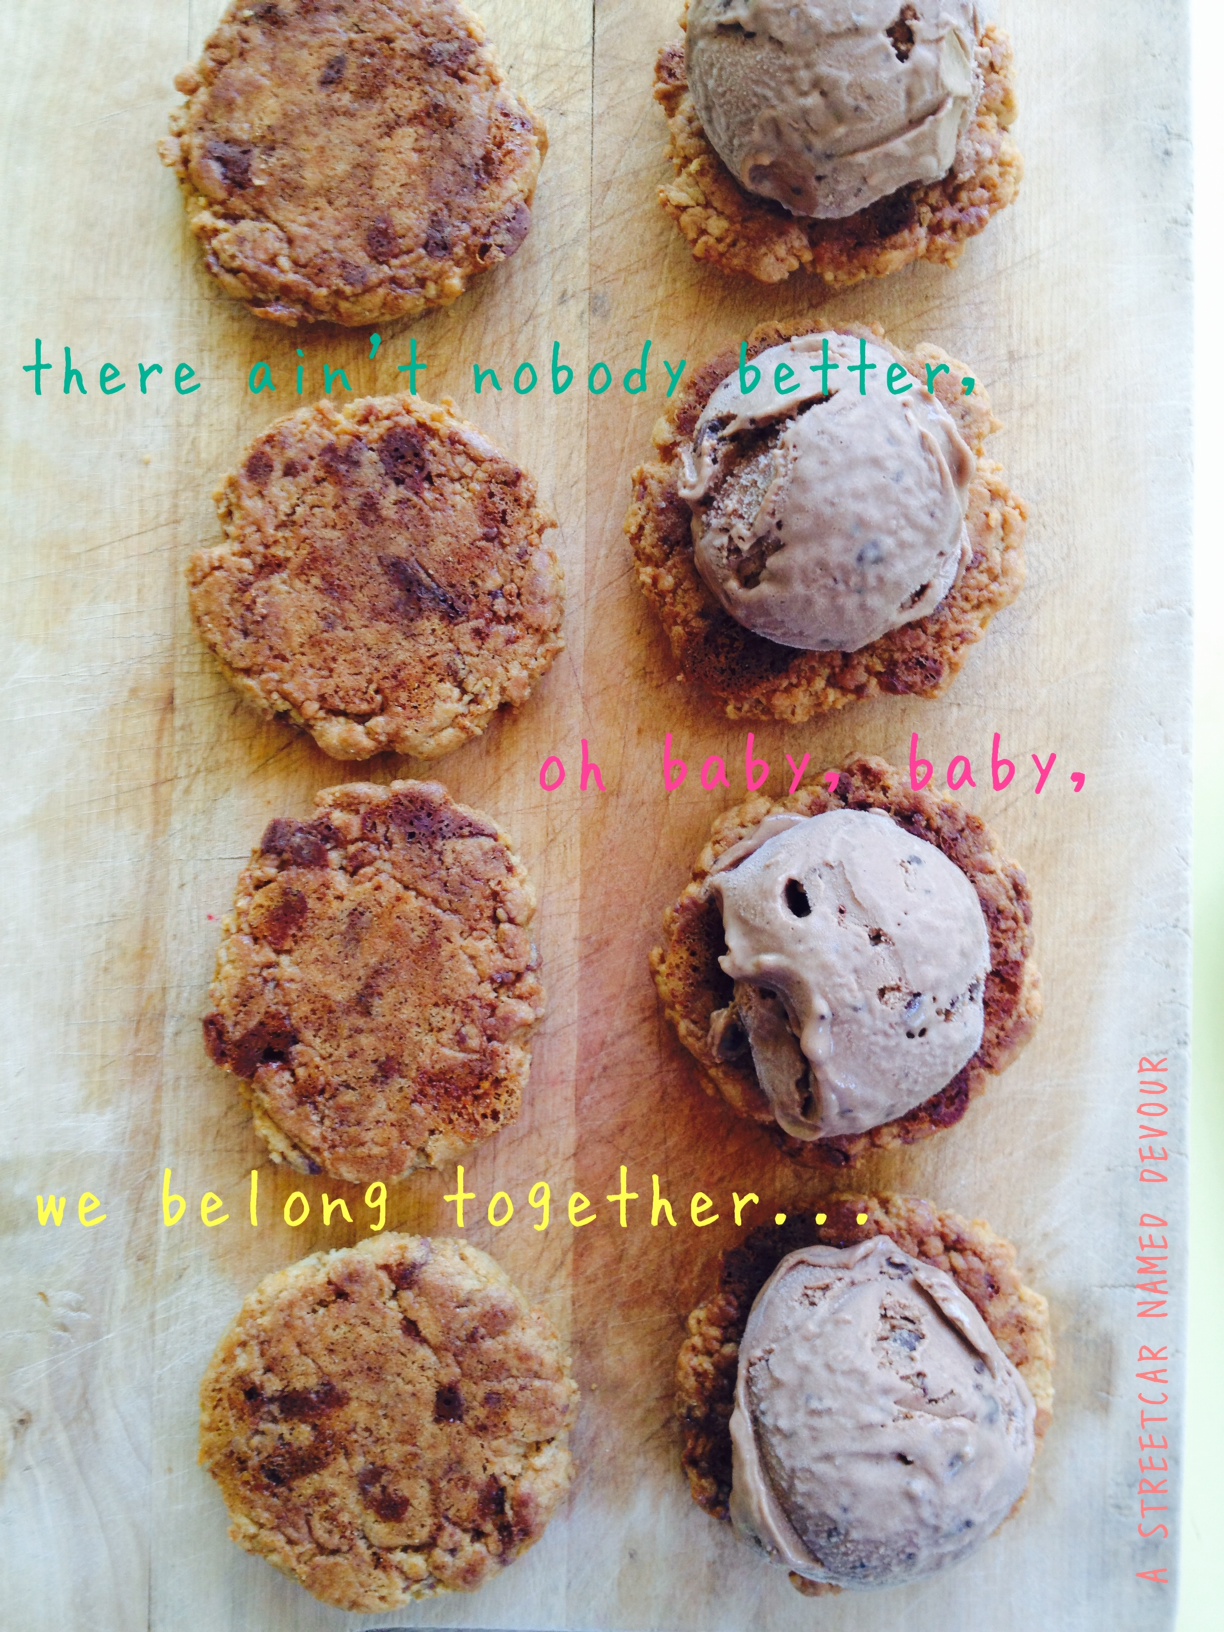
These ice cream sandwiches are unreal. Instead of going on and on about how crazy delicious they are, I’ll just get on with it and let the photos do the talking.
INGREDIENTS
Malted Chocolate Chip Ice Cream (recipe here)
Whopper Cookies (recipe here)
ASSEMBLY
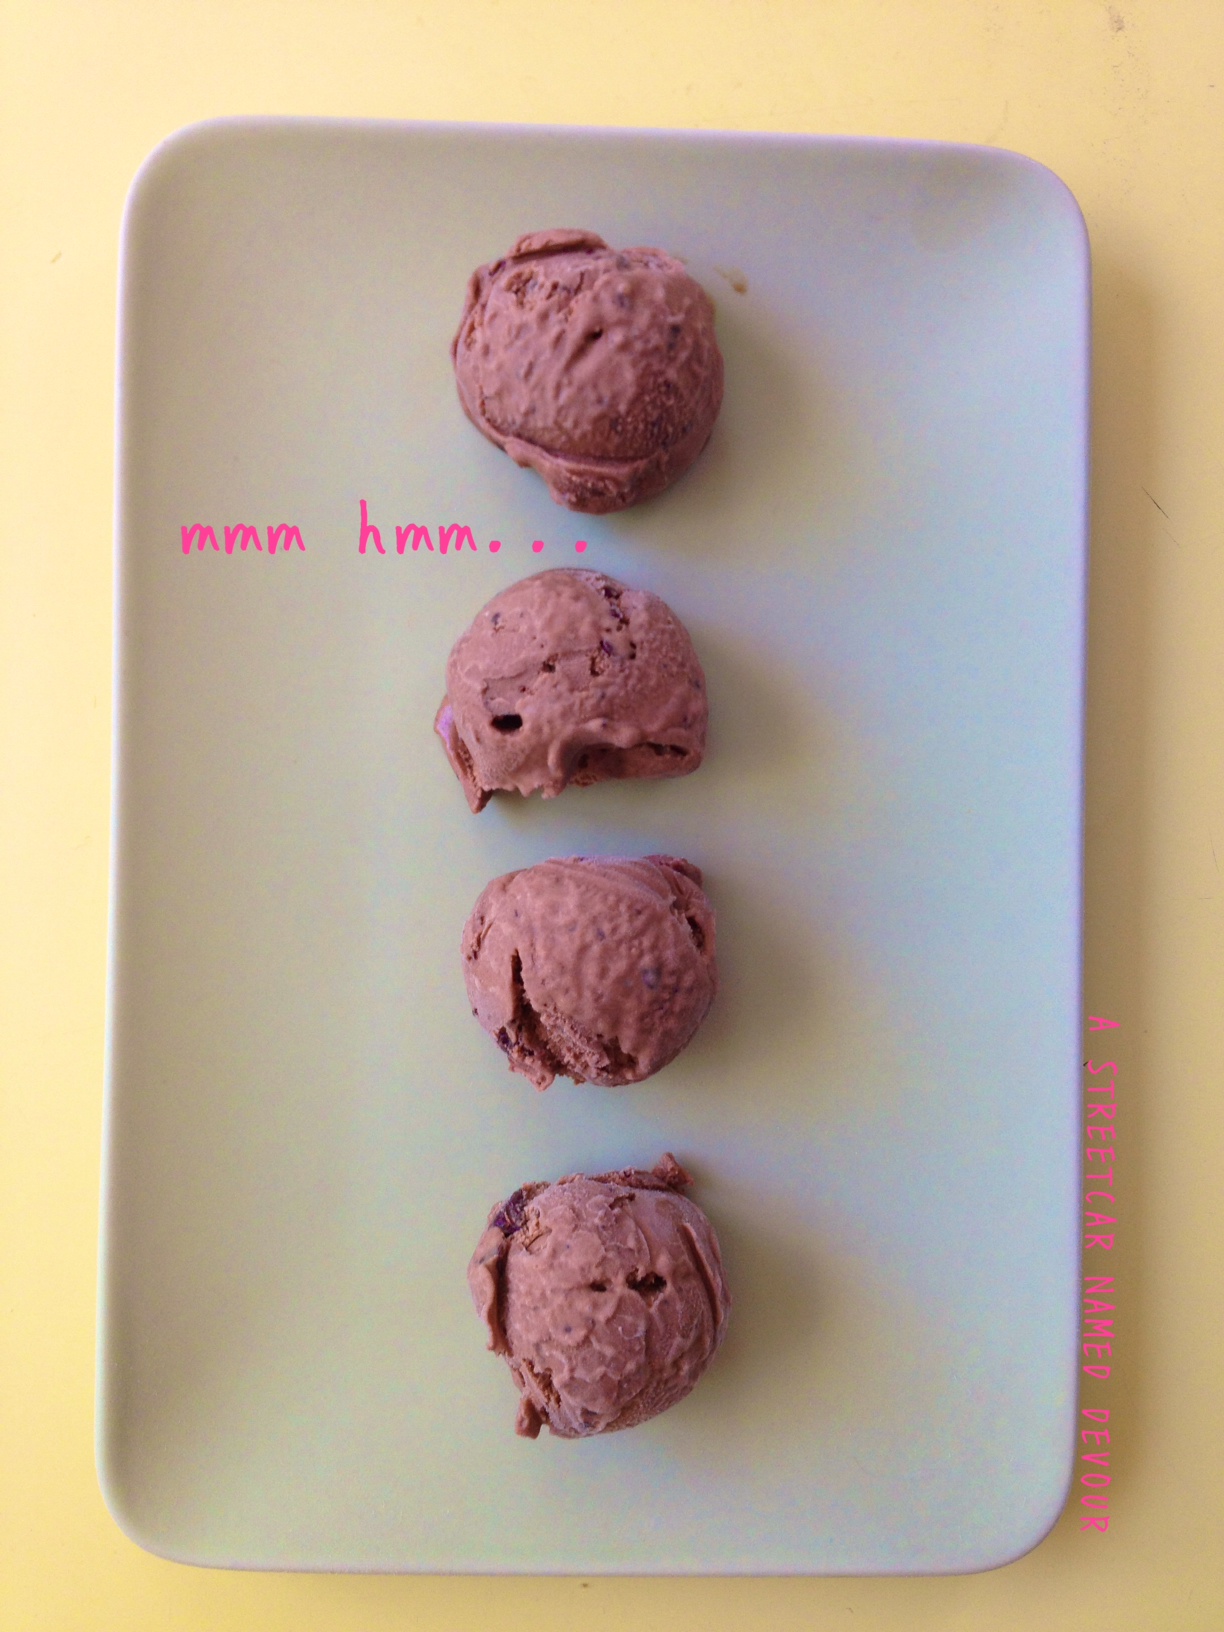
Scoop your Malted Chocolate Chip Ice Cream into nice rounds and place on a plate or small tray and into the freezer. You want your scoops to be as frozen as possible to avoid a messy assembly later on.
Once the scoops are fully frozen (for at least an hour), have your Whopper cookies paired up and placed with the flat side facing you on a cutting board or platter.
With a pallet knife or small spatula, place the scoop of ice cream onto one of the cookies and top with its matching cookie. Lightly press onto the top cookie, making sure the ice cream scoop is now flattened and evenly distributed onto the surface of the cookies.
Allow to freeze for another hour to solidify before consumption. I wrapped the sandwiches in parchment paper and ribbon to avoid a messy situation! (But it’s gonna get messy, anyway. And that’s OK!)
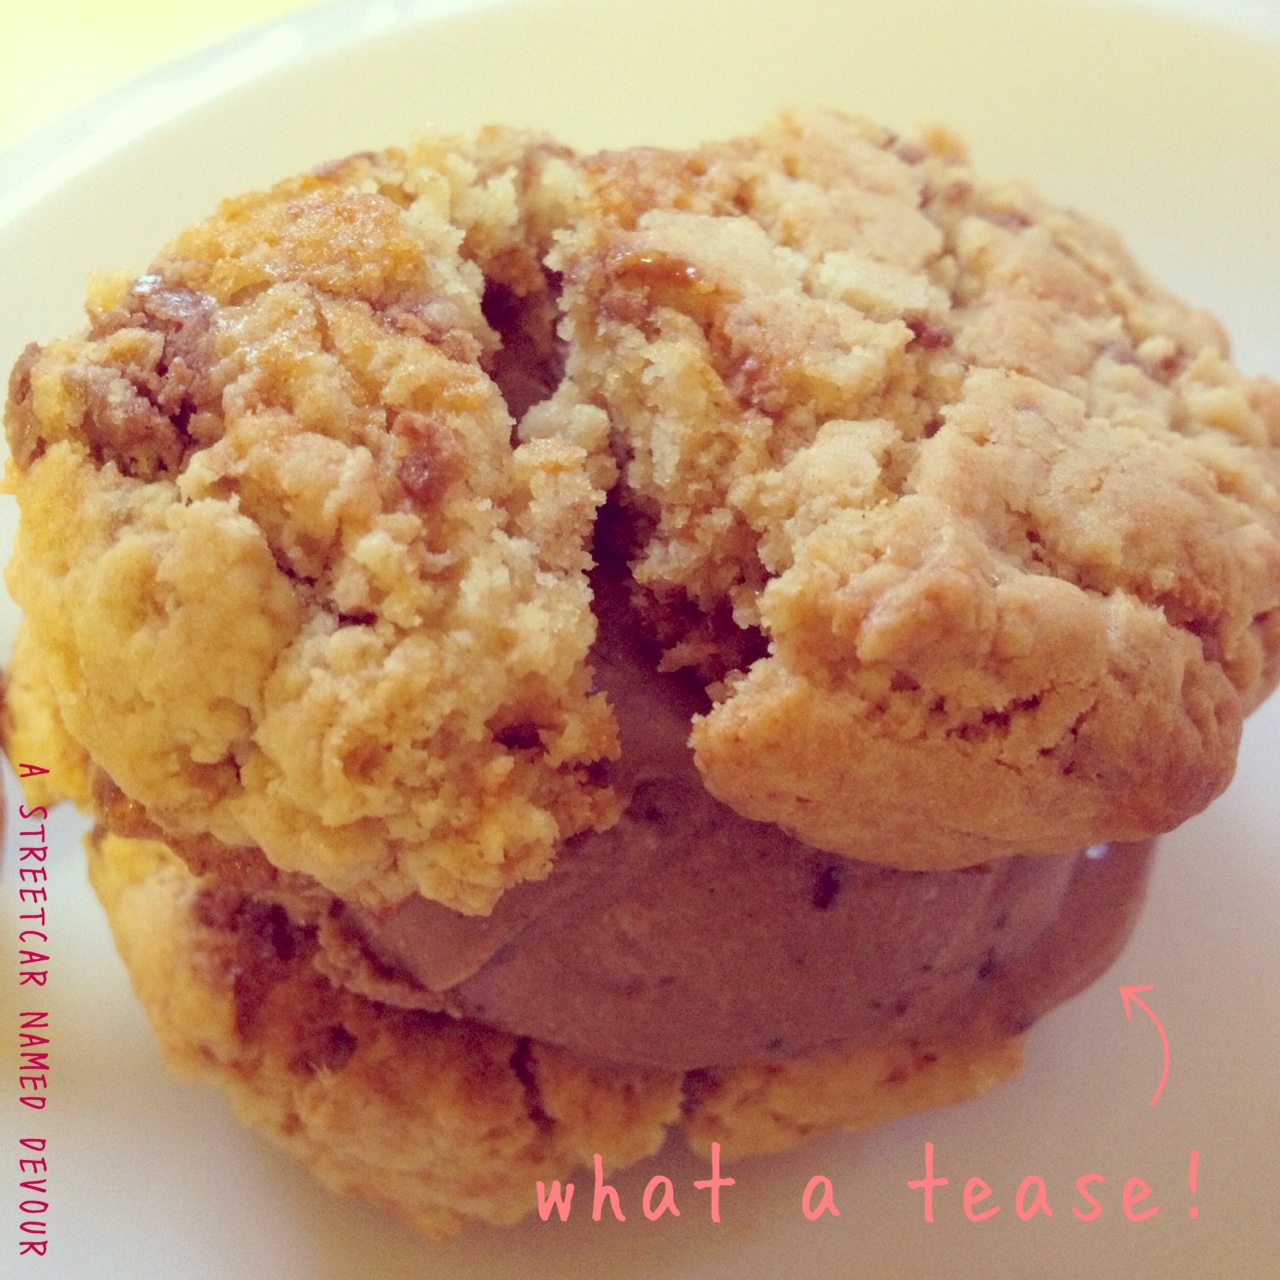
These cookies were inspired by my selfish desire to make a cookie that I could use to sandwich between this ice cream recipe. Continue reading HERE to check out the full ice cream sandwich recipe.
Whopper Cookies
Yields about 18 (1.15 ounces or 32 grams) cookies
INGREDIENTS
1/2 cup (1 stick) unsalted butter, room temperature
1/2 cup dark brown sugar, packed
1/2 cup granulated sugar
1 egg
2 teaspoons pure vanilla extract
2 1/2 cups all-purpose flour
1 teaspoon baking powder
1 teaspoon baking soda
1 teaspoon cream of tartar
2 teaspoons kosher salt
1 tablespoon honey
1 1/2 cups Whoppers, crushed
METHOD
Preheat oven to 350 degrees.
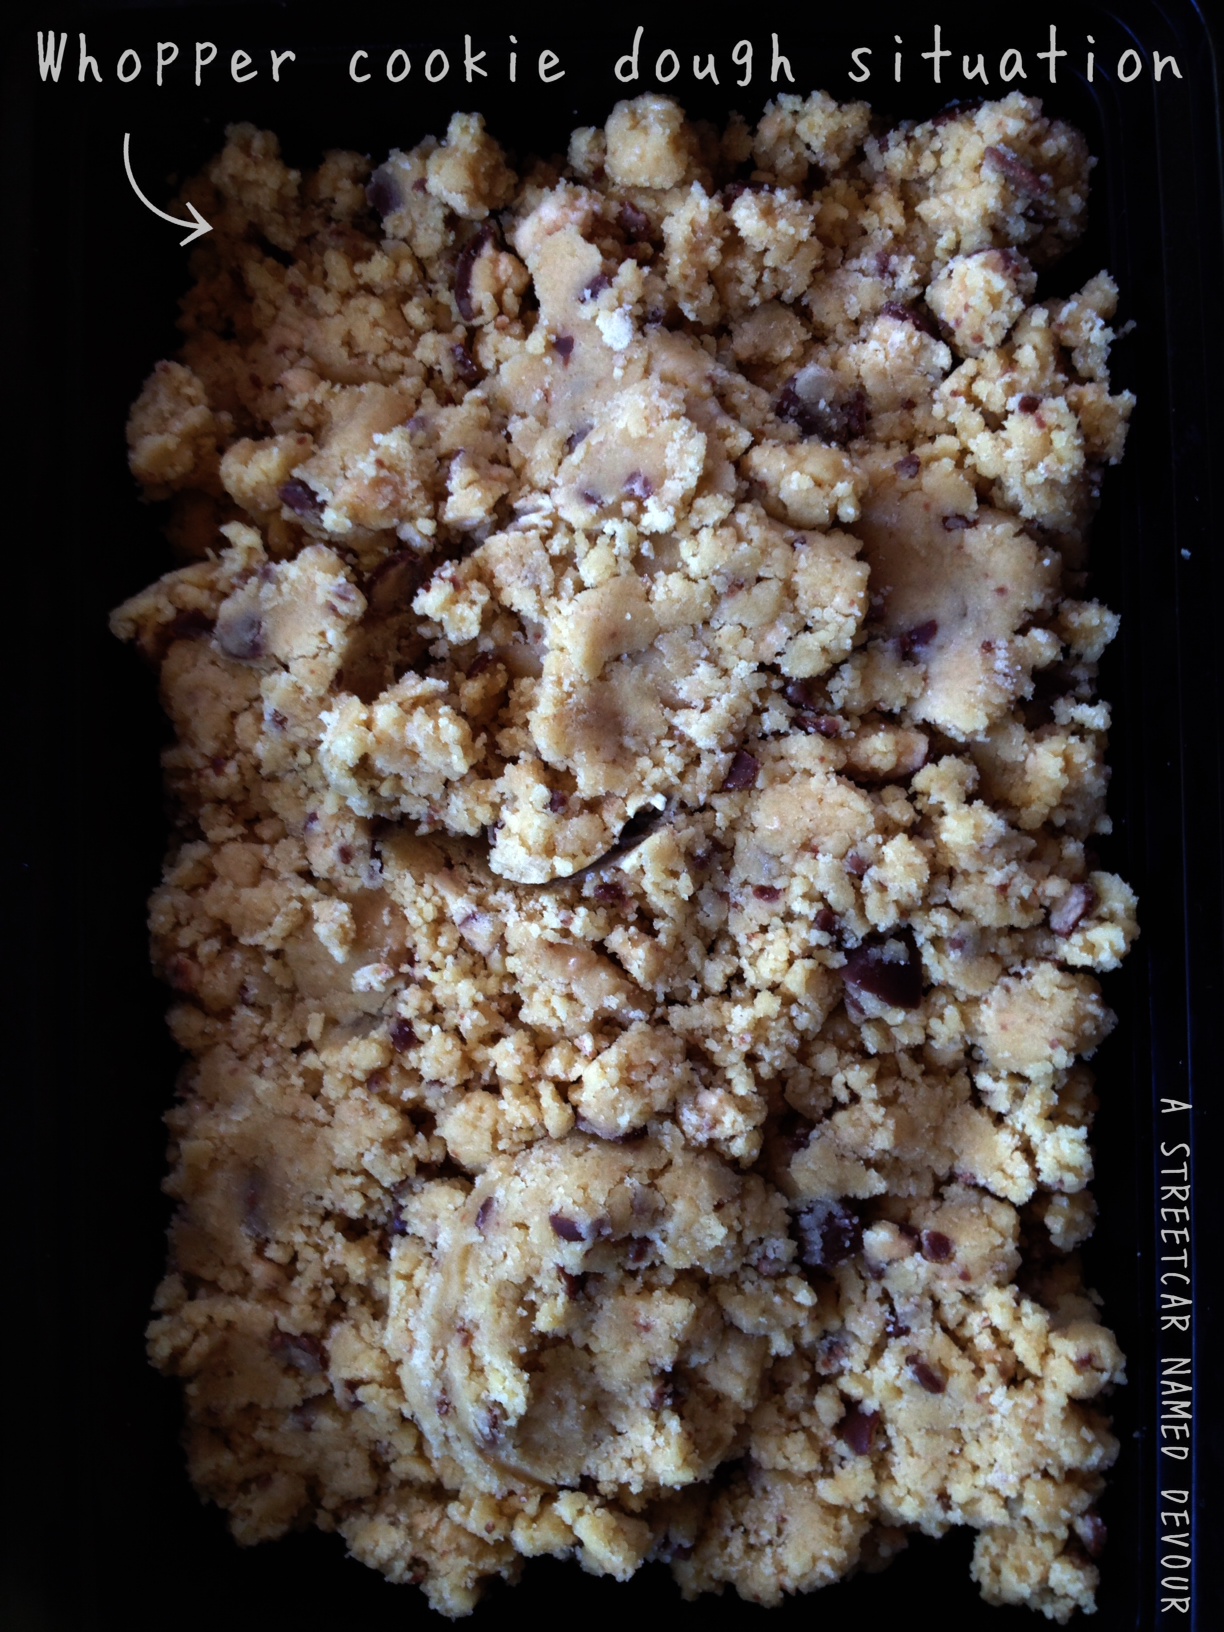
Place the Whopper candies in a Zip-Lock bag and seal it. Lightly crush the candies into chocolate chip-size bits with a meat tenderizer or a Mason jar (I happened to have one on-hand). Set aside.
Place butter and sugars together in a mixing bowl and mix on medium-high until fully incorporated. Add in the egg with the vanilla extract and mix for 30 seconds.
In a separate bowl add the dry ingredients together and mix with a spoon. In 3 batches slowly add in the bowl of the dry ingredients together. The dough will be very crumbly, almost like pie dough, that’s the texture you want. (I prefer to have my ice cream sandwich cookies a bit softer, so that when you bite into them it’s like BUTTAH! Remember, these will be frozen!)
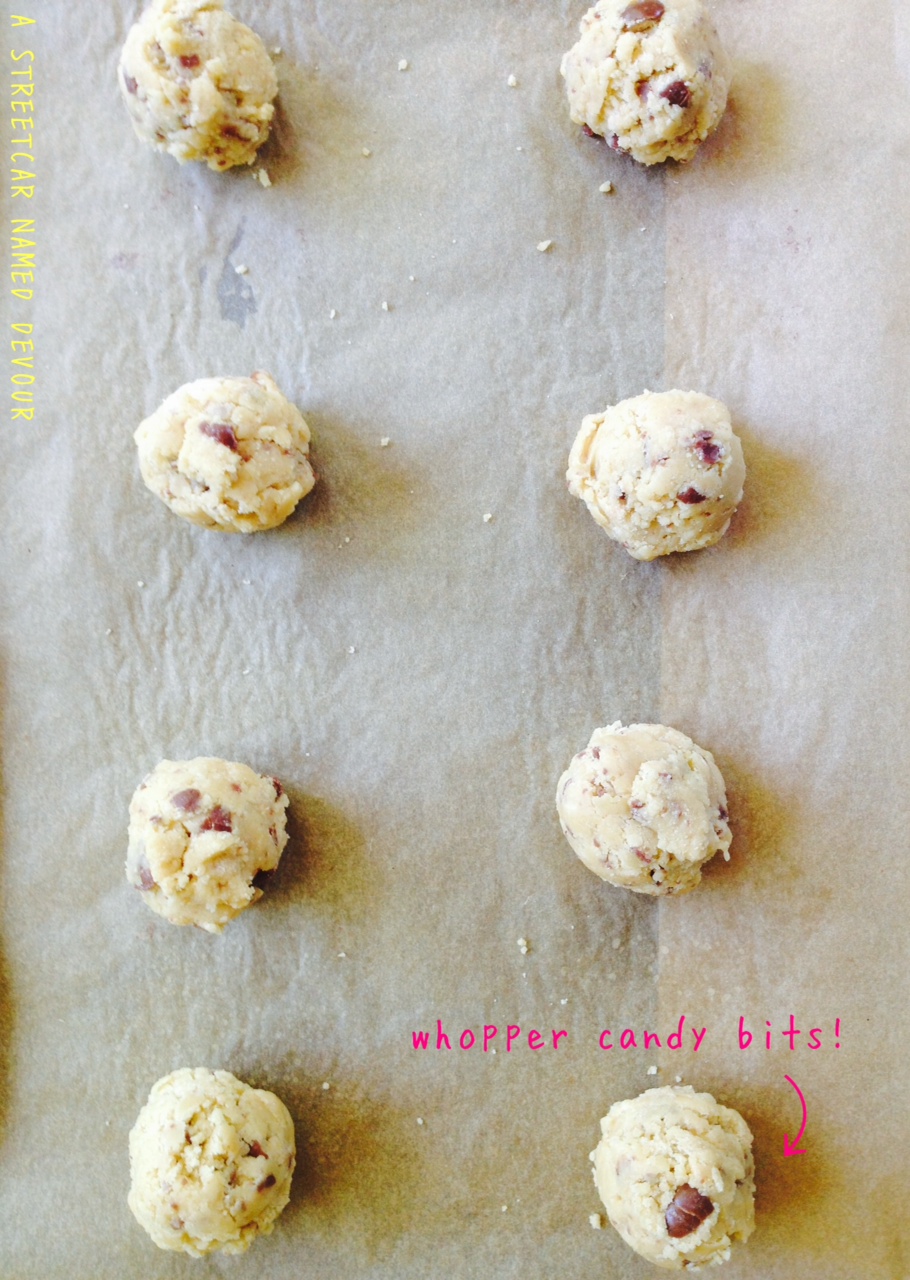
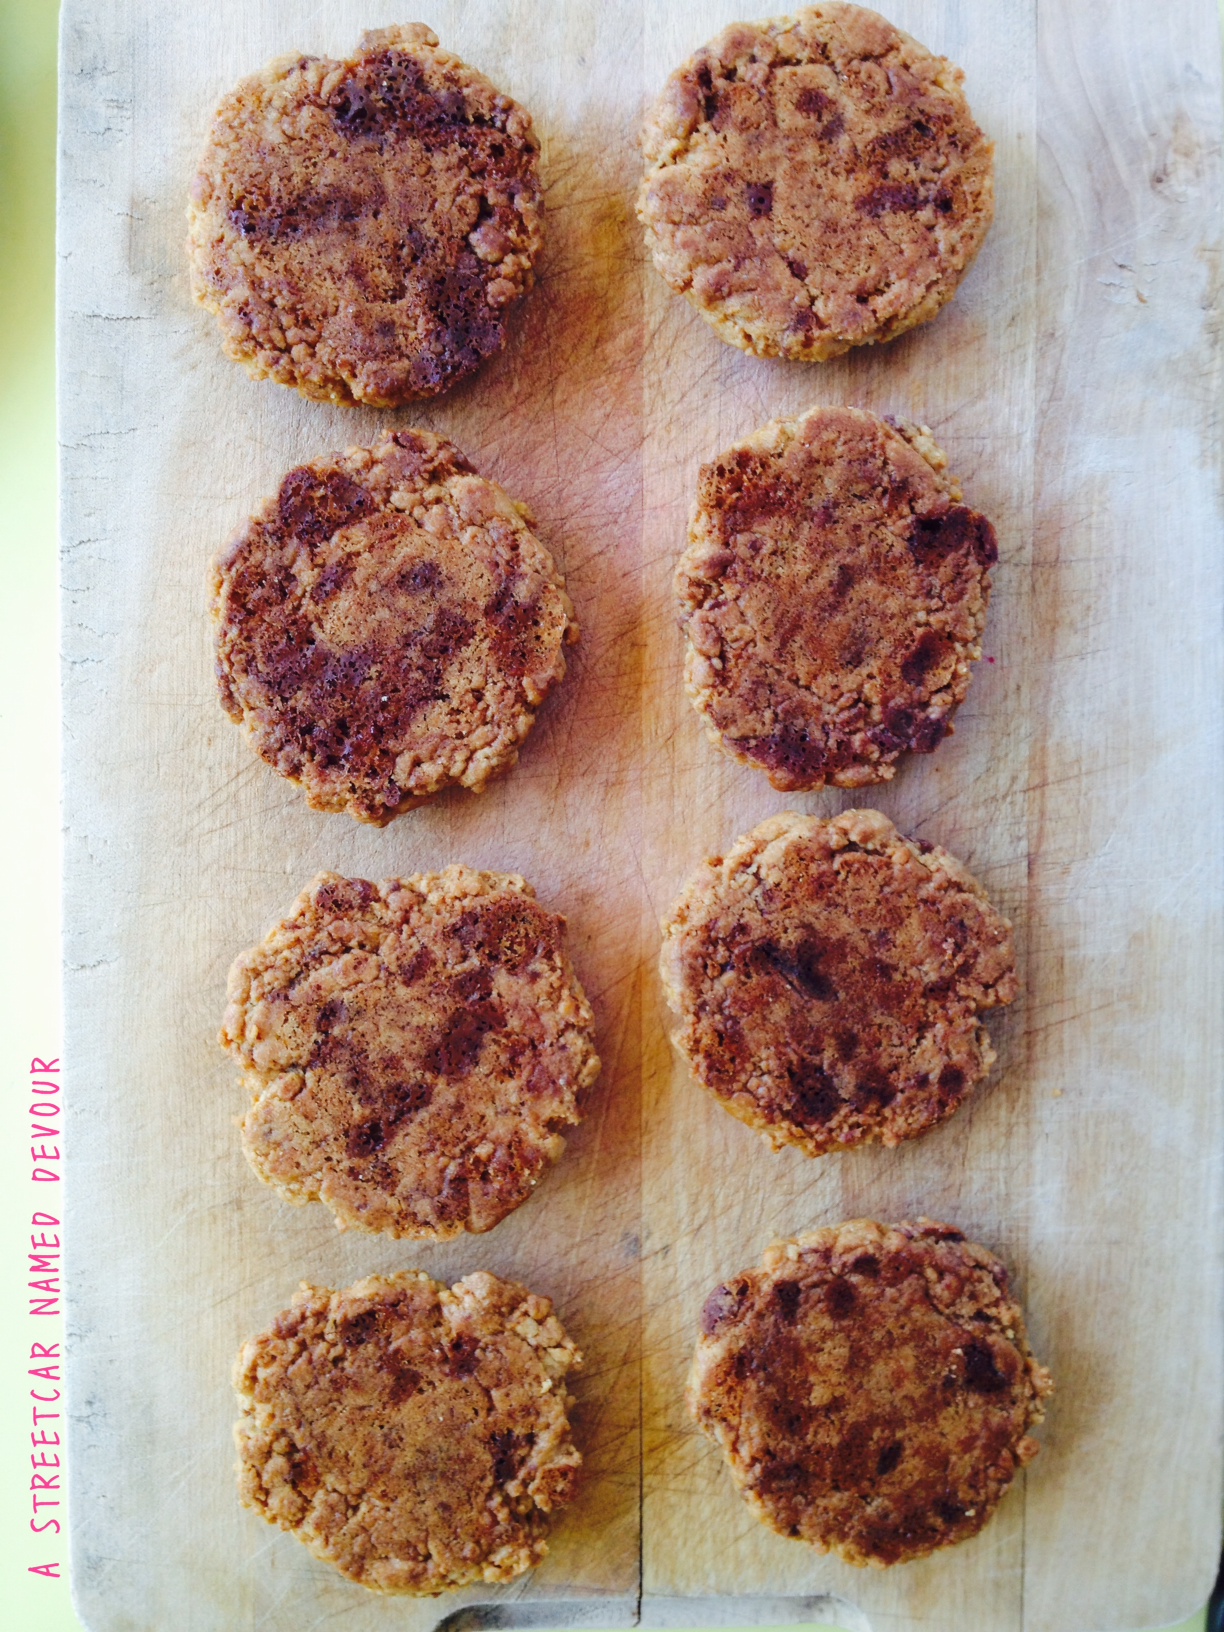
Use an ice cream scoop to get equal-size portions
You can generously scoop the cookies with a 1-ounce ice cream scooper right onto a Silpat- or pachment paper-lined baking sheet and bake in the oven for 14-16 minutes, depending on your oven’s heat.
Remove the cookies from the baking sheet and allow to cool completely.
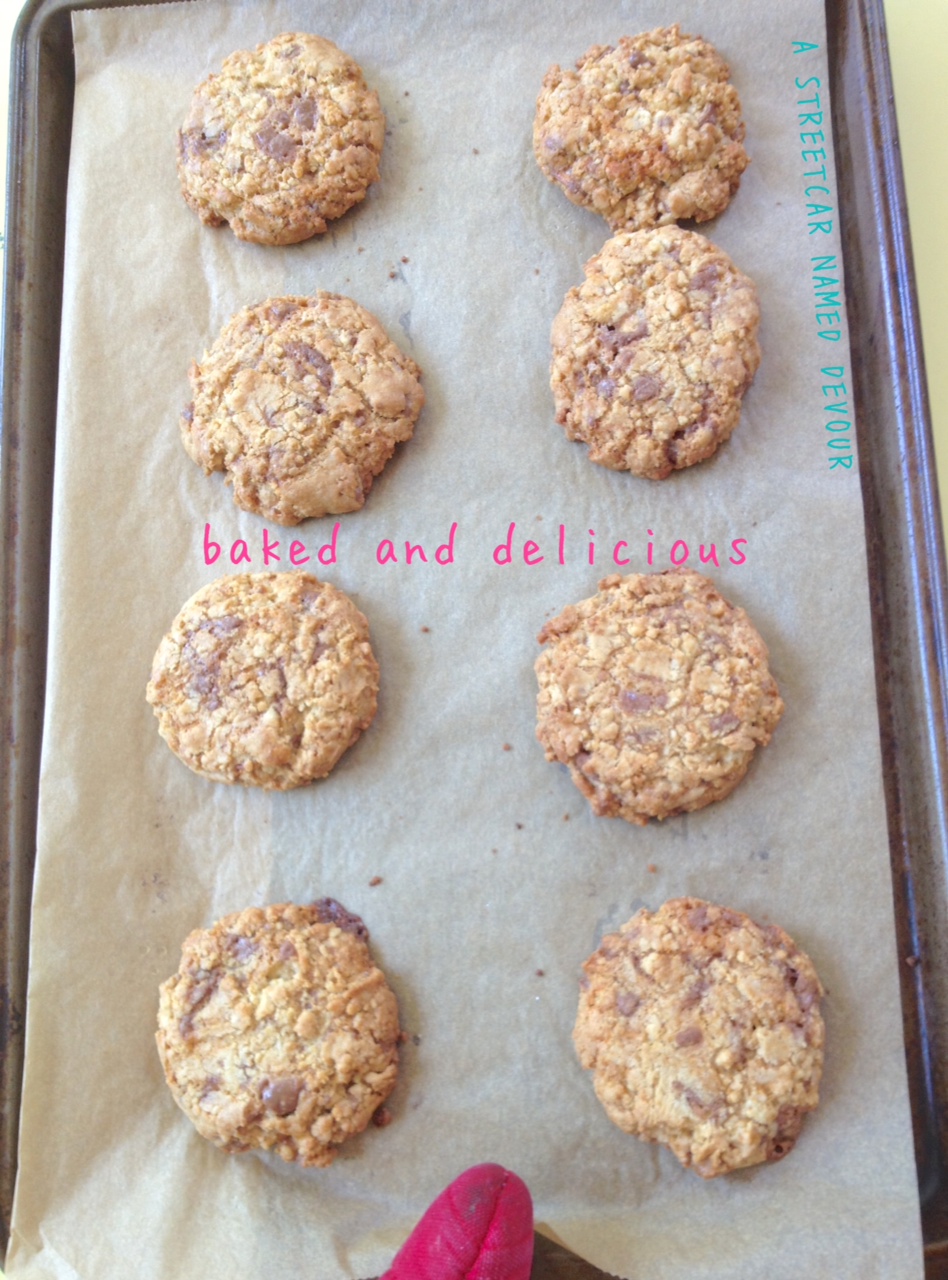
Slightly under-bake your cookies if you’re planning on ice cream sandwich-ing ’em later.

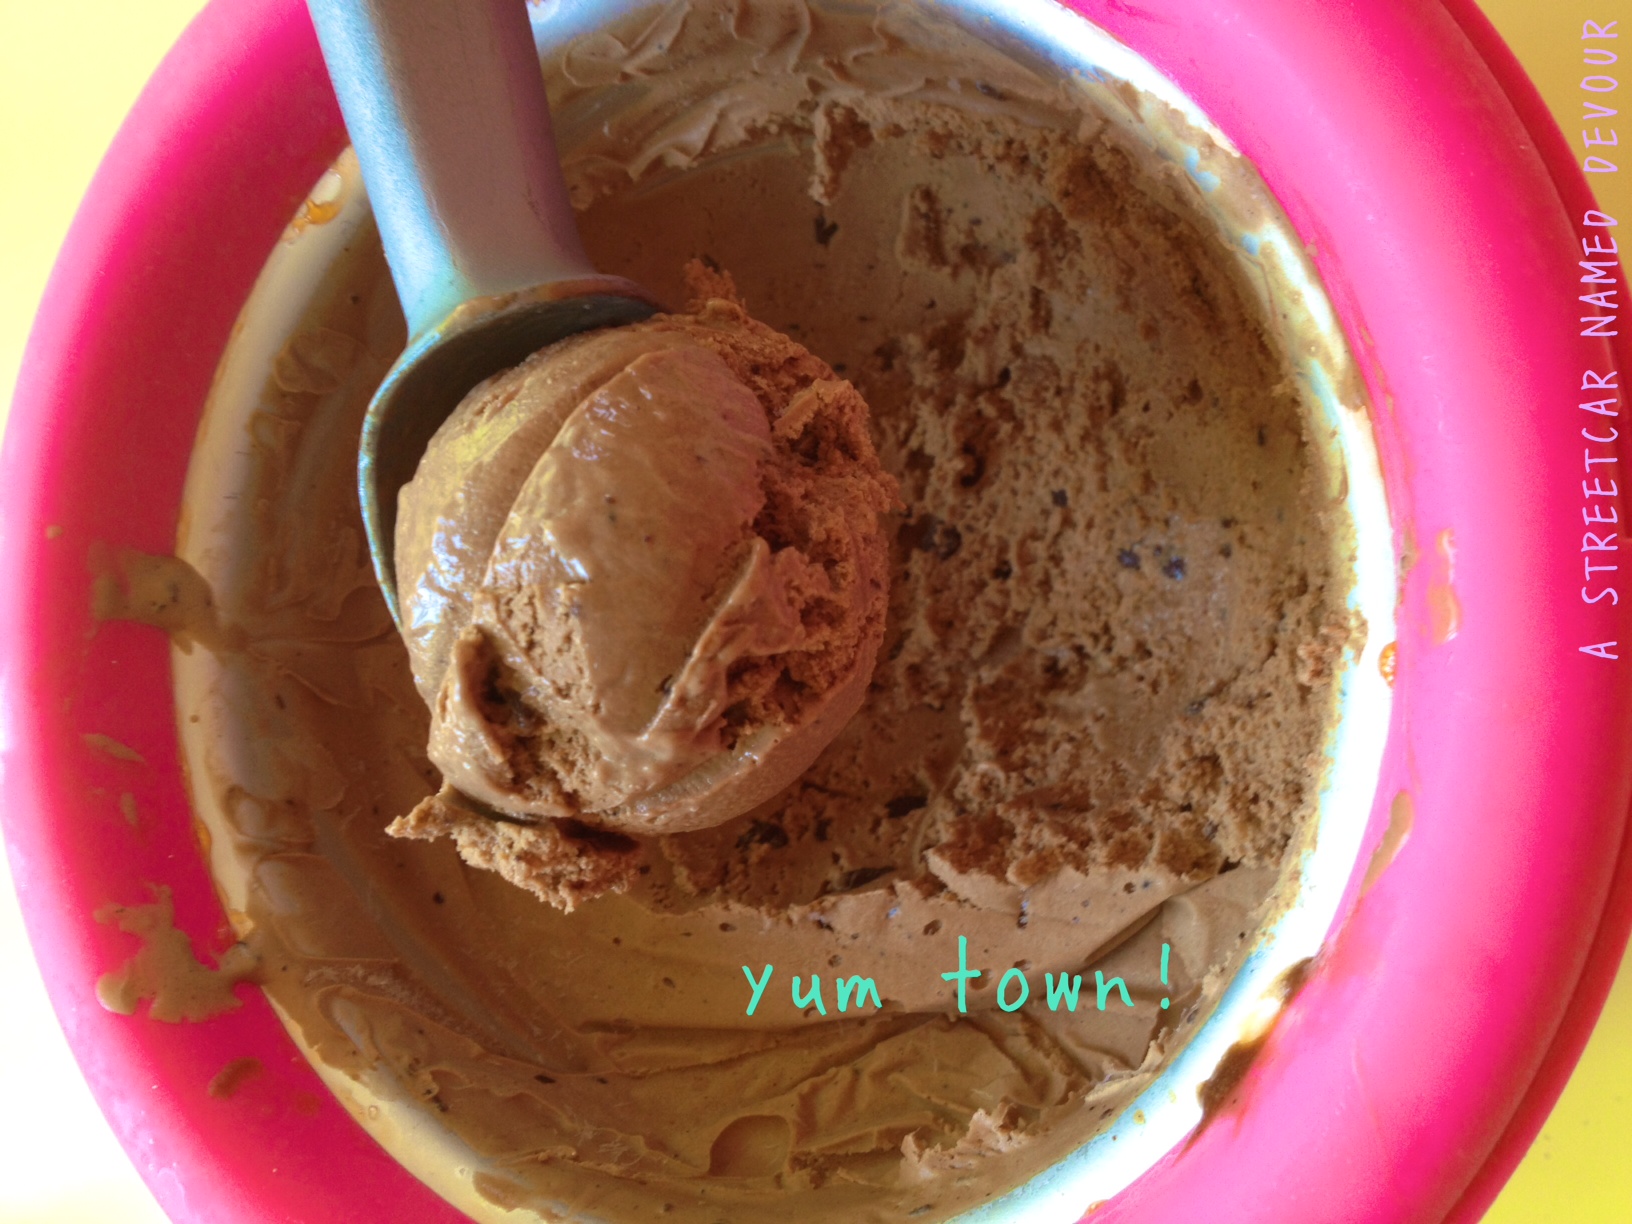
One of my fondest memories as a kid were frequent outings with my family to get ice cream at Thrifty’s. Those cylinder-shaped blocks of ice cream that were scooped atop another were irresistible. My parents would ask me how many scoops I wanted, and I’d always ask for two. Ice cream was a lot cheaper back then–.59 cents a scoop. My dad remembers them being .10 cents a scoop at Thrifty’s when he was a kid. Now, Thrifty’s sells their ice cream for about $1 a scoop. Oh, how times have changed. But my love for their Chocolate Malted Crunch ice cream has not. Those little bits of chocolate chips and mini crunchy malted bits in the creamy malted chocolate ice cream were to-die-for! The weather has been heating up here in the Bay, so my best attempt at recreating this retro favorite was very fun and hugely successful.

Two scoops, please.
And because I love a good ice cream sandwich (who doesn’t?), CLICK HERE for my Whoppers Cookie recipe. These cookies are good on their own, too. Just sayin’. Then follow this LINK for NSFW ice cream sandwich assembly pics.
Chocolate Malted Chip Ice Cream
Recipe slightly adapted from The Perfect Scoop by David Lebovitz
Yields 1 quart
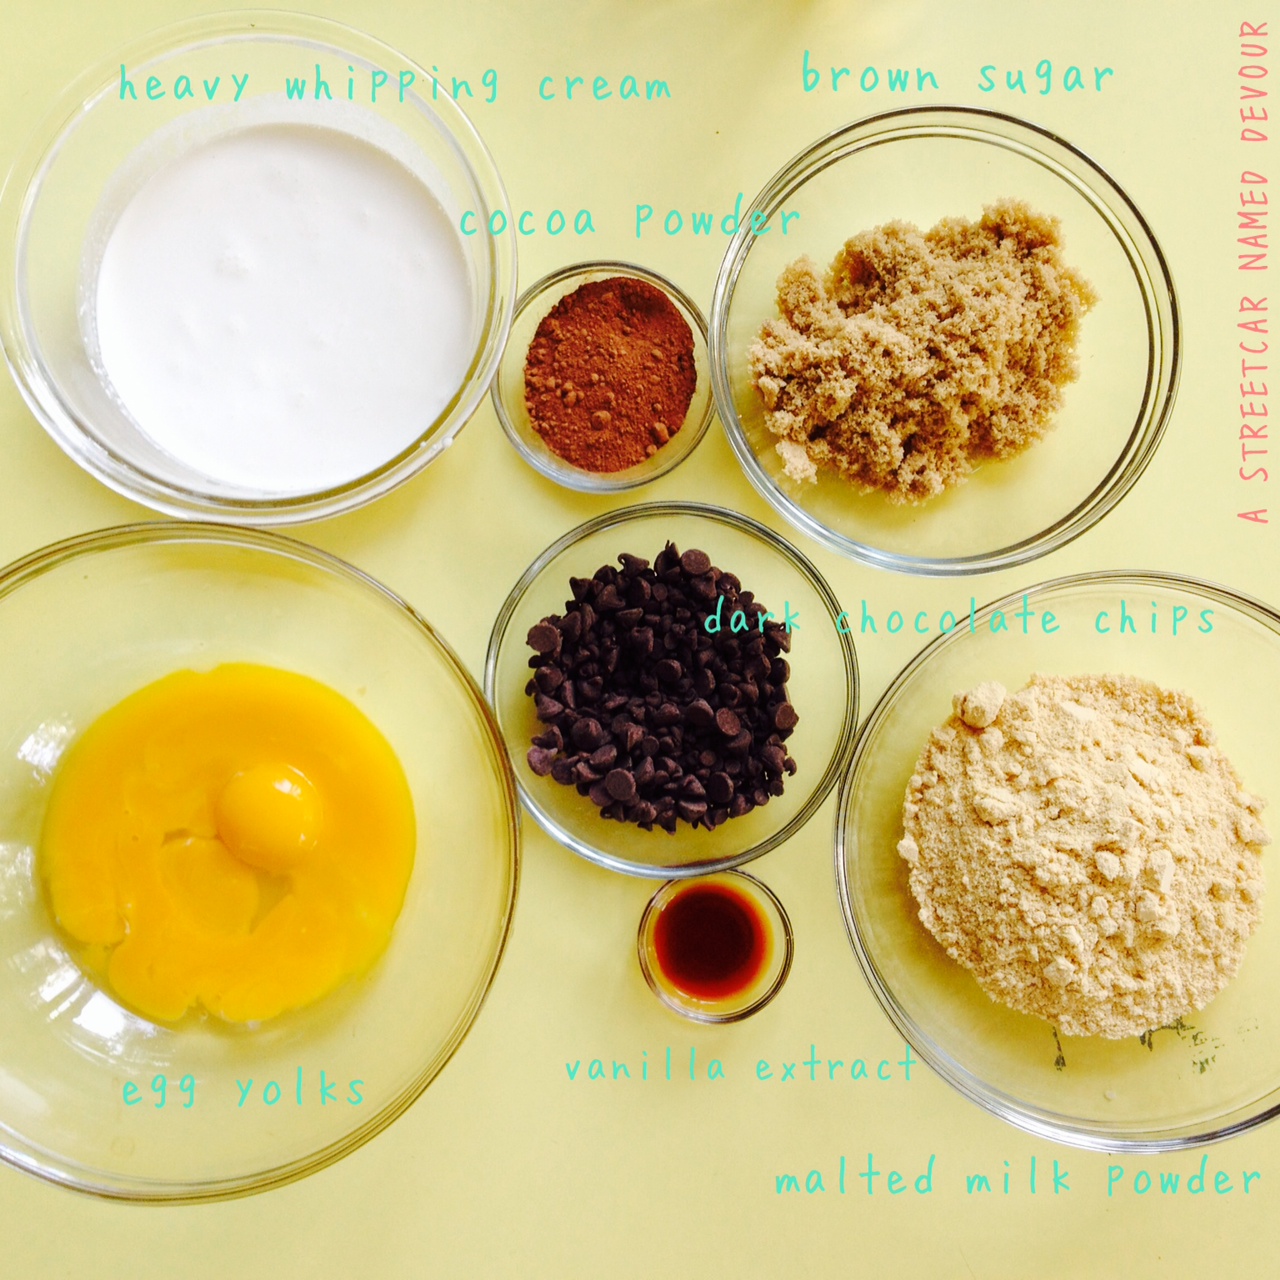
Ice cream mis en place
INGREDIENTS
2 cups heavy cream, divided
3 tablespoons cocoa powder
4 ounces bittersweet chocolate, chopped and divided (chocolate chips work, too)
1 cup whole milk or heavy whipping cream
3/4 cup brown sugar (I prefer it taste-wise to white sugar)
pinch of salt
5 large egg yolks
1 teaspoon pure vanilla extract
1 1/2 cups malted milk powder (Please please please use real malted milk powder! Many brands like Ovaltine contain added sugars and don’t produce the same results. The original recipe called for 1 cup of the powder, but I found that adding a 1/2 cup more produced better results.)***
METHOD
Combine 1 cup of the heavy cream with the cocoa powder in a medium-size saucepan and whisk together until there are no lumps.
Bring mixture to a boil then reduce to a simmer for 30 seconds whisking constantly. Remove the pan from the heat and add in half of the chopped chocolate (2 ounces) and whisk till it’s completely melted and smooth. Stir in the other cup of heavy cream and pour into a large bowl, using a rubber spatula to scrape all of the mixture from the saucepan.
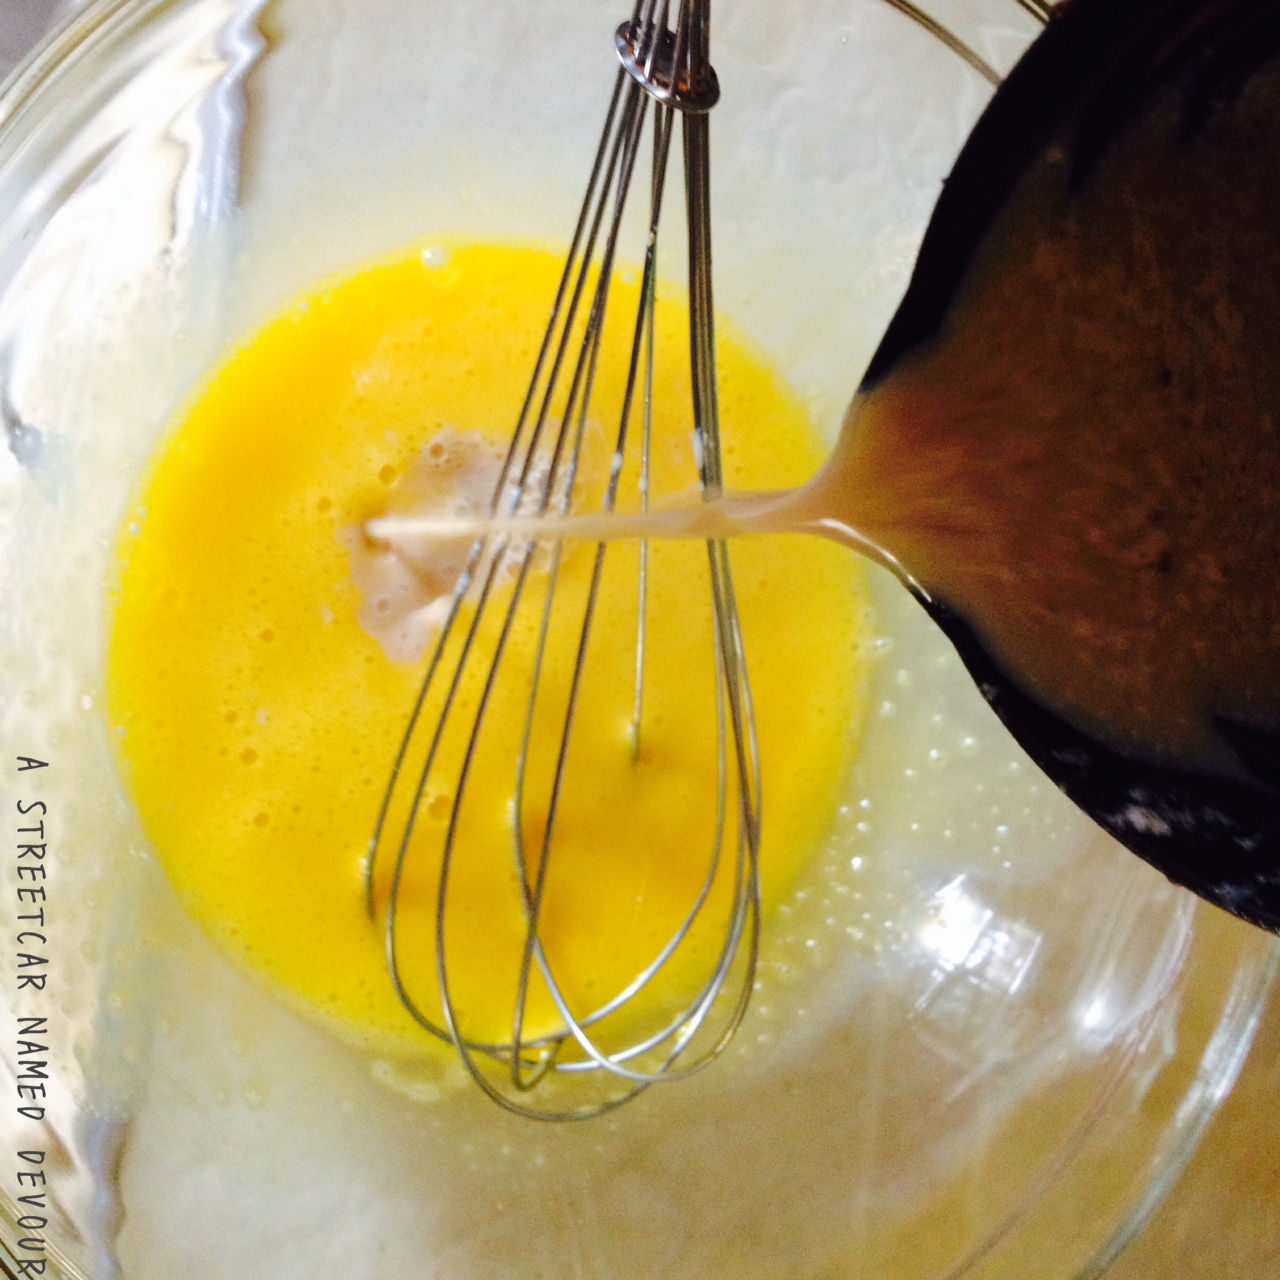
Properly tempering the eggs into the milk reduces clumps.
In the same saucepan, warm the milk, brown sugar and salt. In a separate medium-size bowl, whisk together the egg yolks. Add a cup of the warmed milk to the egg yolks, whisking constantly to temper the yolks. Once the egg yolks have been tempered, add them to the saucepan and whisk on medium heat. Continue to scrape the sides with a rubber spatula, scraping the bottom as you stir until the egg mixture thickens to a custard-like consistency and coats the back of the spatula.
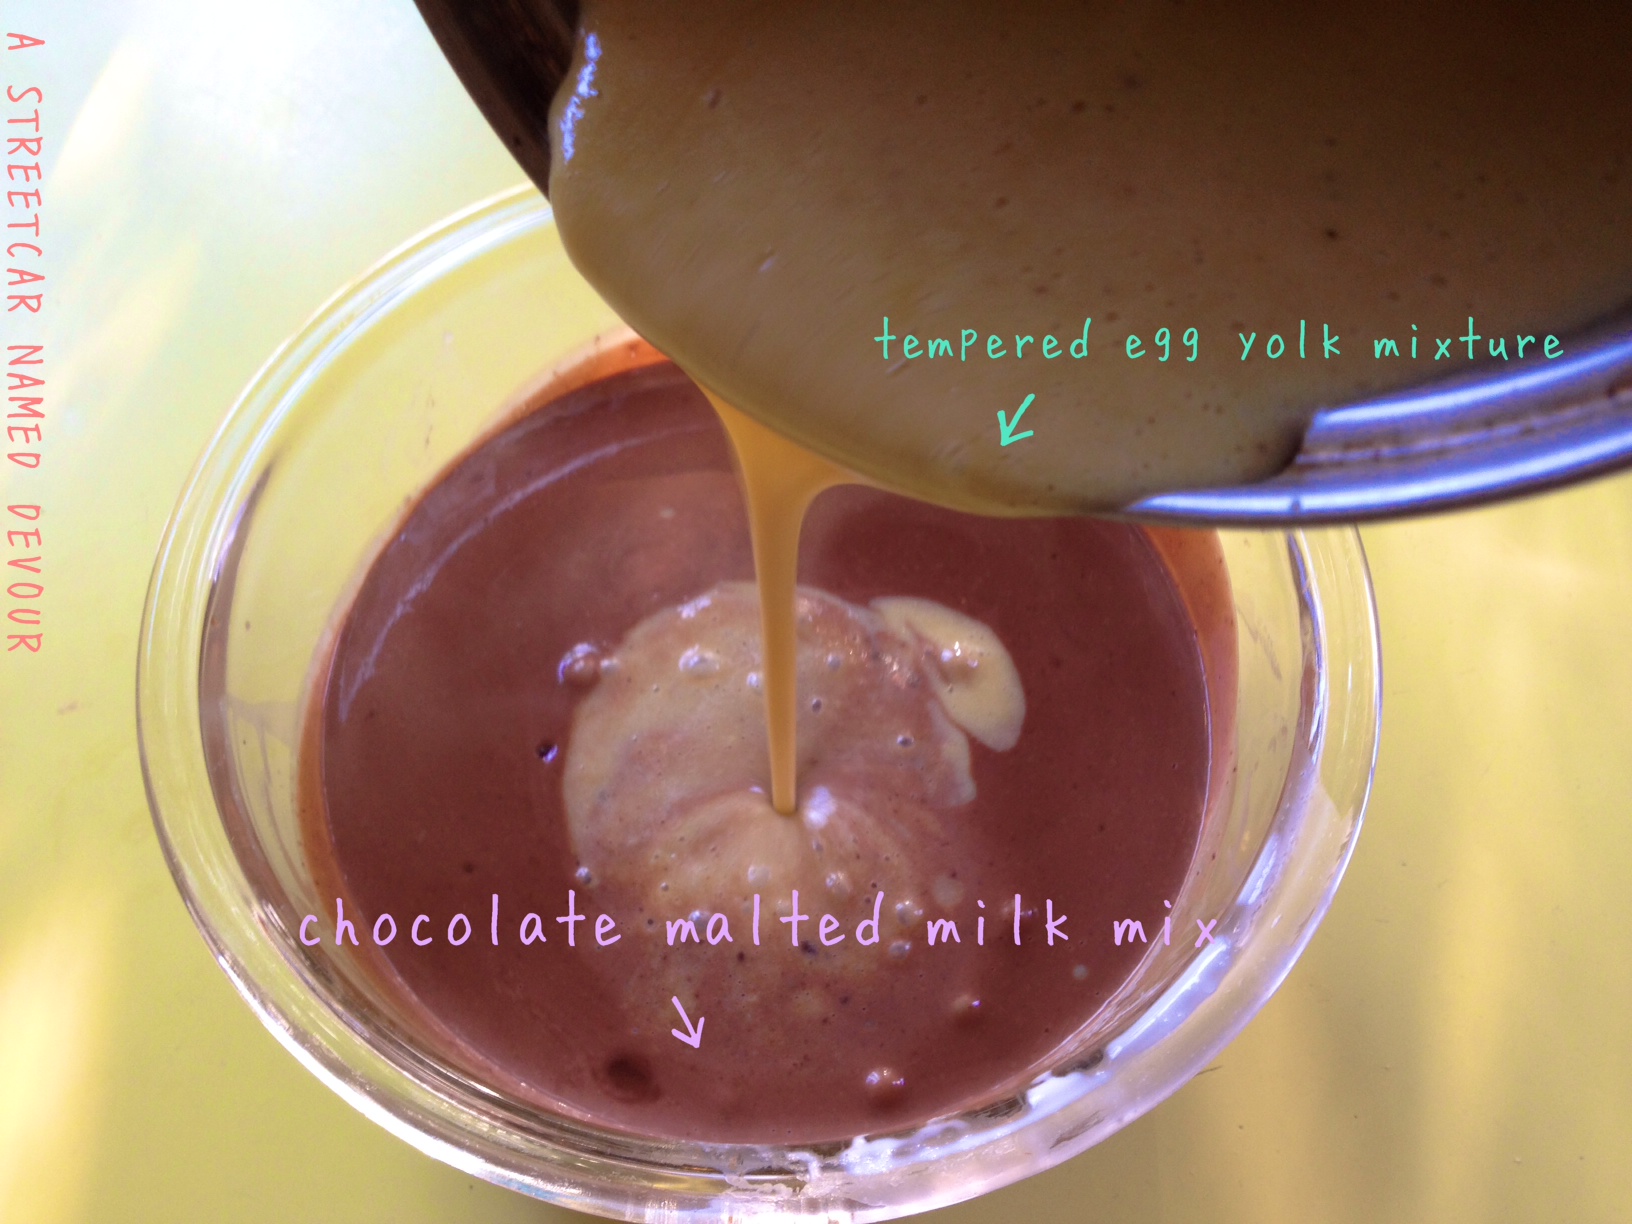
Almost there!
Pour the custard through a fine-mesh sieve or strainer and str into the chocolate mixture. Stir in the vanilla extract and malted milk powder, whisking until the mixture is completely combined.
Cool the chocolate custard base in the refrigerator till it’s completely chilled. This should take at least 4 hours.
It’s happening!
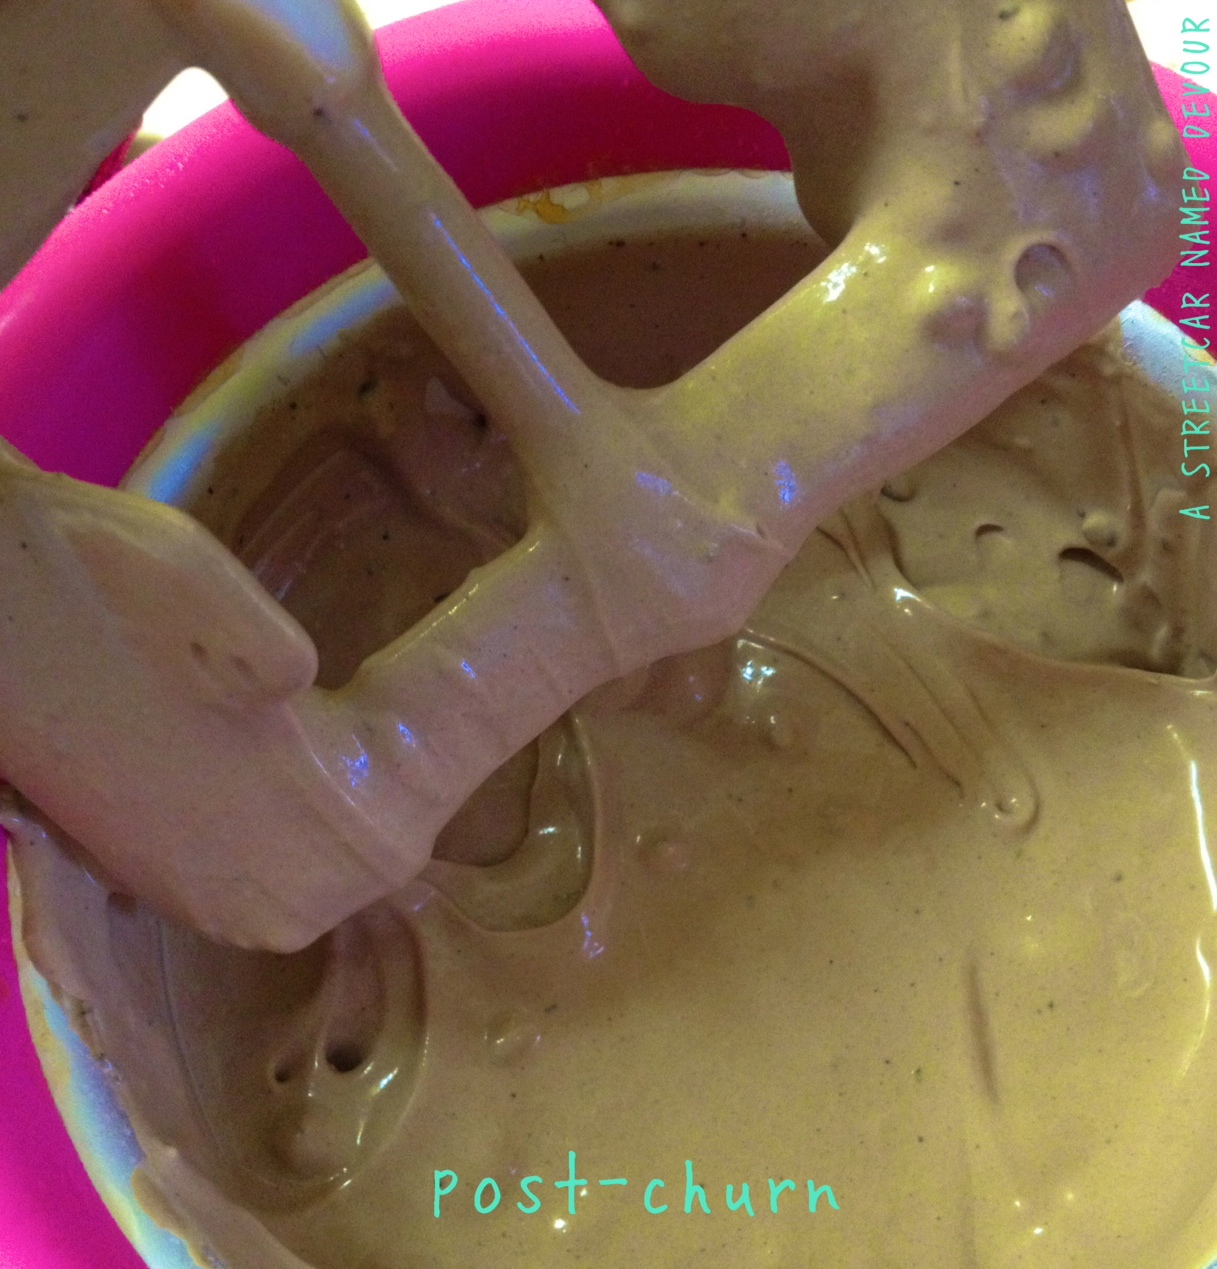
Pour the chocolate malted custard into an ice cream maker and churn according to the manufacturer’s instructions. While churning, add in the remaining 2 ounces of chopped chocolate to the mixture.
Place a sheet of plastic wrap atop the churned ice cream mixture to avoid freezer burn or forming ice crystals while it freezes.
If you ask me, I’m ready
***COOK’S NOTE: So what is malted milk powder? Besides its use as a base for beer and whiskey, malt is used to add a sweet, nutty flavor. It’s a grain (oftentimes barley) that’s sprouted and quickly dried. The grain is finely ground with the addition of wheat flour and powdered milk.
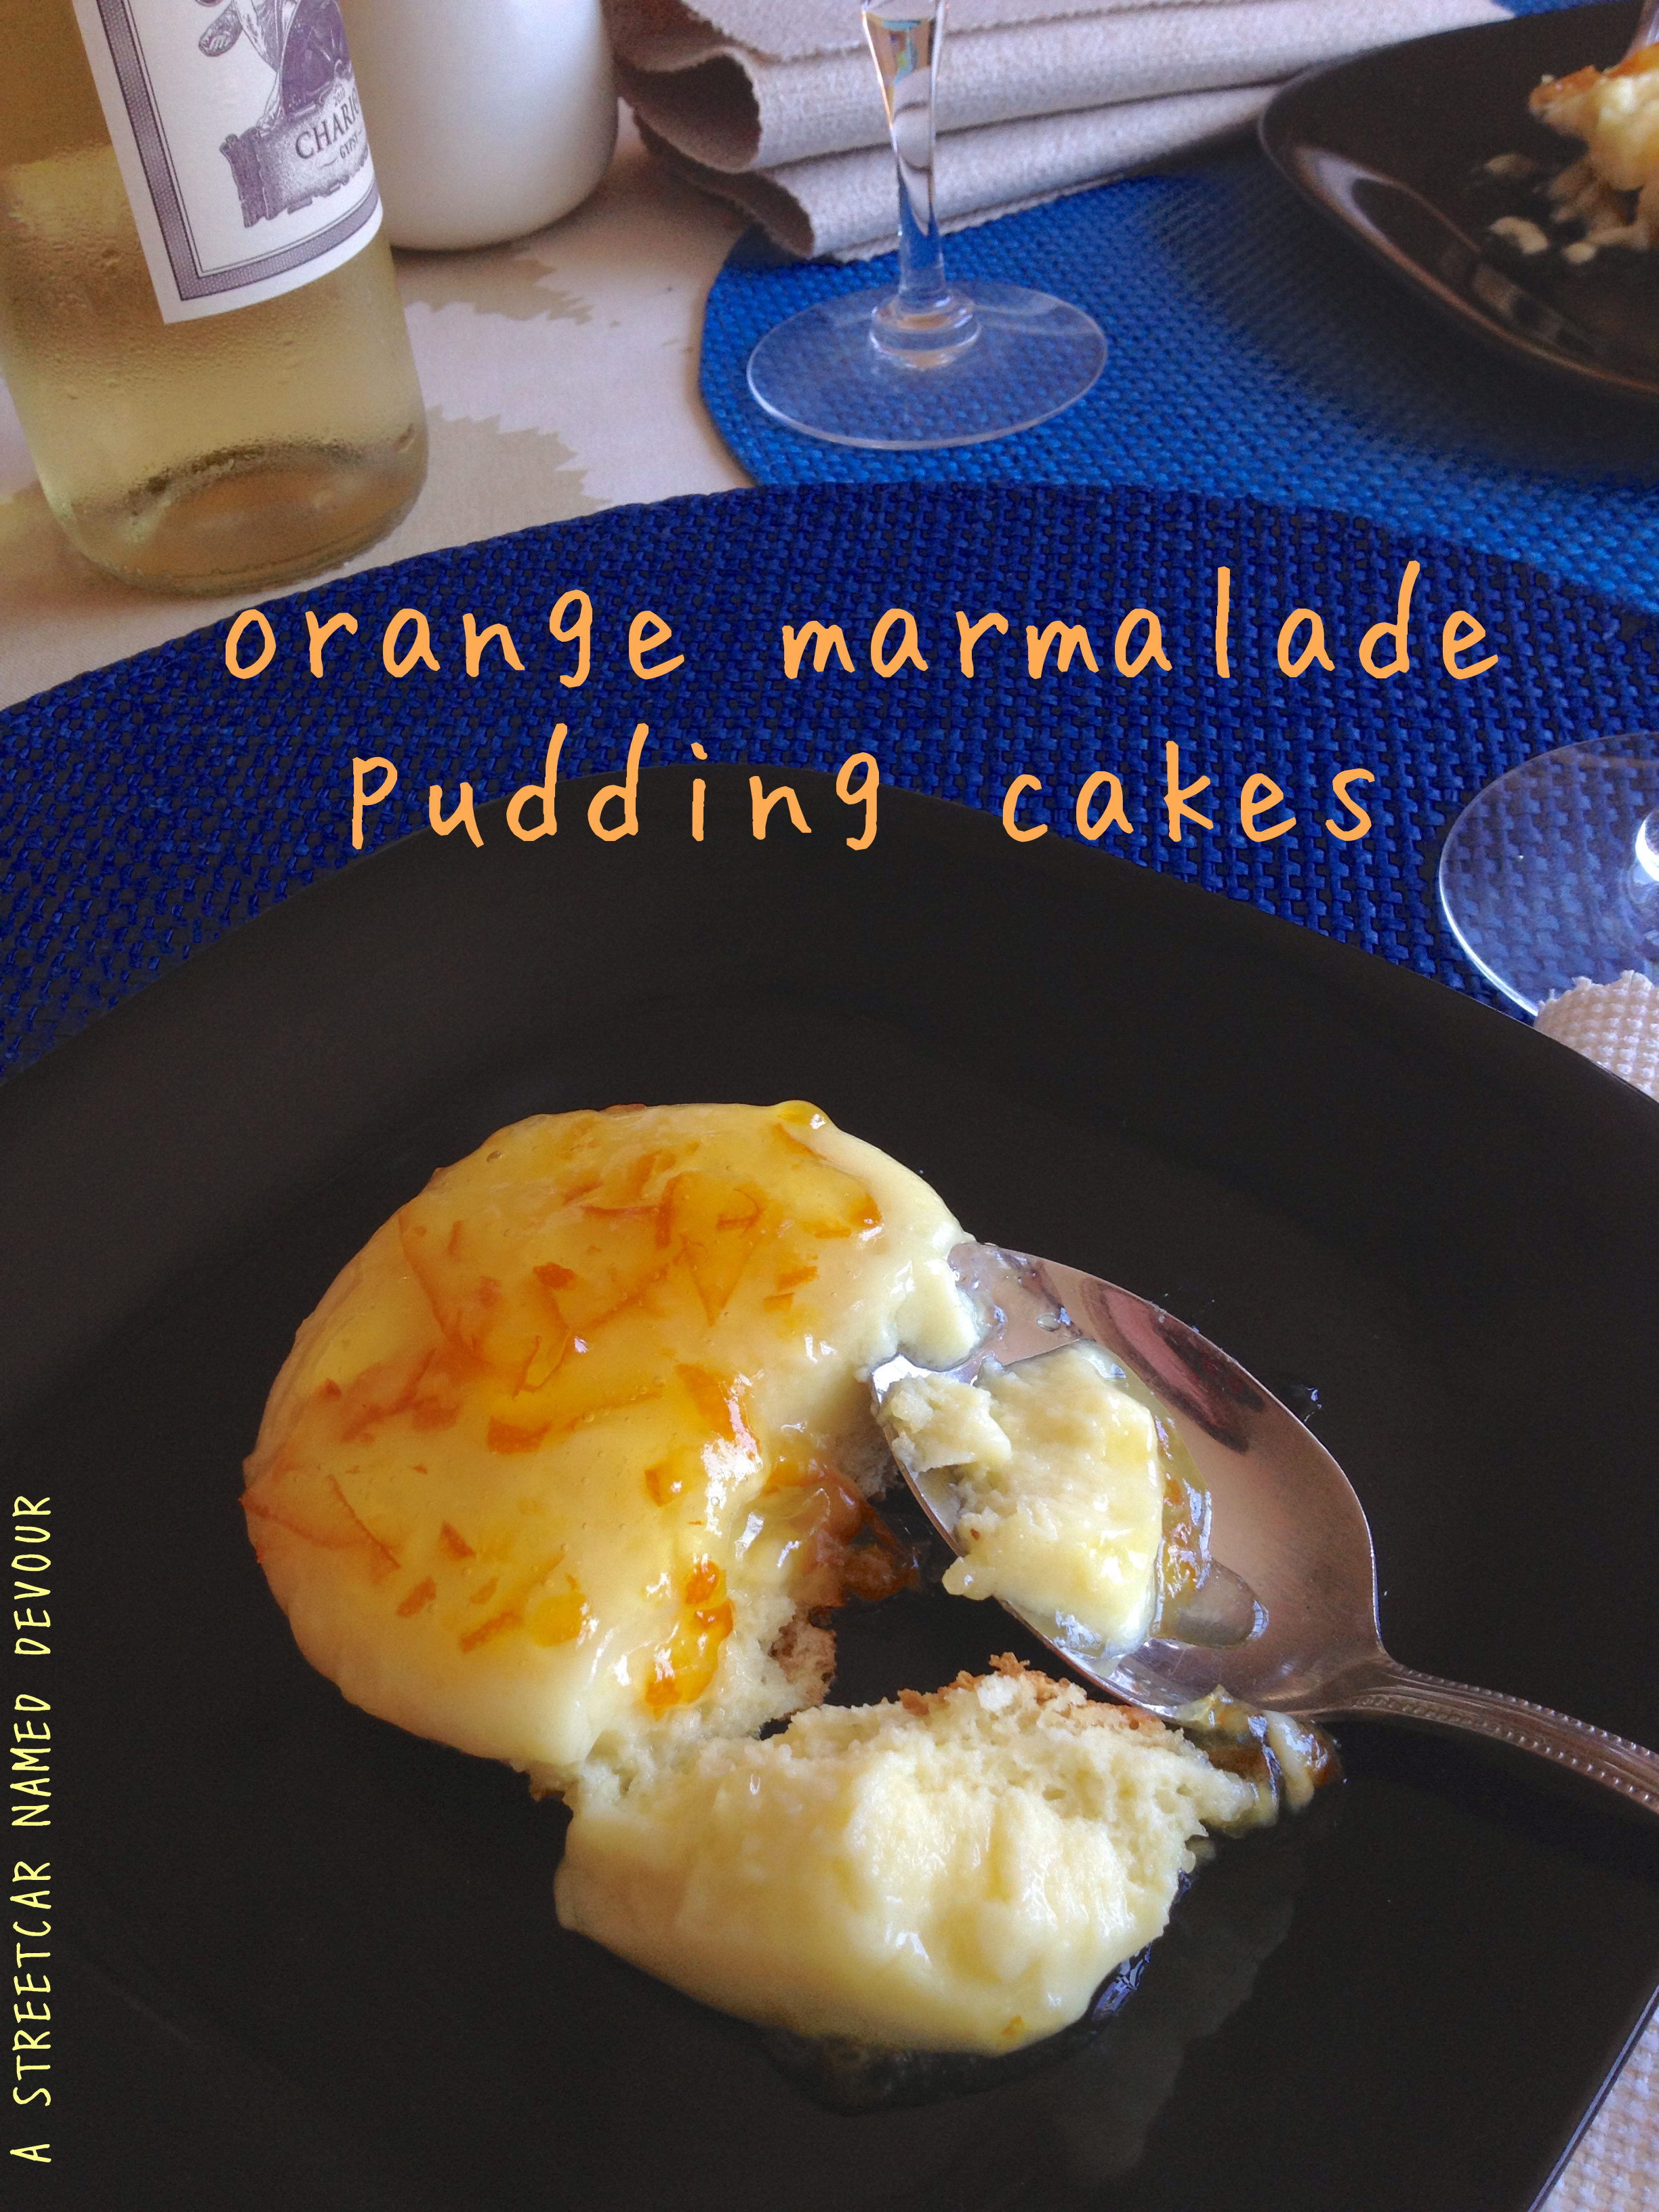
The dessert course was the easiest to tweak. If you don’t have marmalade on-hand, give yourself 1 prep day to make before you start the cakes.
“Tastes Like Marmalade” Pudding Cakes
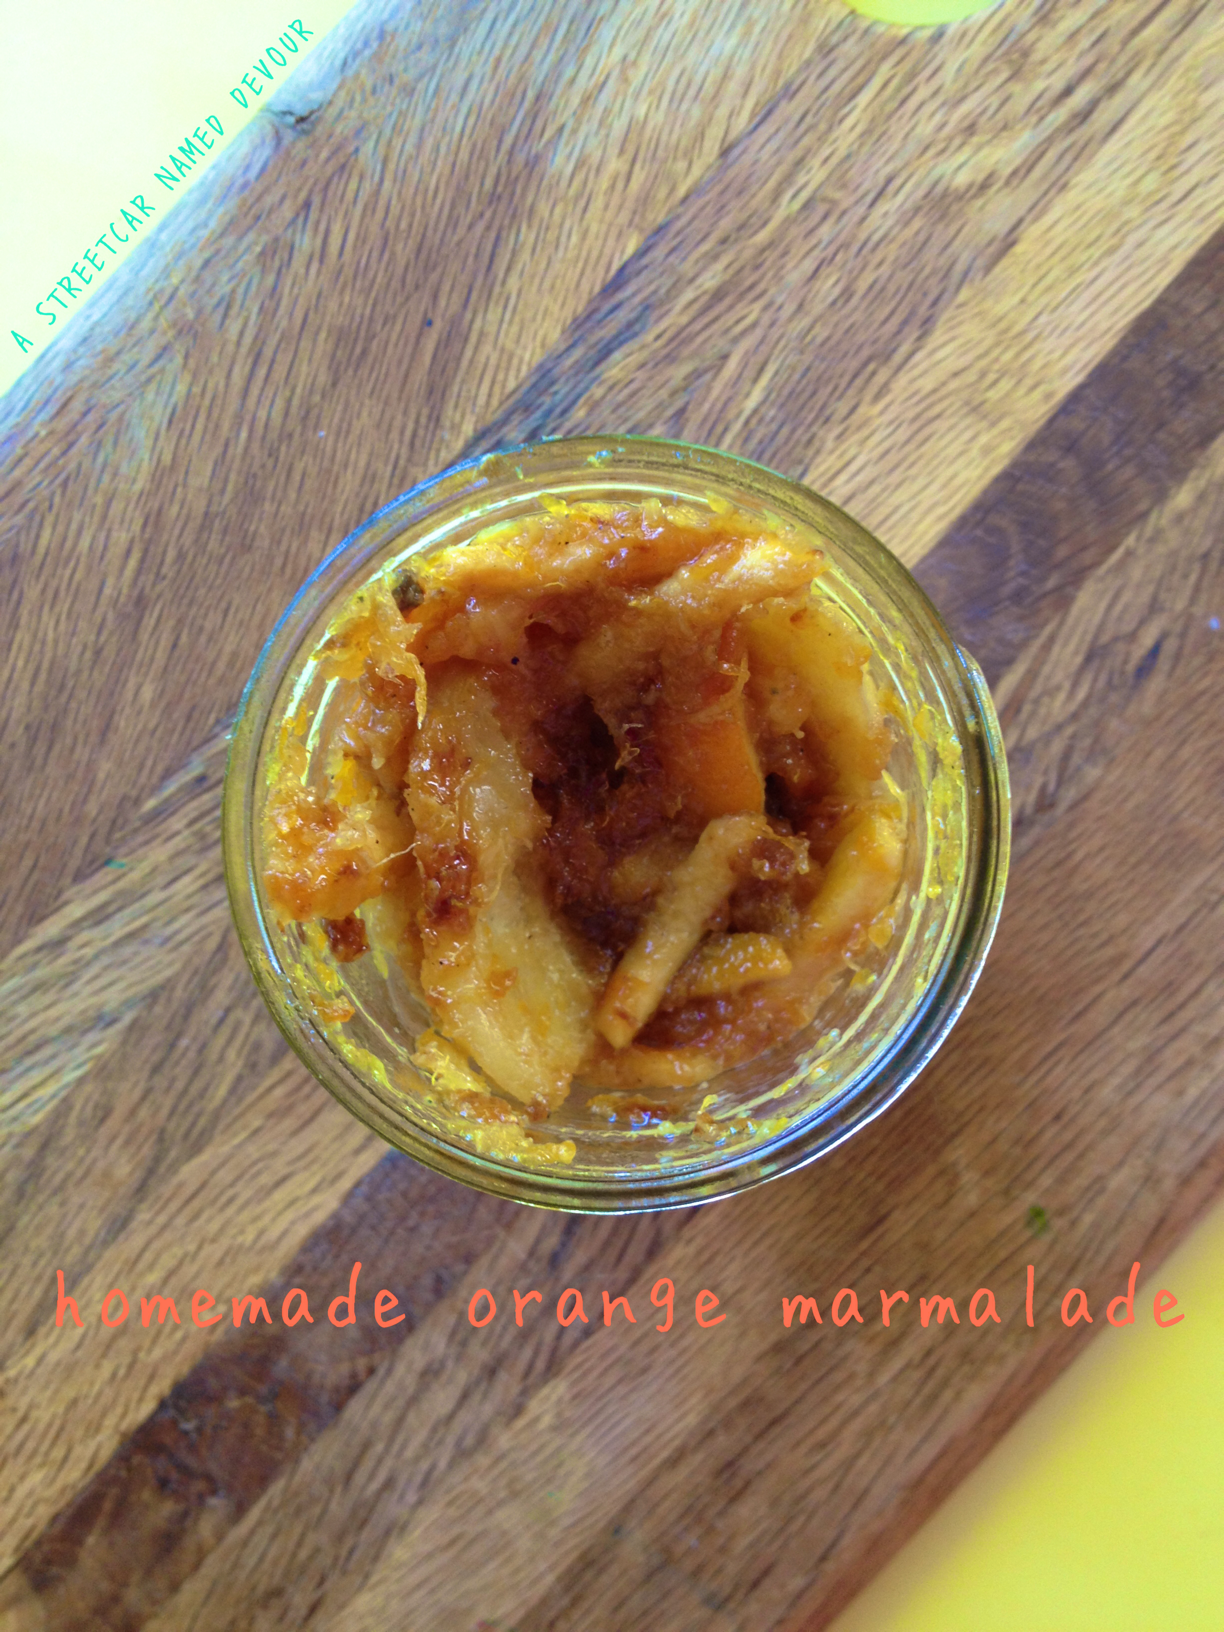
FOR THE ORANGE MARMALADE
Recipe via Martha Stewart
Yields about 1 pint
INGREDIENTS
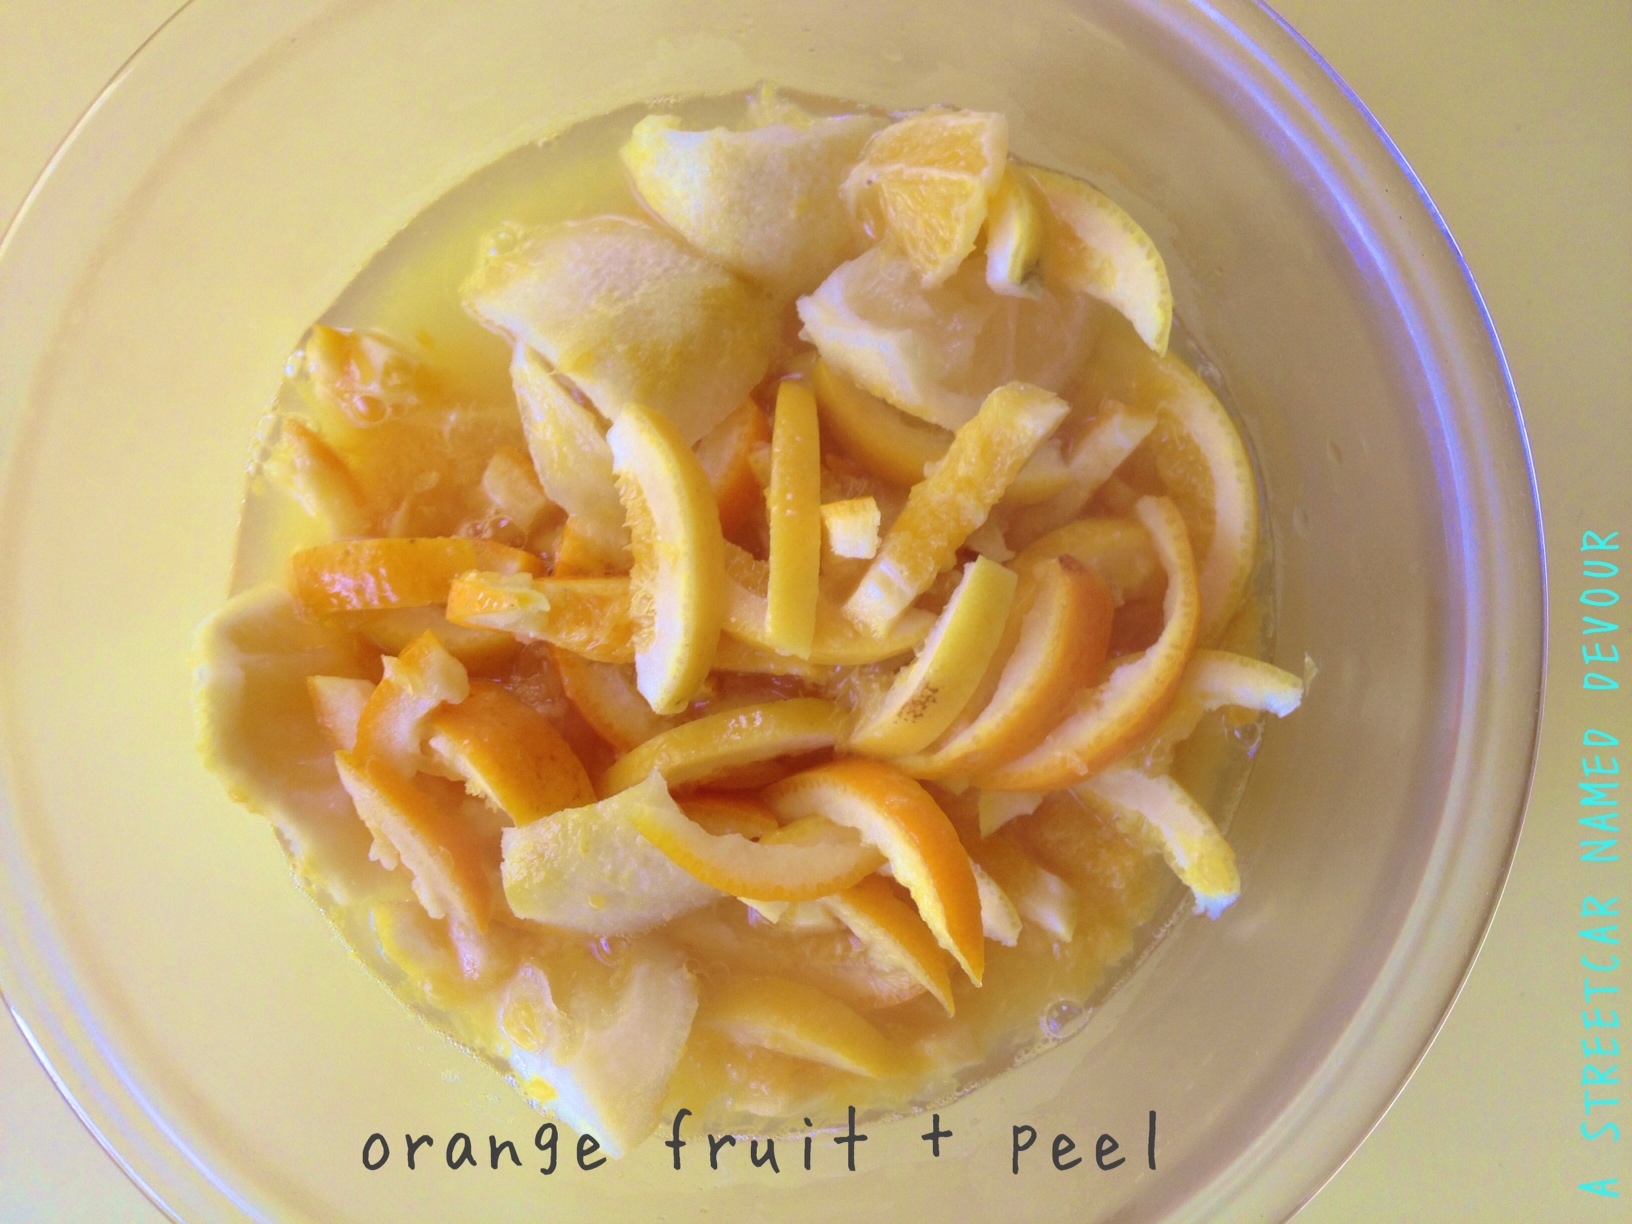
2 oranges, (1 1/2 oranges peeled, peels cut into 1/3-inch pieces, flesh seeded and coarsely chopped; 1/2 orange quartered, thinly sliced, and seeded)
1/2 lemon, quartered, thinly sliced, and seeded
1 1/8 cup cold water
Sugar
METHOD
Bring fruit, peels, and water to a boil in a large saucepan. Cook for 5 minutes. Turn off heat, cover, and let cool. Refrigerate for 8 hours (or up to 1 day).
Freeze a plate. Uncover citrus mixture, and bring to a simmer over medium-high heat. Cook until thickest peel is tender, about 20 minutes. Measure mixture, and return to pan. For each cup of mixture, add 1/4 cup sugar.
Bring mixture to a boil, stirring often. Cook until mixture registers 220 degrees to 222 degrees on a candy thermometer, about 20 minutes. To test for doneness of marmalade: Drop a spoonful on frozen plate. If marmalade has a slight film when pushed with a finger, it’s done. If it spreads out and thins immediately, continue cooking, and test again after a few minutes. Transfer marmalade to airtight containers, cover, and let cool at room temperature. Refrigerate overnight before serving. (Marmalade will keep, covered and refrigerated, for up to 1 month.)
FOR THE PUDDING CAKES
Recipe slightly adapted via Taste of Home
Serves 5
INGREDIENTS
1 tablespoons butter, softened
1/3 cup sugar, divided
1/8 cup all-purpose flour
2 eggs, separated
1/2 cup half and half
1/4 cup pineapple juice
*1/2 cup orange marmalade, warmed (see recipe below)
METHOD
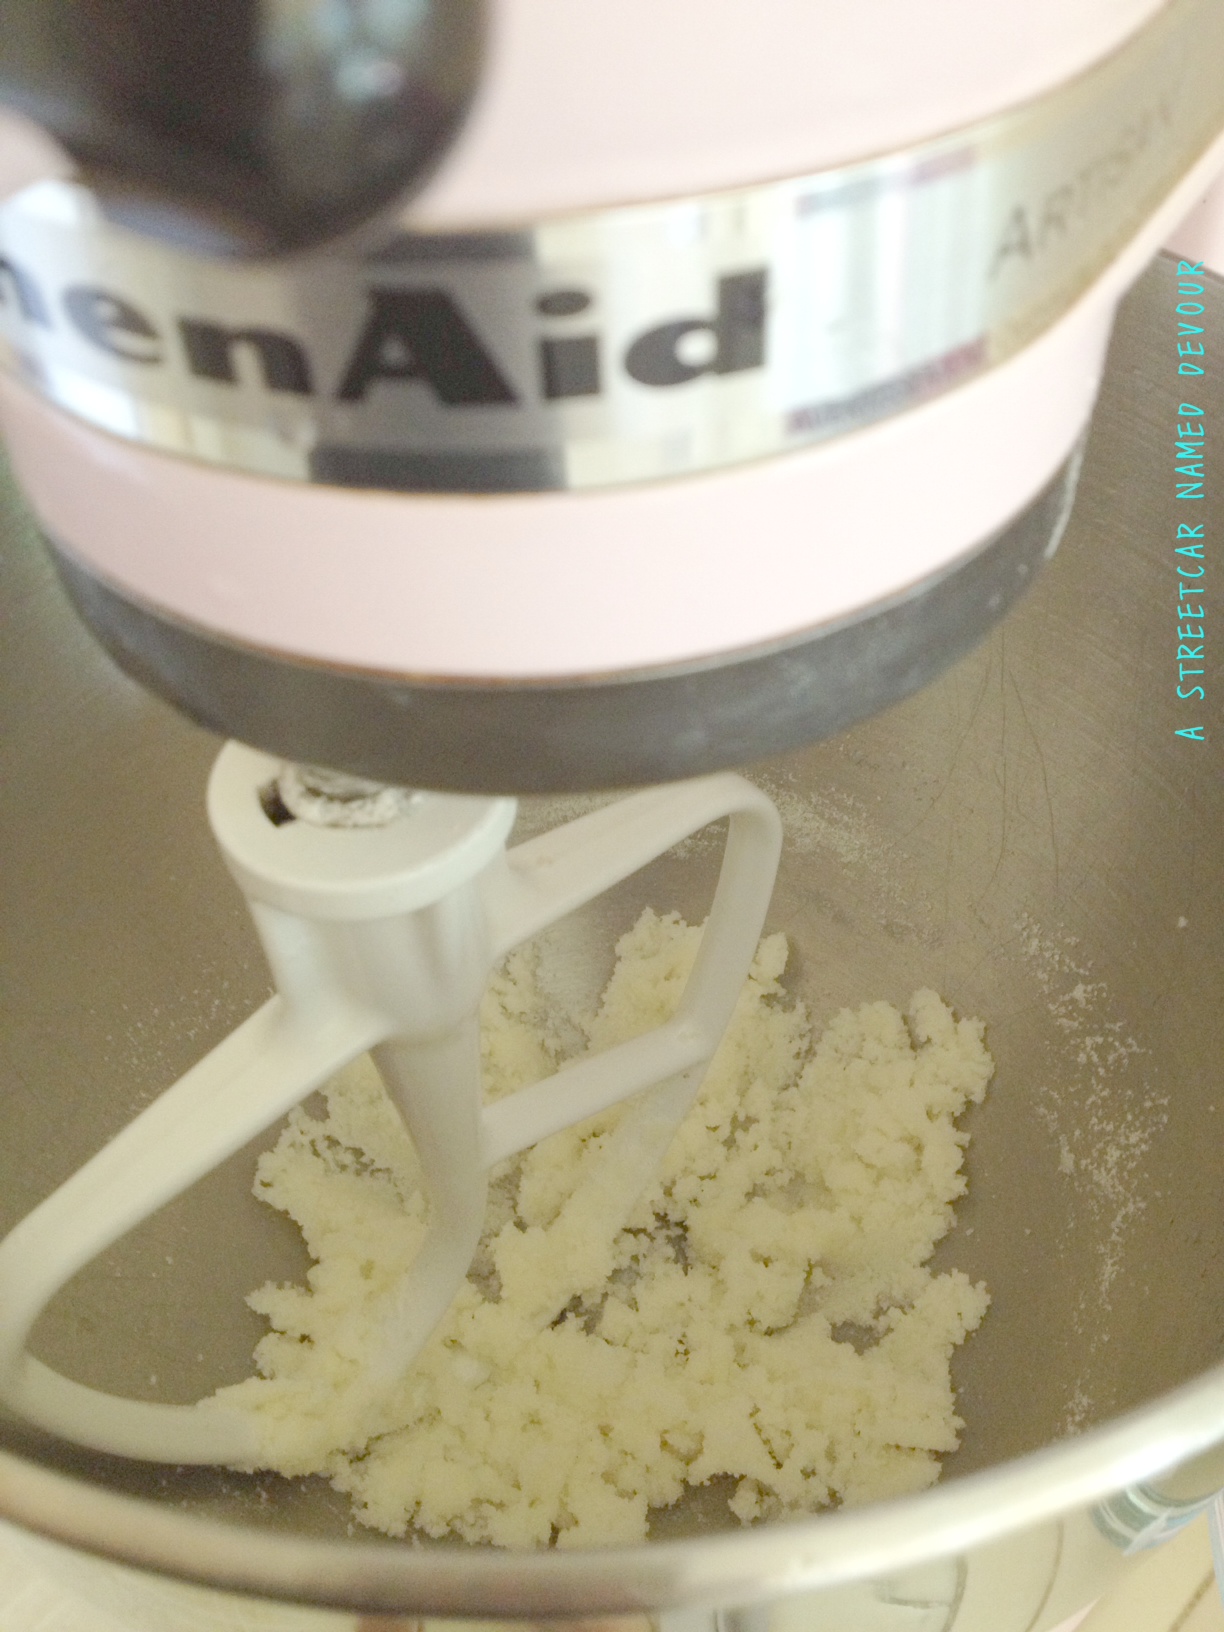
In a small bowl, beat butter and 1/4 cup sugar until crumbly. Beat in flour and egg yolks until smooth. Gradually beat in the milk, pineapple juice, 1 tablespoon lemon juice and orange peel.

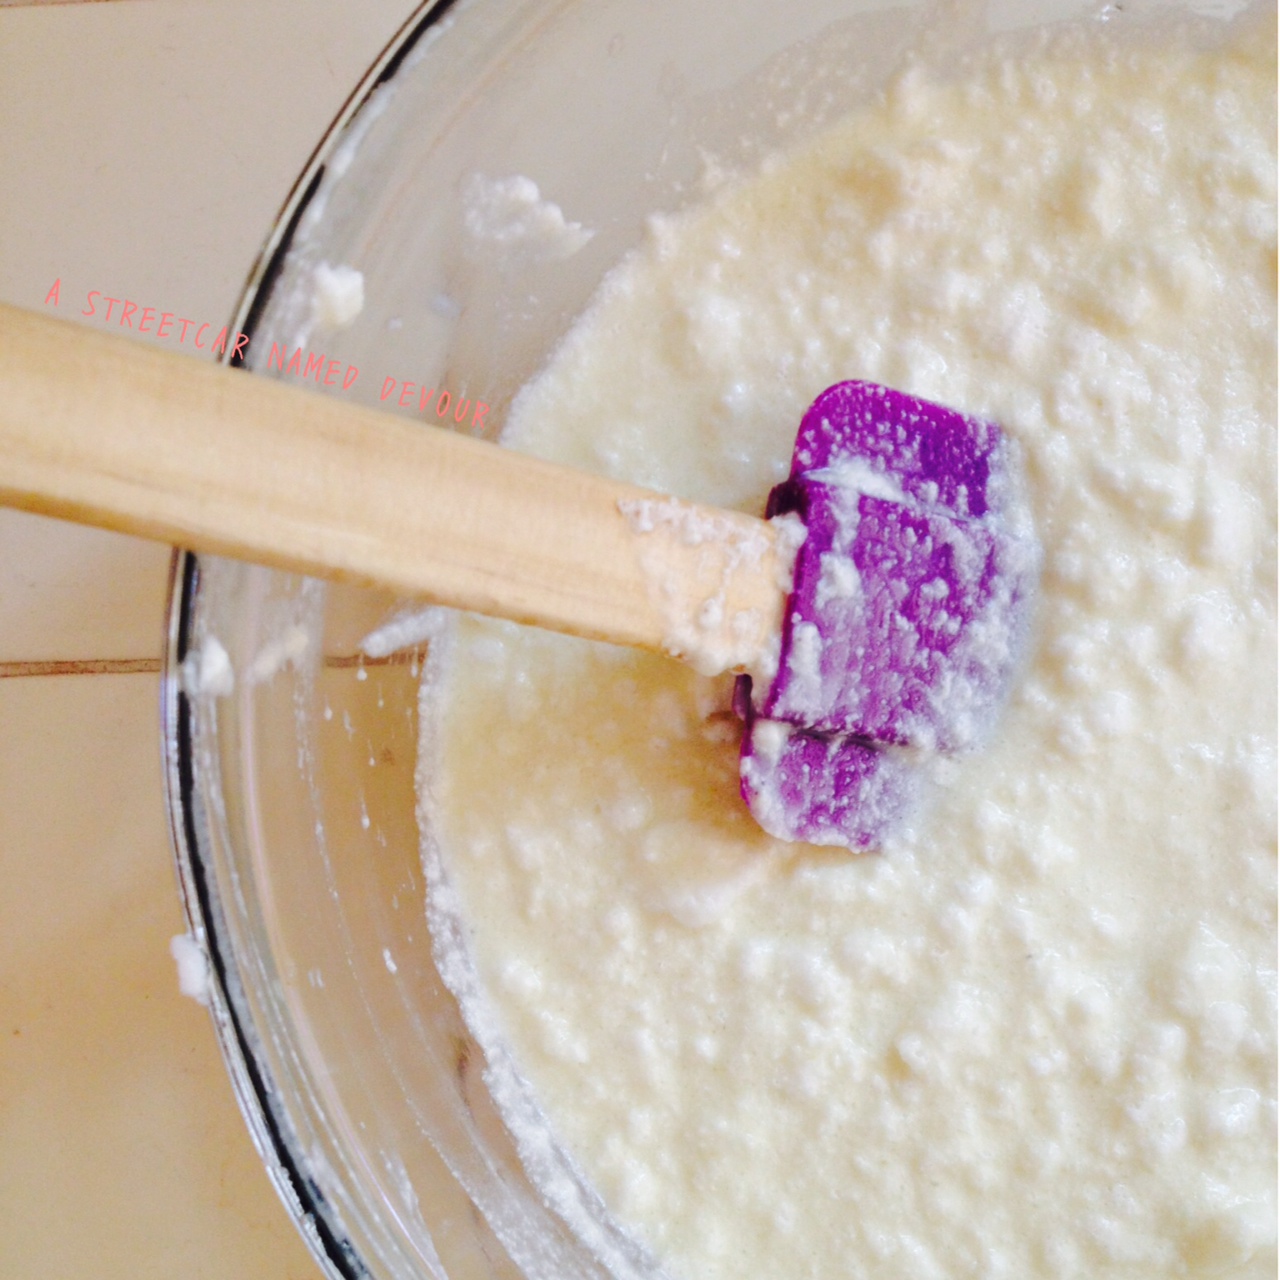
In another small bowl, beat egg whites on high speed until soft peaks form. Add the remaining sugar; beat until stiff peaks form. Gently fold into orange mixture.
Evenly distribute into 5, 6-oz. custard cups thoroughly coated with cooking spray. Place the cups in 13-in. x 9-in. baking pans; add 1 in. of boiling water to pans.
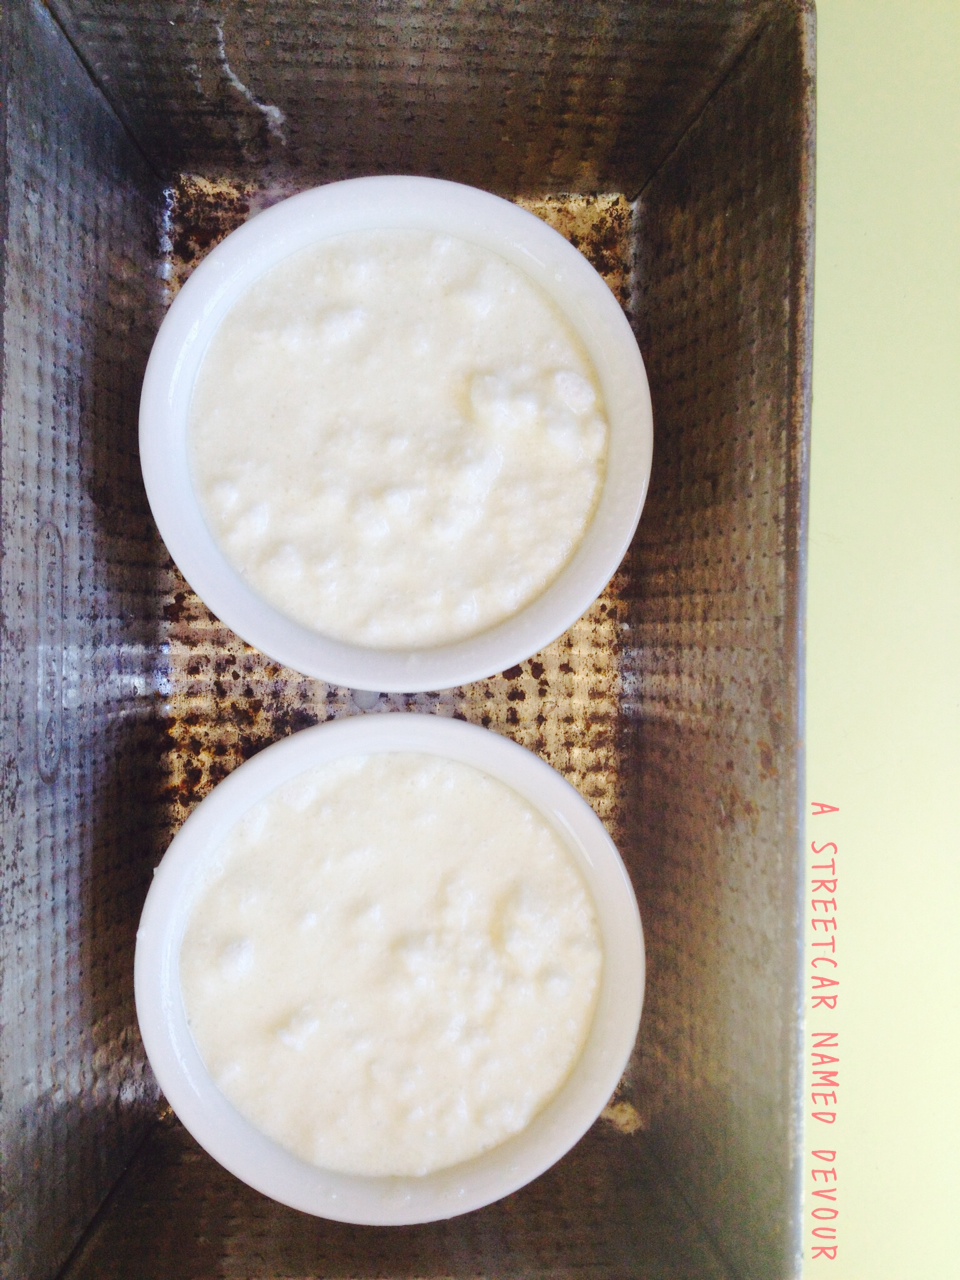
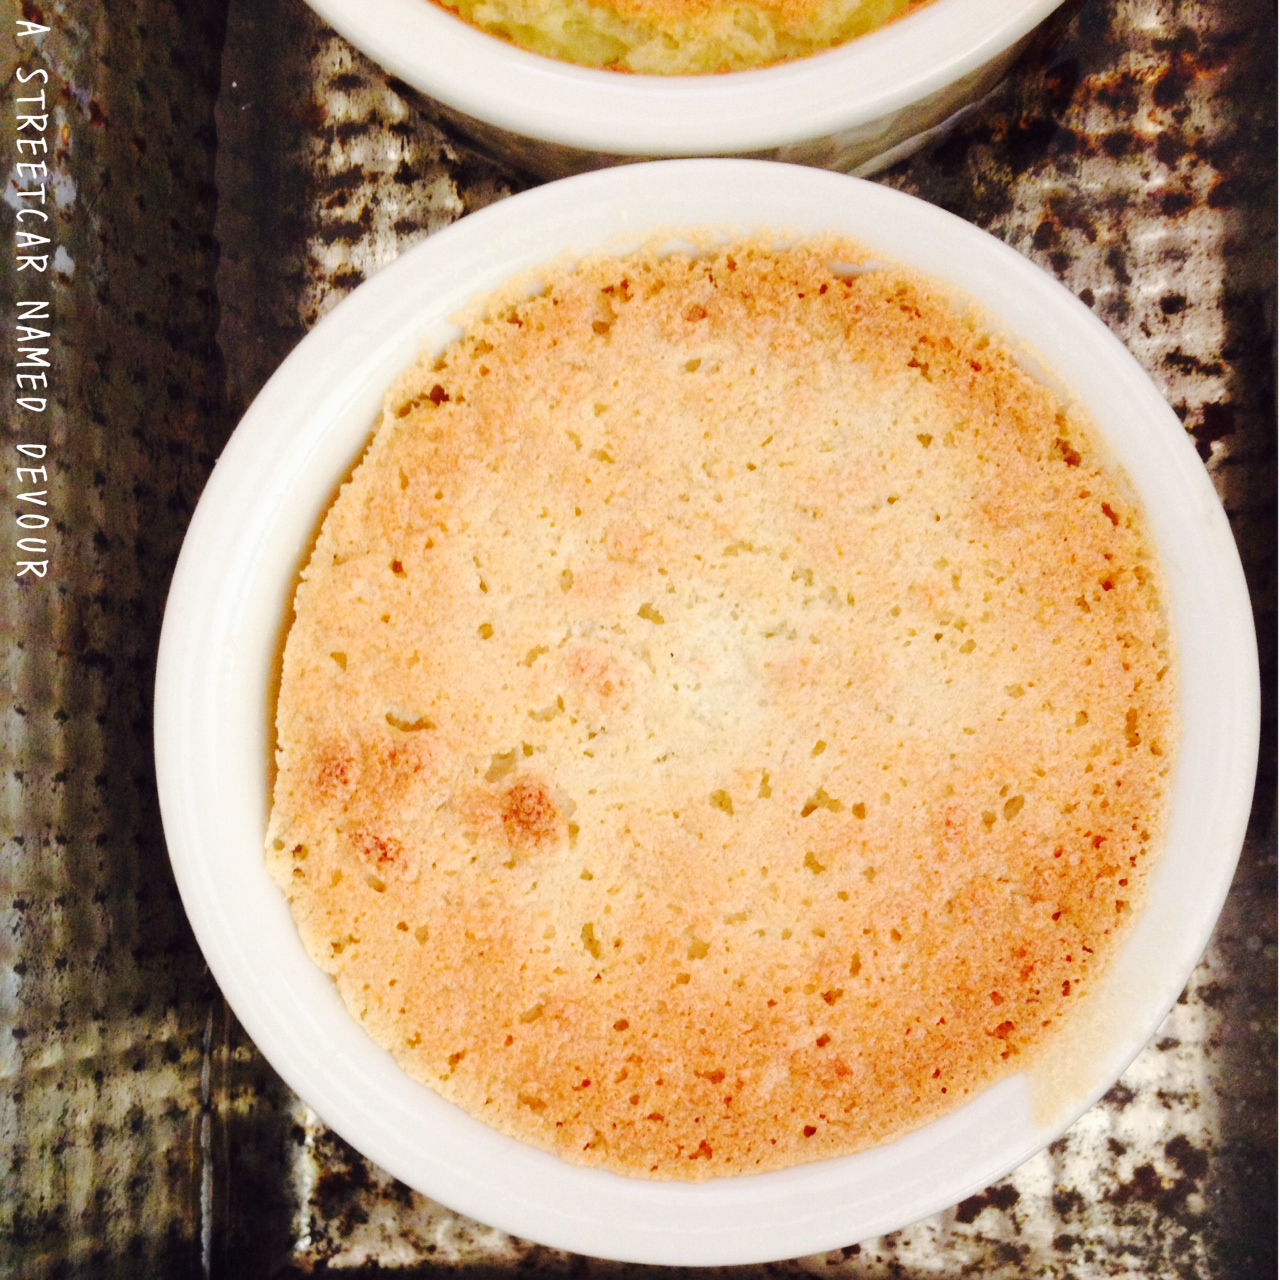
Bake at 325° for 30-45 minutes or until a knife inserted near the center comes out clean and tops are golden brown. (Mine took 45 minutes to bake.) Run a knife around the edges; carefully invert cakes onto dessert plates.
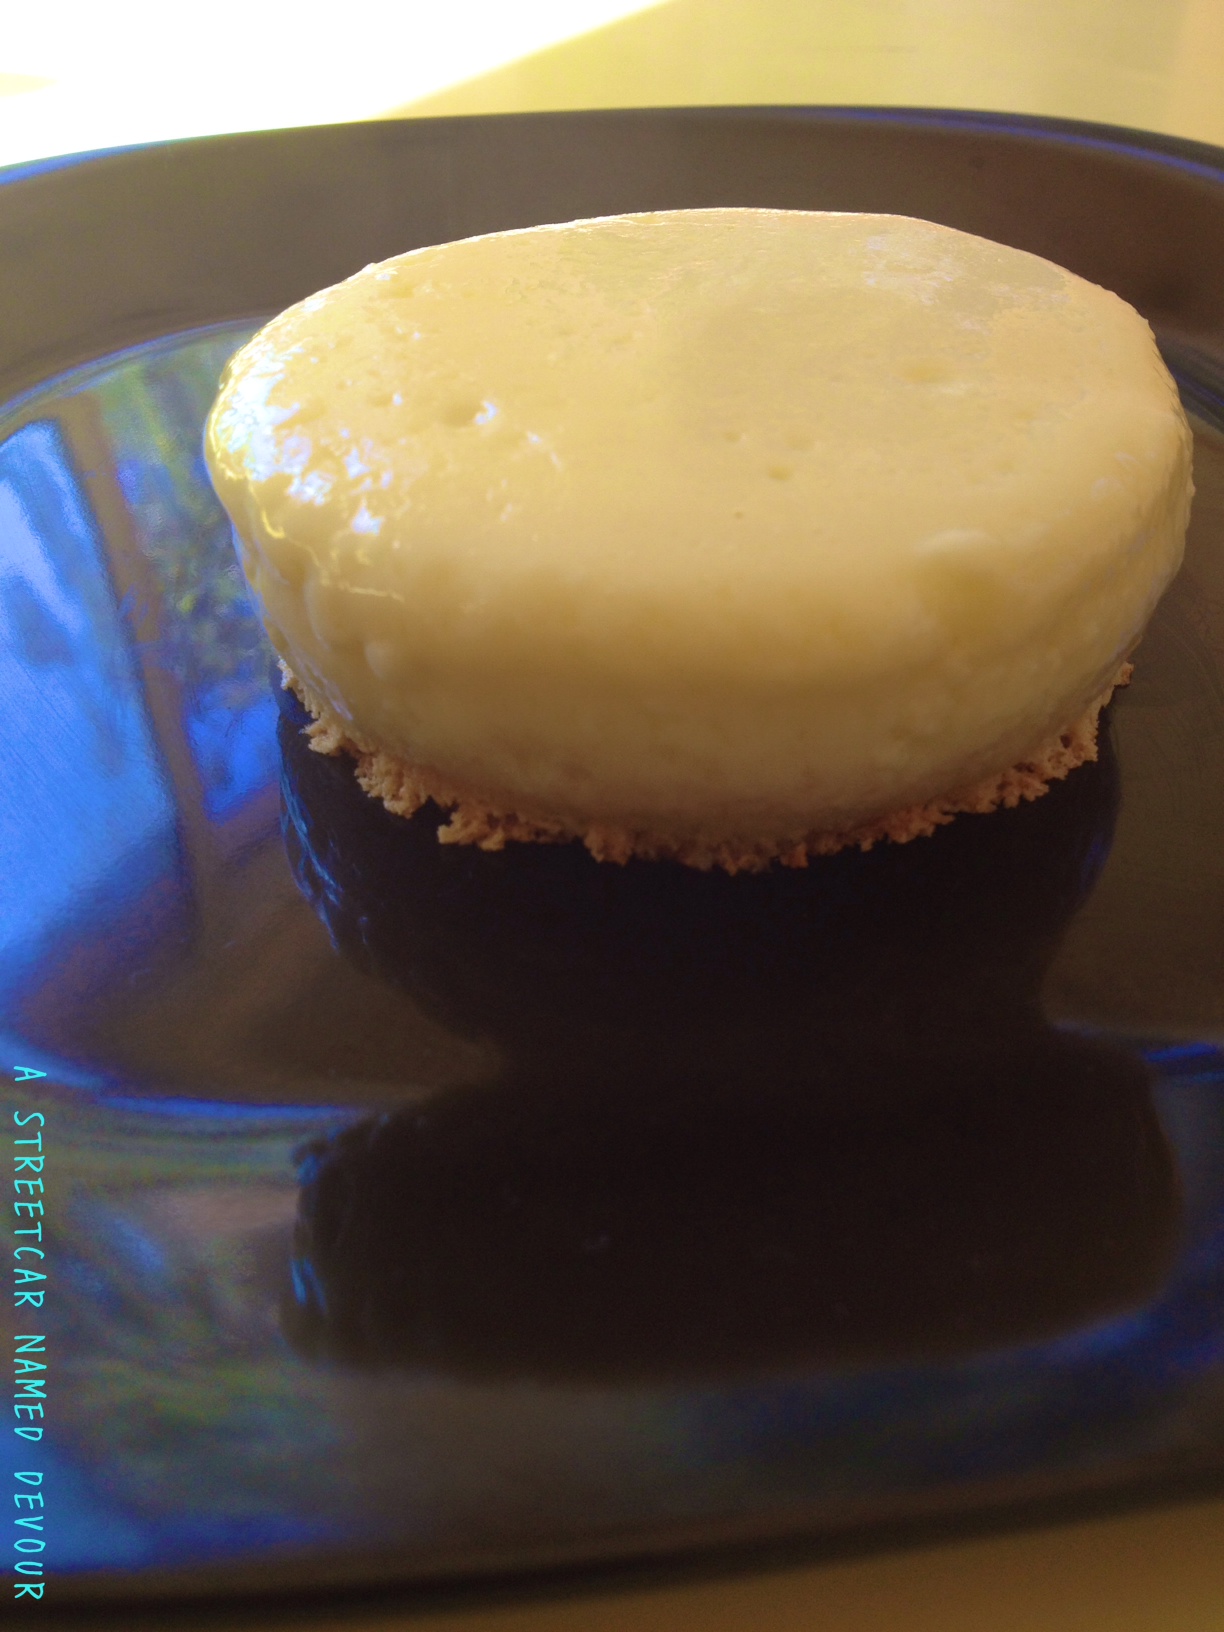
Combine marmalade and remaining lemon juice; drizzle over warm cakes.
Return to main story HERE
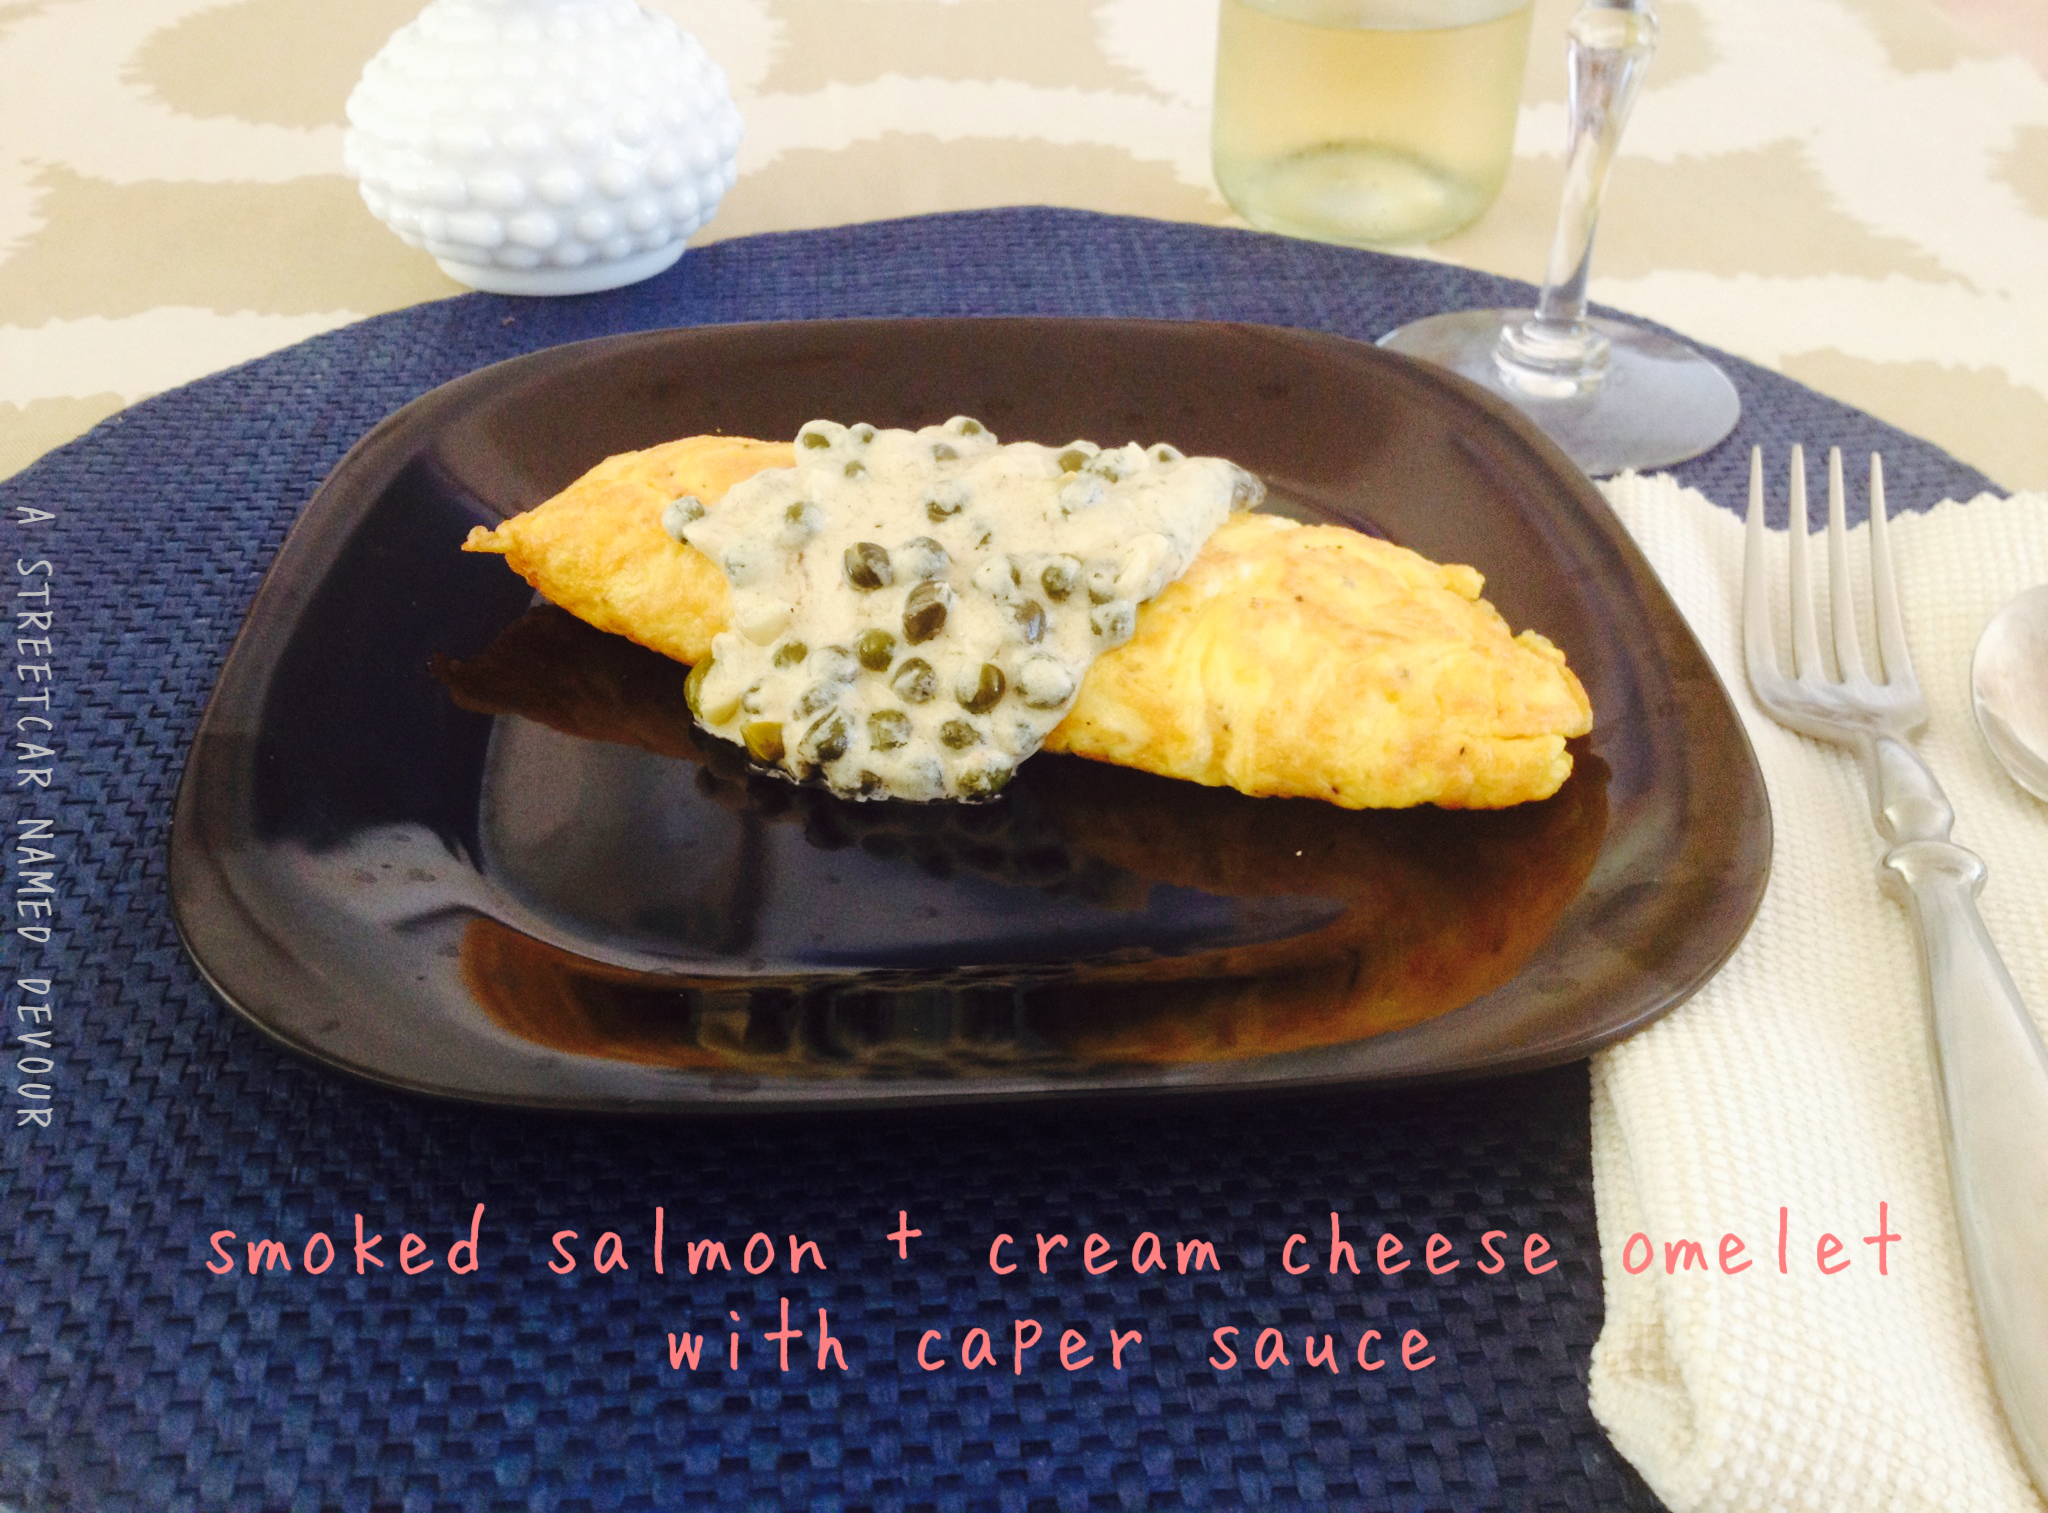
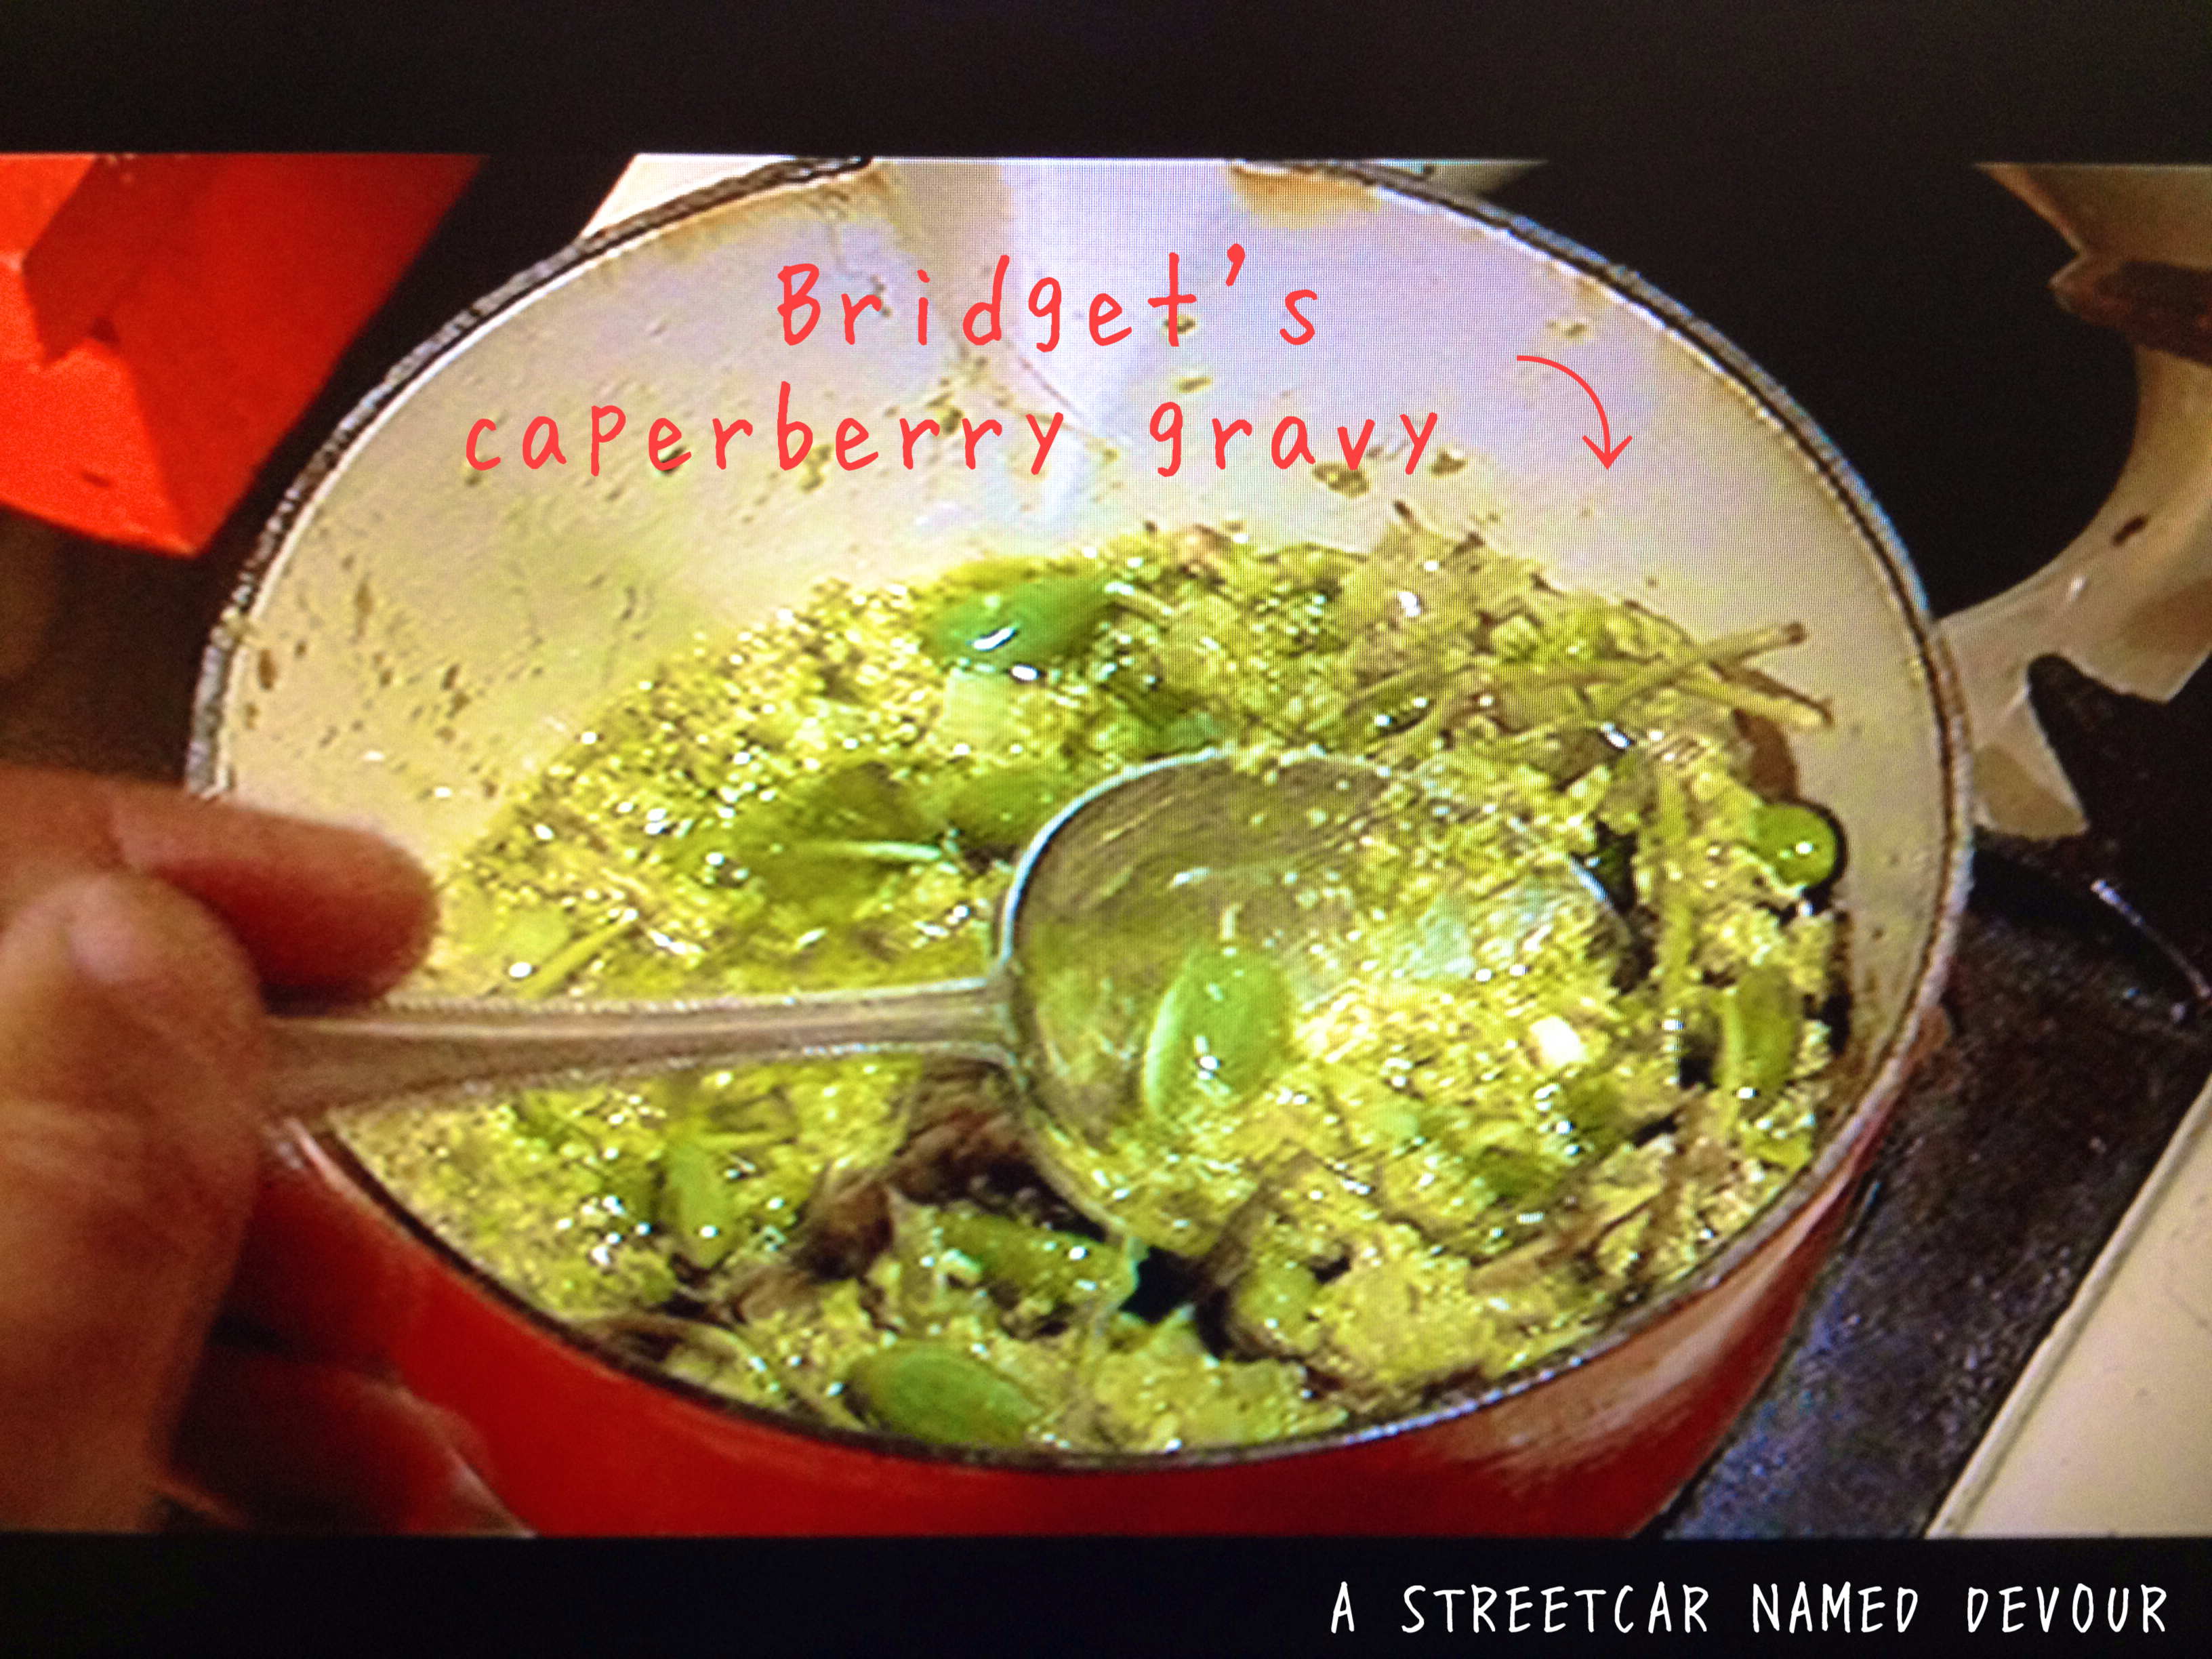
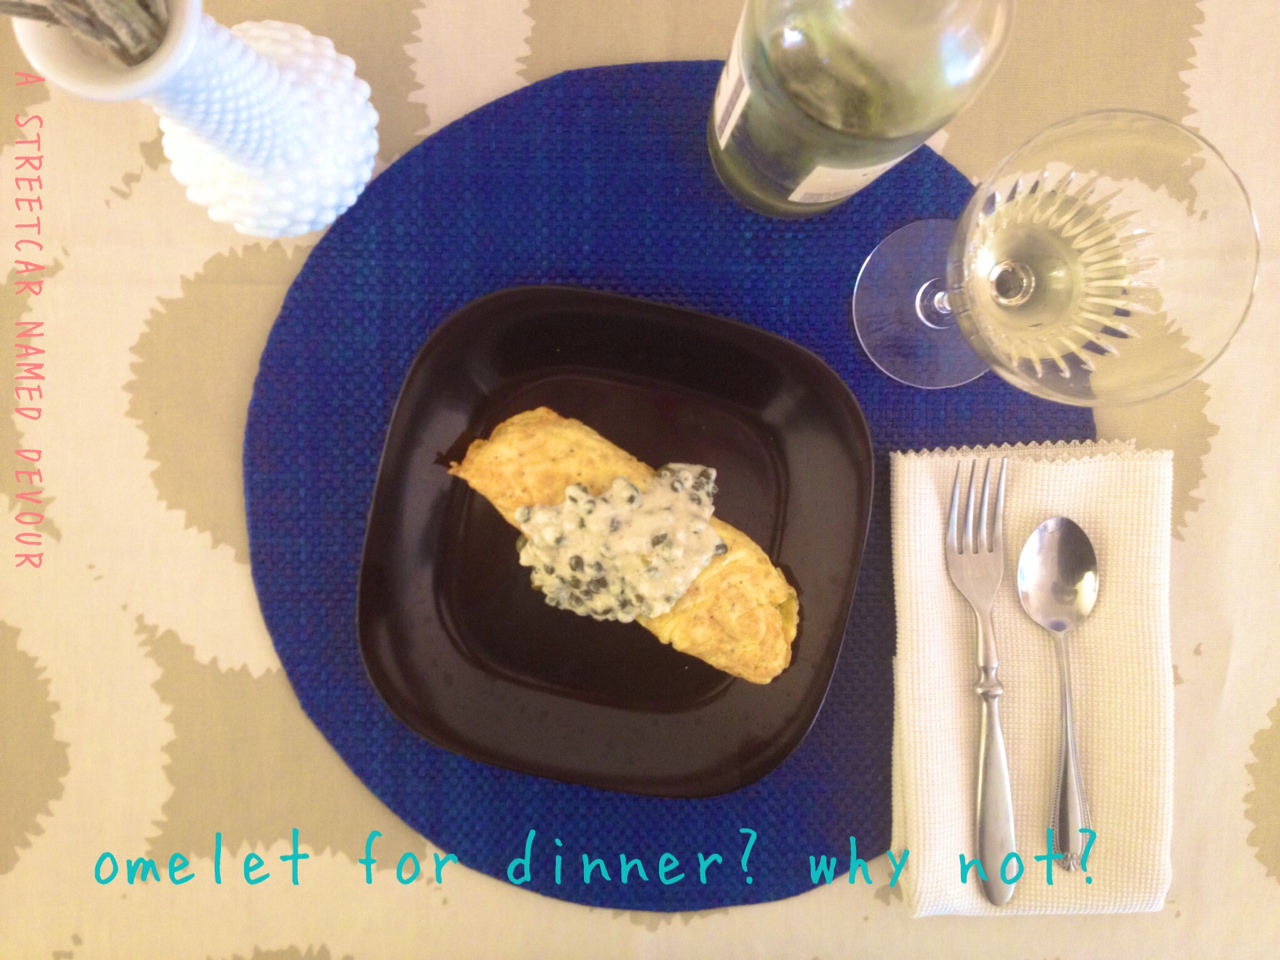
Bridget’s main course malady started when she tried to serve what Mark described as “congealed green gunge.” Caperberries are a bit difficult to find, although many gourmet grocers sell them. (I saw them once at World Market.) I decided to replace the “Caperberry Gravy” with a Caper Cream Sauce (however, if you can easily find caperberries, do use them in this recipe). Capers are the flower buds from the shrub “Capparis spinosa.” The round, teeny, green flower buds are picked, sun-dried and pickled. Caperberries are capers picked after they’ve matured into flowers–fruit the size of an olive–and then later pickled. Both are extremely flavorful and give a nice salty-sour profile. For purposes of this course, I decided on making an omelet stuffed with smoked salmon (“Where the f*ck is the f*cking tuna?!”) and cream cheese, then topping it with a nice creamy caper sauce. The result is a tasty, slightly more filling, alternative.
Smoked Salmon and Cream Cheese Omelet with Caper Cream Sauce
Serves 5
INGREDIENTS
10 tablespoons unsalted butter (2 tablespoons per omelet)
10 ea. eggs, room temperature
3 tablespoons, 1 teaspoon capers, drained
5 tablespoons cream cheese, softened
4 ounces thinly sliced smoked salmon, cut into small cubes (I used Echo Falls Oakwood Smoked Scottish Salmon)
Fresh ground black pepper, to taste
METHOD
Gather 5 small bowls and place two eggs in each one. Whisk the eggs in each bowl with a fork, incorporating a lot of air into the eggs till they’re nice and fluffy. Season with black pepper.
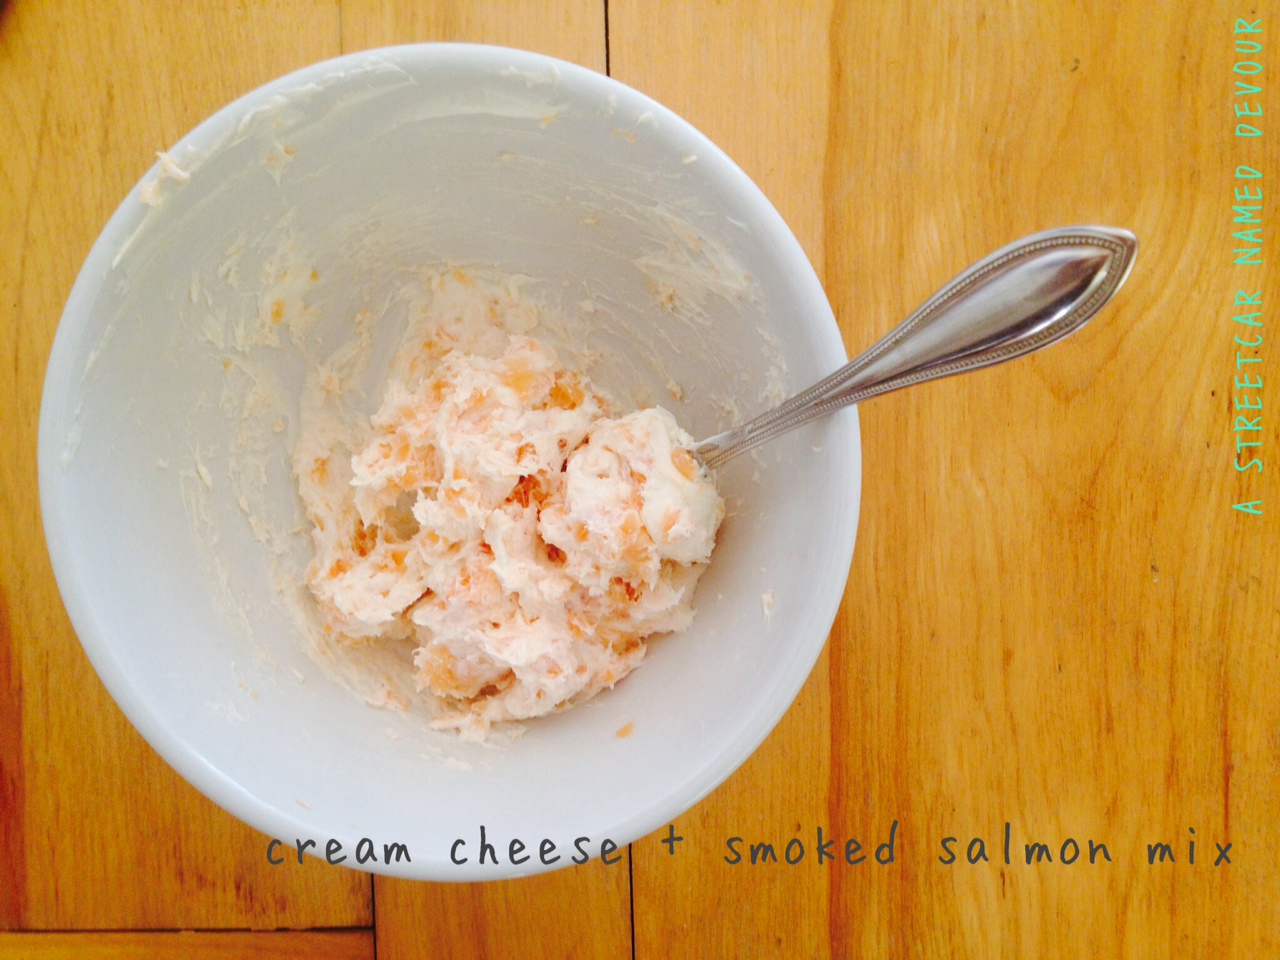
In a separate medium bowl, place the softened cream cheese and cubed smoked salmon chunks and mix with a rubber spatula.In a non-stick pan and over medium heat, melt 2 tablespoons of butter, swirling the butter so that the entire surface of the pan is coated.
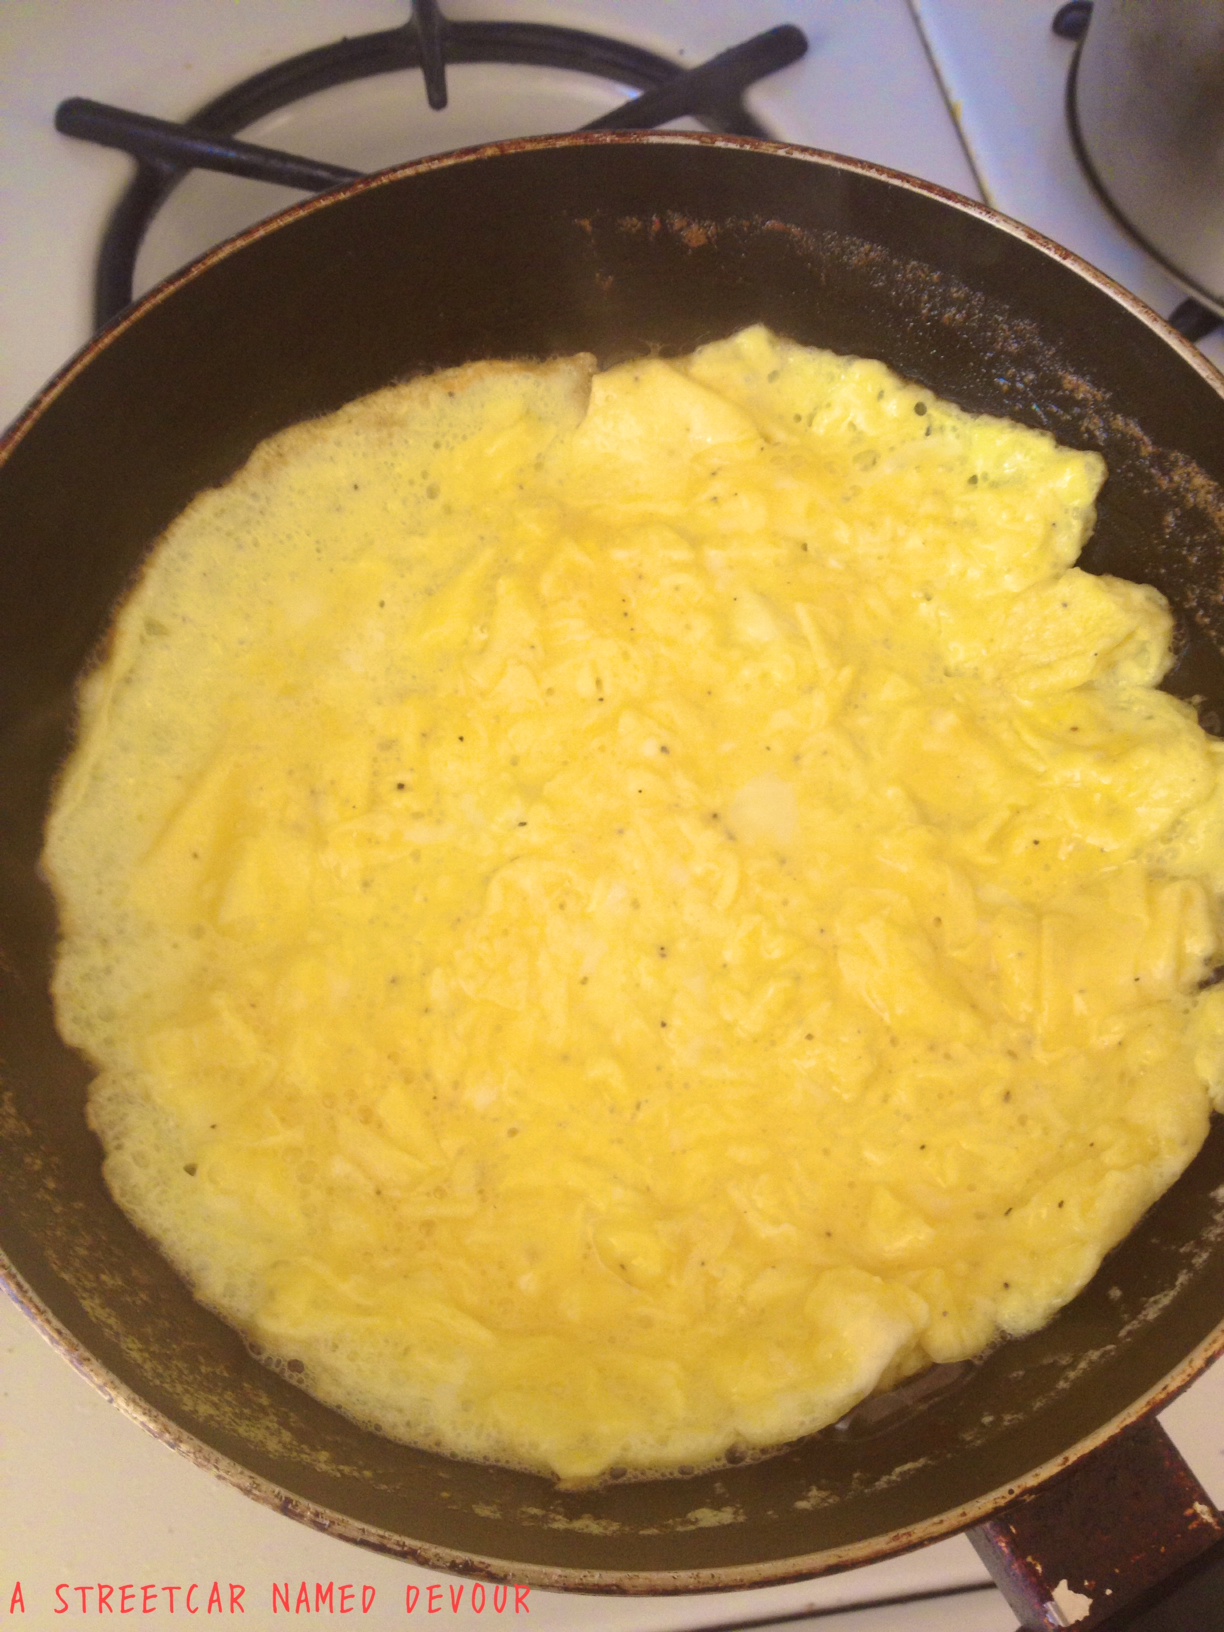
Pour the first bowl of eggs into the center of the pan and continue to scramble using a fork till the eggs begin to set, about 5 seconds. Once the egg mass begins to form, lift the pan and swirl it around until the excess liquid pours off into the pan. Using a rubber spatula, move it around the edge of the egg mixture to help shape into a round and loosen the edge. Let the omelet sit in the pan for about 10 more seconds.
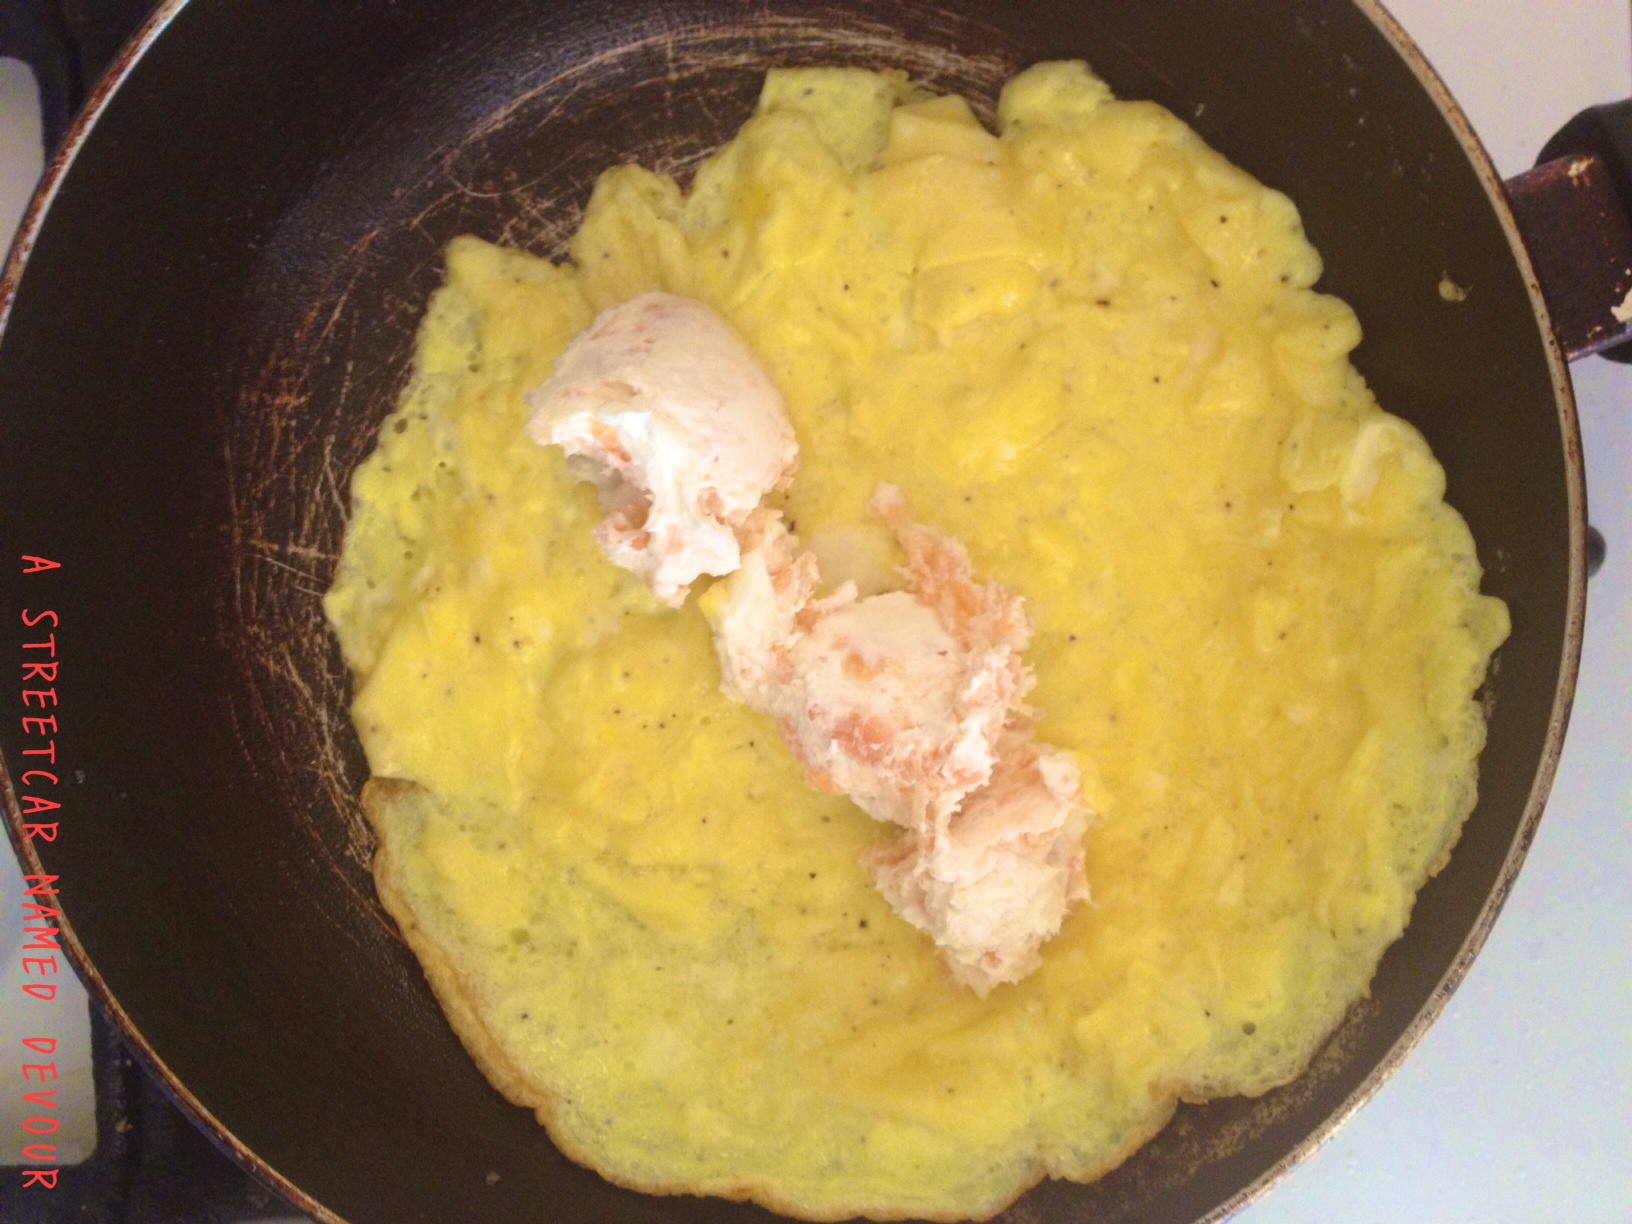
Spoon the center of the omelet with the cream cheese-smoked salmon mixture (don’t smear it on there). Using the rubber spatula, loosen the eggs from the pan, tilting the pan up so that the egg “rolls” into a French omelet.
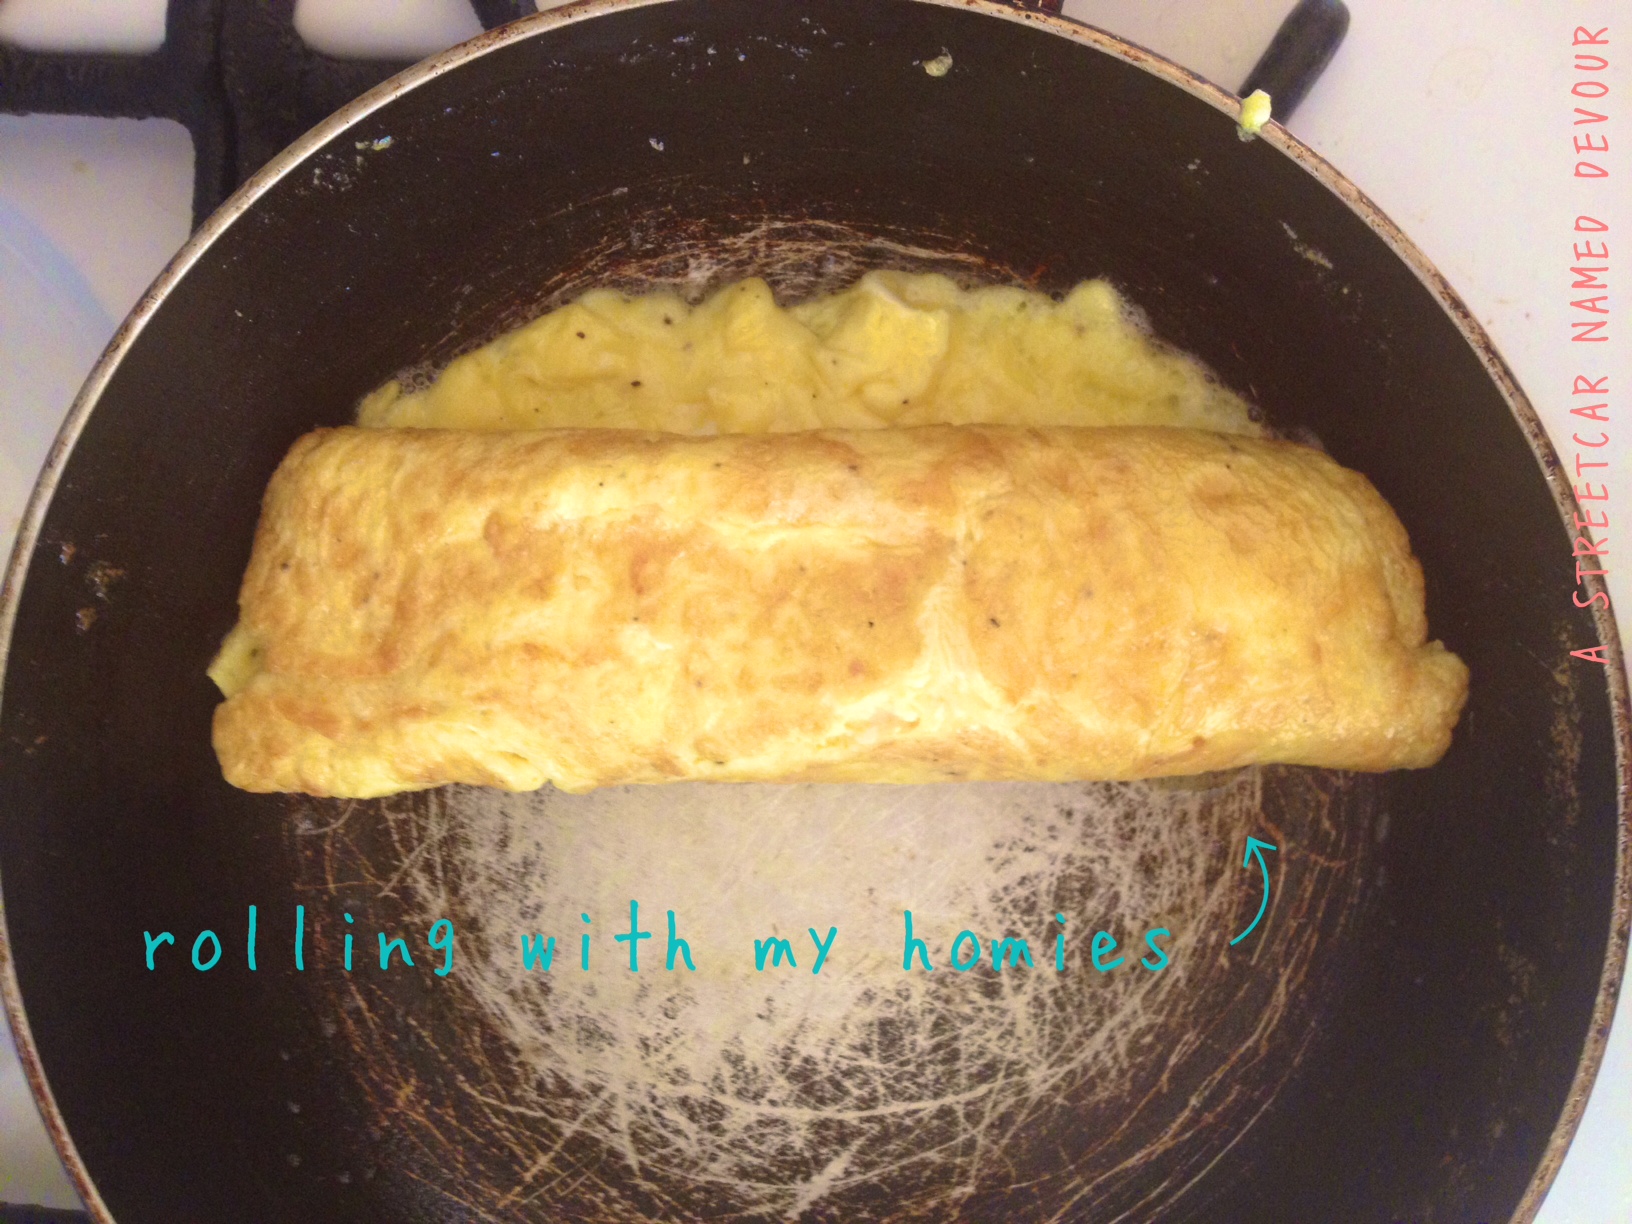
Guide the eggs to roll with your spatula, being careful not to tear the egg surface. Continue to roll the eggs into a plate. Repeat with the rest of the eggs.
Top with Caper Cream Sauce (Recipe below)
Caper Cream Sauce
Recipe slightly adapted from Epicurious
Serves 5
INGREDIENTS
1 1/2 tablespoons unsalted butter 1/3 cup capers, drained
2 ea. garlic cloves, minced
1/2 cup white wine
1 1/2 cups whipping cream
Freshly ground black pepper, to taste
METHOD
In a medium sauce pot over medium heat, melt the butter and then add the garlic. Allow it to saute till it turns a light golden brown, then add the capers, stir for 1 minute. Add the white wine and allow the liquid to reduce by about half, then add the whipping cream and bring to a boil, stirring to remove any clumps. Once the liquid has started to boil, reduce to medium-low and allow for the sauce to thicken till it nicely coats the back of a spoon. If the sauce is too thick, add a bit more whipping cream, stirring to incorporate. Season with black pepper.
Spoon a generous dollop atop the omelets. Serve.
Return to main story HERE

In the first course, Bridget ties some leeks together with blue string. The string’s dye is steeped into the soup, making her otherwise leek soup a “Blue Leek Soup.” I modified the recipe by adding some celery root, creme fraiche and a few drops of homemade natural blue food coloring.
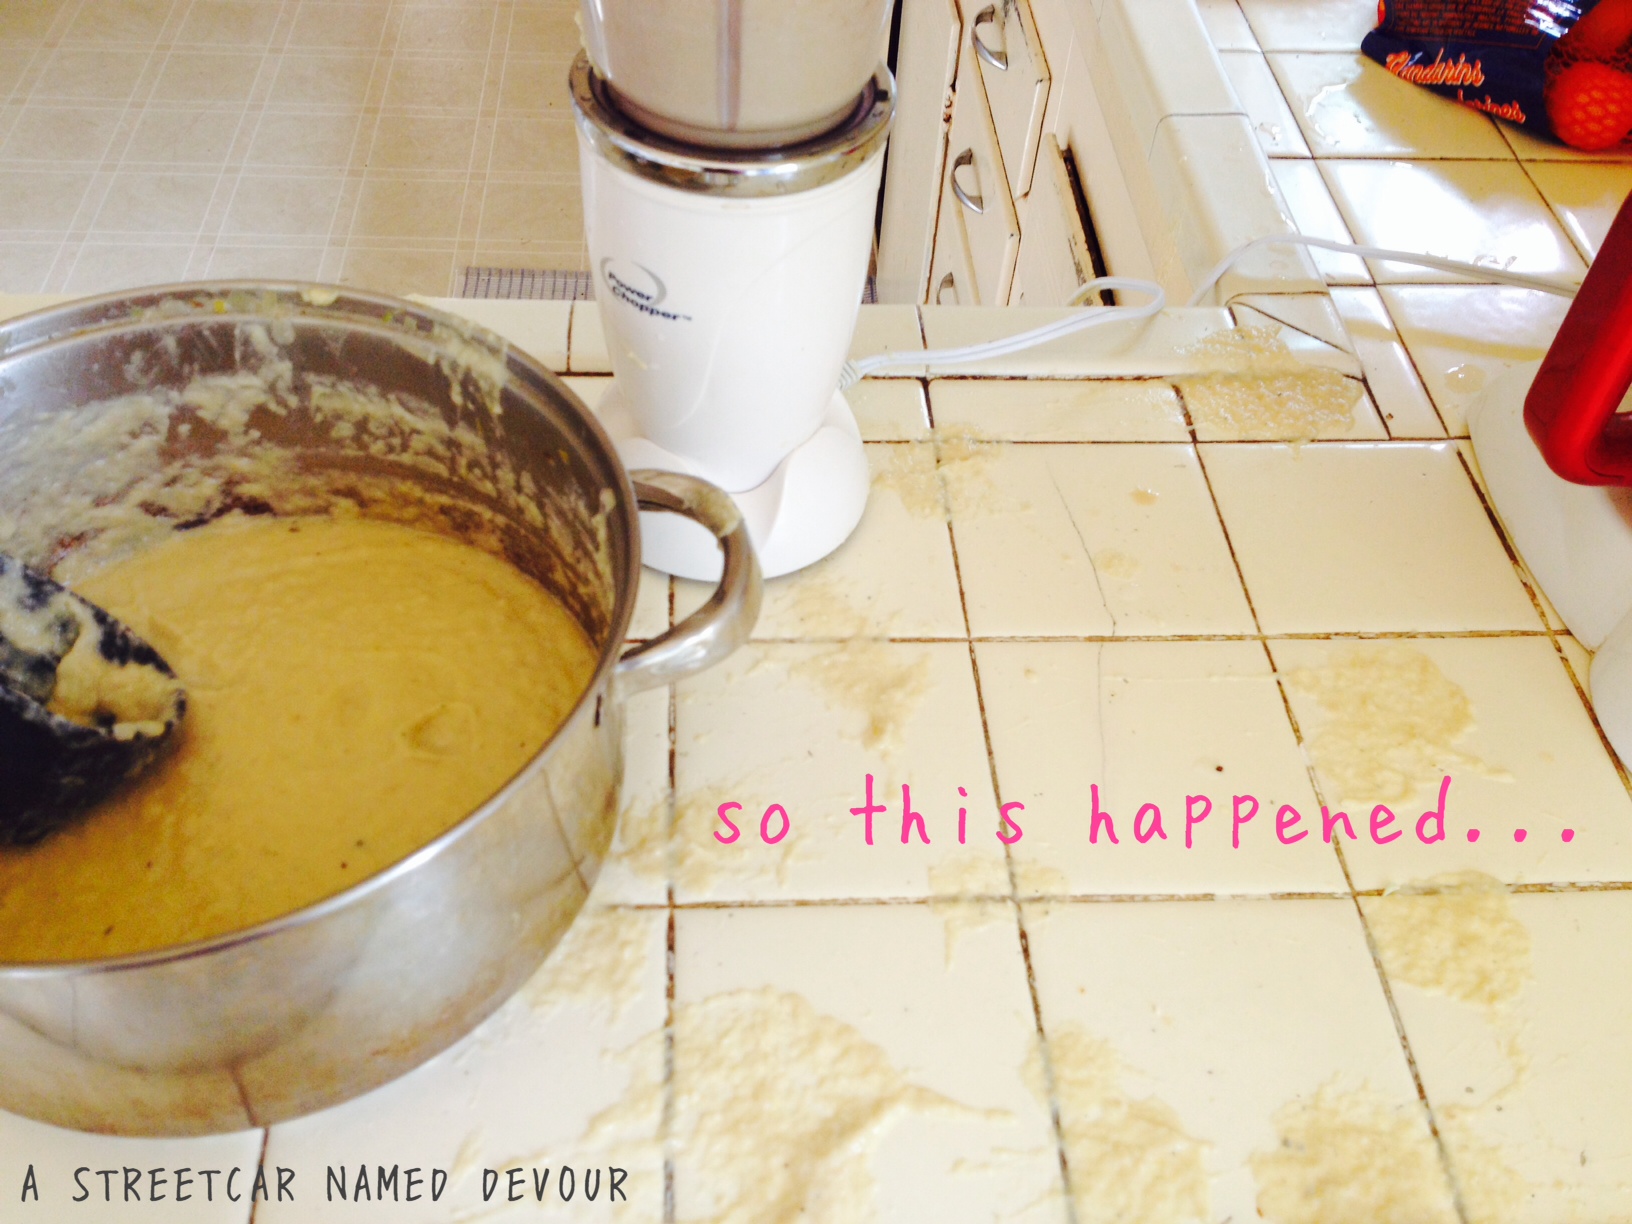
This is a pureed soup, so make sure that your soup base is slightly cooled before pureeing. You want to avoid the possible classic Bridget moment that I (unintentionally) happened to have. I guess you can say that I really was unconsciously channeling my inner Bridge: Whilst using my Power Blender (emphasis on power here) I had placed a bit too much soup into the machine and much of this very very HOT soup mixture came flying at me and all over my kitchen counter! In pure Bridget fashion, I cursed the blender and went for another glass of wine.
Bridget’s Blue Soup
Recipe slightly adapted from Fine Cooking
Serves 5

INGREDIENTS
2 tablespoons unsalted butter
2 ea. small leeks (use the white and light green parts only) trimmed, halved lengthwise, cut crosswise into half-inch half-moon slices, rinsed thoroughly
1 small onion, small dice
1 1/2 teaspoons kosher salt, additional to taste
1 pound celery root (about 1 ea. medium)
2 1/4 cup vegetable stock
2 cups water
1/2 cup white wine
1/2 cup creme fraiche (sour cream will work, too)
1 cup half and half
Freshly ground black pepper, to taste
Homemade blue food coloring (Recipe also here)
METHOD
In a large heavy-bottomed pot, melt the butter over medium-low heat. Add the leeks, onion, salt and pepper. Cook while stirring occasionally until softened and a light golden color, about 15 to 20 minutes.
While you’re cooking the leeks and onions, wash and peel the celery root with a peeler or sharp paring knife. Use a sharp chef knife to halve the peeled celery root lengthwise and cut each half into 1-inch-thick wedges and then into medium-size dice.

Once the leeks and onions are softened, add the celery root, 2 cups water and the vegetable stock to the leek onion mixture. Cover and cook until the celery root is tender, about 15 to 20 minutes at a medium-low heat. (Be sure to check the vegetables occasionally; if all the water cooks off and the vegetables start to go brown, add another 1/4 cup of stock). Continue to cook another 20 minutes or until the celery root is tender. Remove from heat and allow to cool slightly.
Purée the soup (with a hand blender, food processor or in small batches in a stand blender) to a very smooth, creamy consistency.
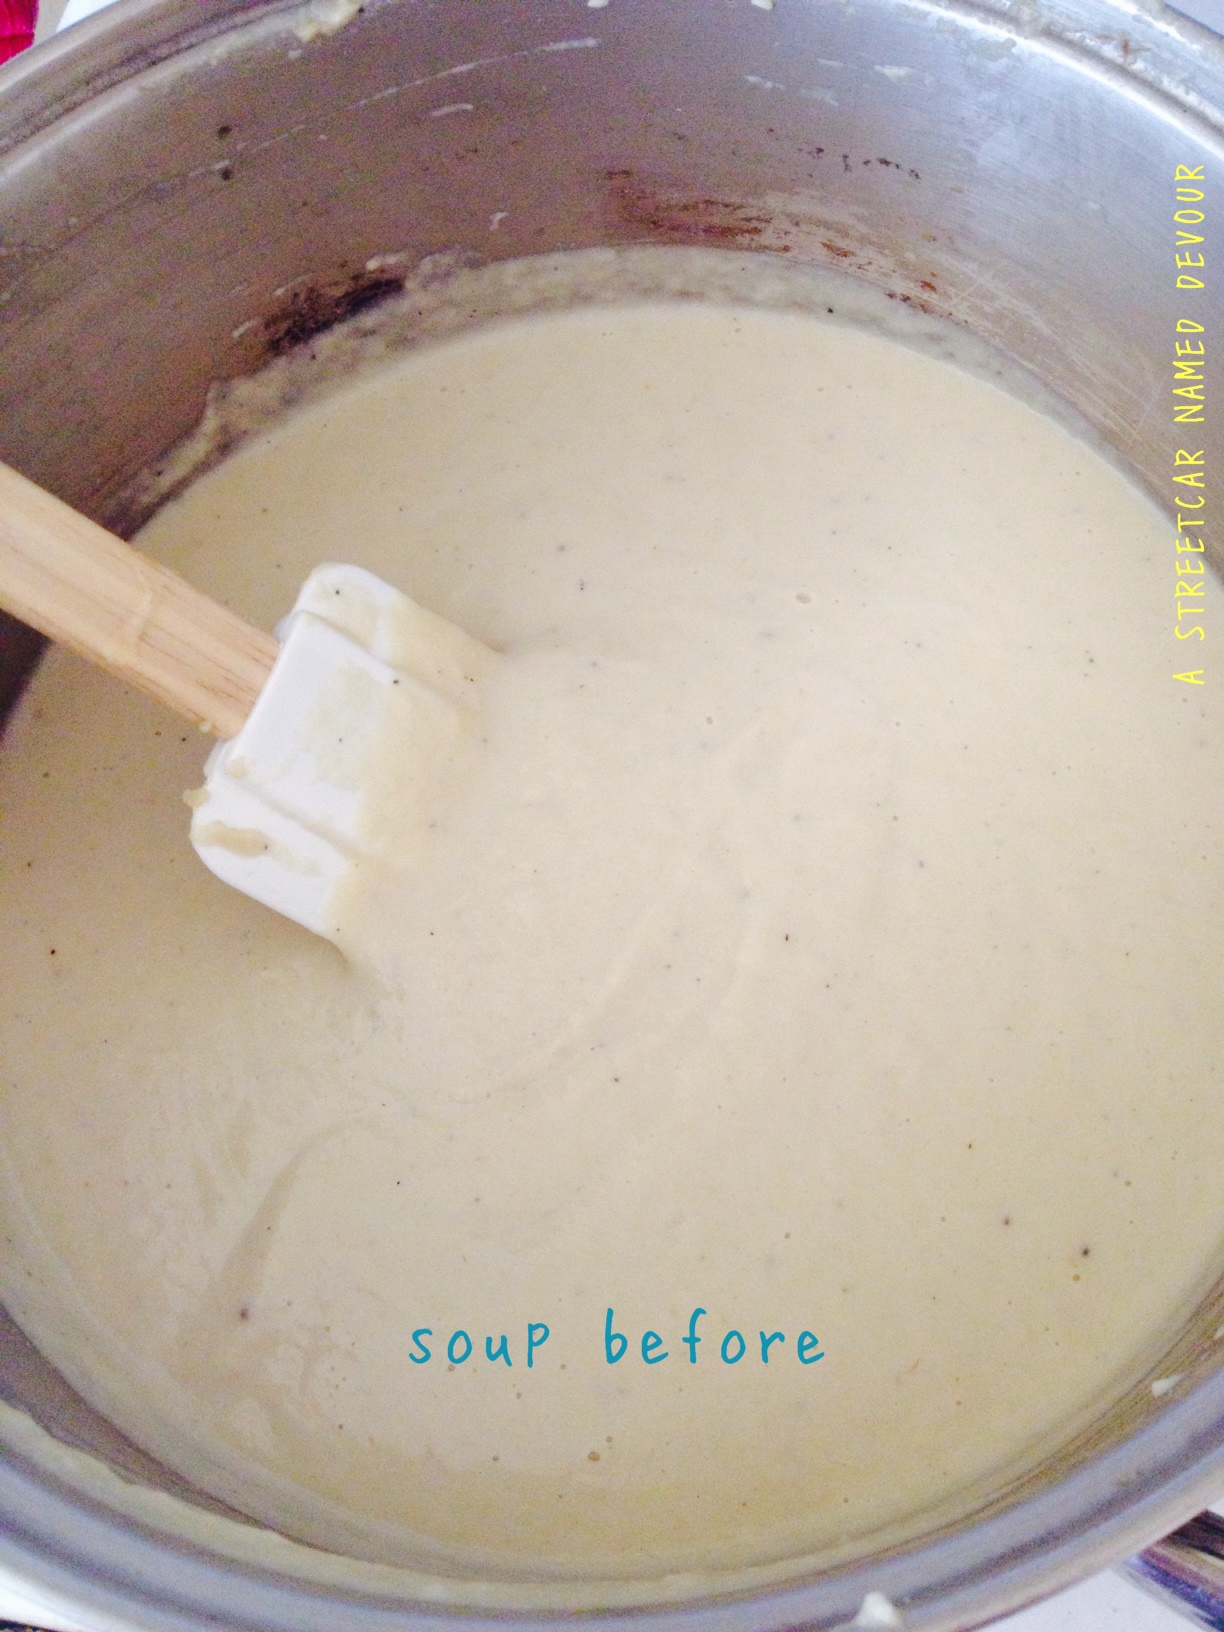
Return the pureed soup to the soup pot. Add in the half and half and the crème fraîche (or sour cream) to the soup and mix well over medium-low heat to fully incorporate. Season to taste.

Add in a few tablespoons of your homemade blue food coloring (I used about 6) until it’s a nice blue color.
If you’re not serving the soup immediately, allow to cool completely and then store in the refrigerator at least overnight or for up to two days.
When reheating the soup (always reheat to at least 165 degrees Fahrenheit) if it becomes too thick, gradually thin it out with no more than 1 cup water. Taste and add more salt and pepper as needed. Ladle the soup into small bowls.

Return to main story HERE