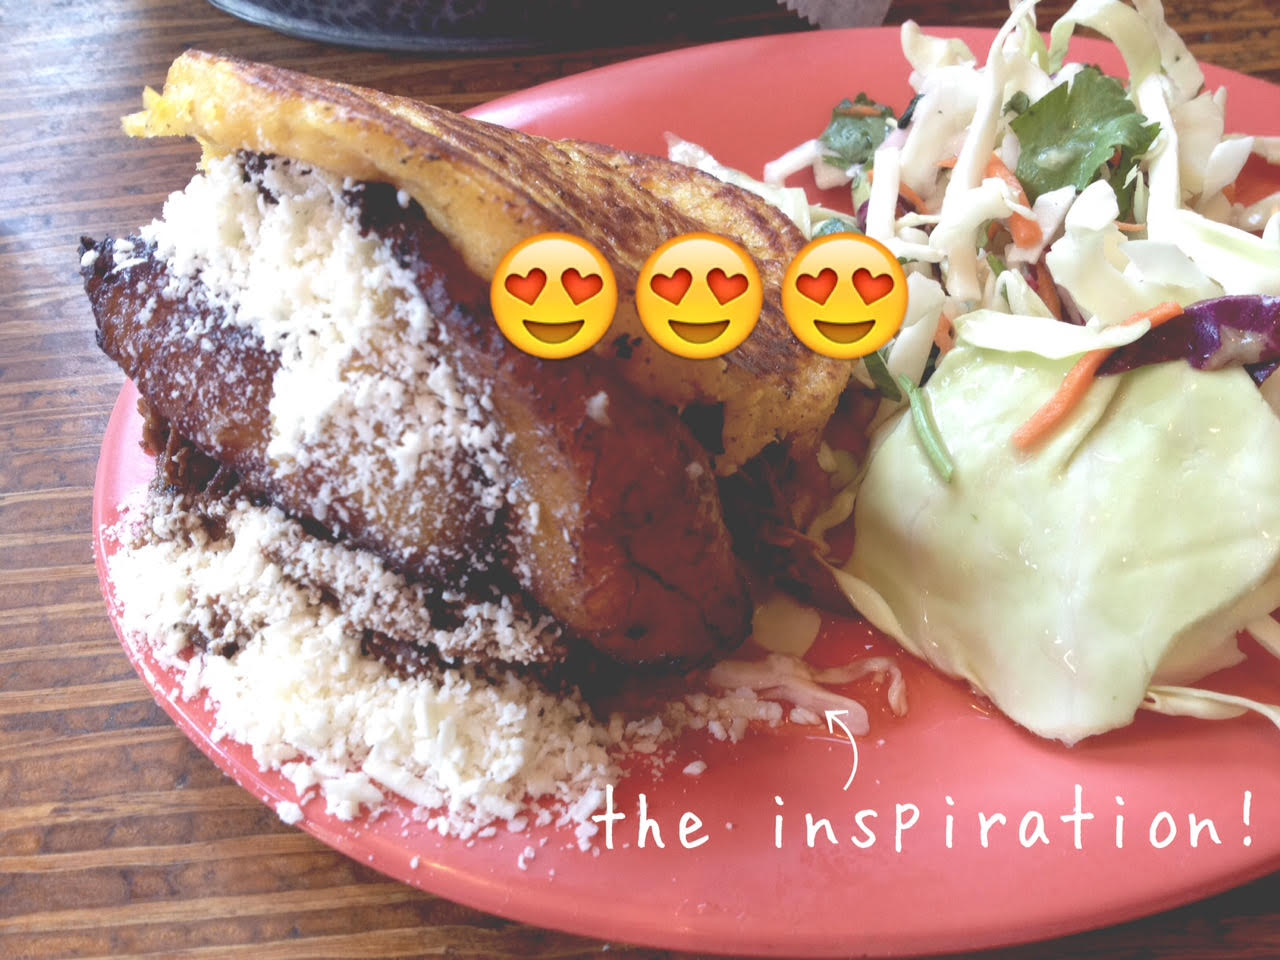
My first memory of devouring halo-halo (pronounced hollow-hollow, and Tagalog for “mix-mix”) was at an early age at Magic Wok, a Filipino restaurant in L.A. close to where I grew up. (The restaurant is luckily still around, but it’s now called Crispy House, I highly recommend checking it out if you’re ever in L.A.) The food was soooo good; the best Filipino food I’ve ever had–crispy pata (fried pork belly), Shanghai lumpiang (Chinese-style deep-fried egg rolls), chicken adobo (braised chicken in herbs, vinegar and soy sauce), pancit bihon (stir-fried rice noodles), and of course, the house special halo-halo, a shaved ice/ice cream dessert with milk, Spanish flan, and various beans. Yes, beans. As in, frijoles.
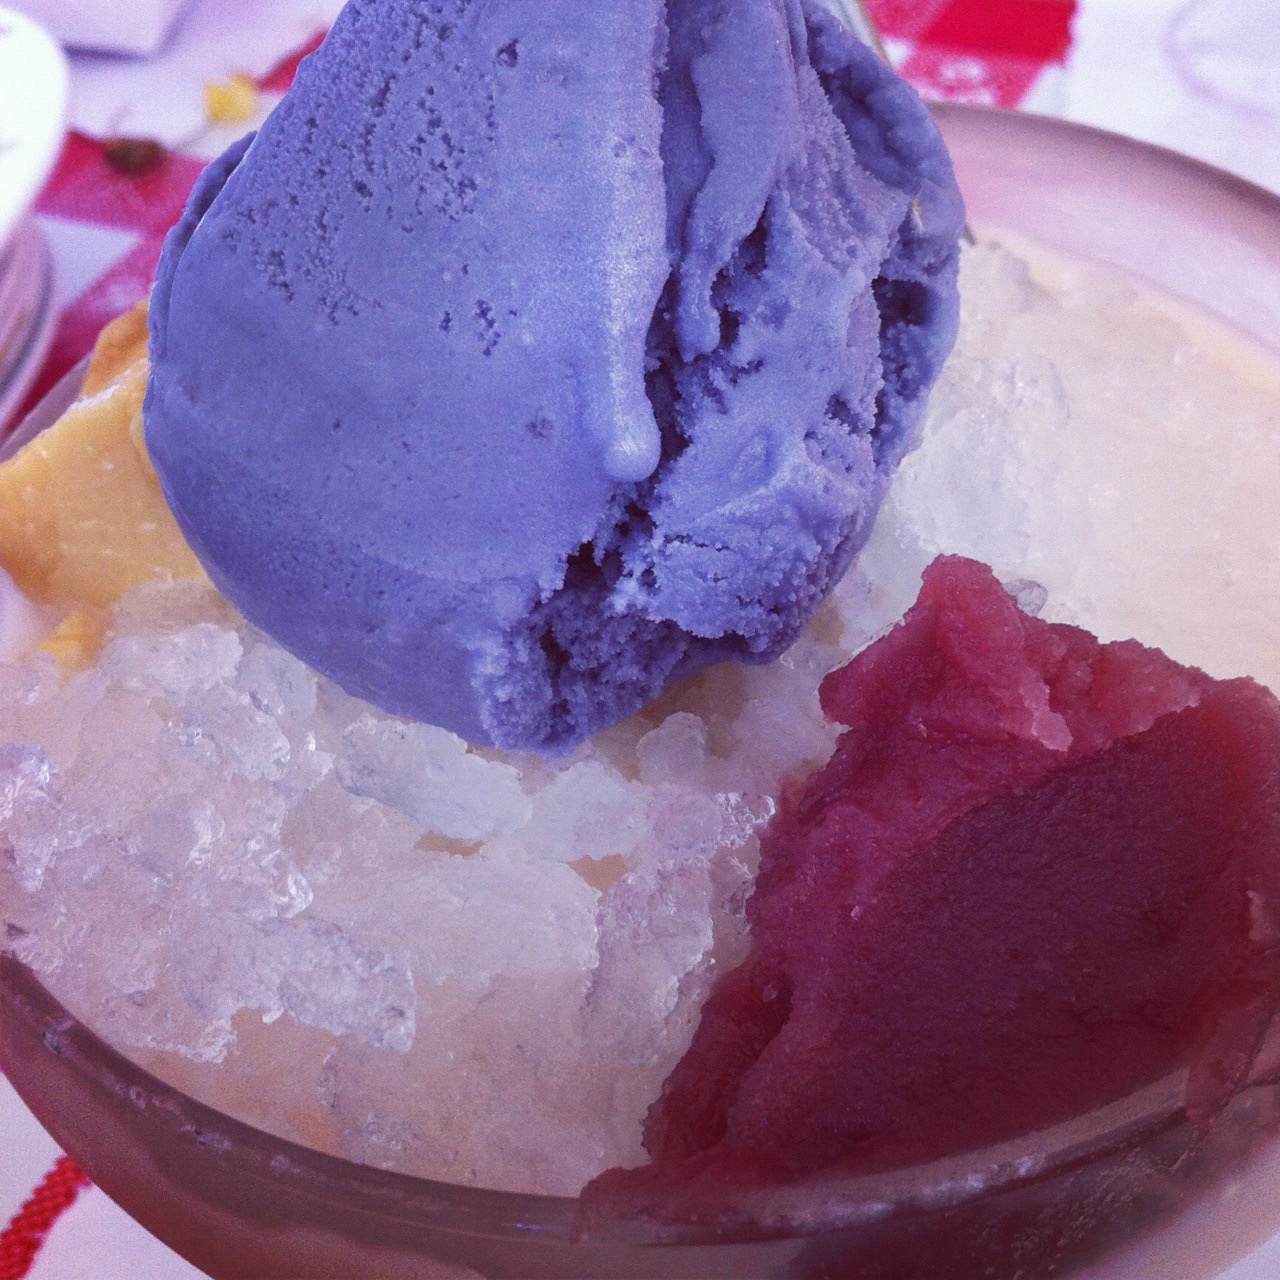
the inspo: Halo-halo at Magic Wok circa 2012
Anthony Bourdain tried it for the first time on his show, Parts Unknown, and described it as, “It makes no goddam sense at all; I like it,” and “it’s oddly beautiful.”
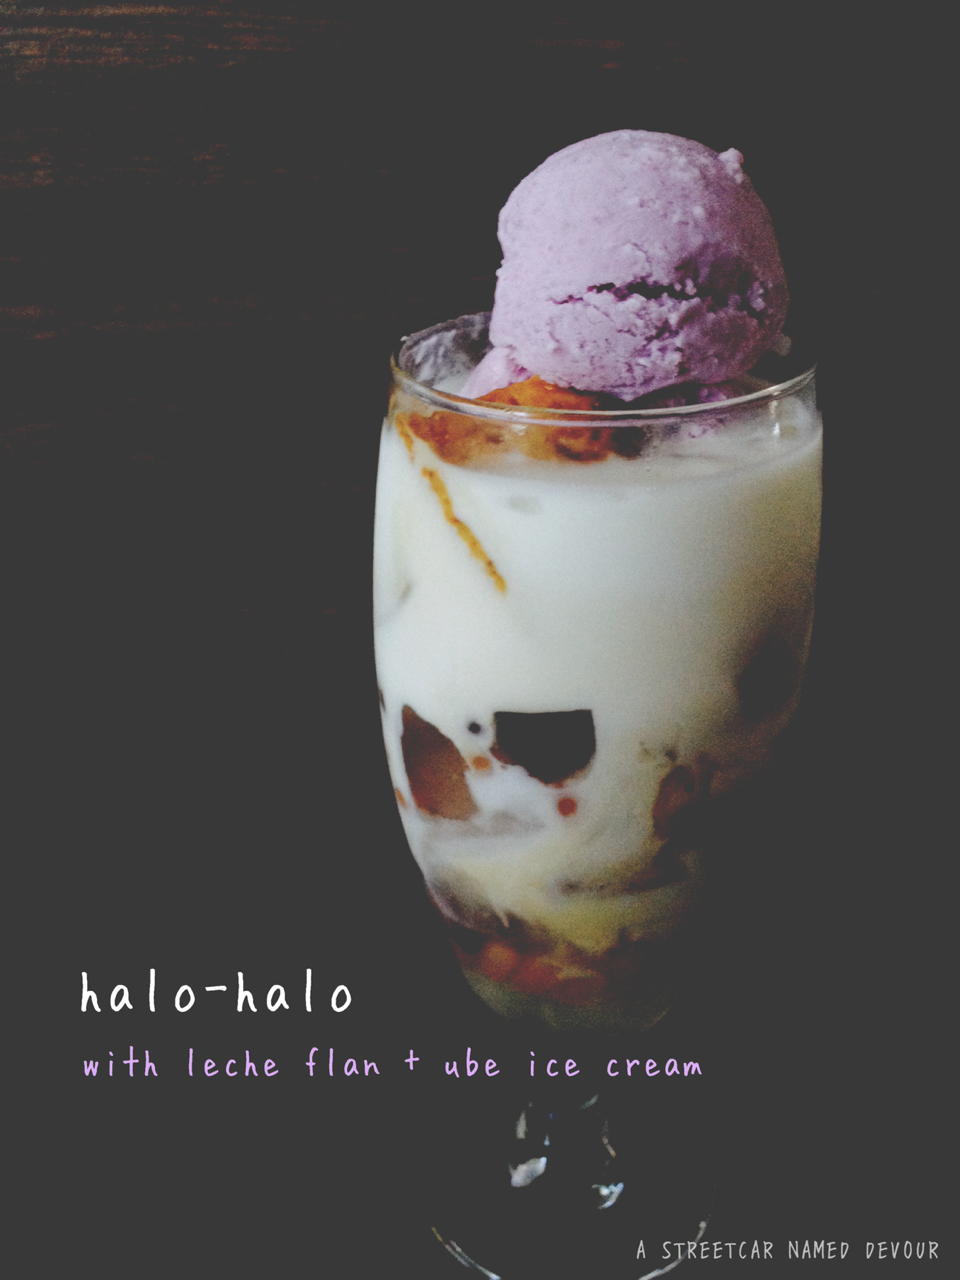
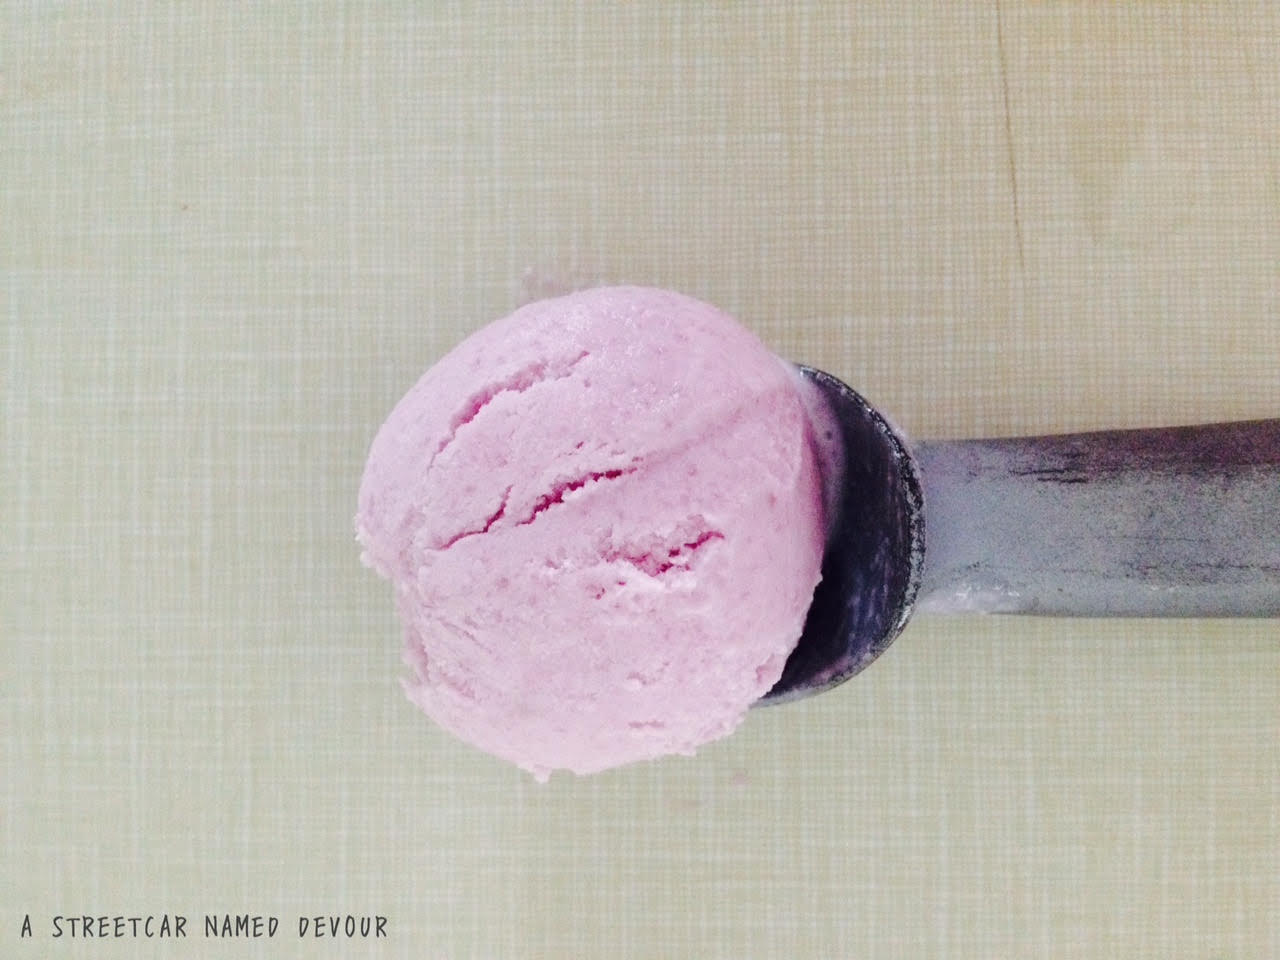
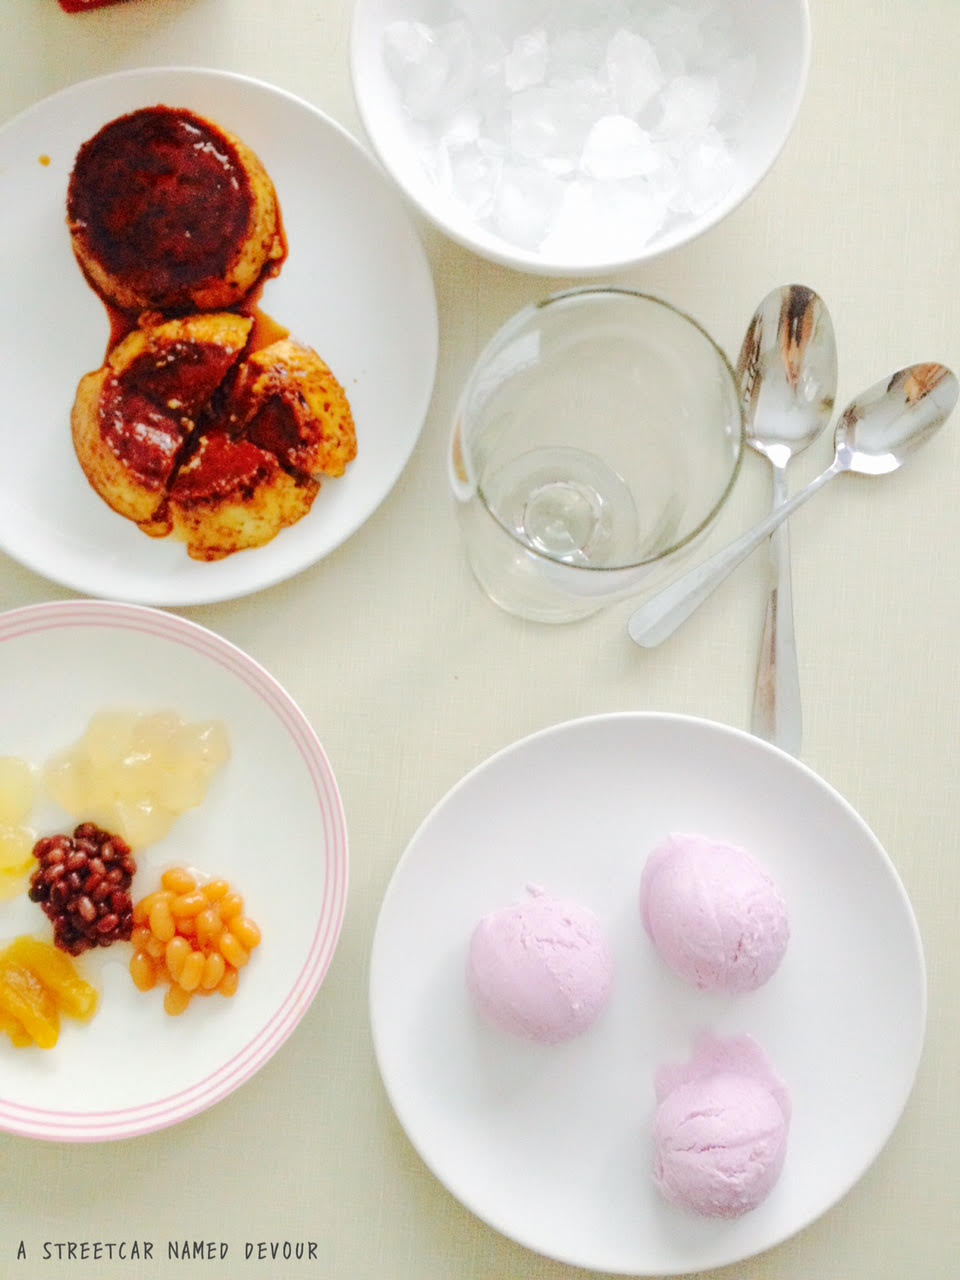
The standout part of halo-halo is the bright purple scoop of ice cream gracing the top of the ice-cold glass, called ube, a naturally-hued purple yam. Yes, yam. Yes, it’s purple. And it’s delicious.
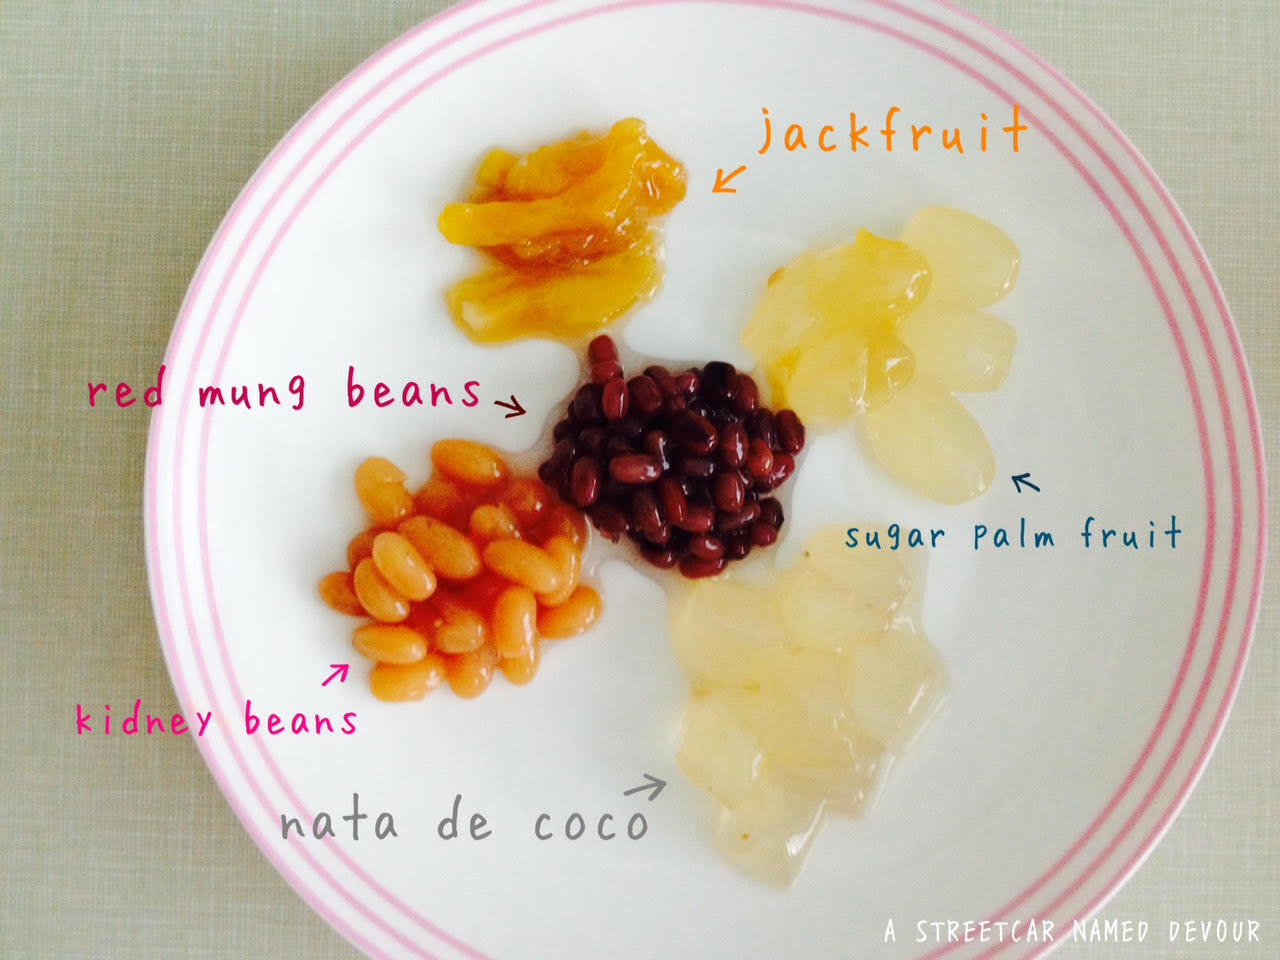
Alone the beans, milk, ice cream, flan, shaved ice, and chunks of jackfruit and various jellies, are odd, but once mix-mixed, the blend of savory, sweet, creamy, caramel and sometimes tangy work perfectly well together. It actually works.
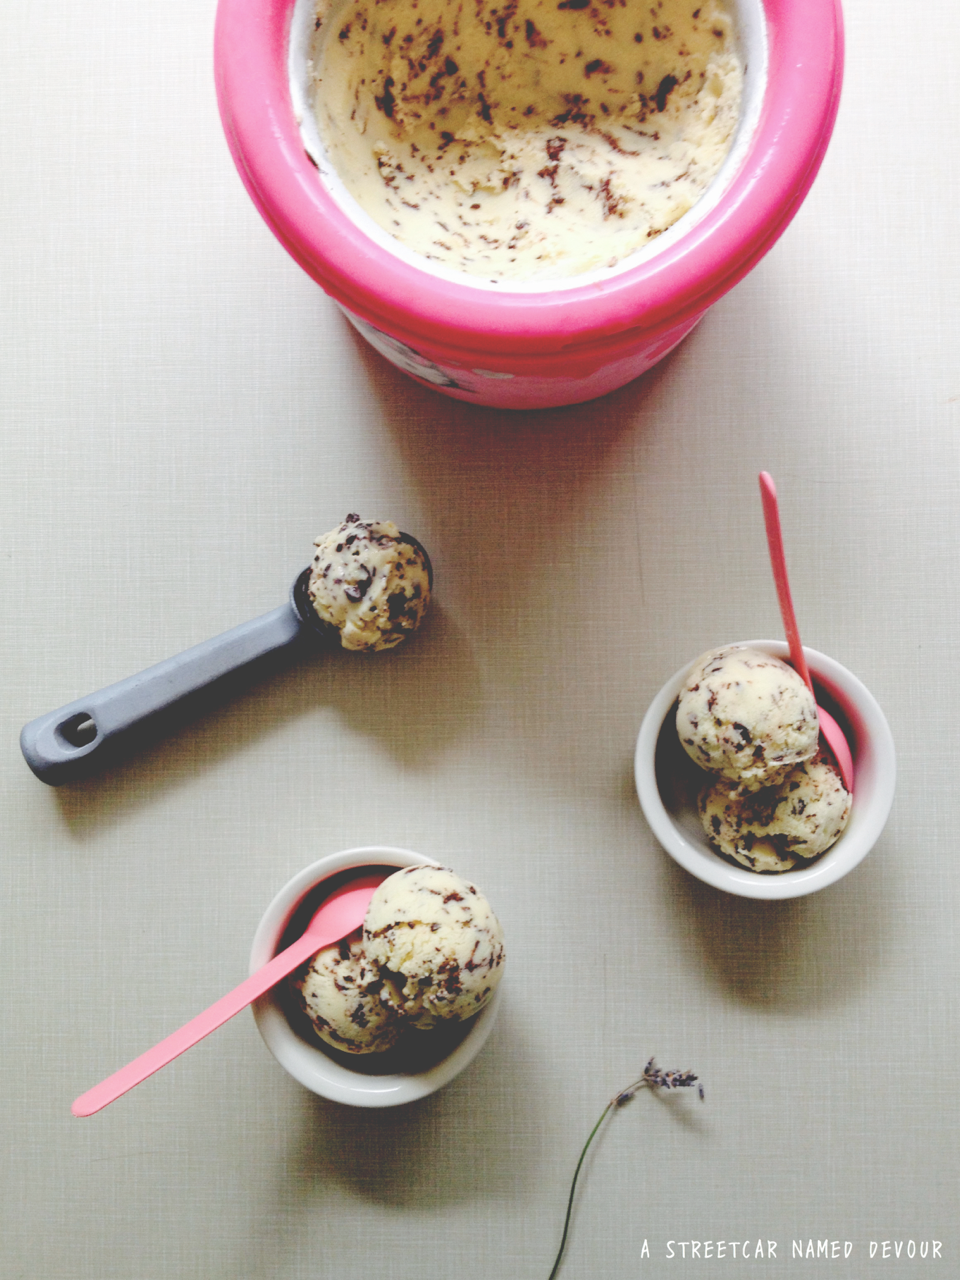
The key to enjoying halo-halo to its fullest is doing exactly what its name asks: mix! And mix! Use a long spoon to mix all the layers of ingredients together.
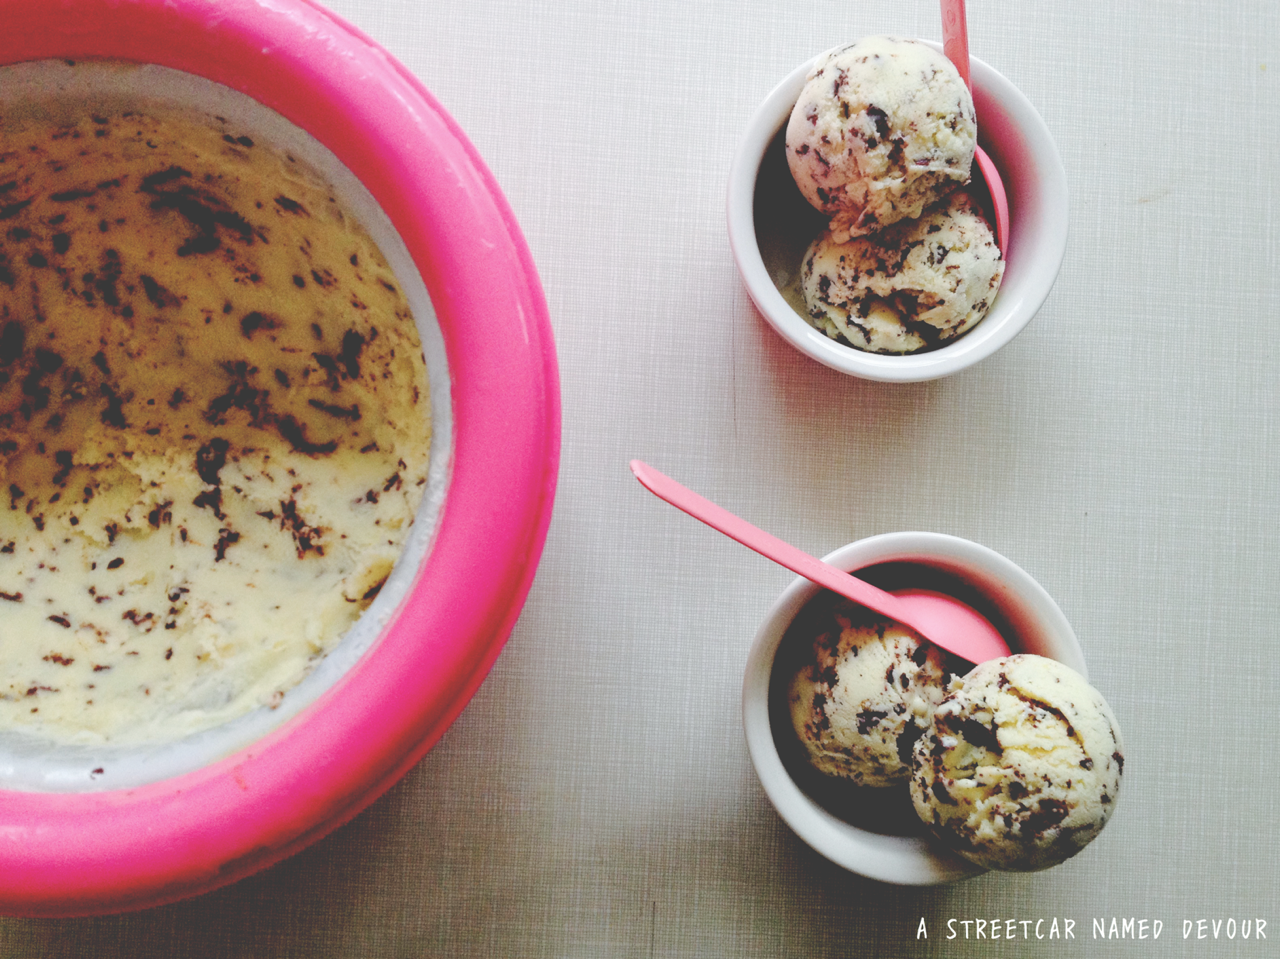
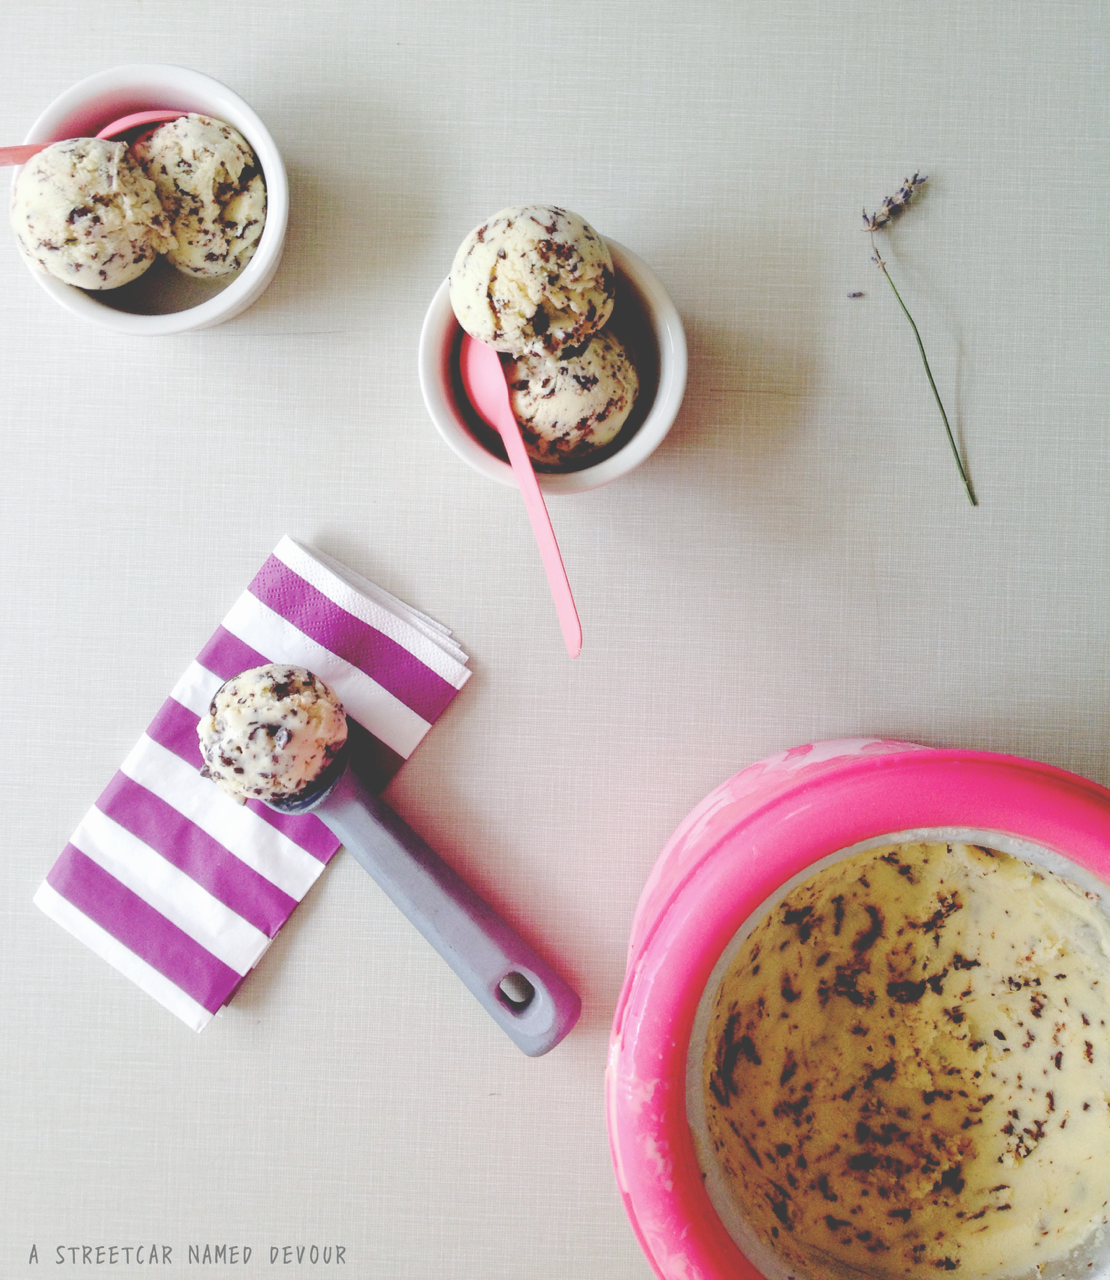
I haven’t had legit halo-halo in a few years, but during a recent trip to the local Asian market, I stumbled upon a quart of Magnolia’s Ube ice cream. I quickly added it to my basket and enjoyed it at home. I wanted to recreate the halo-halo that reminds me of the ones I had at Magic Wok with my family. Here’s my take on Filipino halo-halo, with homemade ube ice cream and Spanish-style flan!
==

FOR THE ICE CREAM
Ube Ice Cream
Yields about 2 quarts
Recipe slightly adapted from Rot In Rice
INGREDIENTS
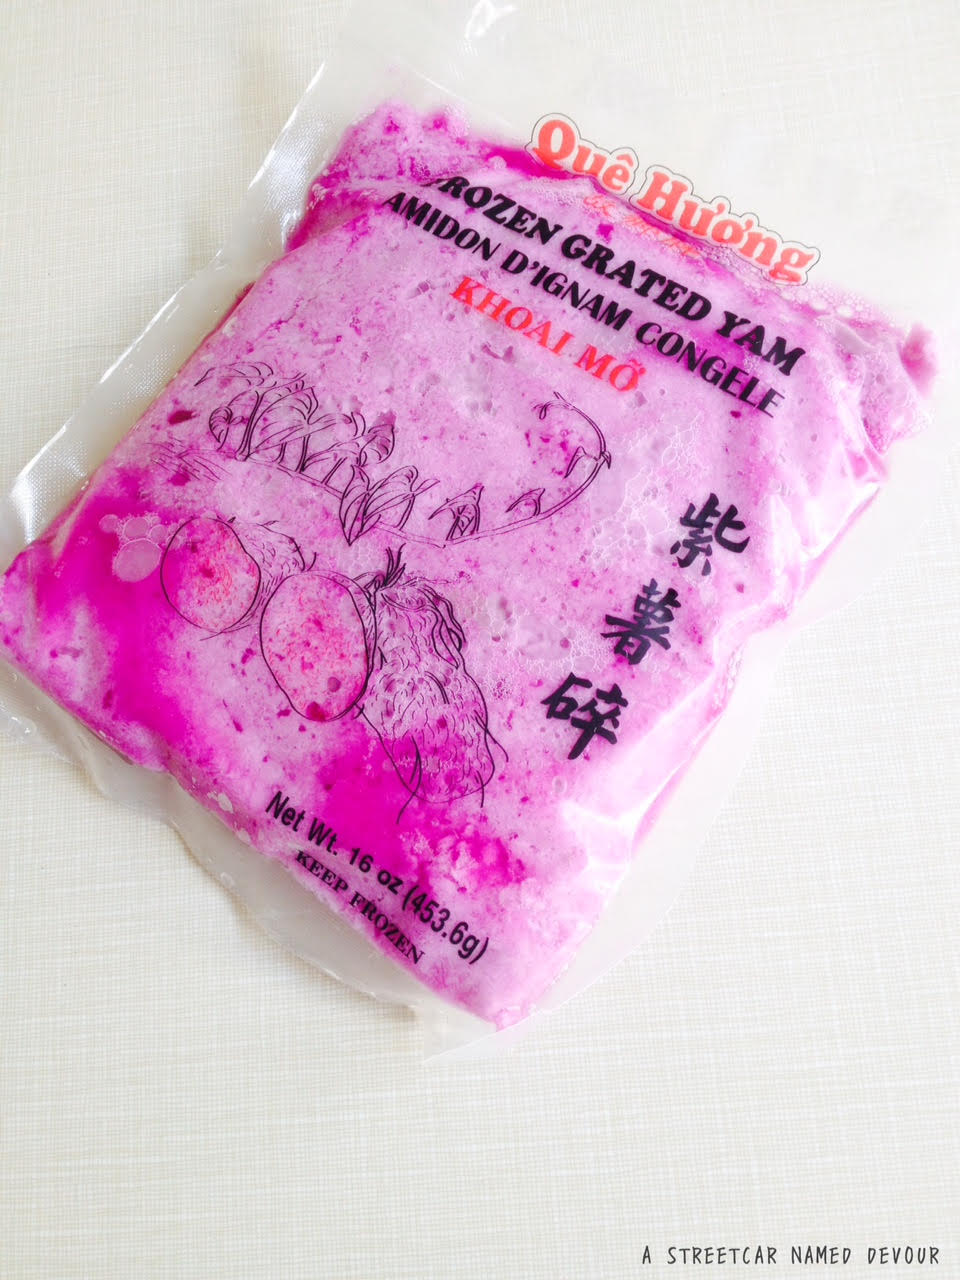
16 ounces (1 package) ube, grated purple yam*
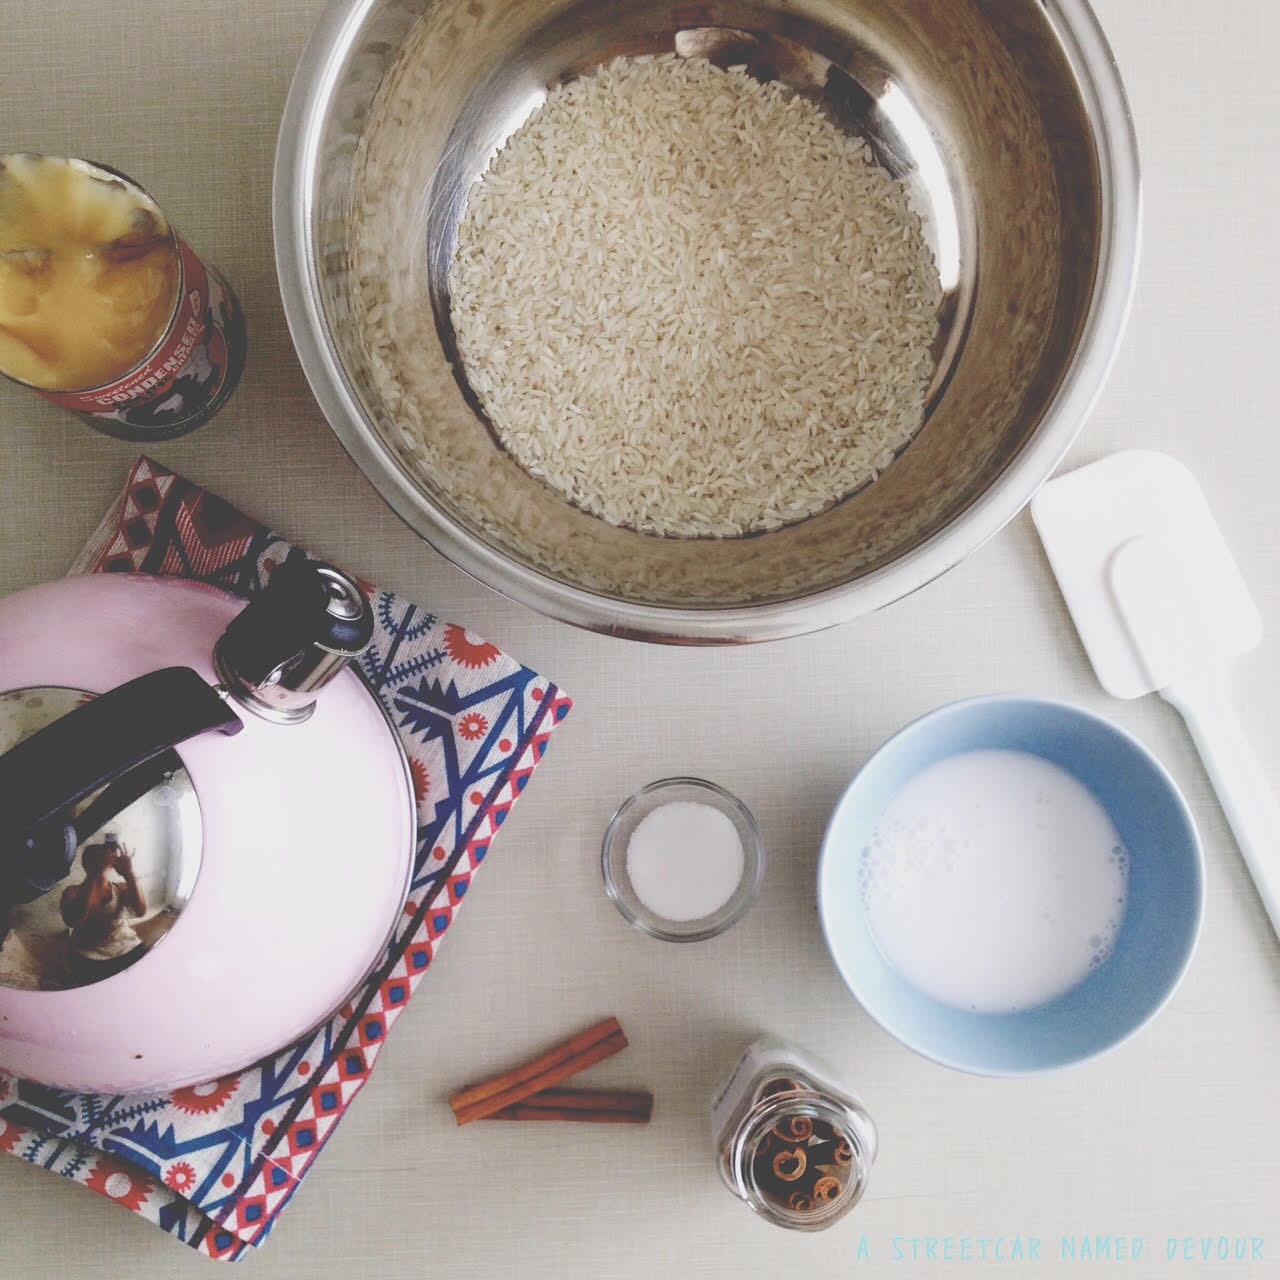
1 1/2 cups whole milk
1/2 cup coconut milk
3/4 cup granulated sugar
2 1/2 cups heavy whipping cream
2 Tablespoons Kosher salt
(*Cook’s Note: Ube/grated purple yam can be found at your local Asian market.)
METHOD
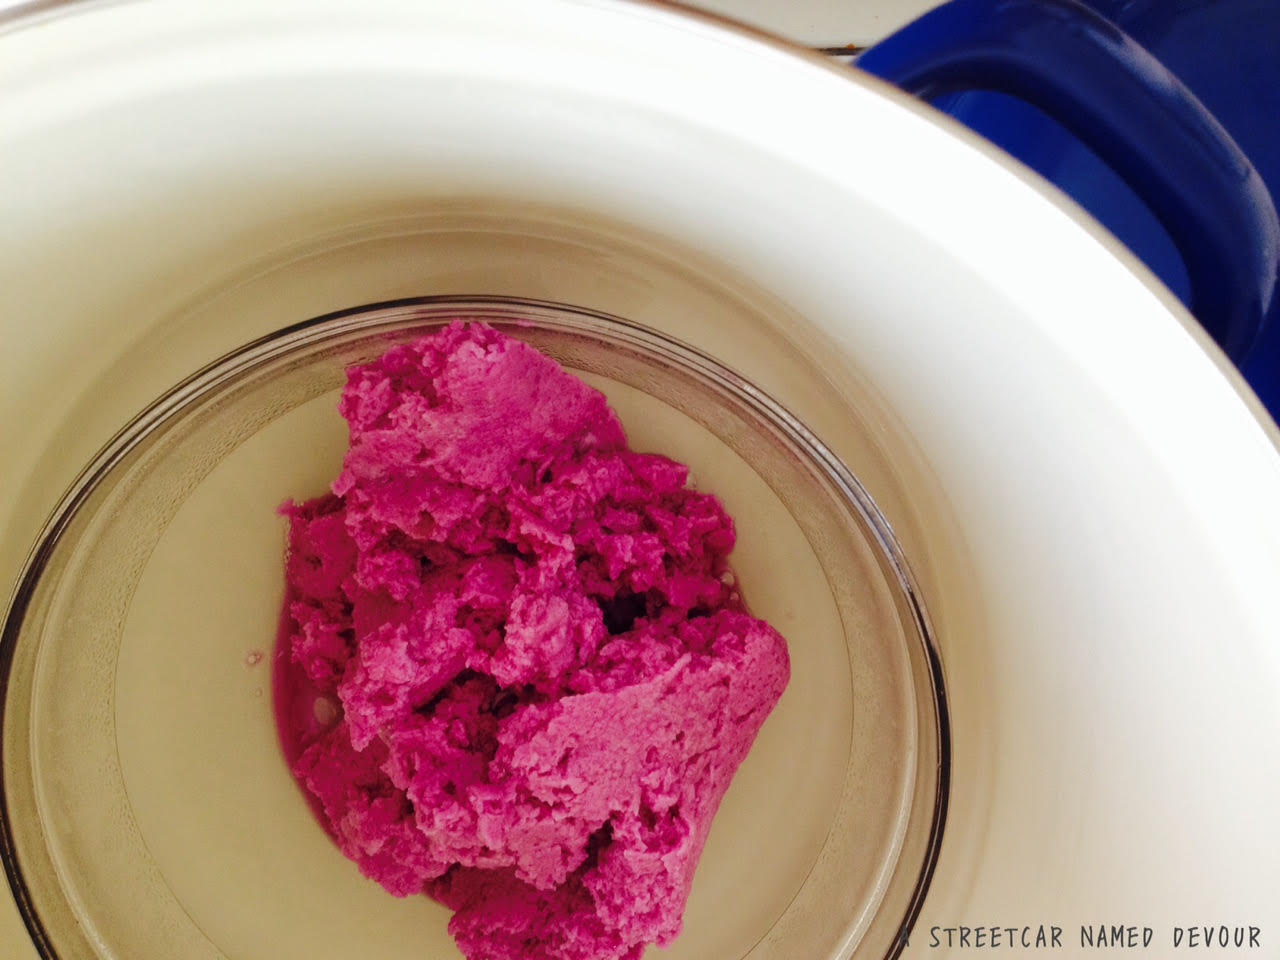
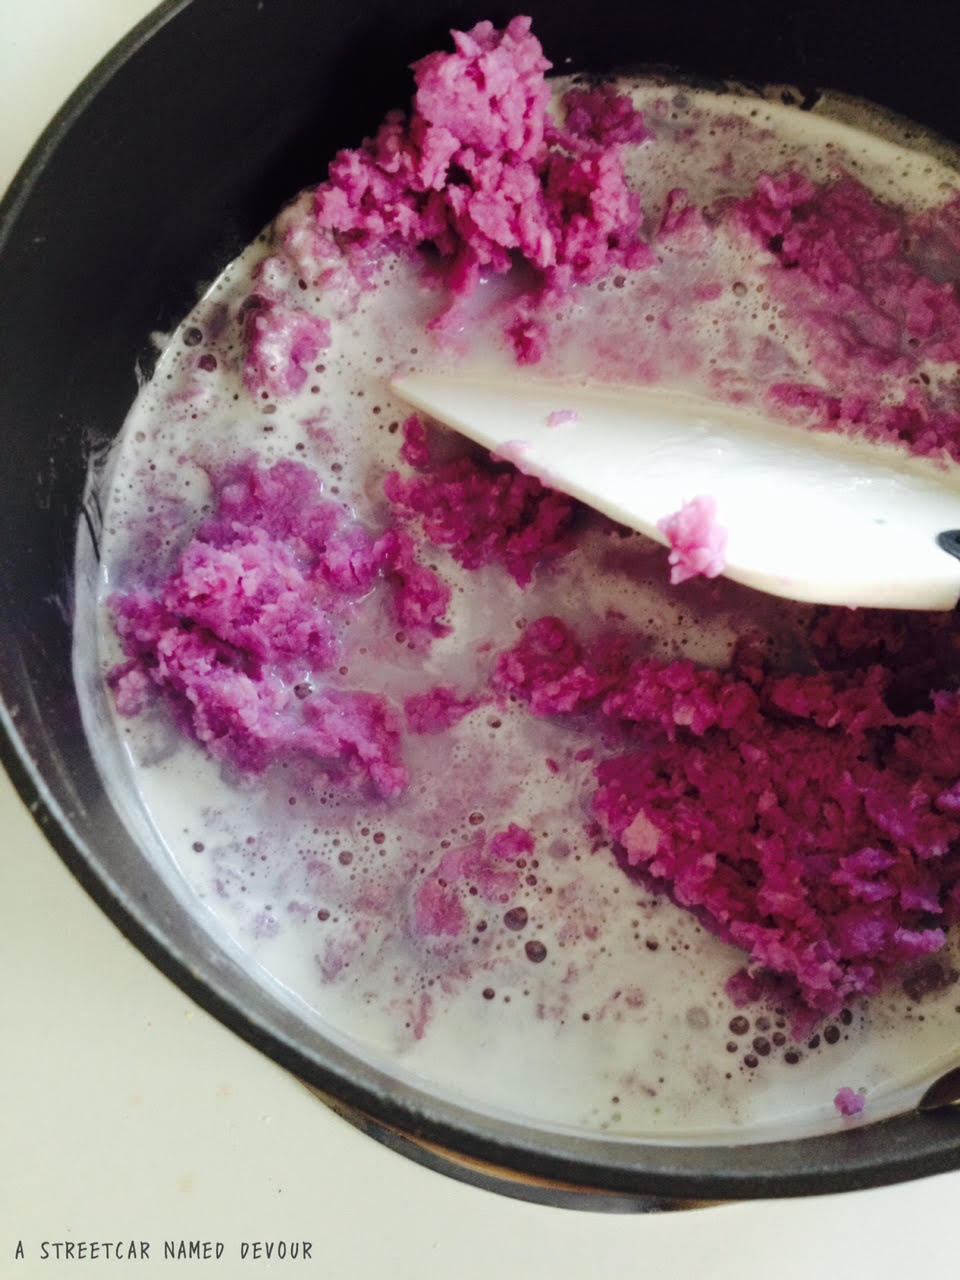
If your ube is uncooked (as most are in the package) steam it in a double boiler for about 20-30 minutes.

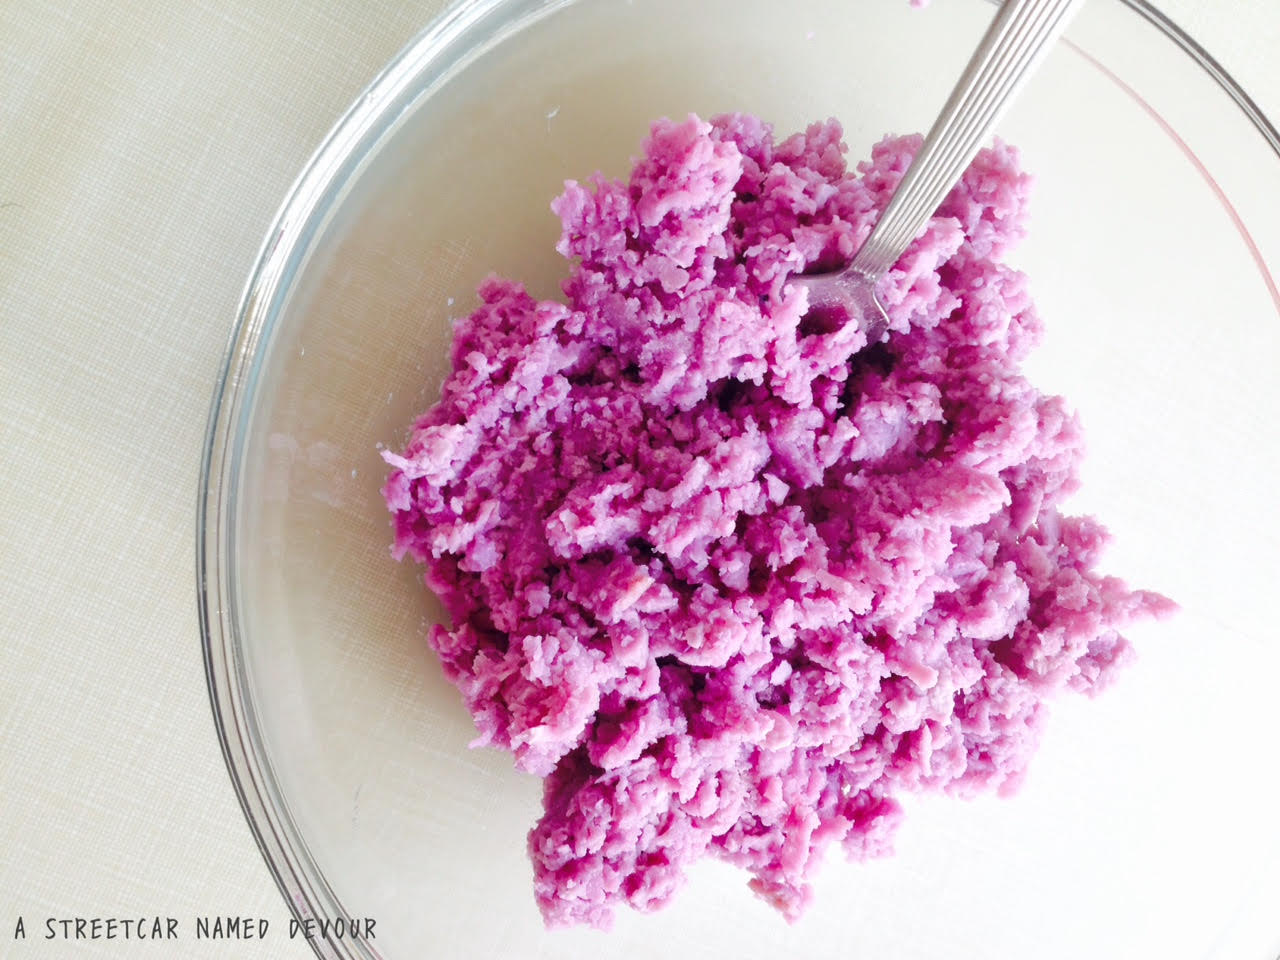
Carefully remove the cooked ube and mash it with a fork.
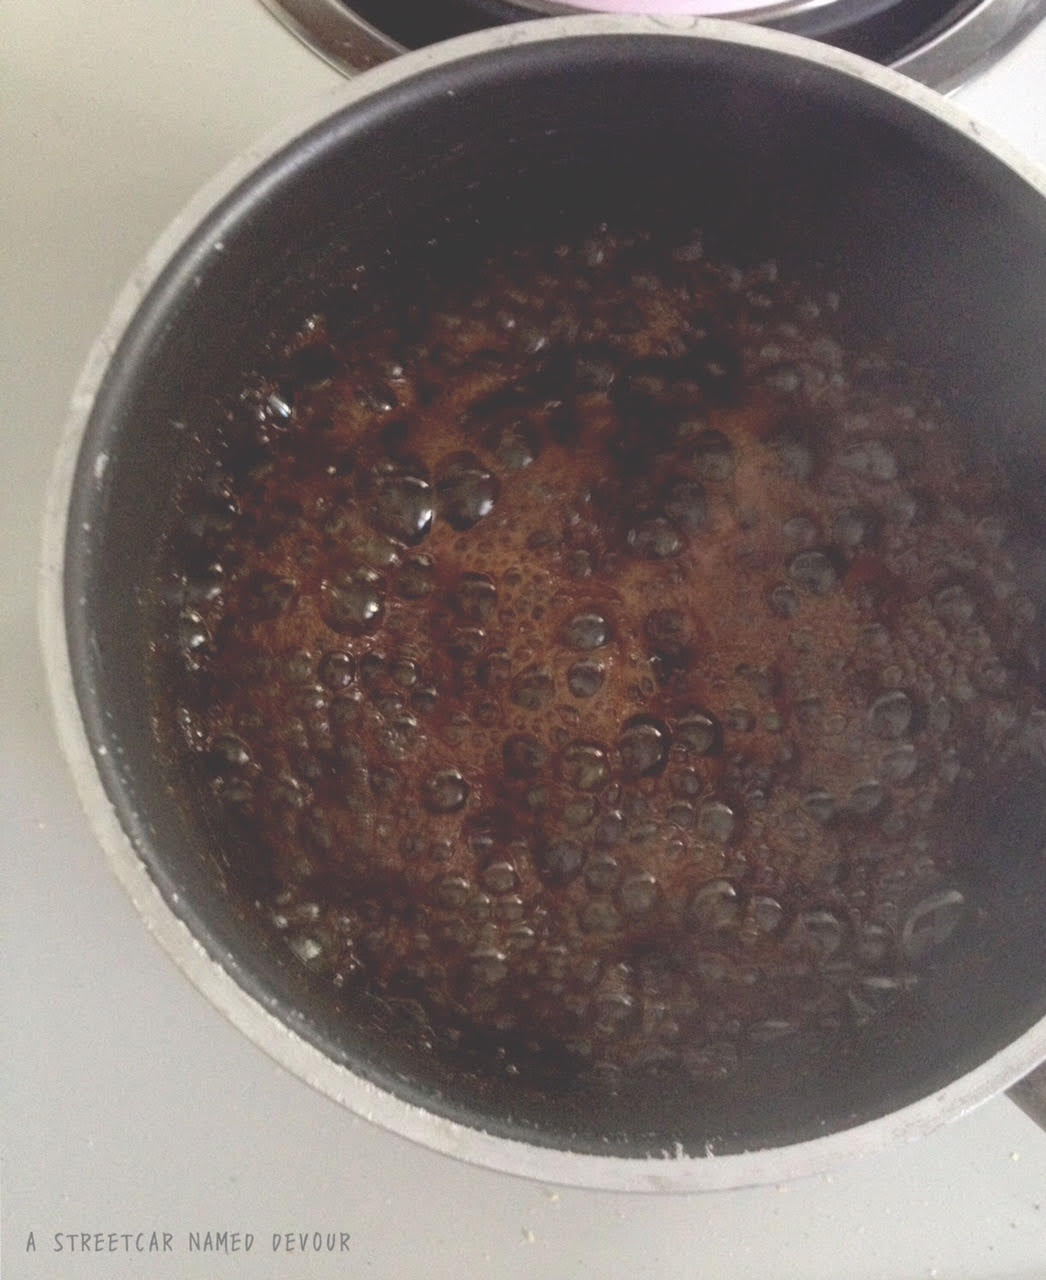
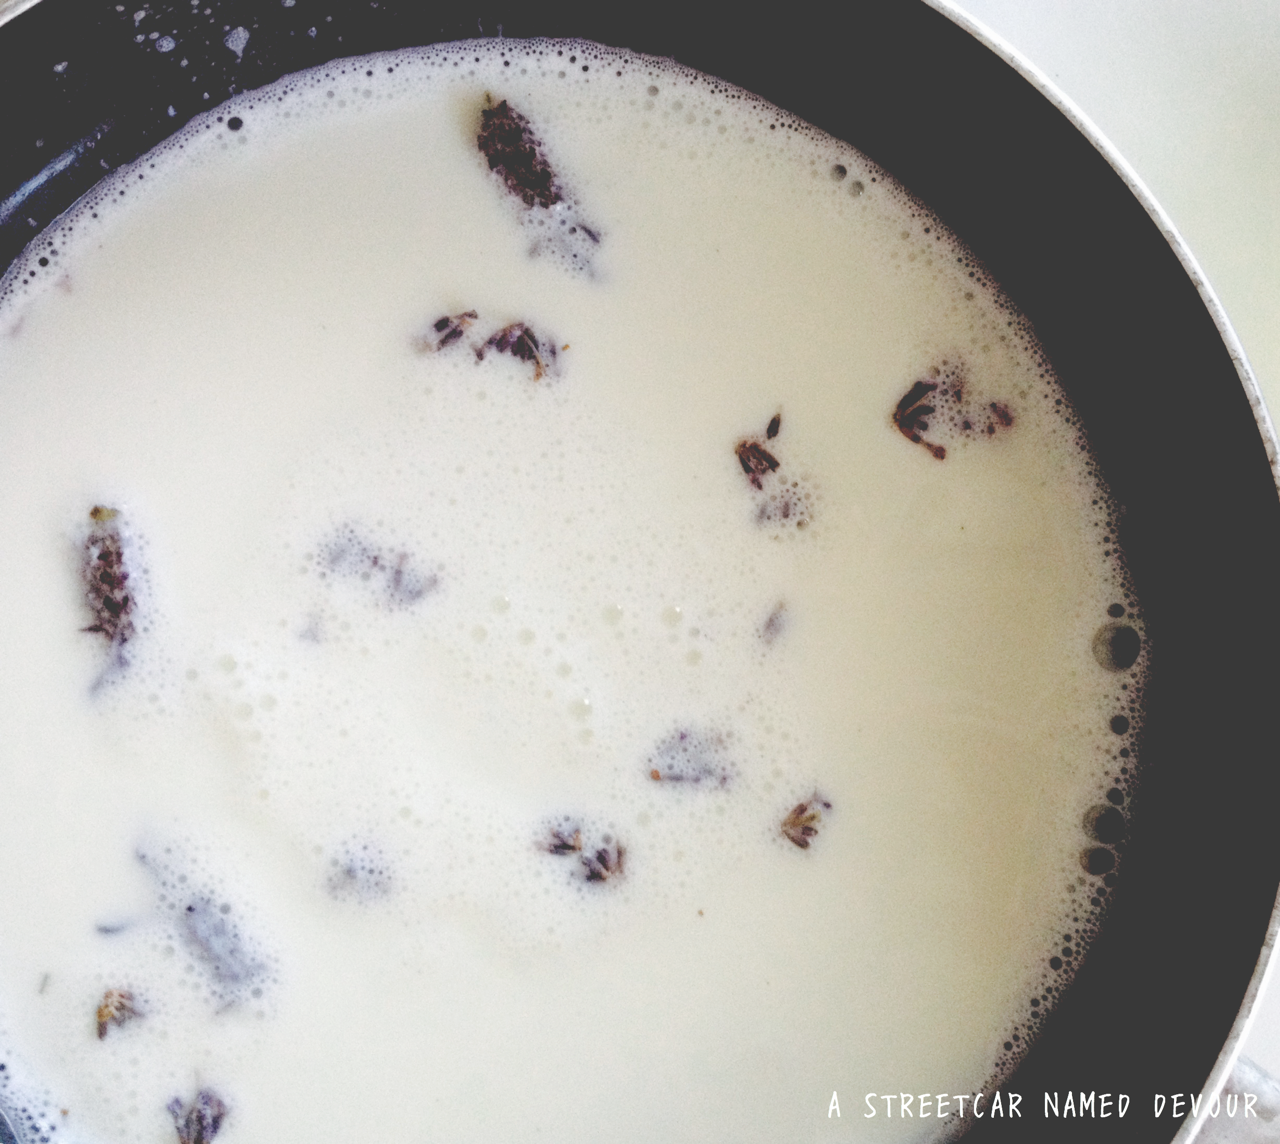
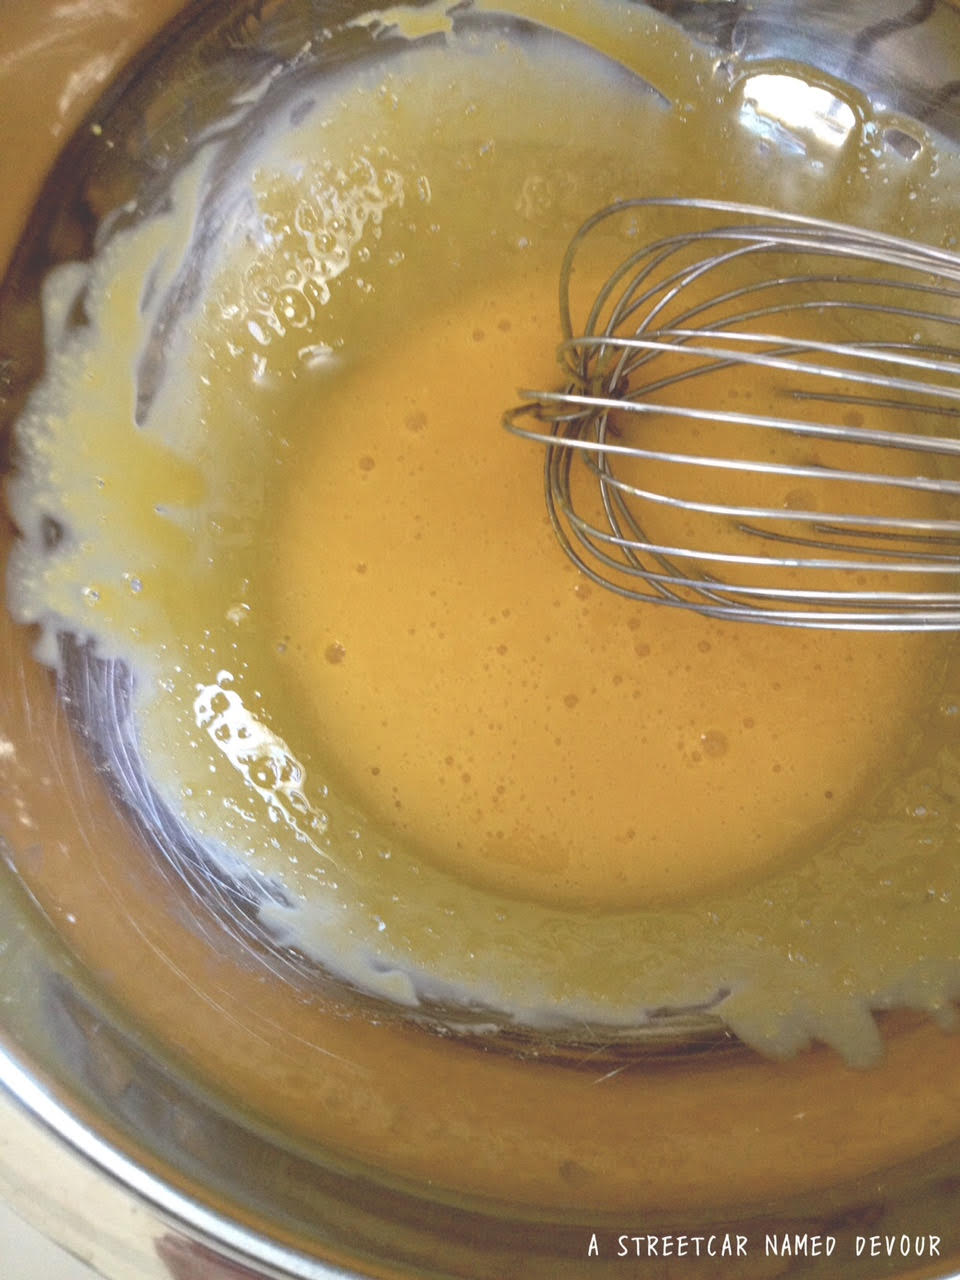
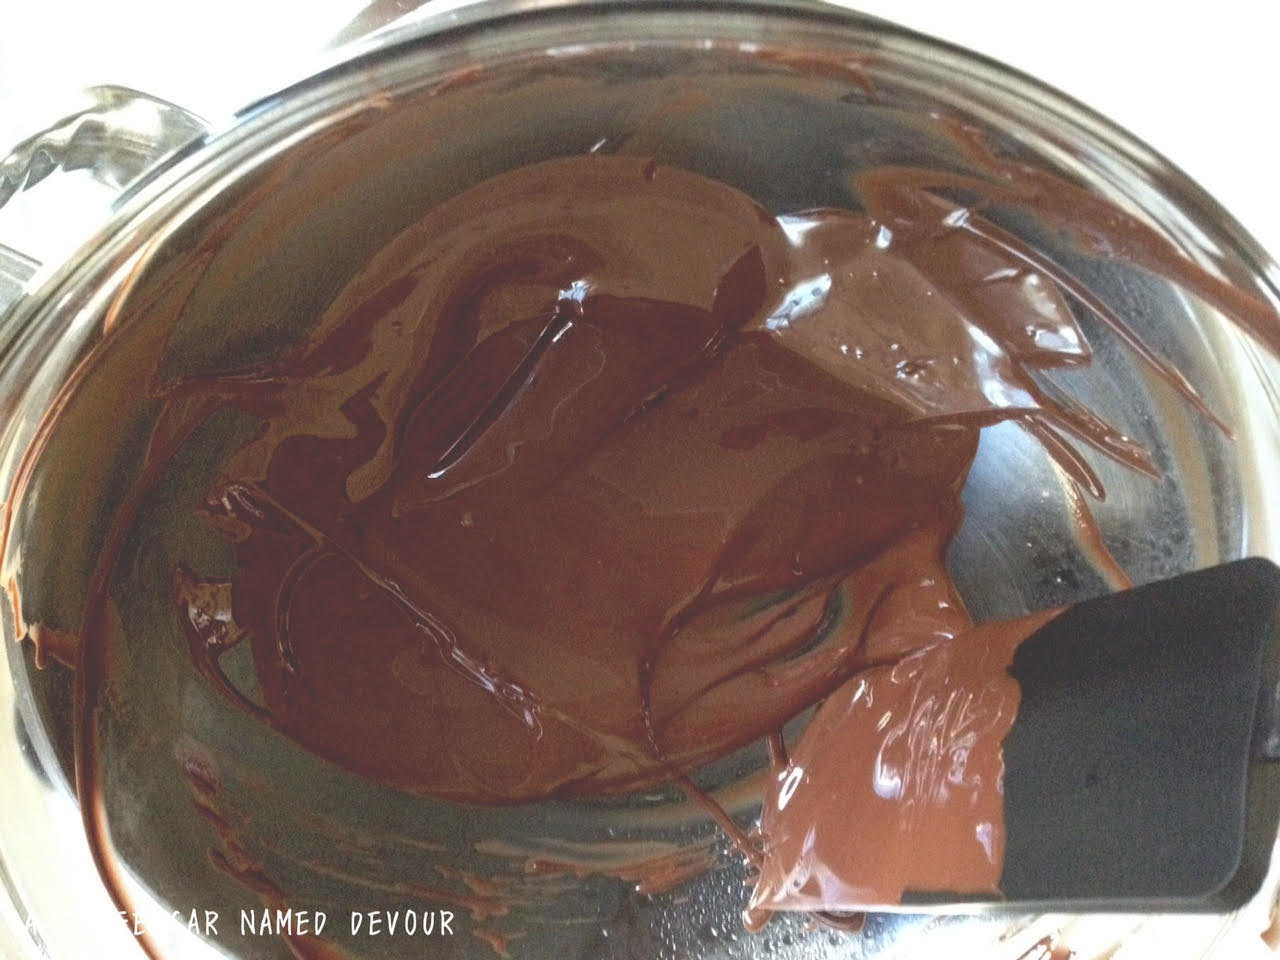
In a large sauce pot, heat the sugar and milks over medium-low heat till just-summering. Add in the mashed ube and mix till completely incorporated.
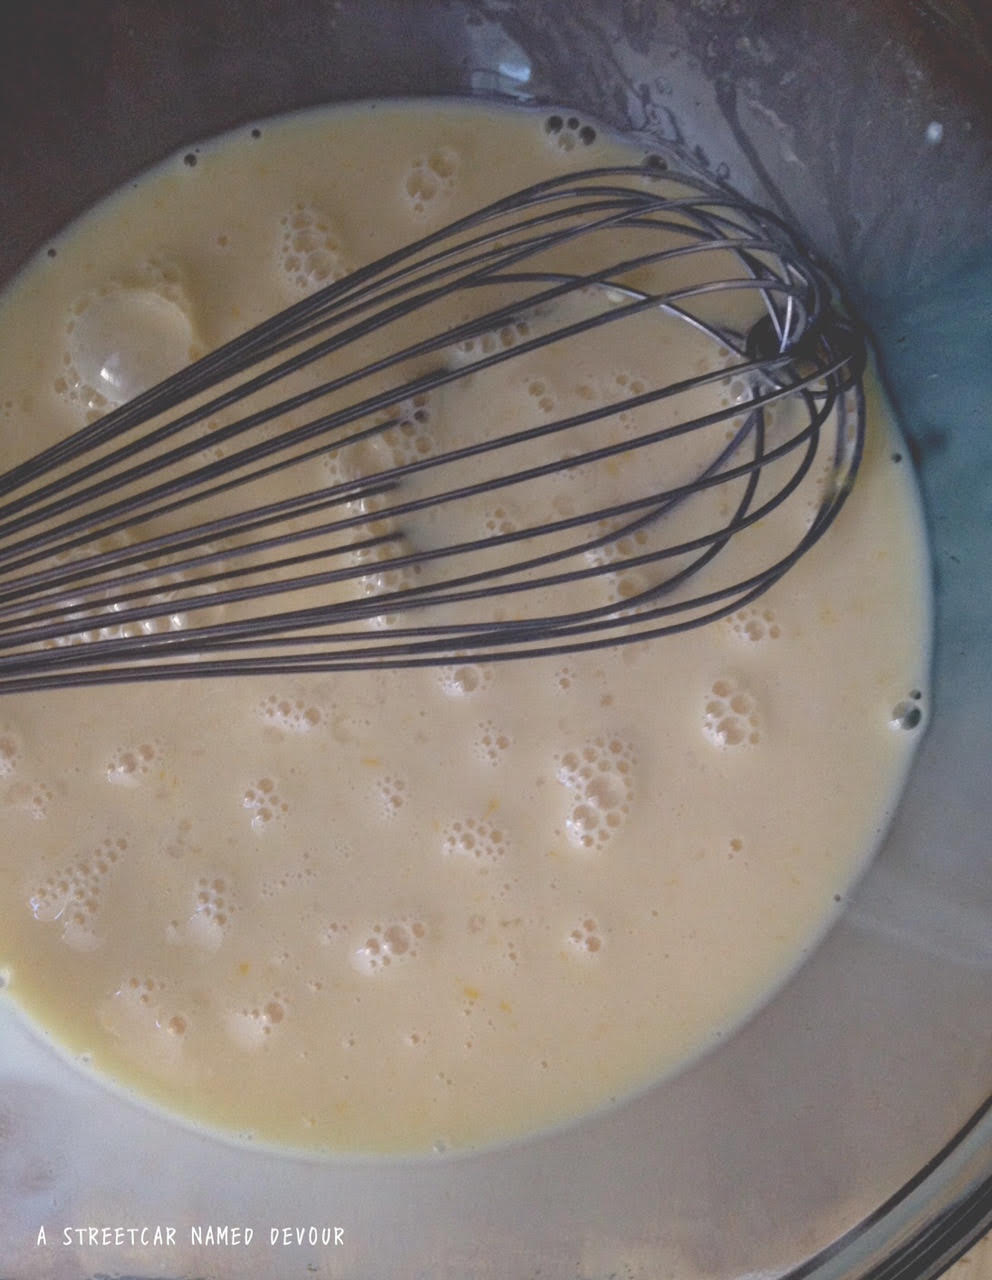
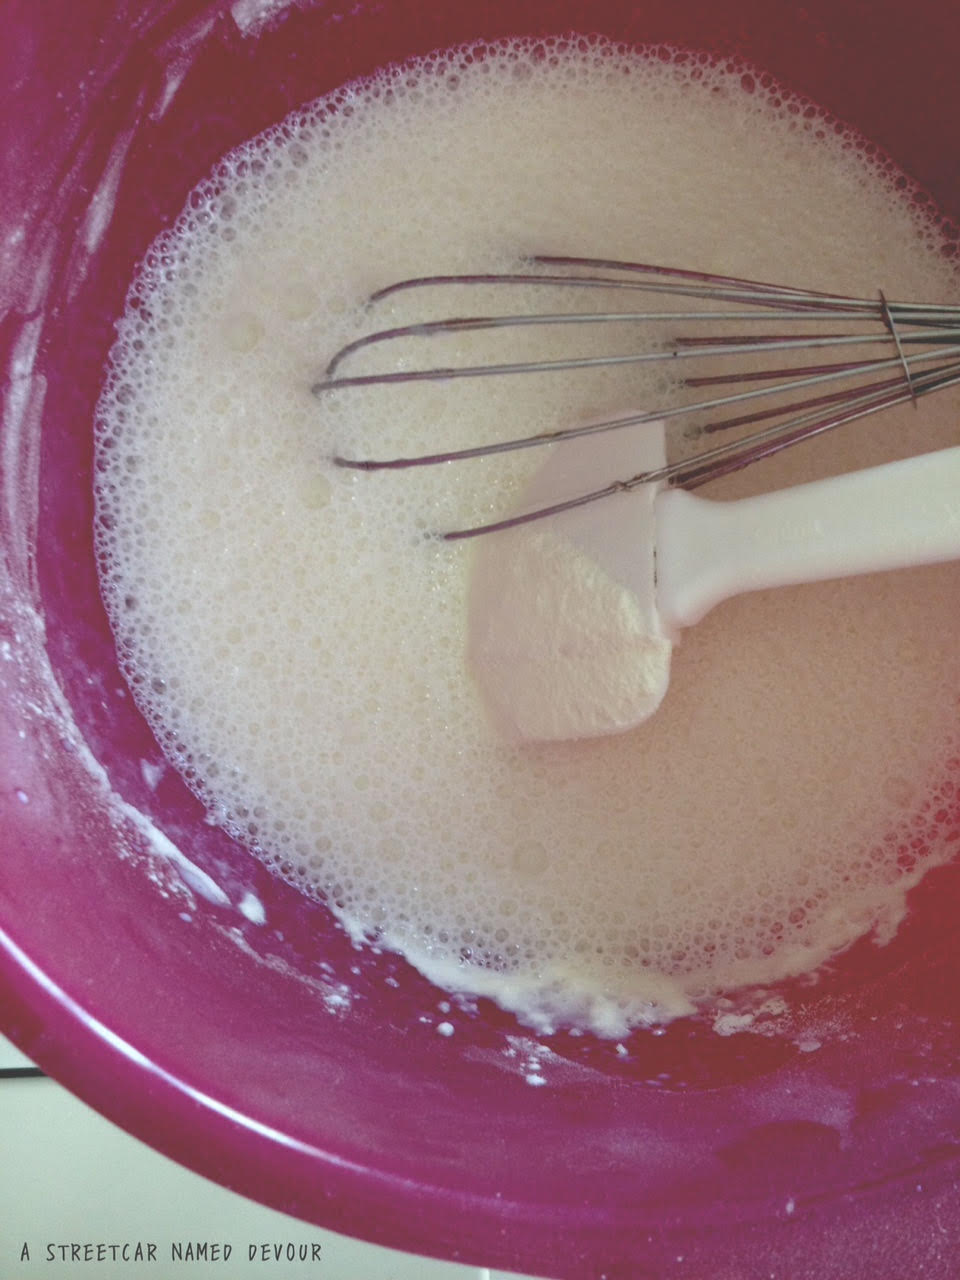
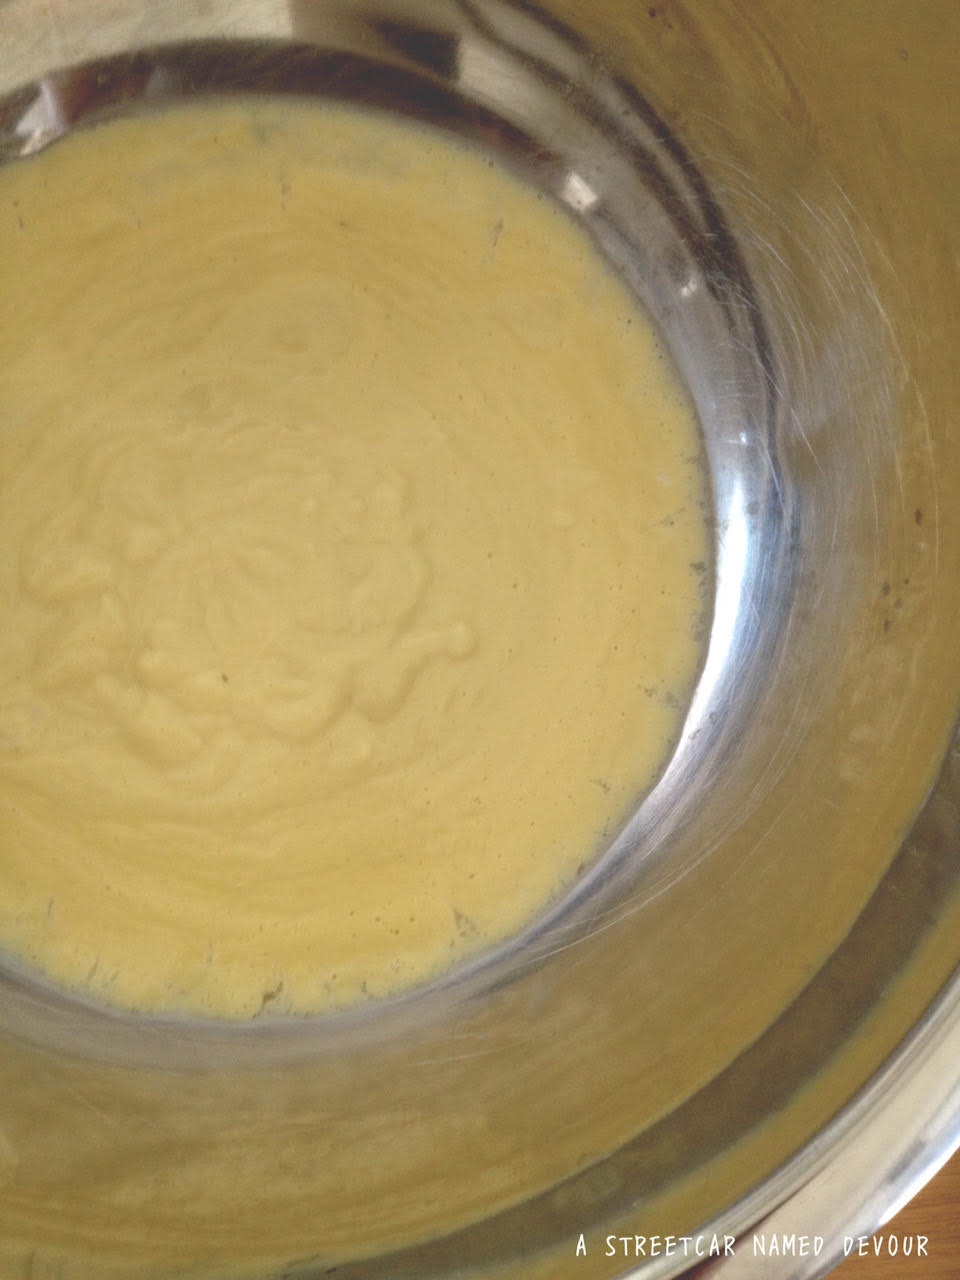
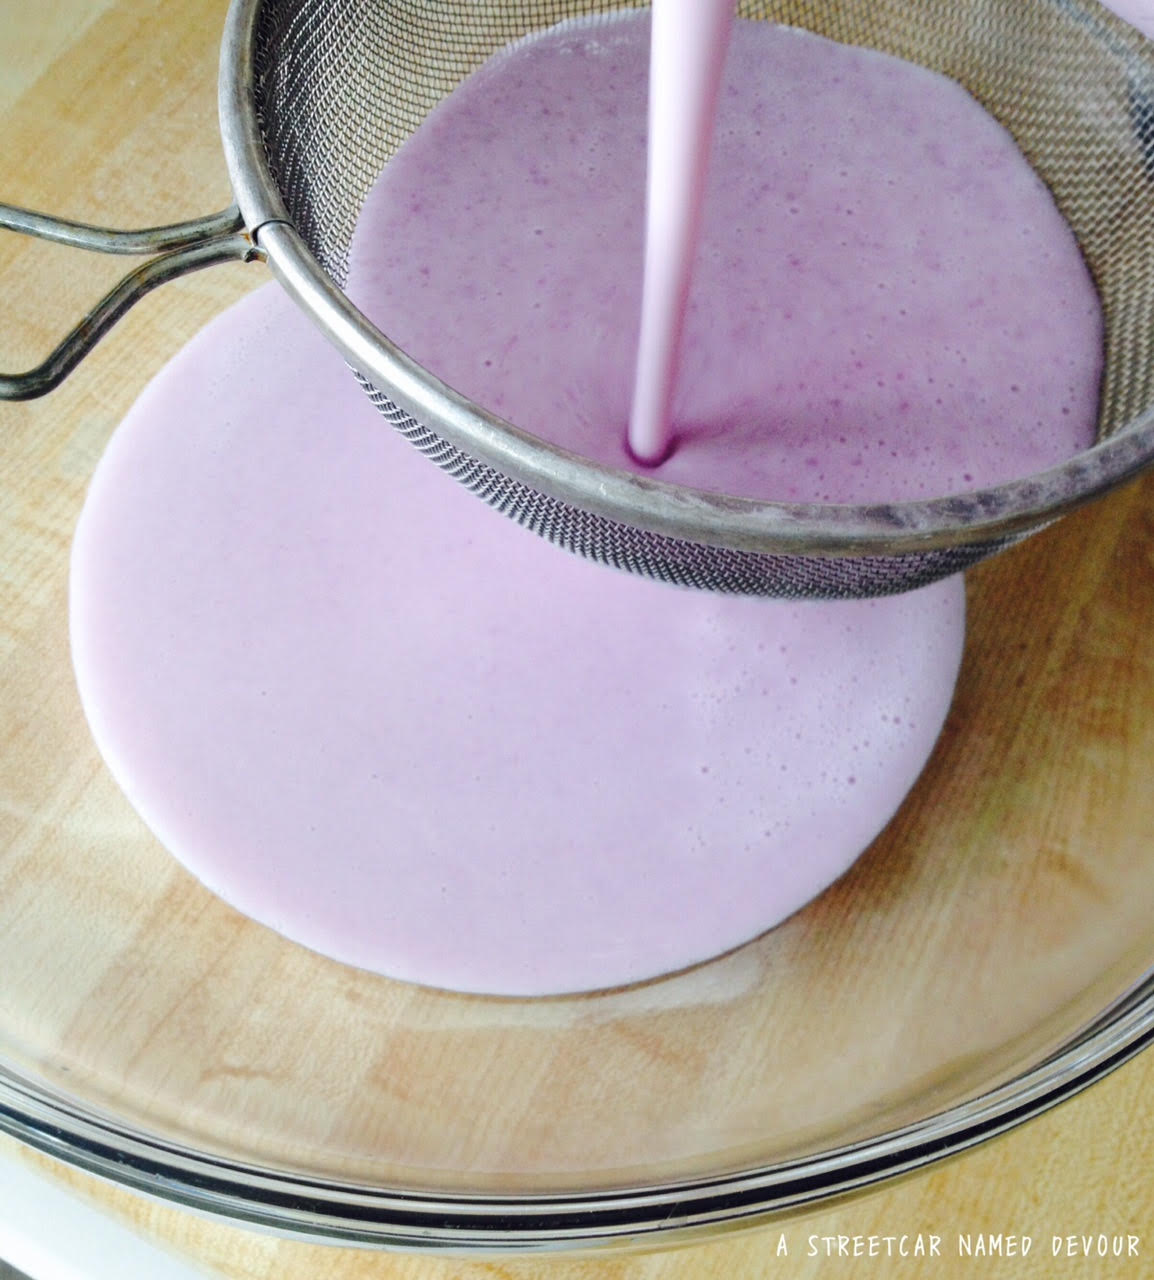
Place the mixture into a blender or stick blender and purée till smooth. Mix in the heavy cream and salt.
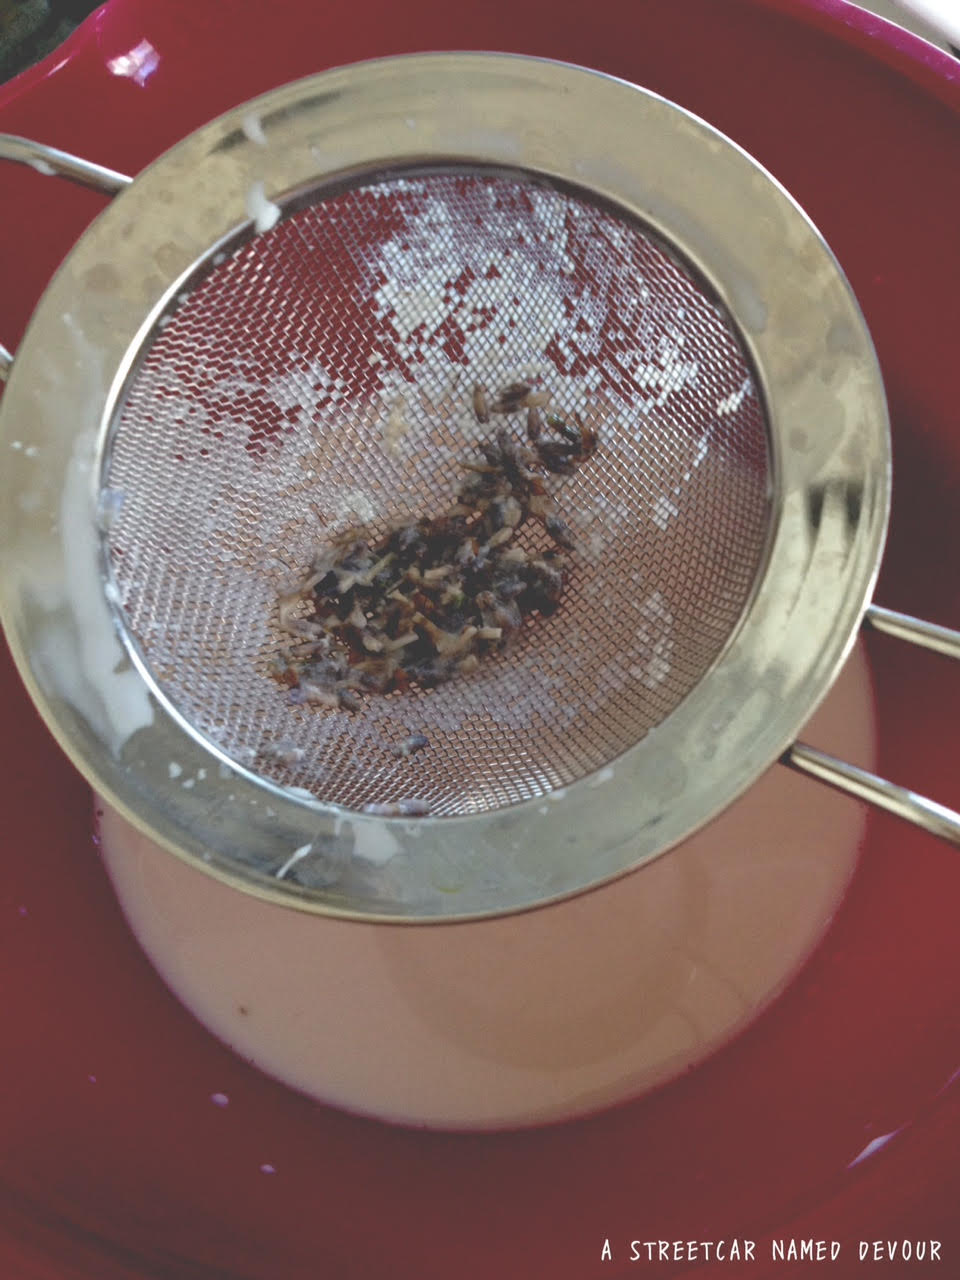
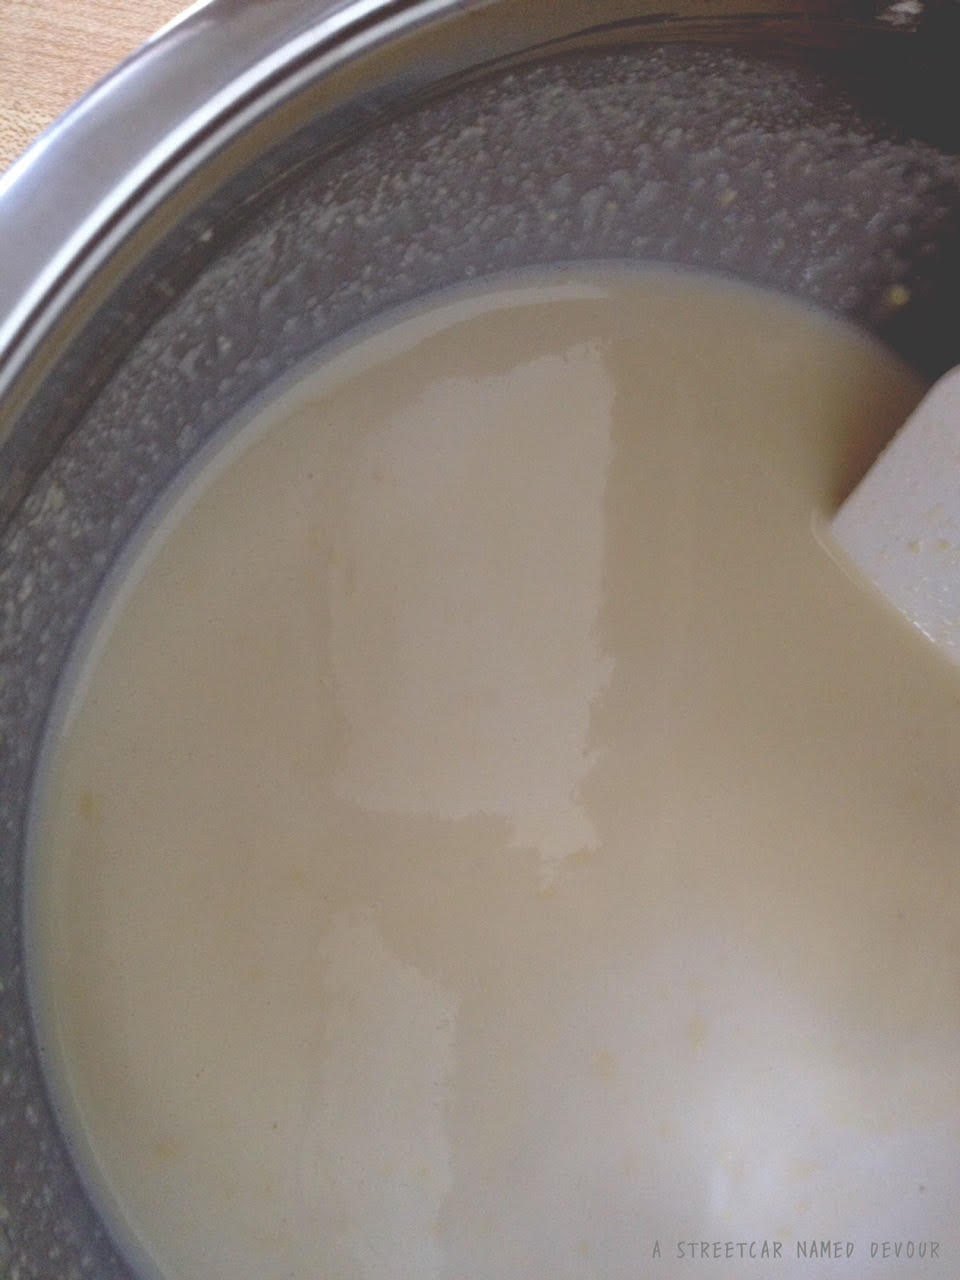
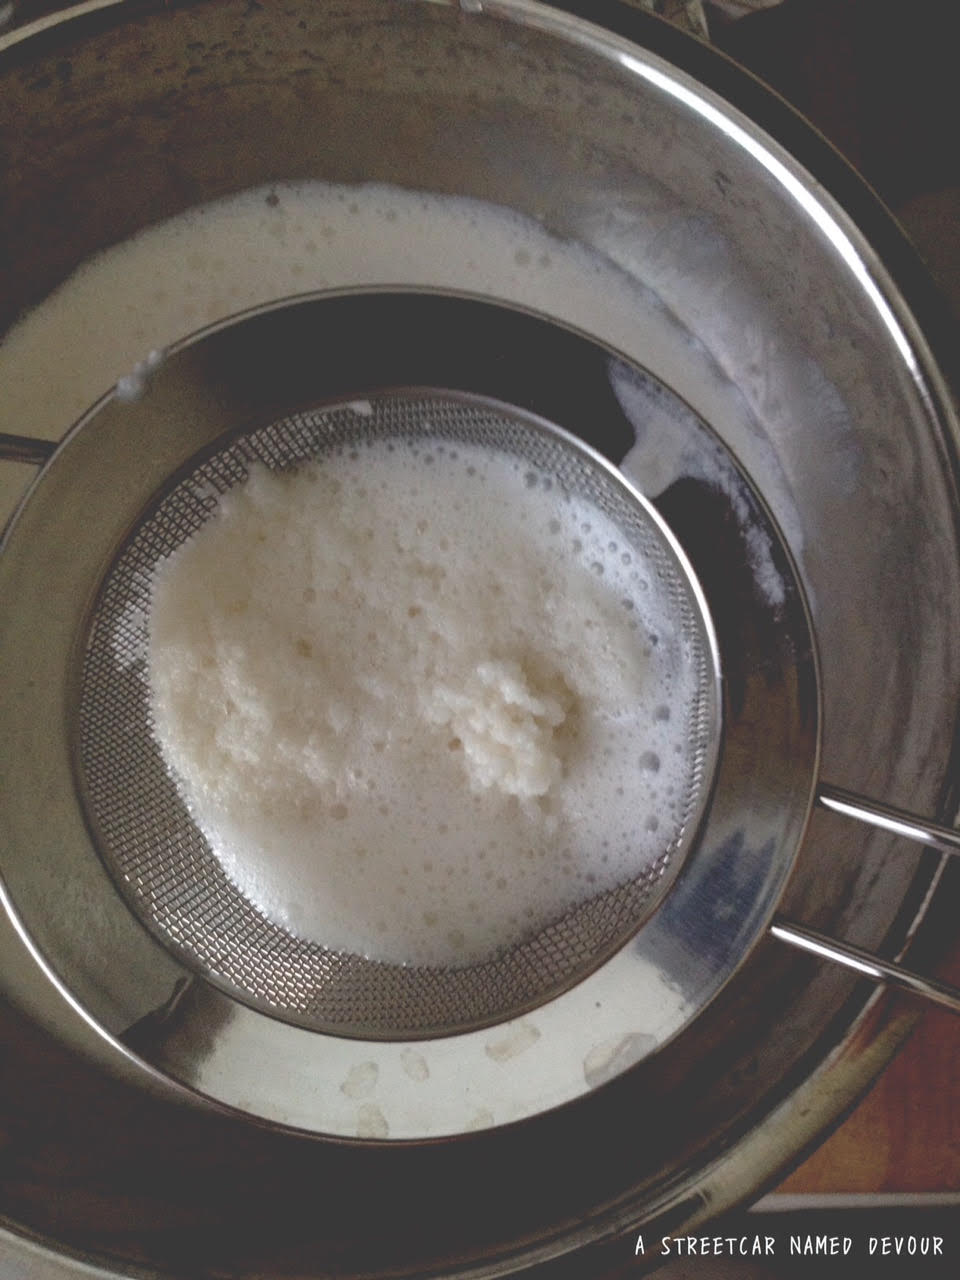
Strain the mixture through a fine mesh sieve to remove the grainy bits. Discard those bits. Place the ice cream base into the refrigerator for at least 6 hours, preferably overnight.
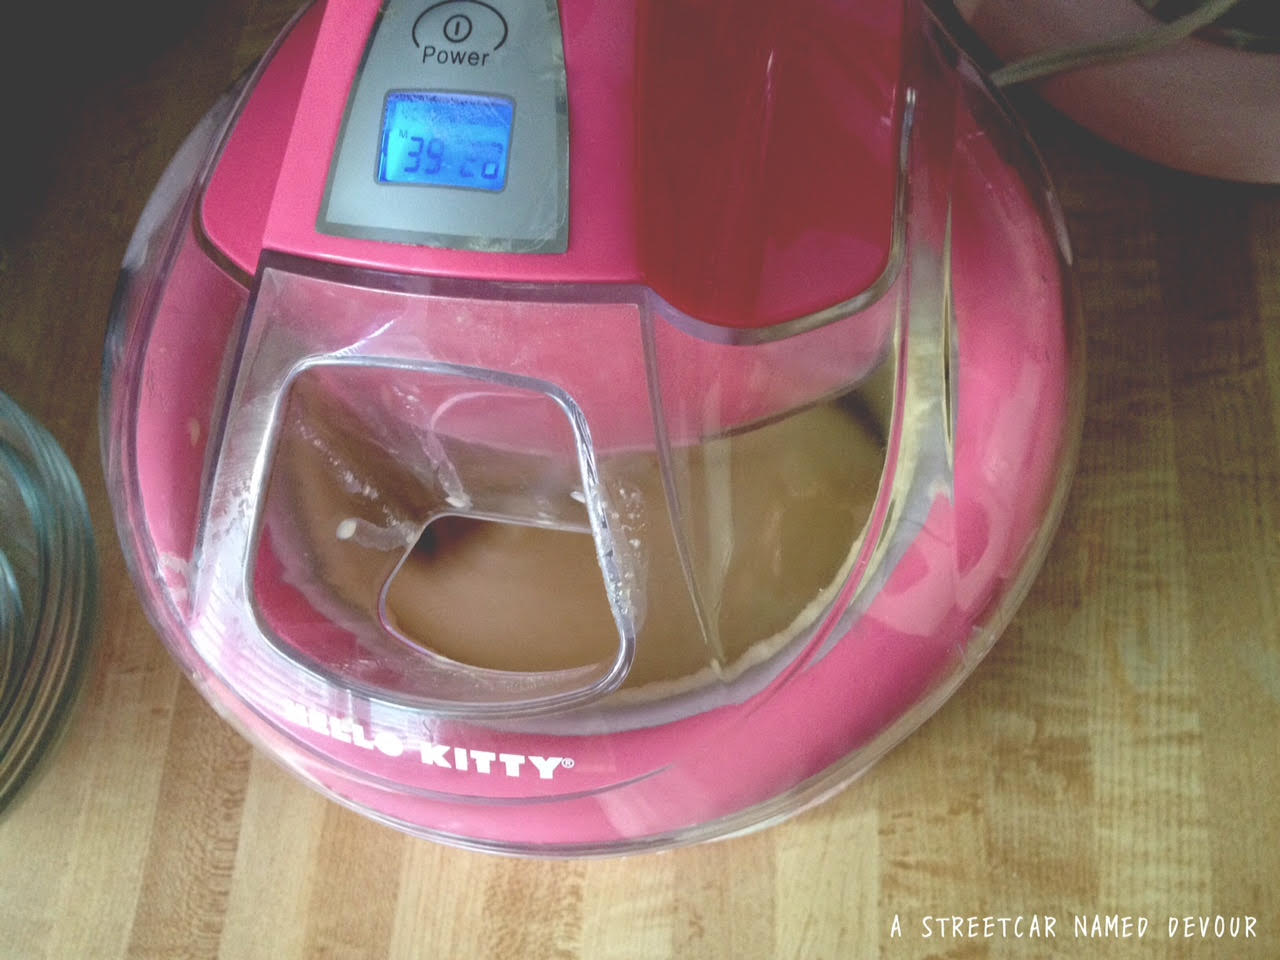
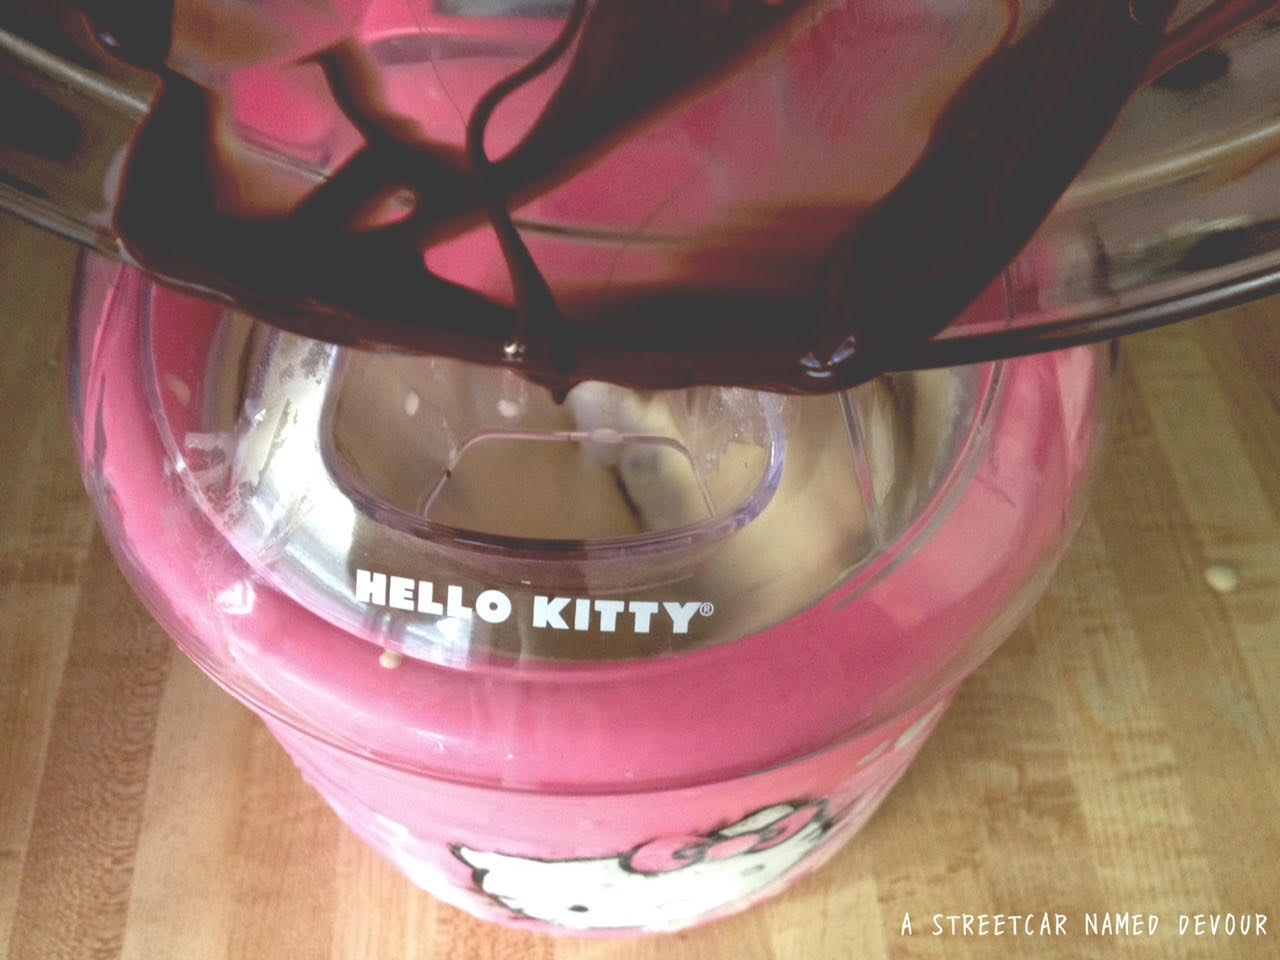
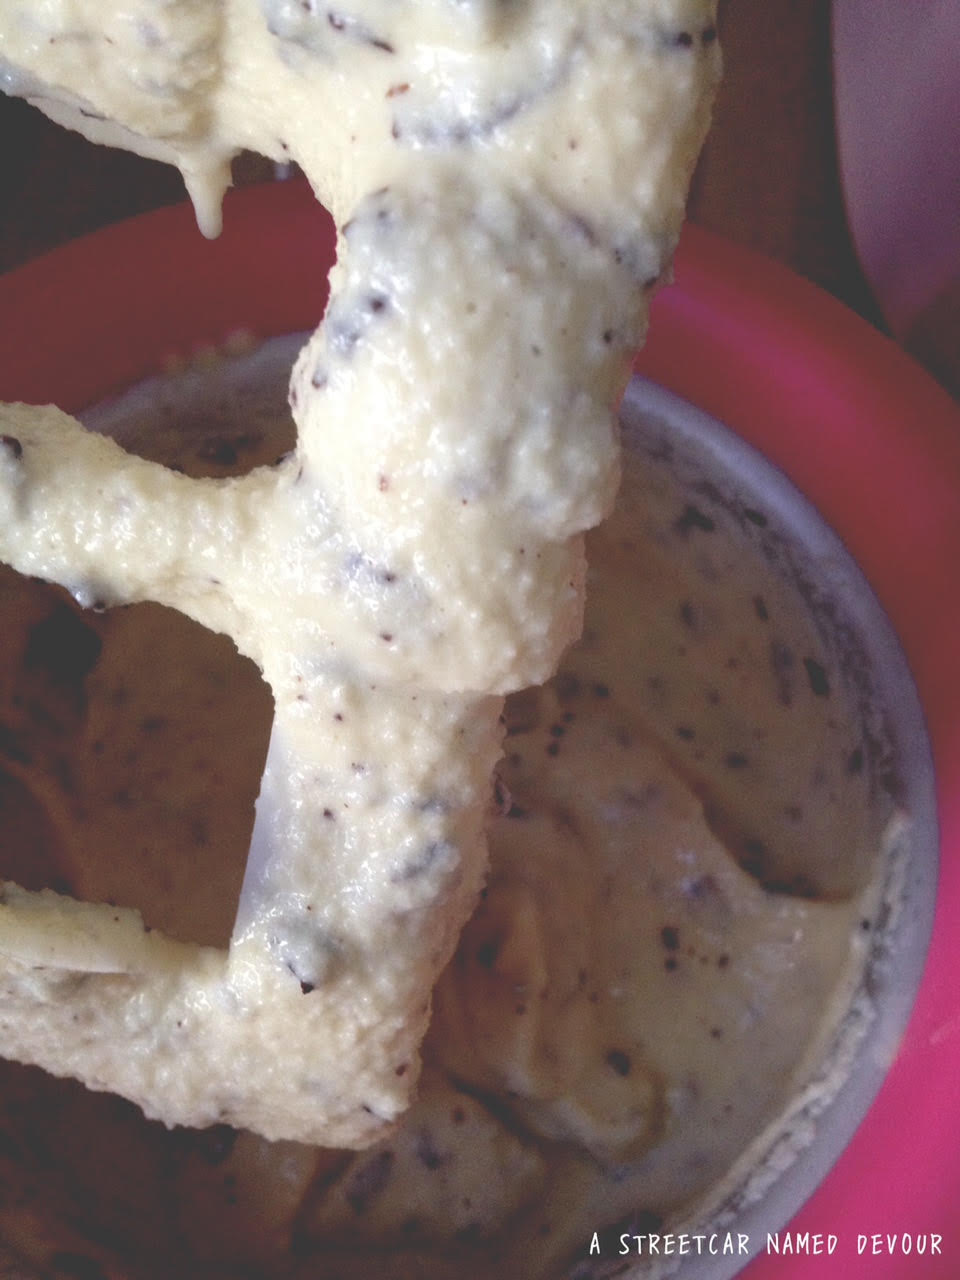
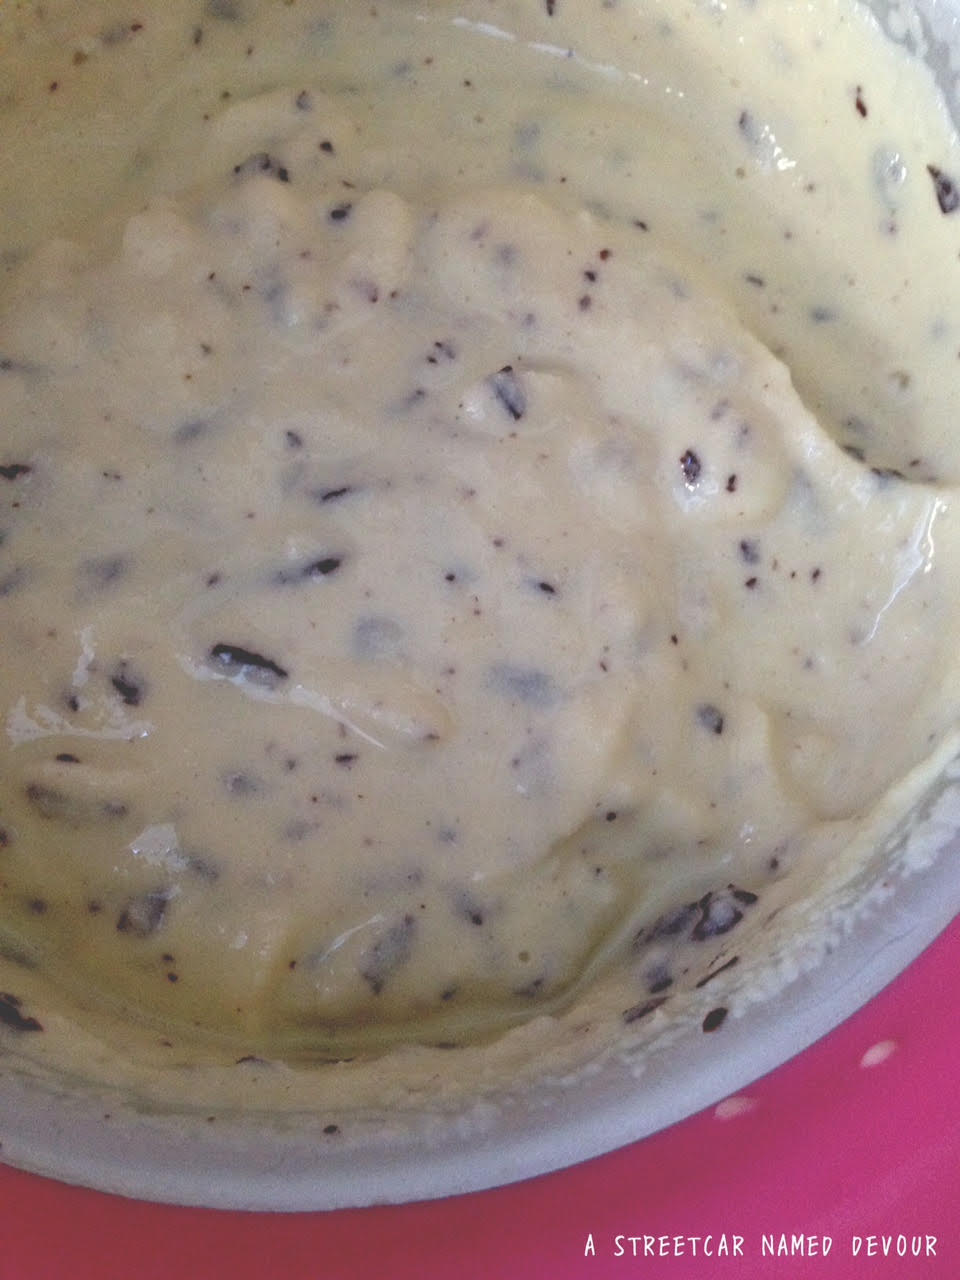
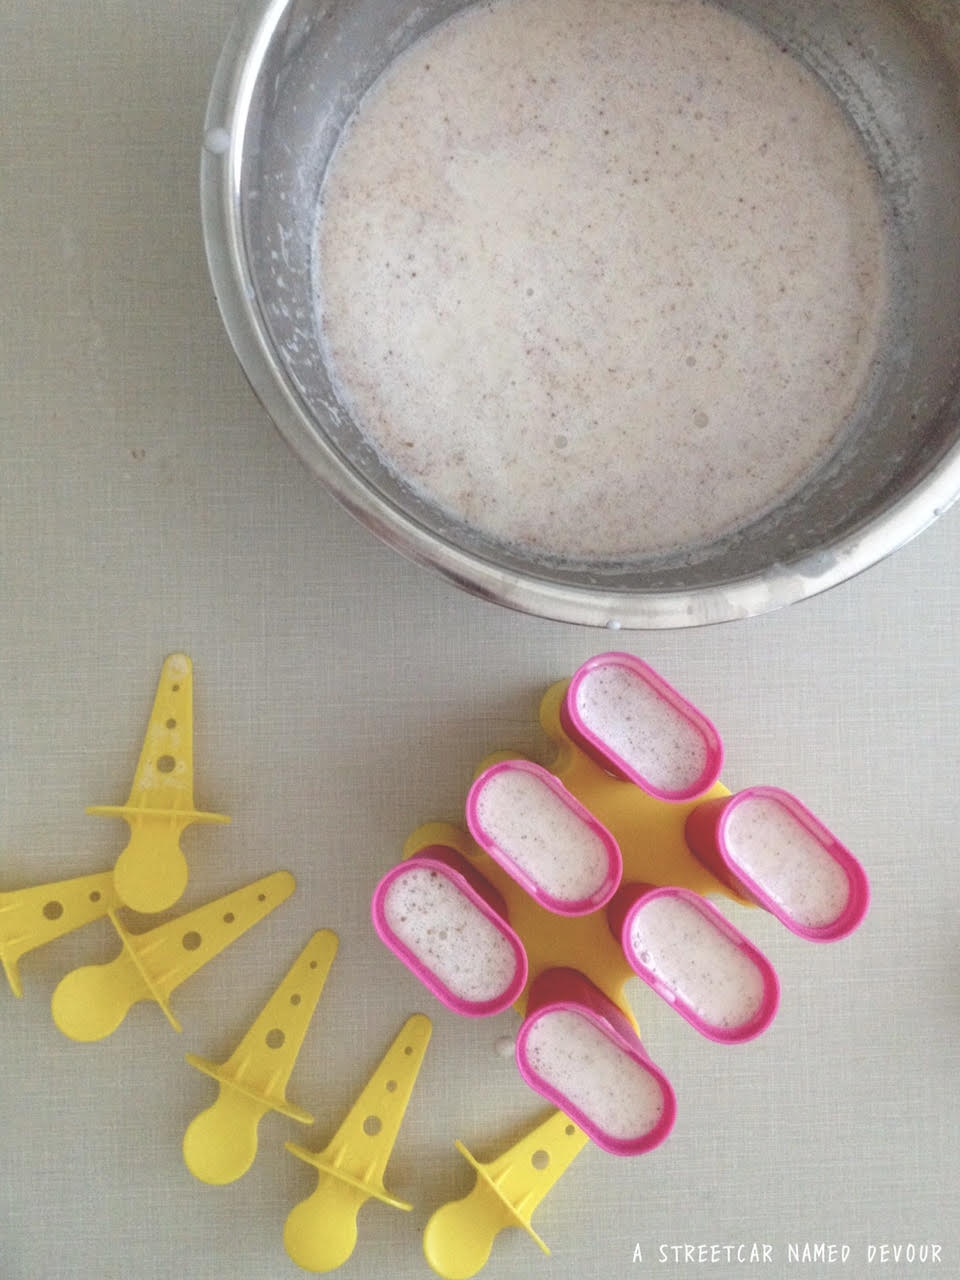
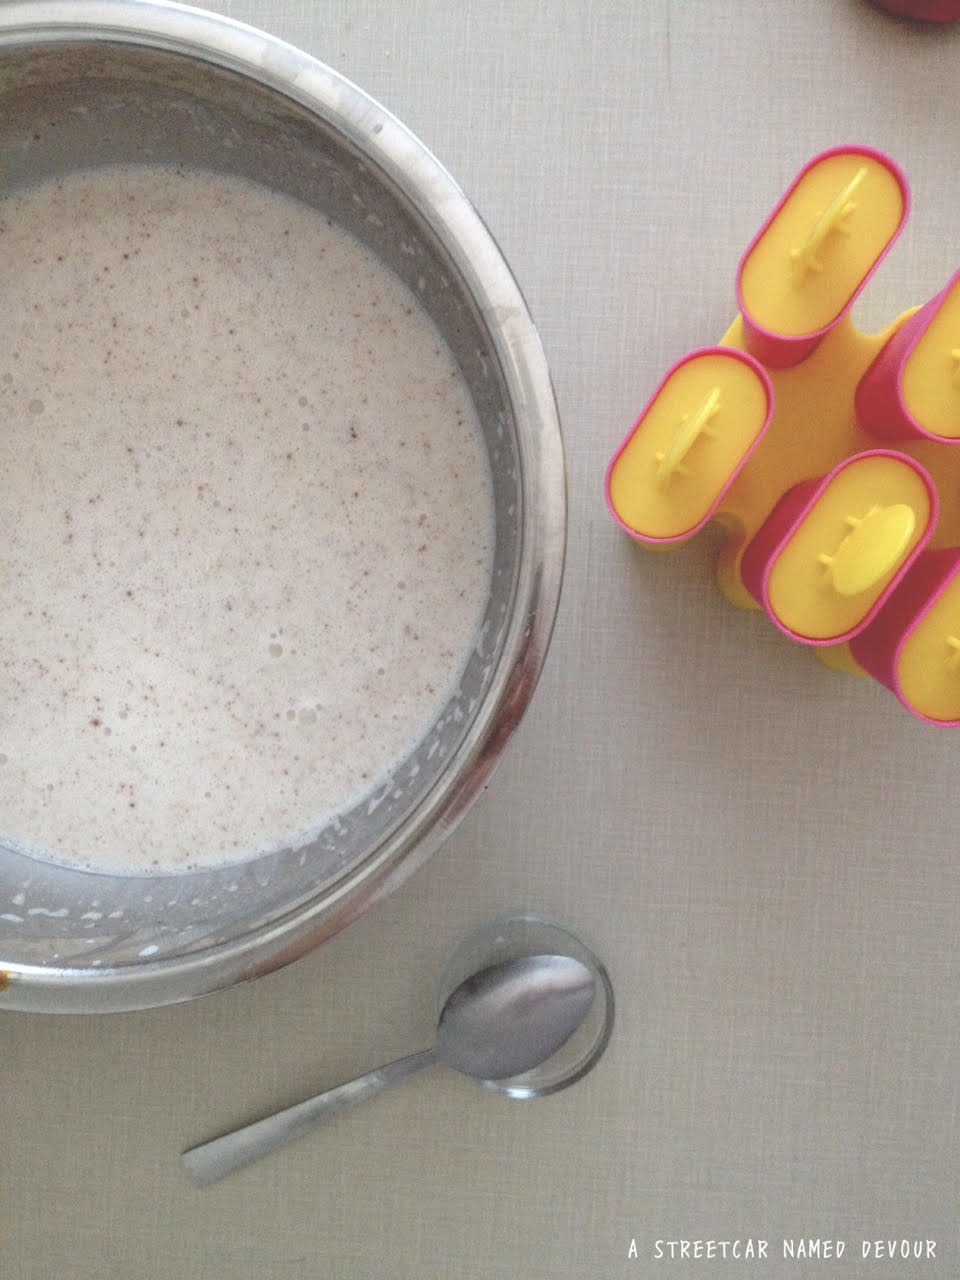
Place the ice cream base into your ice cream maker bowl, and follow the manufacturer’s instructions.
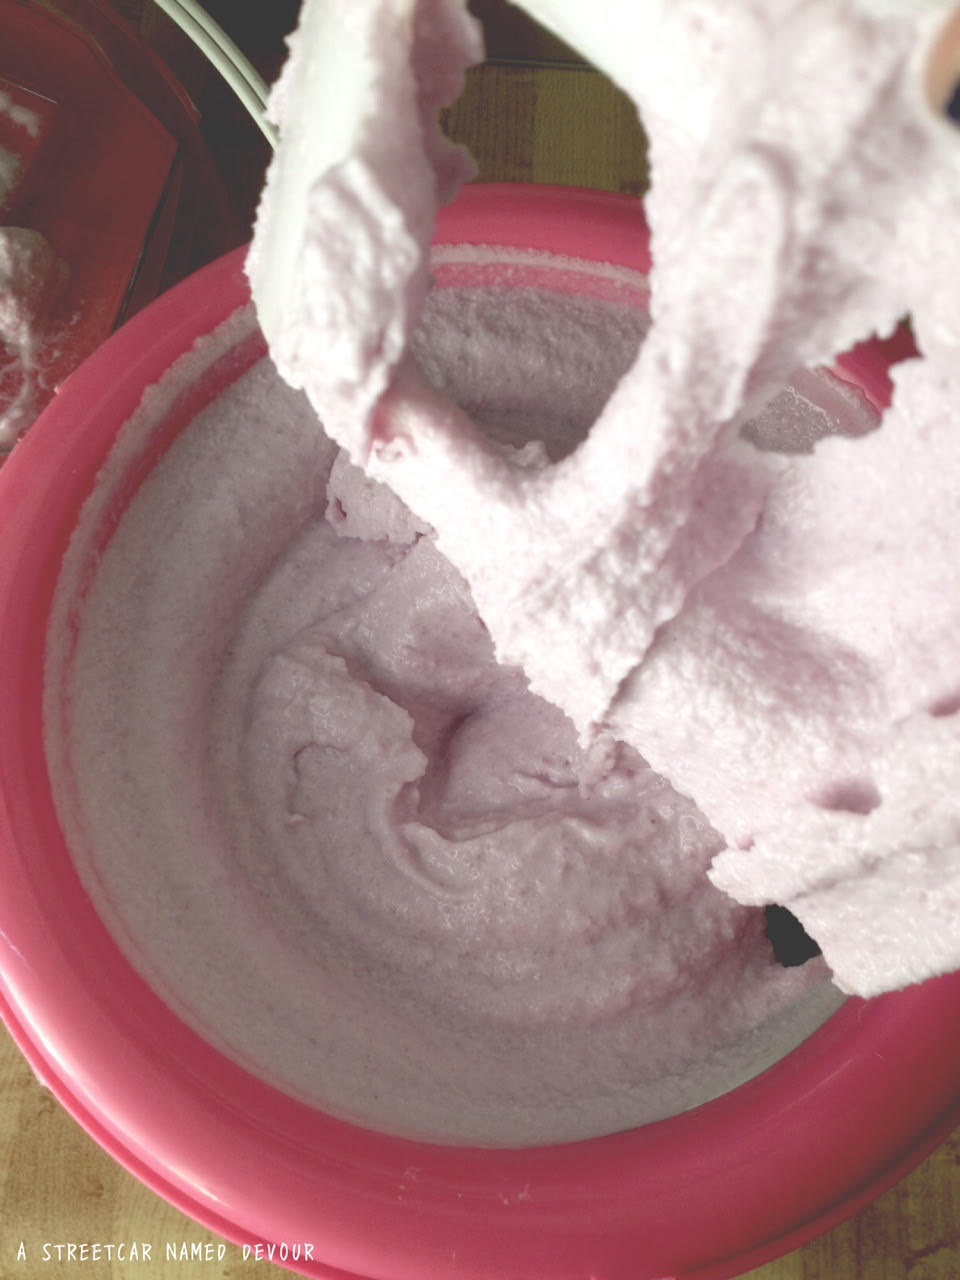
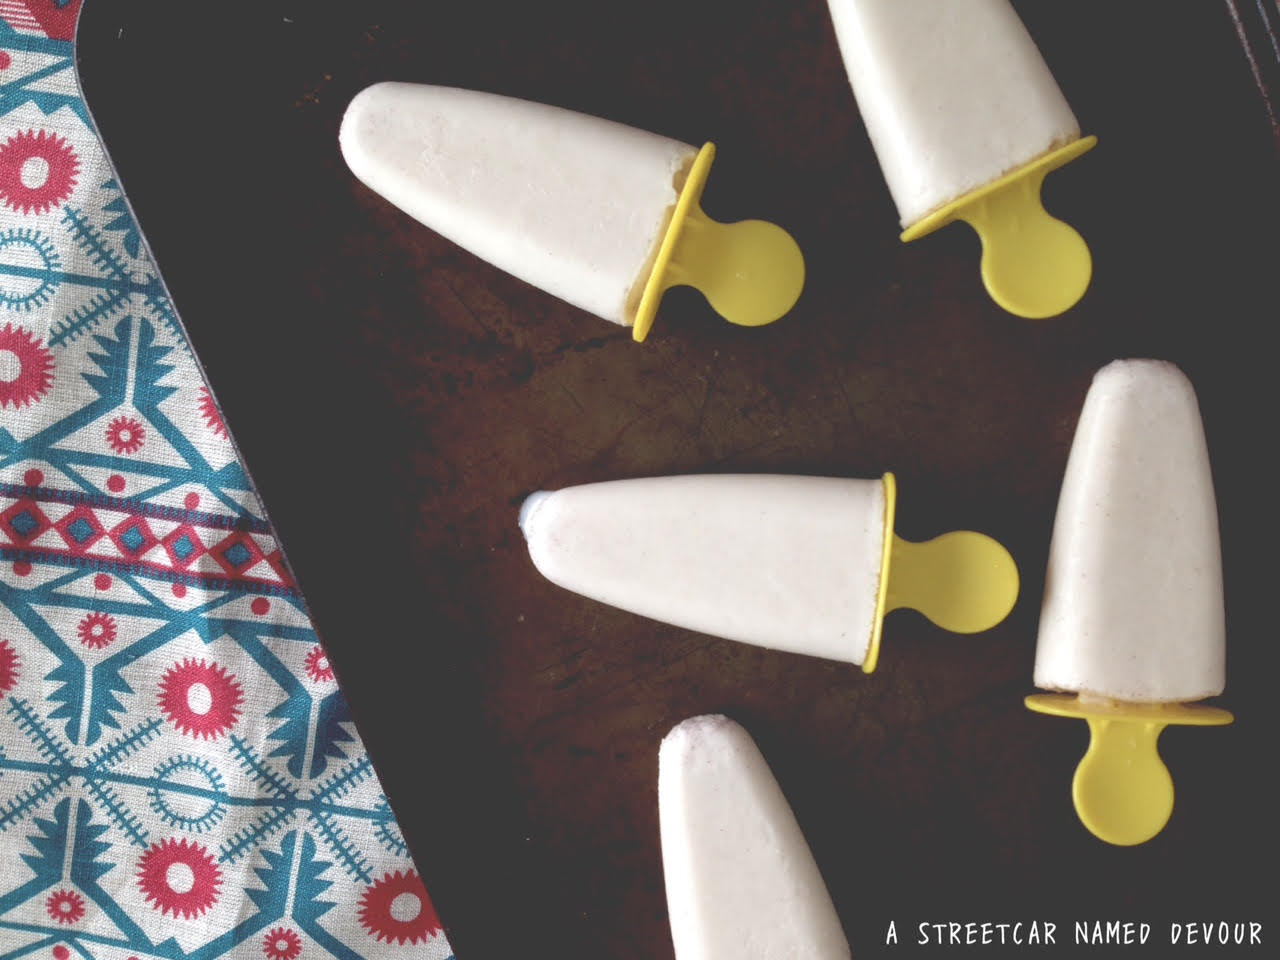
Enjoy!
FOR ASSEMBLING THE HALO-HALO
Halo-Halo
Serves 4
INGREDIENTS
Spanish flan (recipe HERE)
Ube ice cream (recipe above)
1 can evaporated milk
4 cups crushed or shaved ice
1 jar Halo-Halo mix*
(Cook’s Note: Halo-Halo mix can be found at your local Asian market.)

METHOD
Gather 4 sundae or chalice glasses (I used a tulip-style one). Add a scoop of the ice in each, then add a layer of the halo-halo mix.
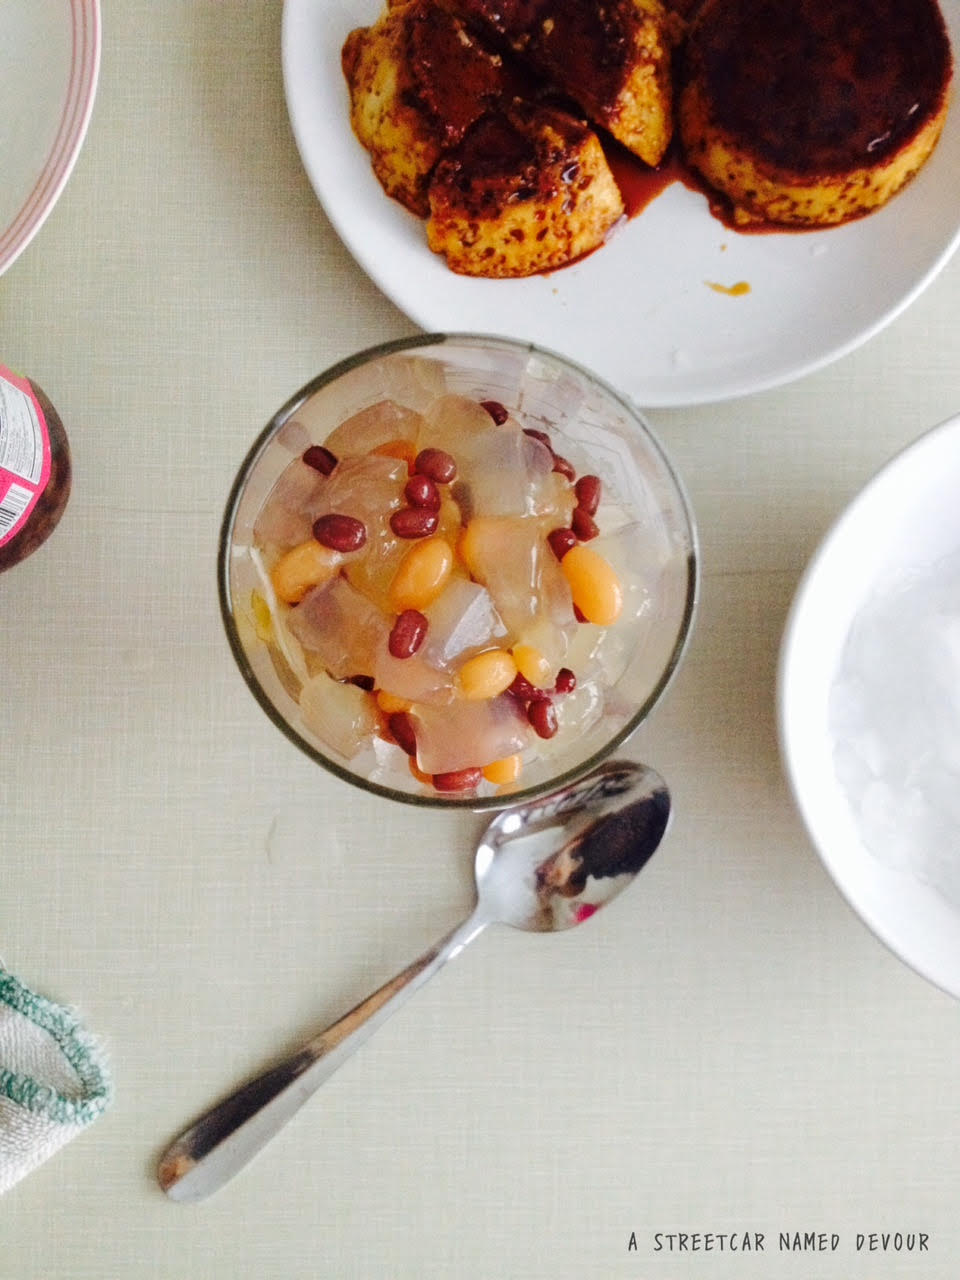
Layer on another scoop of ice and halo-halo mix after that till you reach about 1/3 to the rim.

Cut the flan into quarters and place a wedge on the top of each glass with 1-2 scoops of ube ice cream. Top with enough evaporated milk to cover a 1/4 to the rim.