Call Me Miss Honey Lavender Stracciatella

unnamed-13

I’ve been binge-watching LogoTV’s RuPaul’s Drag Race for the past month. All seven seasons. It’s an addiction I’m very happy to admit. I love me some drag queens and especially love me some RuPaul.

(PS: How has she not aged an ounce?! Get it, mama Ru!)

unnamed-11

unnamed-12

unnamed-20

unnamed-18

unnamed-16

unnamed-17

unnamed-19

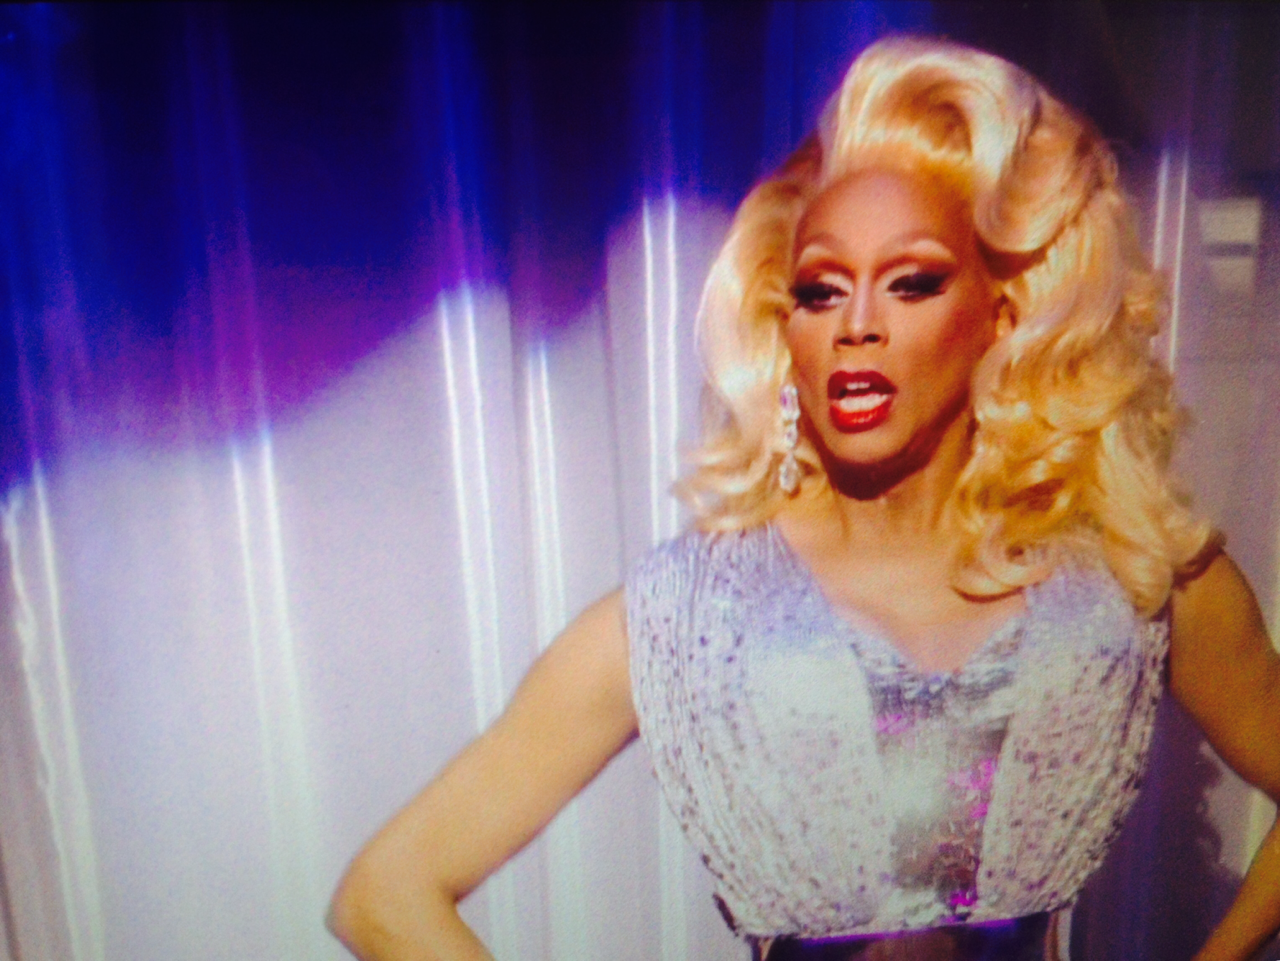
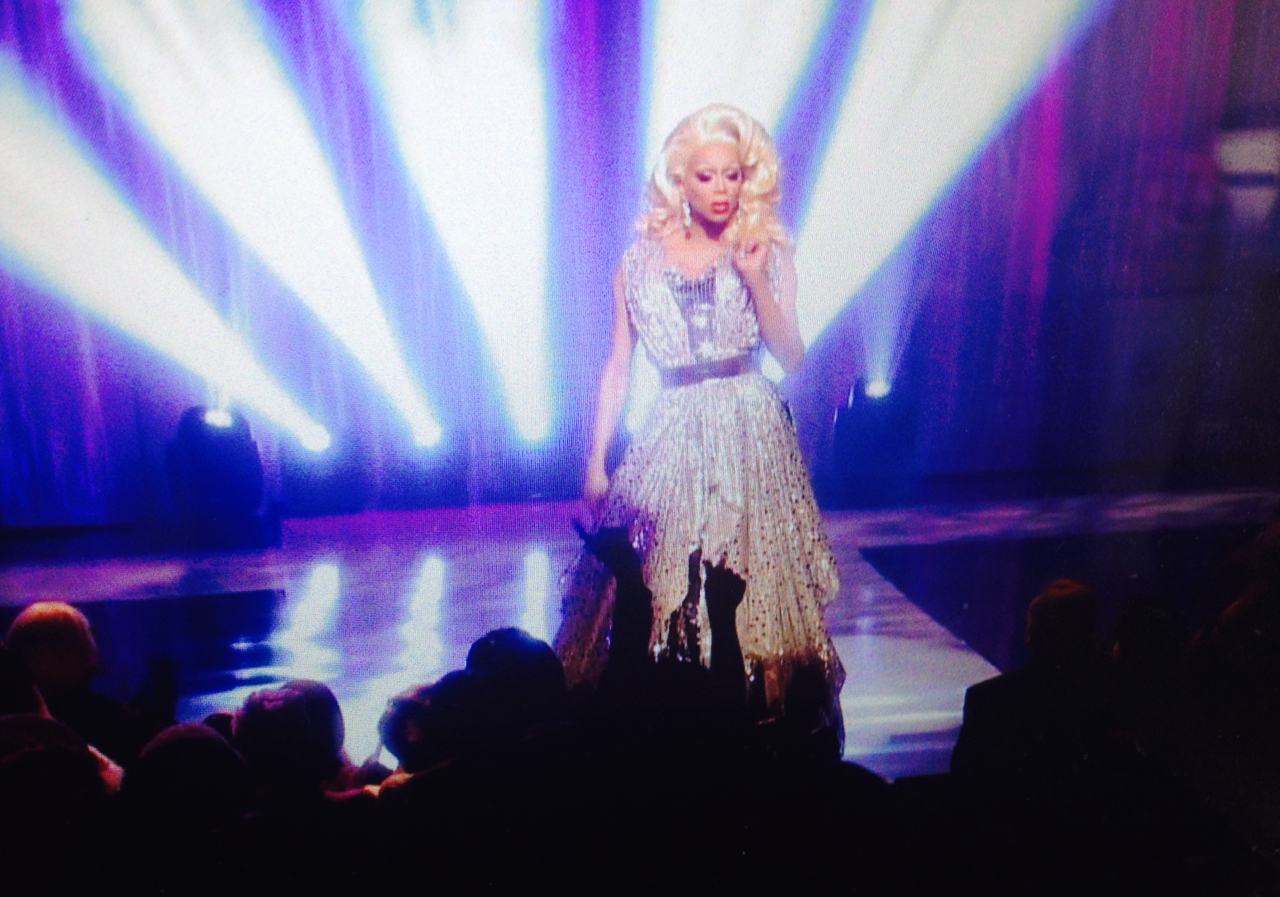
I remember watching RuPaul’s talk show (The RuPaul Show) on Vh1 in the late-90s. I was in middle school when it aired, and was so enamored by Ru. What a talent, I thought; you couldn’t keep your eyes off her. I was a fan of hers then and am an even bigger fan of her now. The Drag Race competition show is such a guilty pleasure of mine. I watch it while I’m getting dressed for work, while I’m cooking, and when I unwind after getting off from work. And while most shows lose their luster after each season, Drag Race does quite the opposite: it gains more fans and attention with every year.

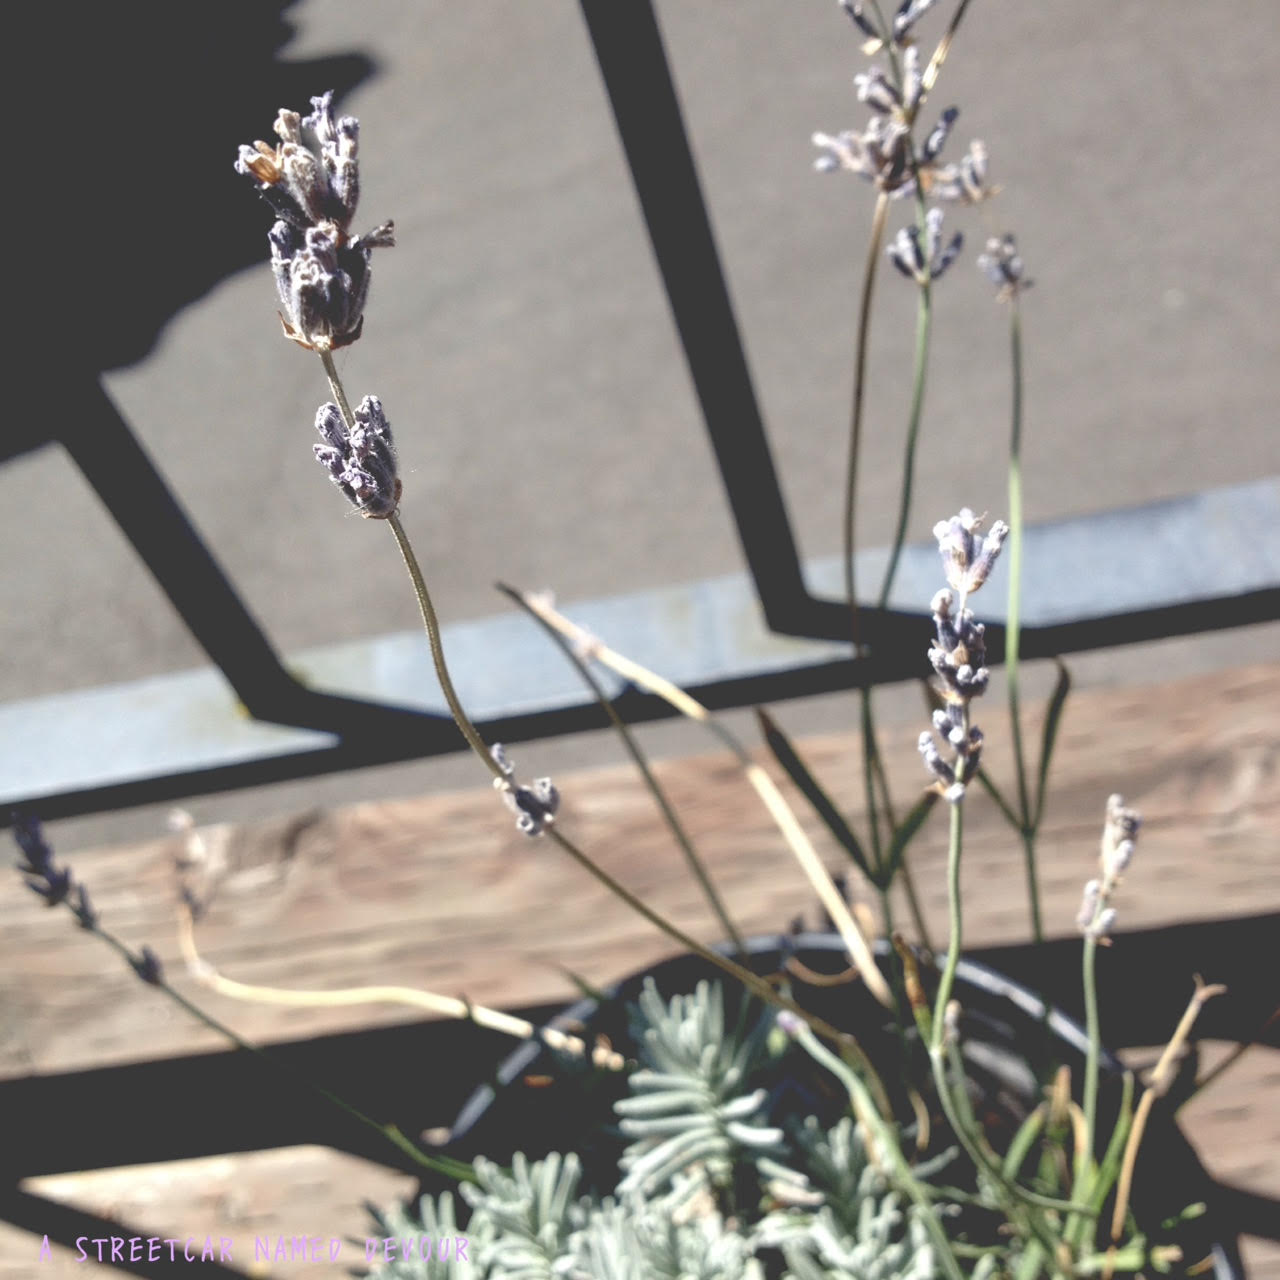
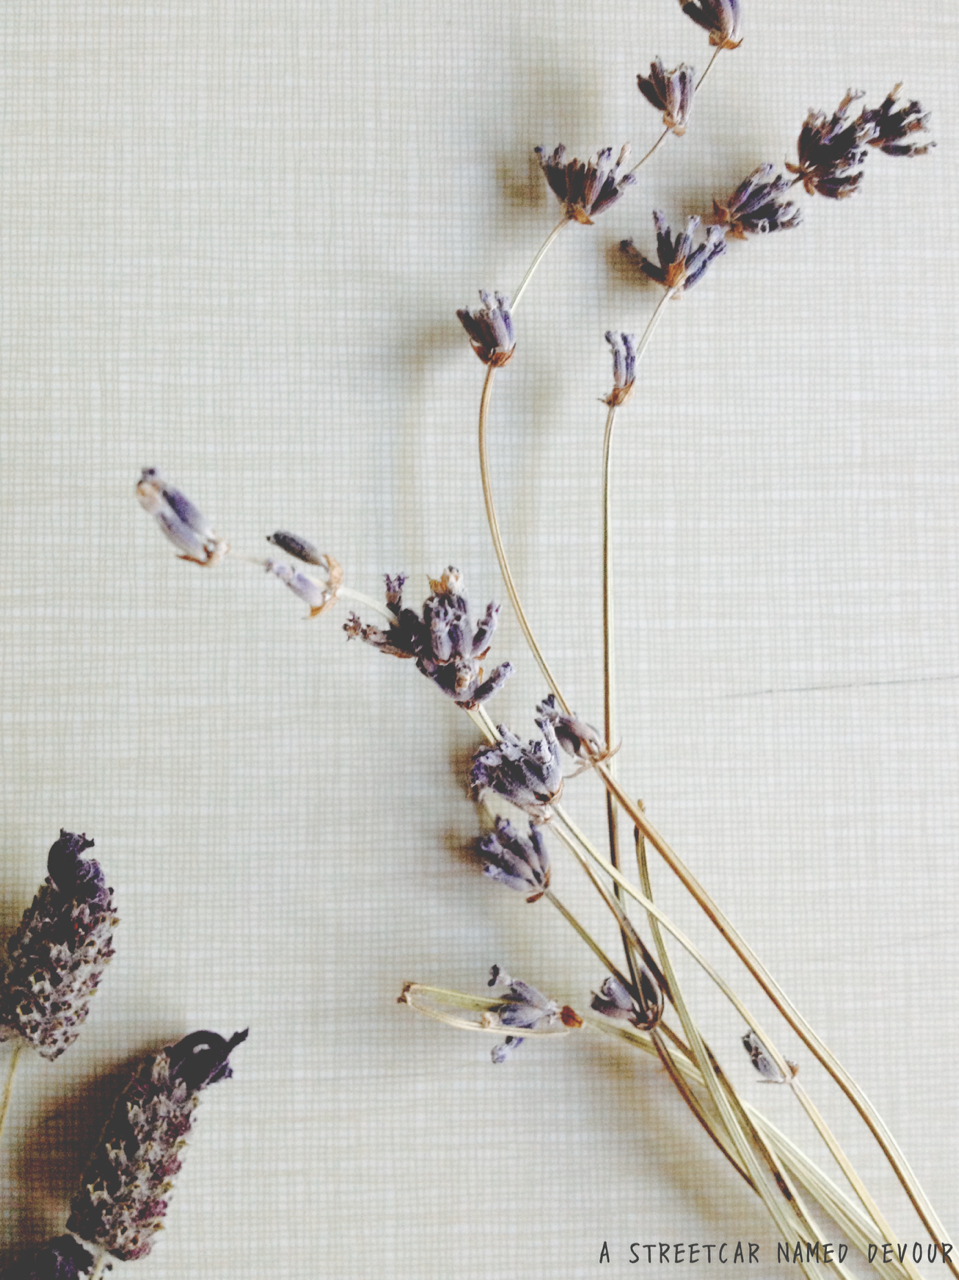
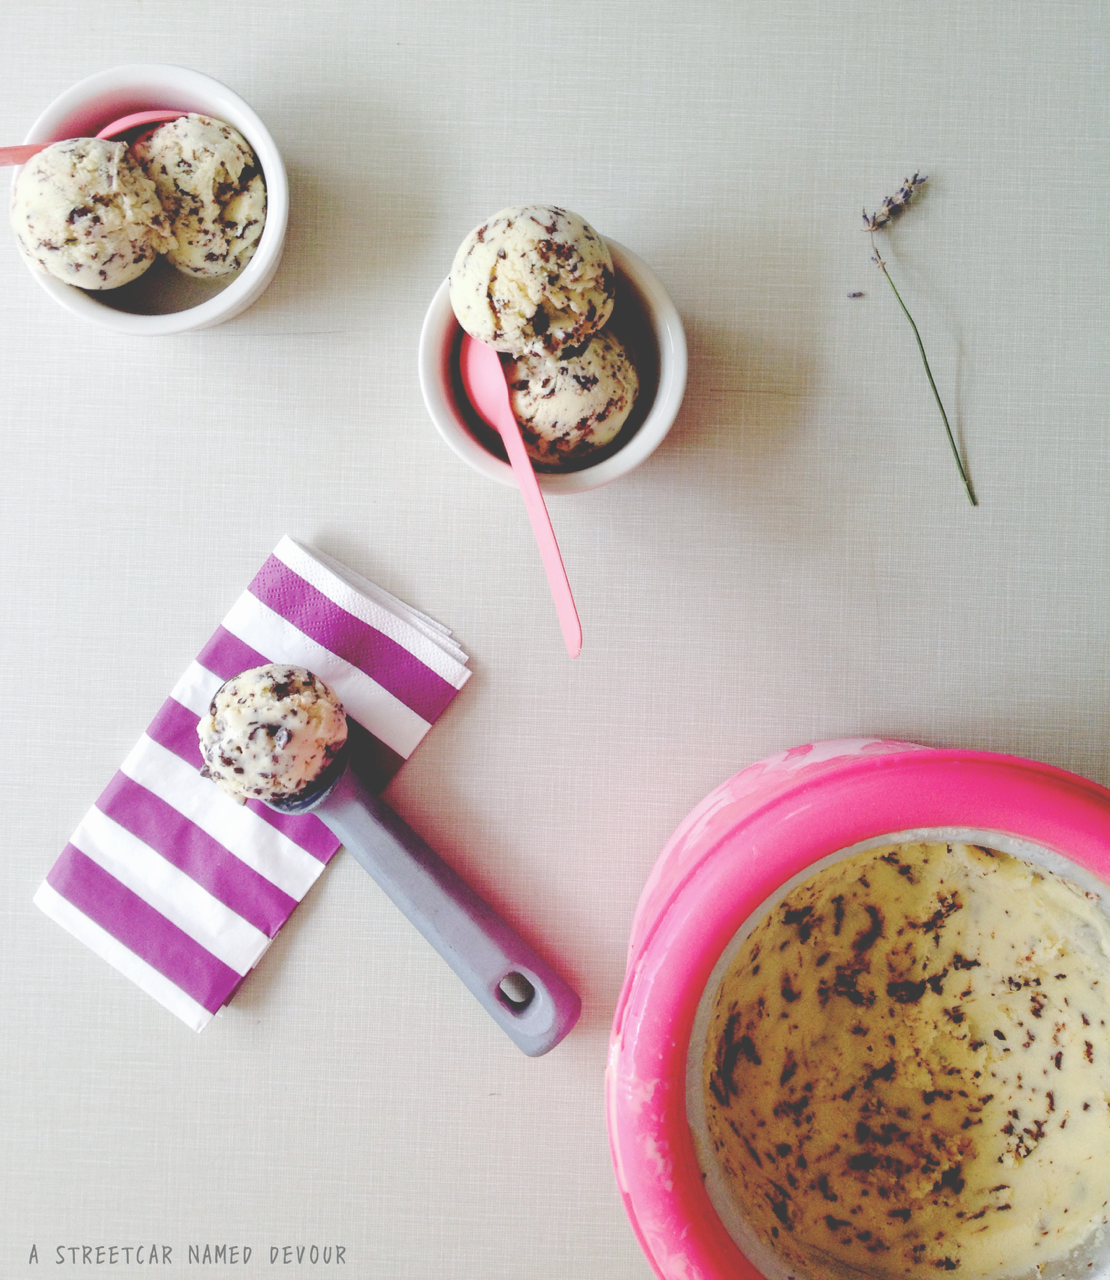
When I was deciding to make a new ice cream for this week’s post I immediately turned to my mini garden I’ve been working on for the past 3 months. One of my favorite things I’m growing right now is lavender. The aroma is so soothing and delicious; I so desperately have been wanting an excuse to cook with it.

unnamed-1

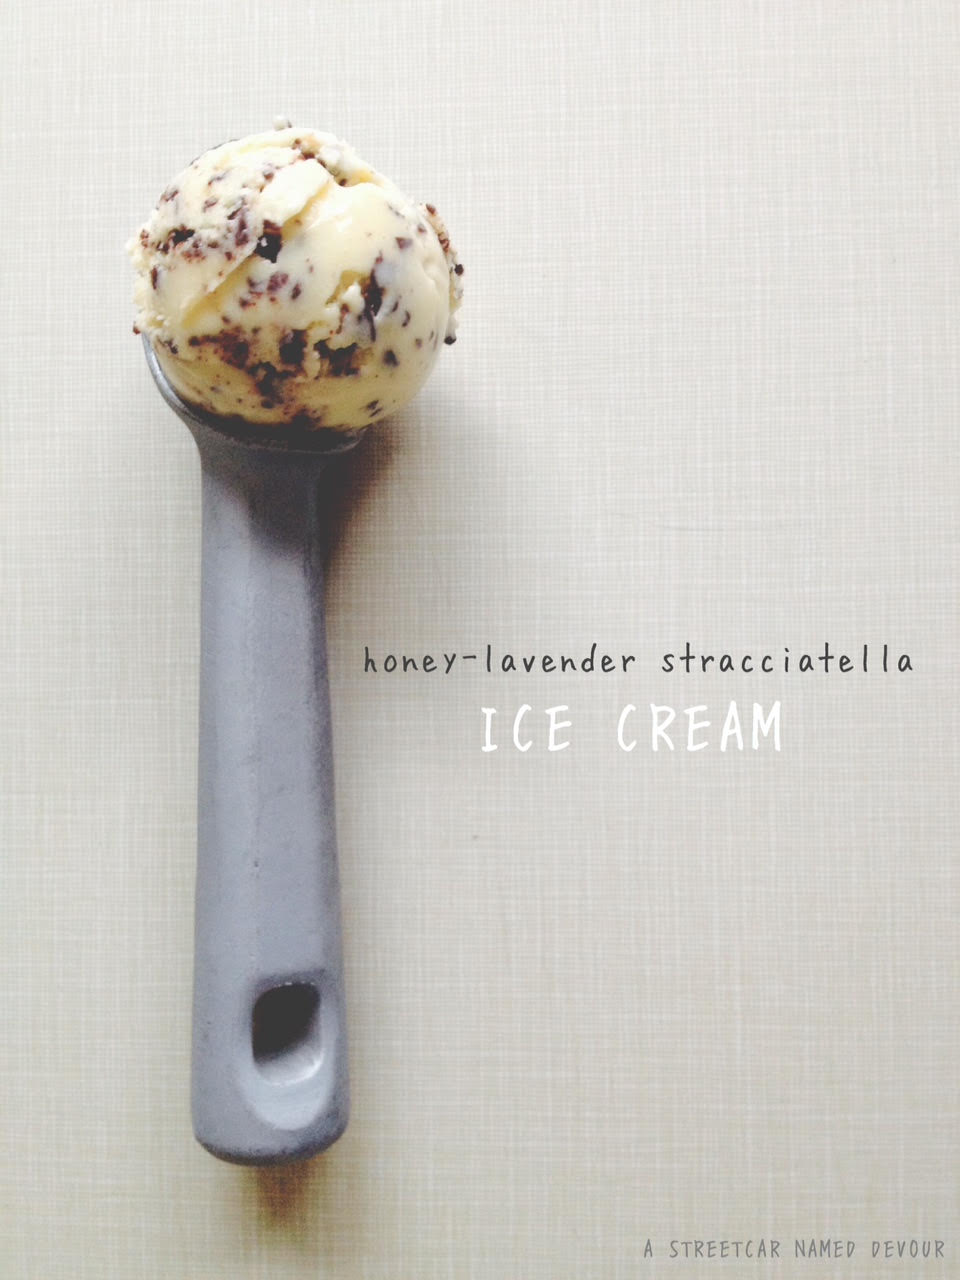
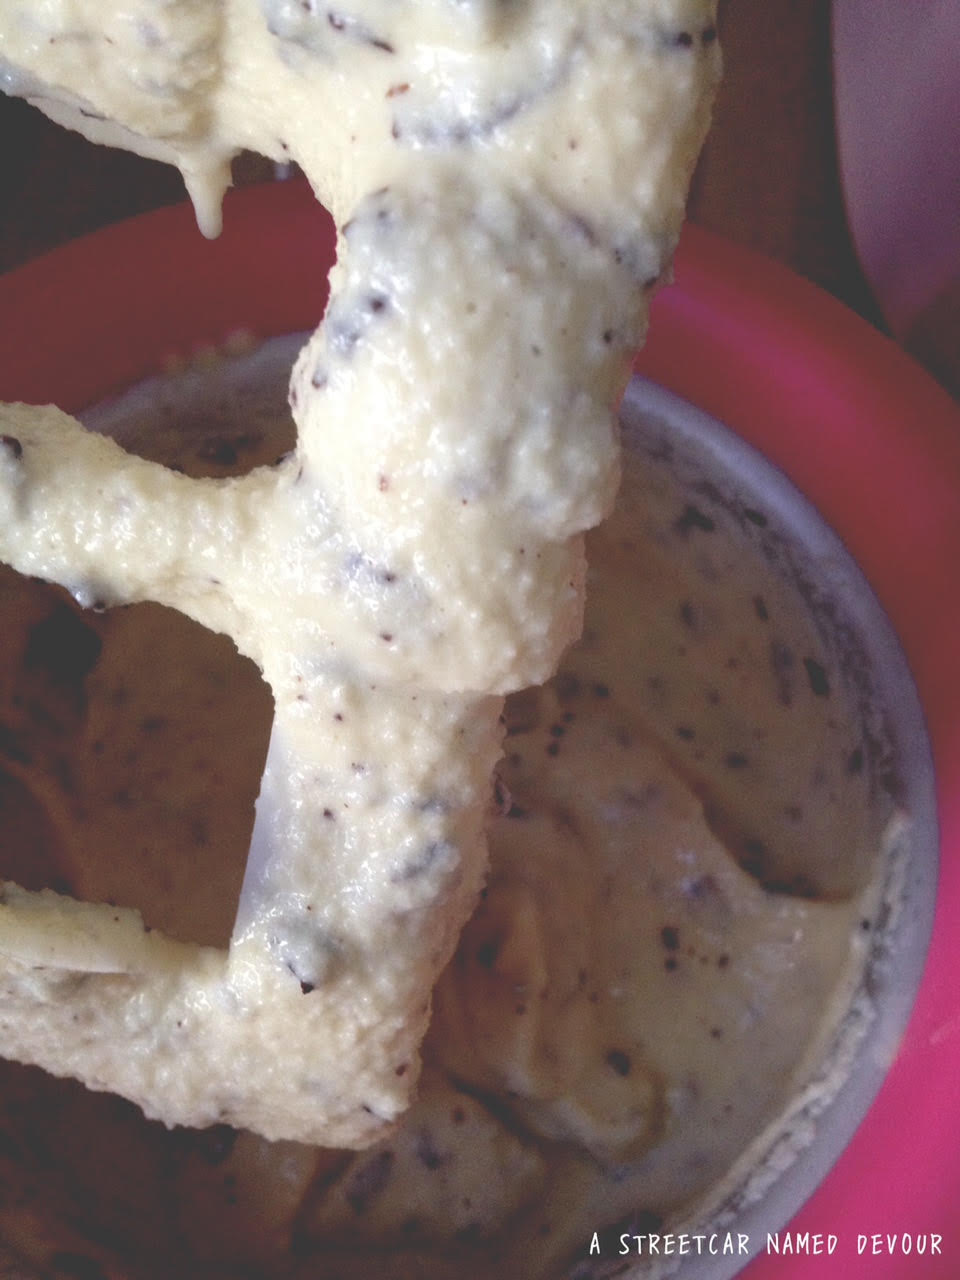
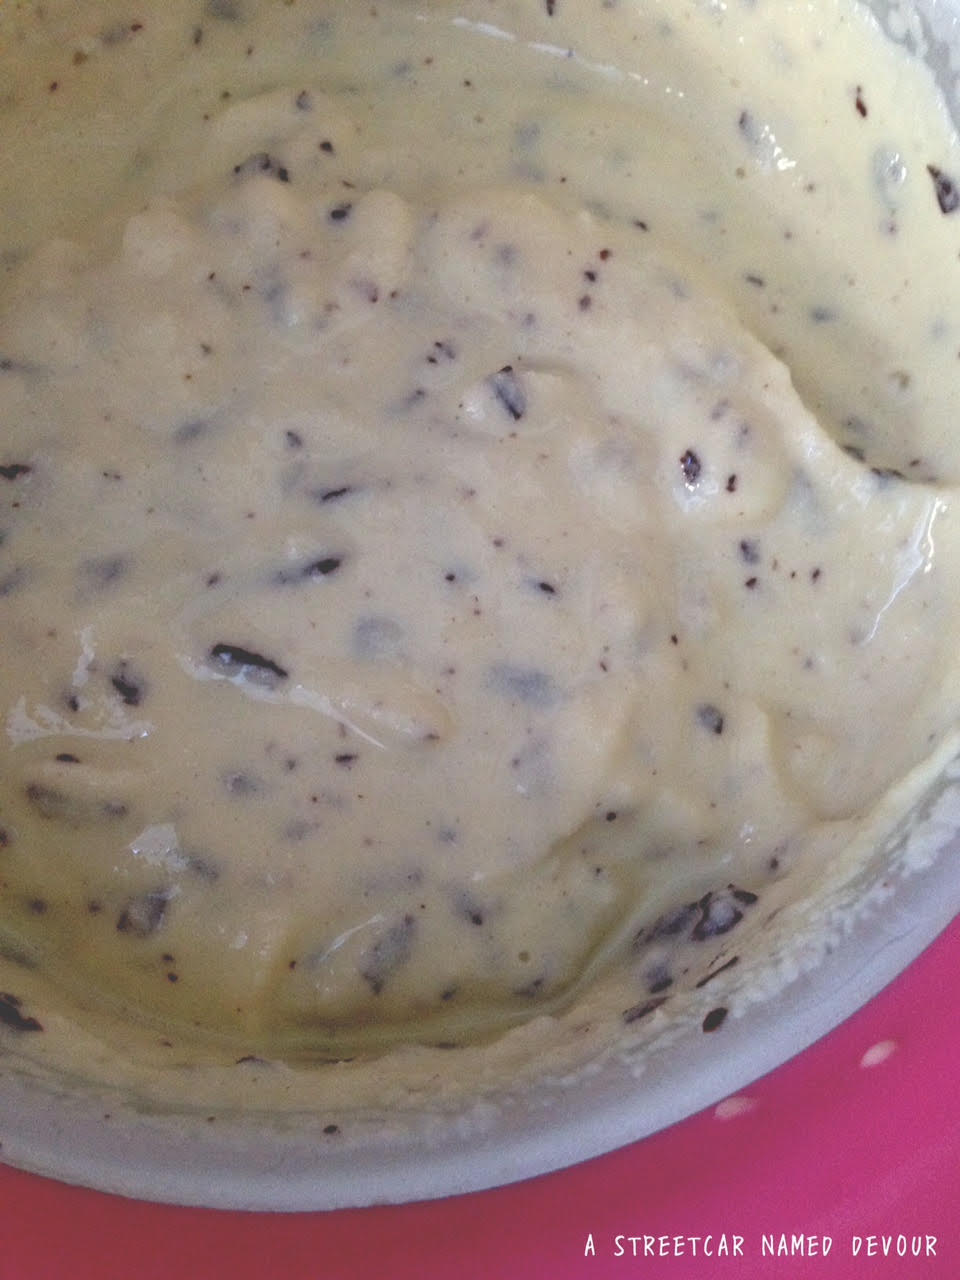
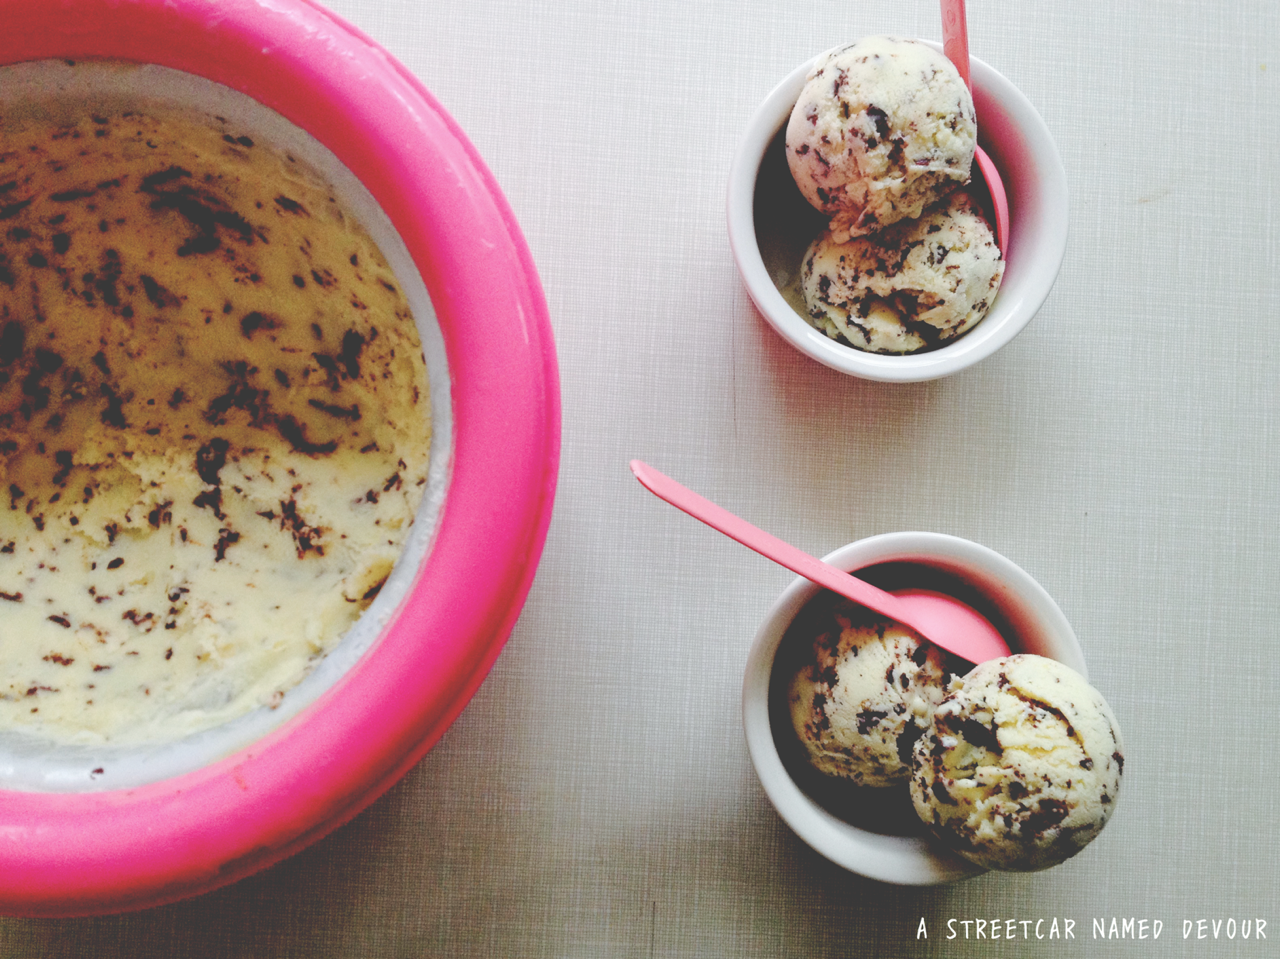
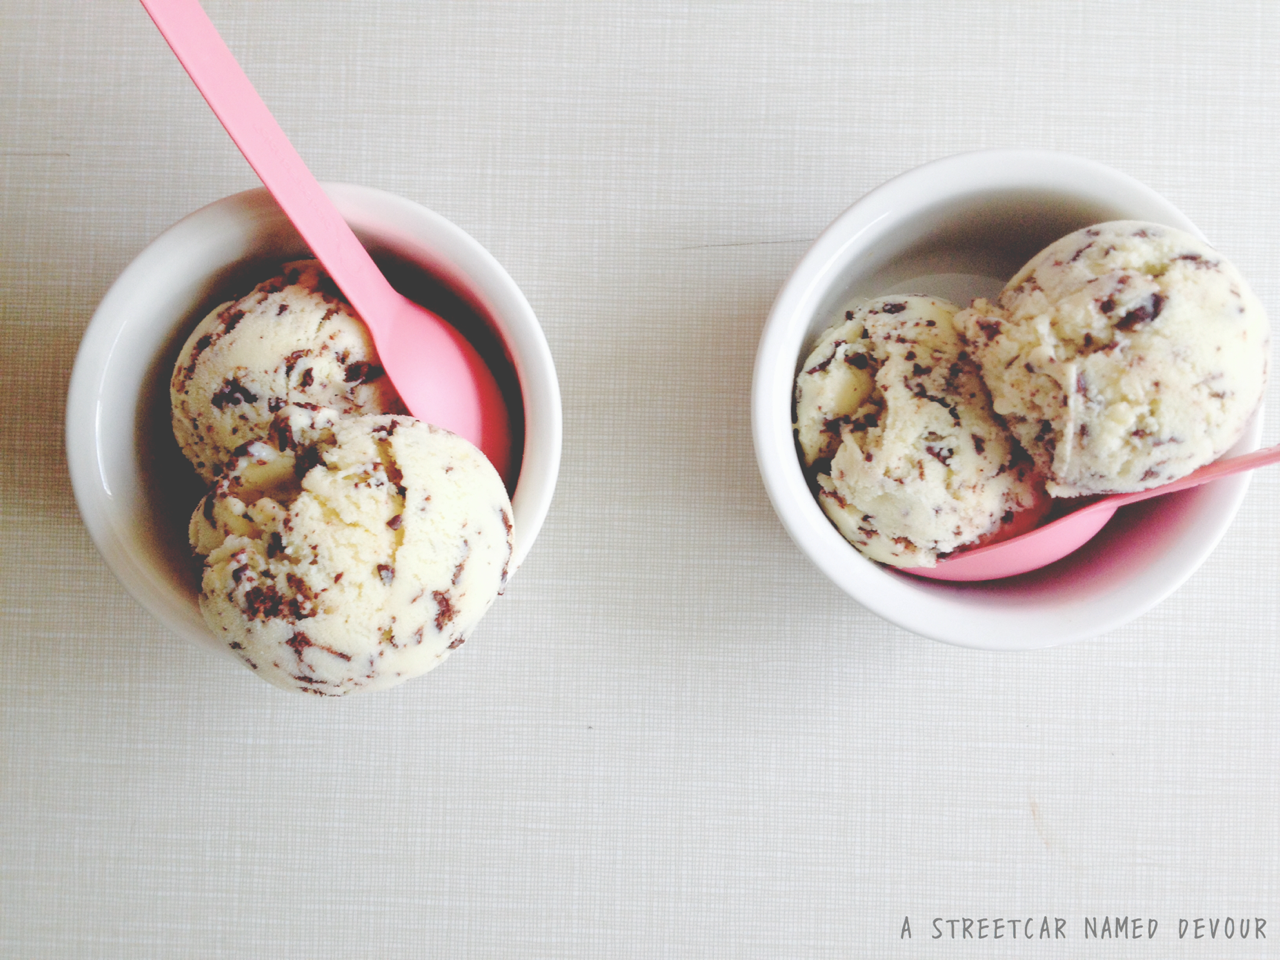
My idea was to create a honey lavender ice cream with a twist–add some chocolate. Dark chocolate and lavender go so well together, I didn’t want to turn down the opportunity to pair these flavors for this ice cream flavor. And instead of simply adding chips, I wanted to make a stracciatella-type ice cream. The soft, mellow taste from the lavender ice cream immediately reach your taste buds, and then these quick yet small bursts of chocolate melt in your mouth and add a lasting finish. Both flavors are undeniably perfect together, much like RuPaul and Michelle Visage!

And how great of a drag queen name is Honey Lavender Stracciatella? It’s mine now!

unnamed-5

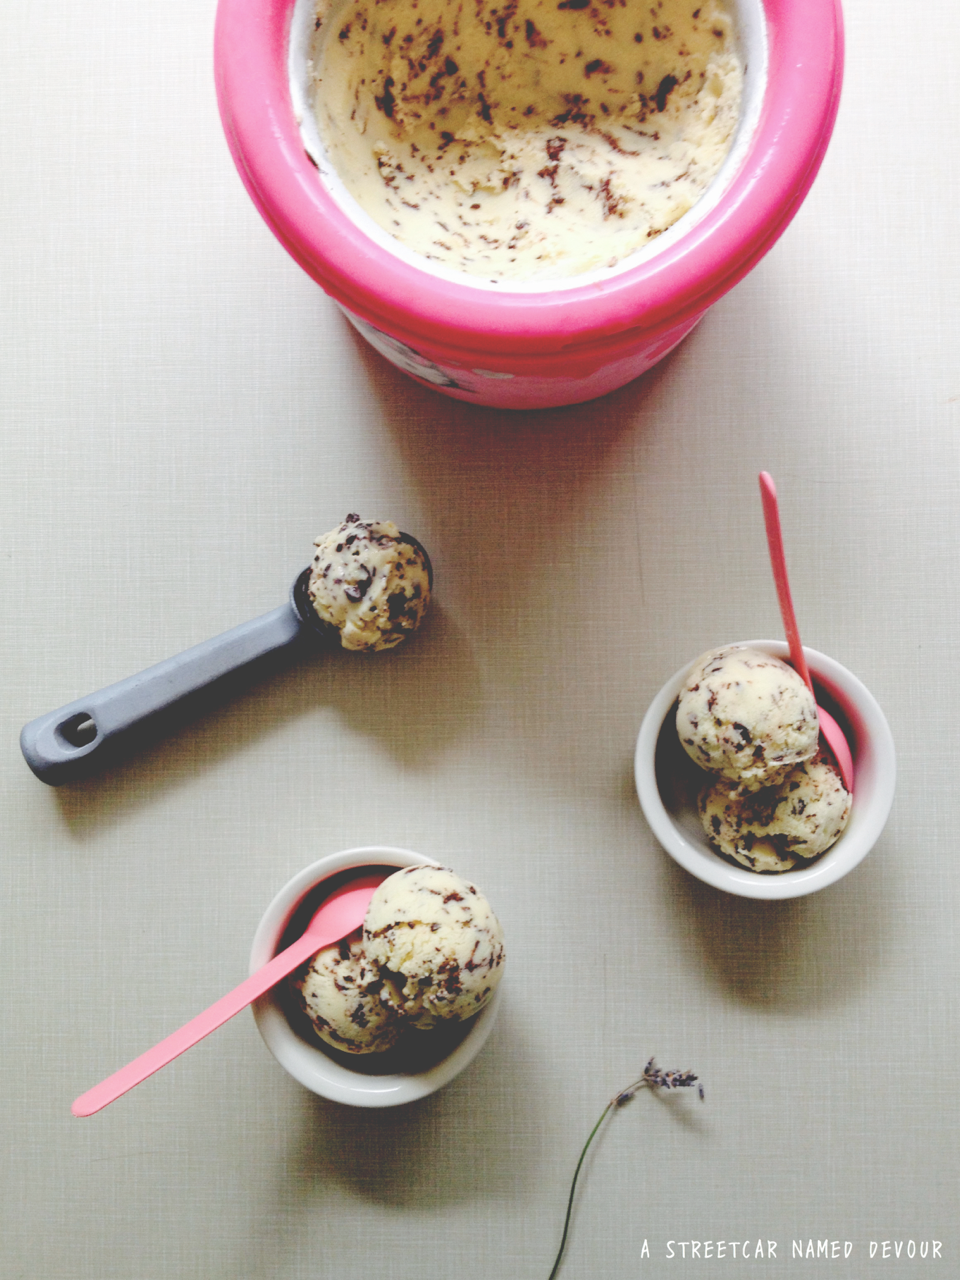
Honey Lavender Stracciatella Ice Cream
Yields 1 quart

INGREDIENTS
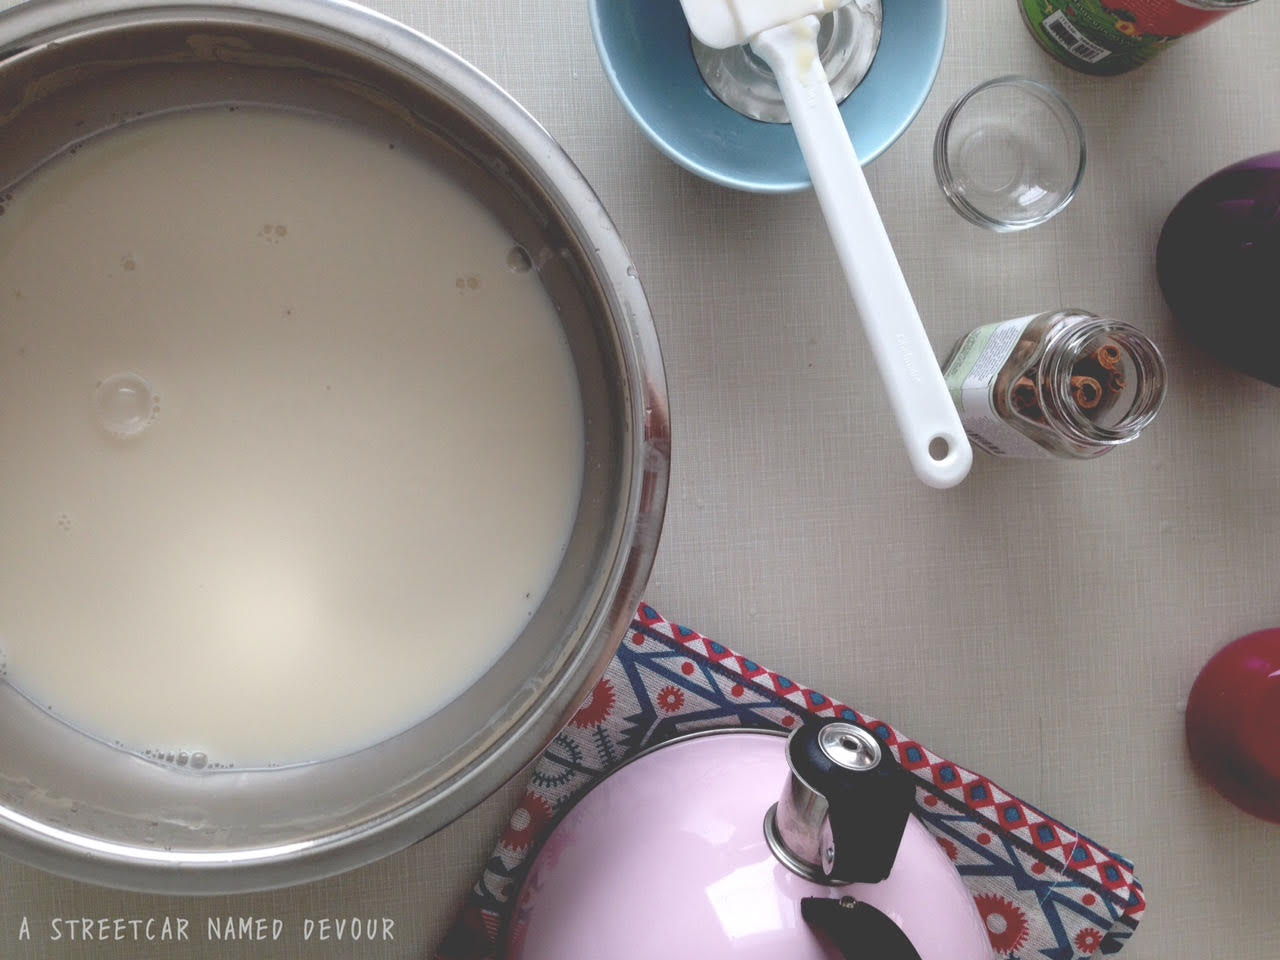
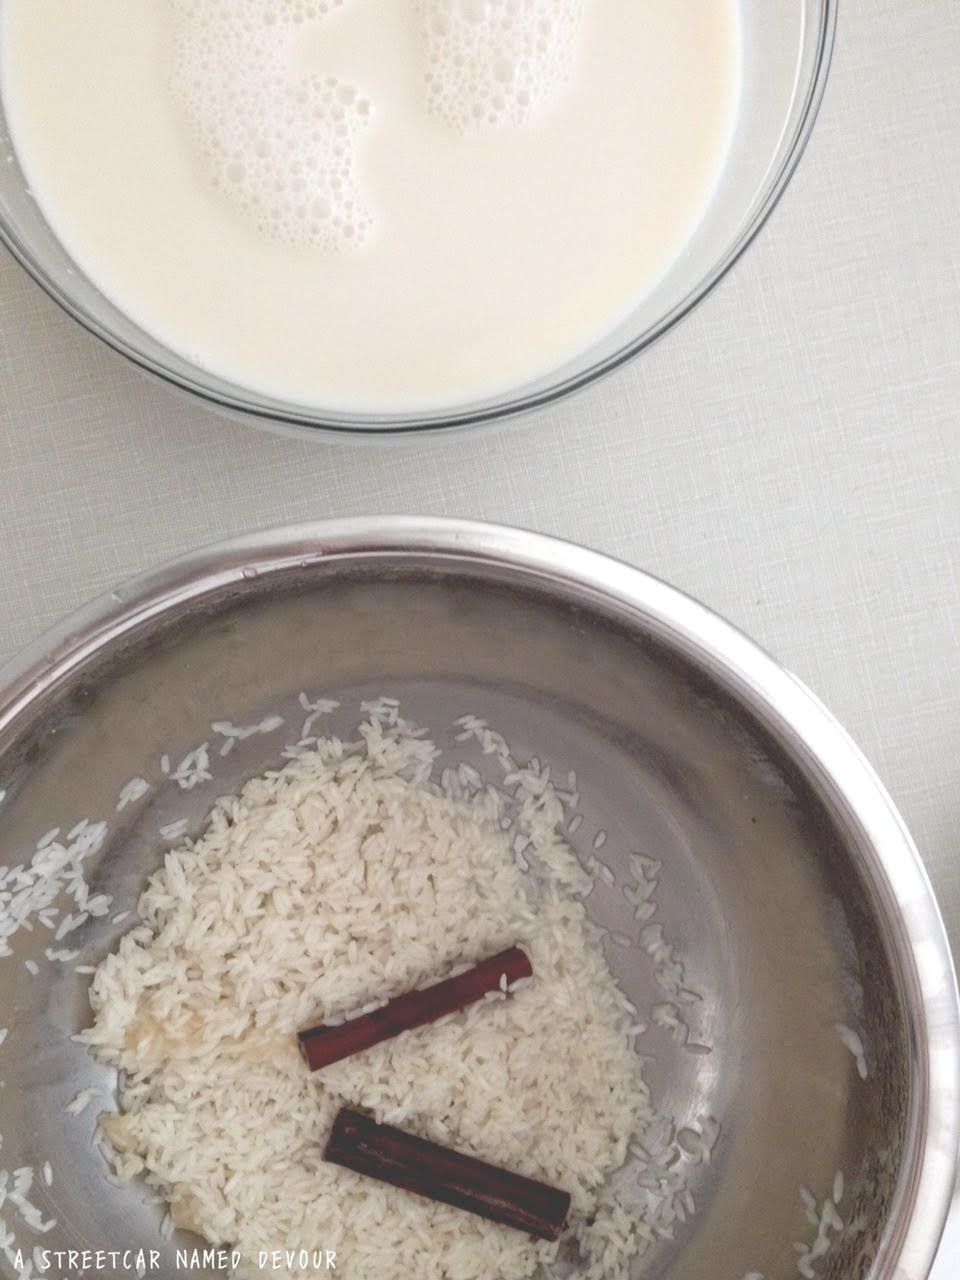
4 cups whole milk, divided
3 Tablespoons lavender buds, dried
6 Tablespoons honey
2 teaspoons Kosher salt
6 large egg yolks
1/8 cup granulated sugar
1/3 cup 60% dark chocolate chips (or bar cut into chunks)

unnamed

METHOD
In a small pot, heat 2 cups of the milk till just-scalding.

unnamed-1

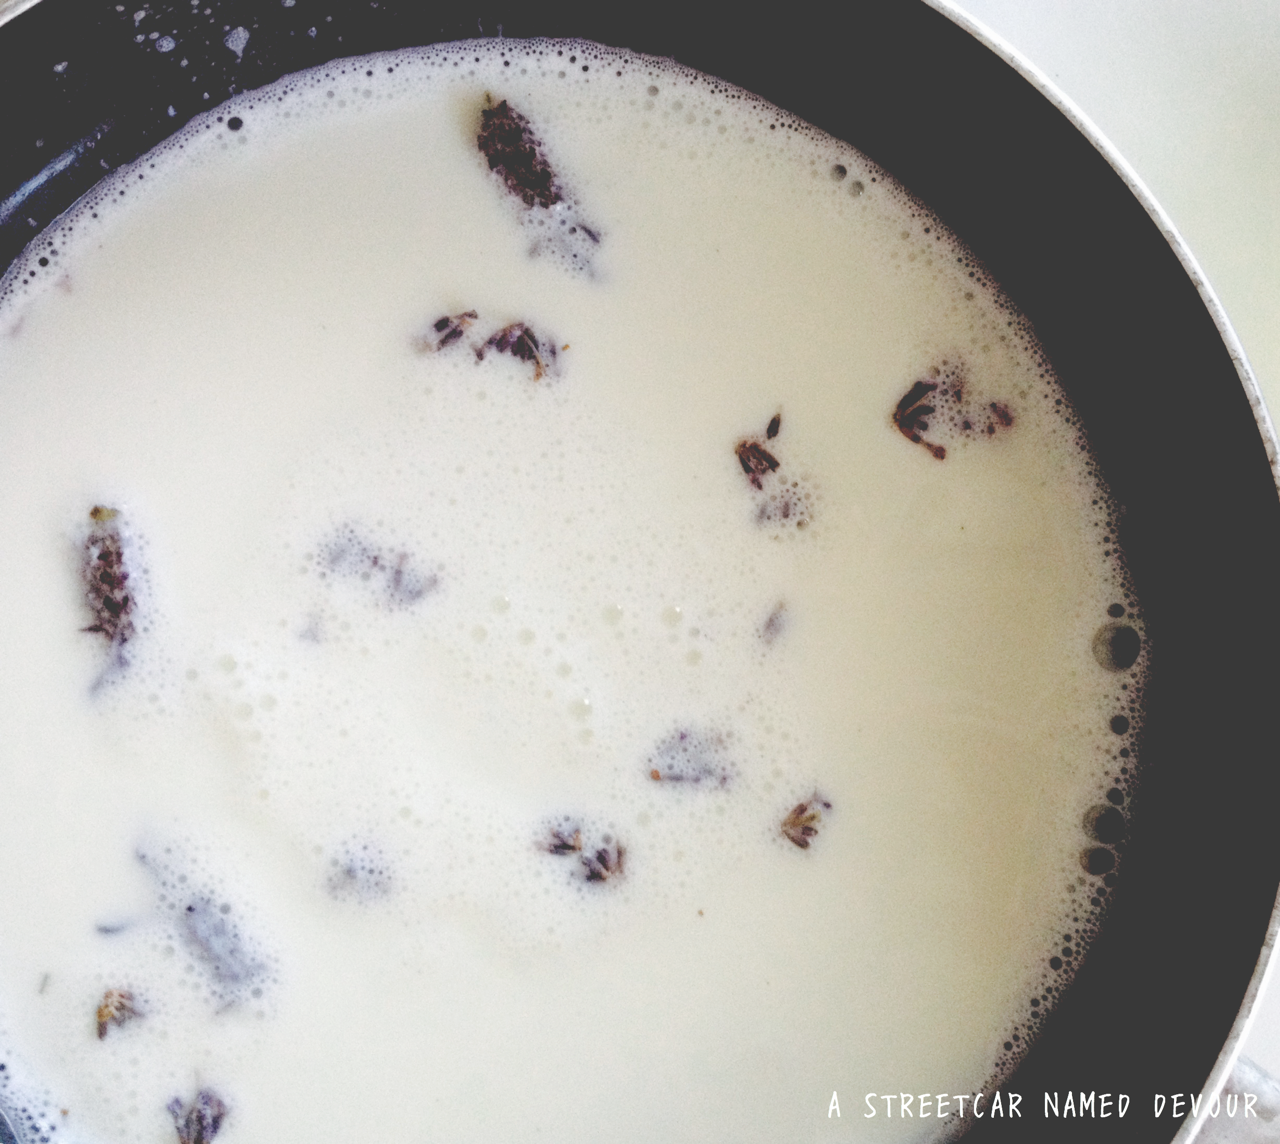
Place the lavender buds in a separate medium-sized pan (preferable shallow).

When the milk is scalding, quickly remove from the heat and pour into the shallow pan with the lavender buds. This will “shock” the lavender and immediately extract all of the essential oils you want to obtain to get the greatest amount of flavor. Turn on the heat to medium-low and whisk occasionally to avoid scorching. Add in the honey and salt. Allow flower buds to steep in the heated milk for about an hour, adjusting the heat if it gets too hot or cool.

unnamed-2

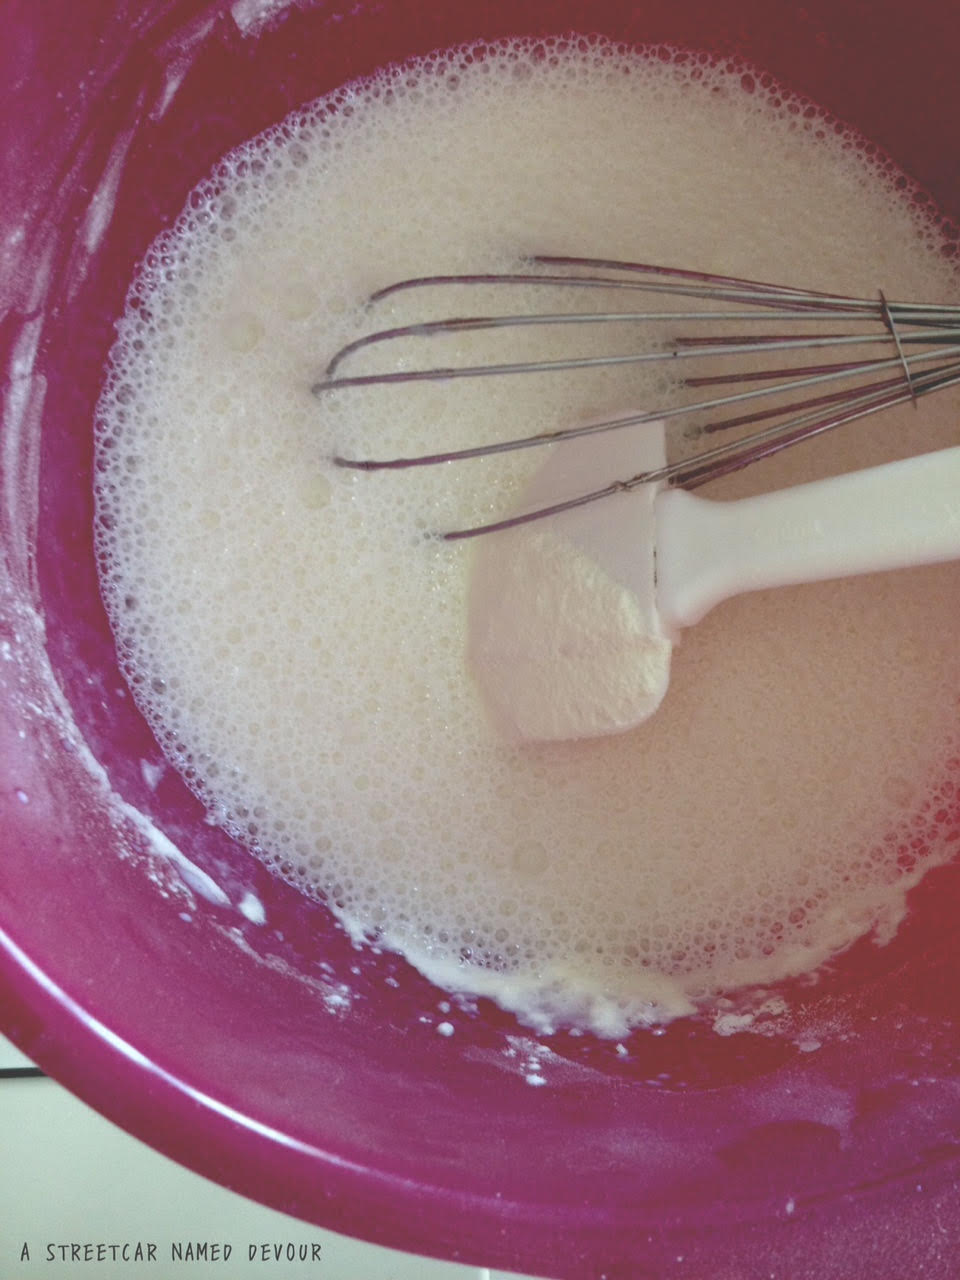
In a separate mixing bowl, place the egg yolks and whisk rigorously till thickened. Add in the sugar and continue to whisk to thicken.

unnamed-3

unnamed-4

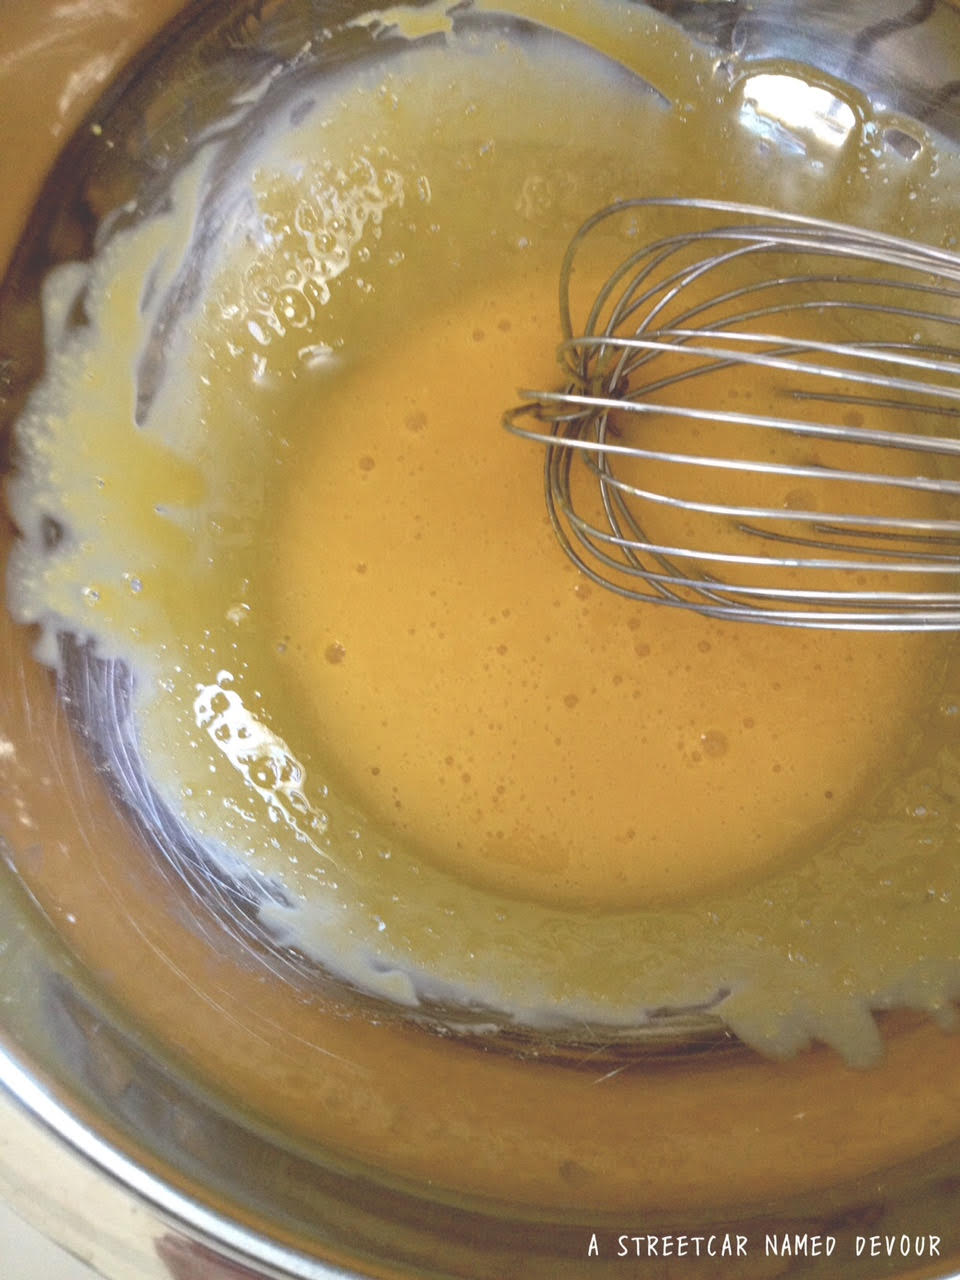
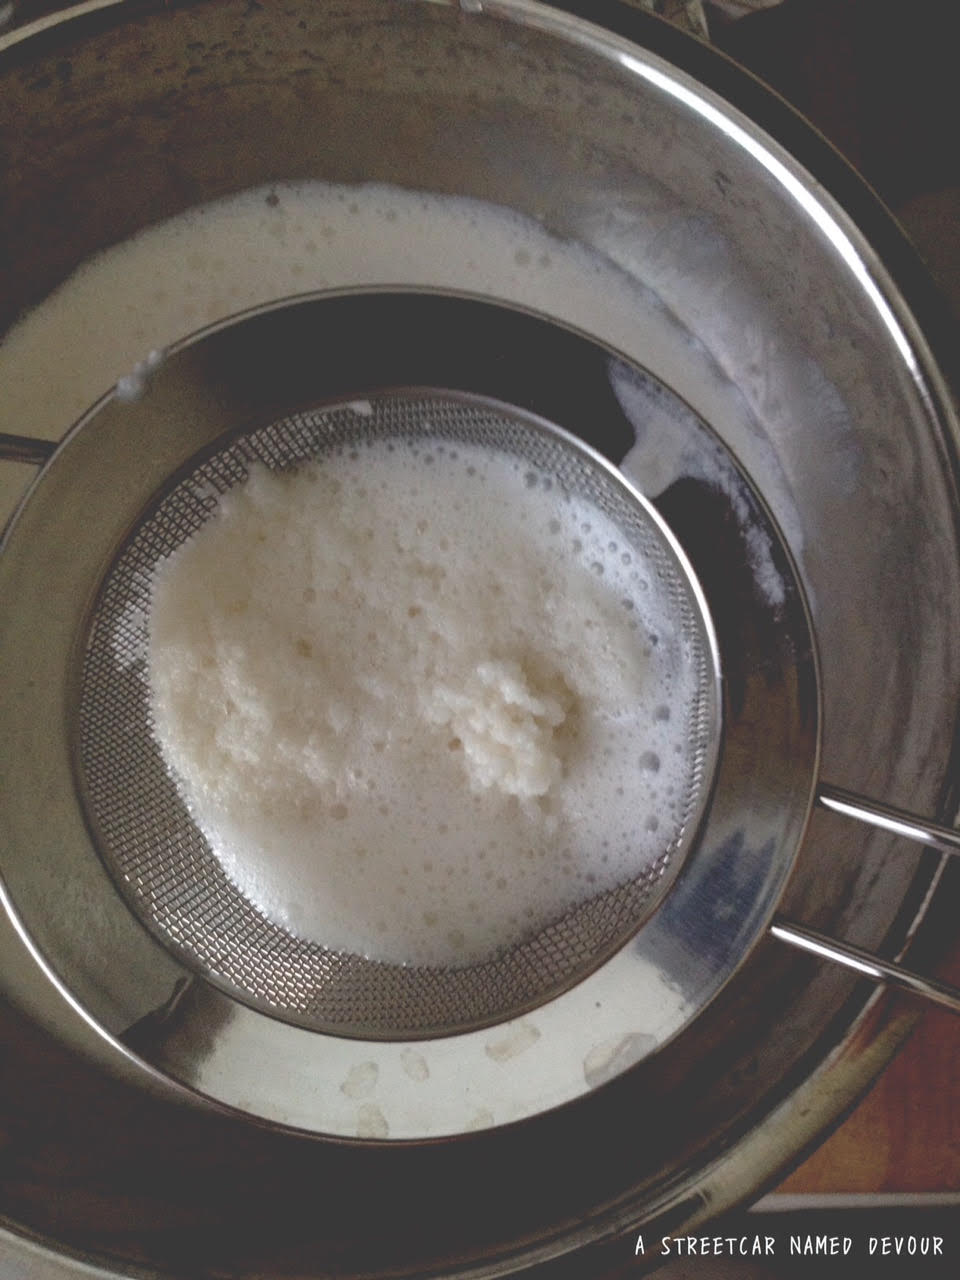
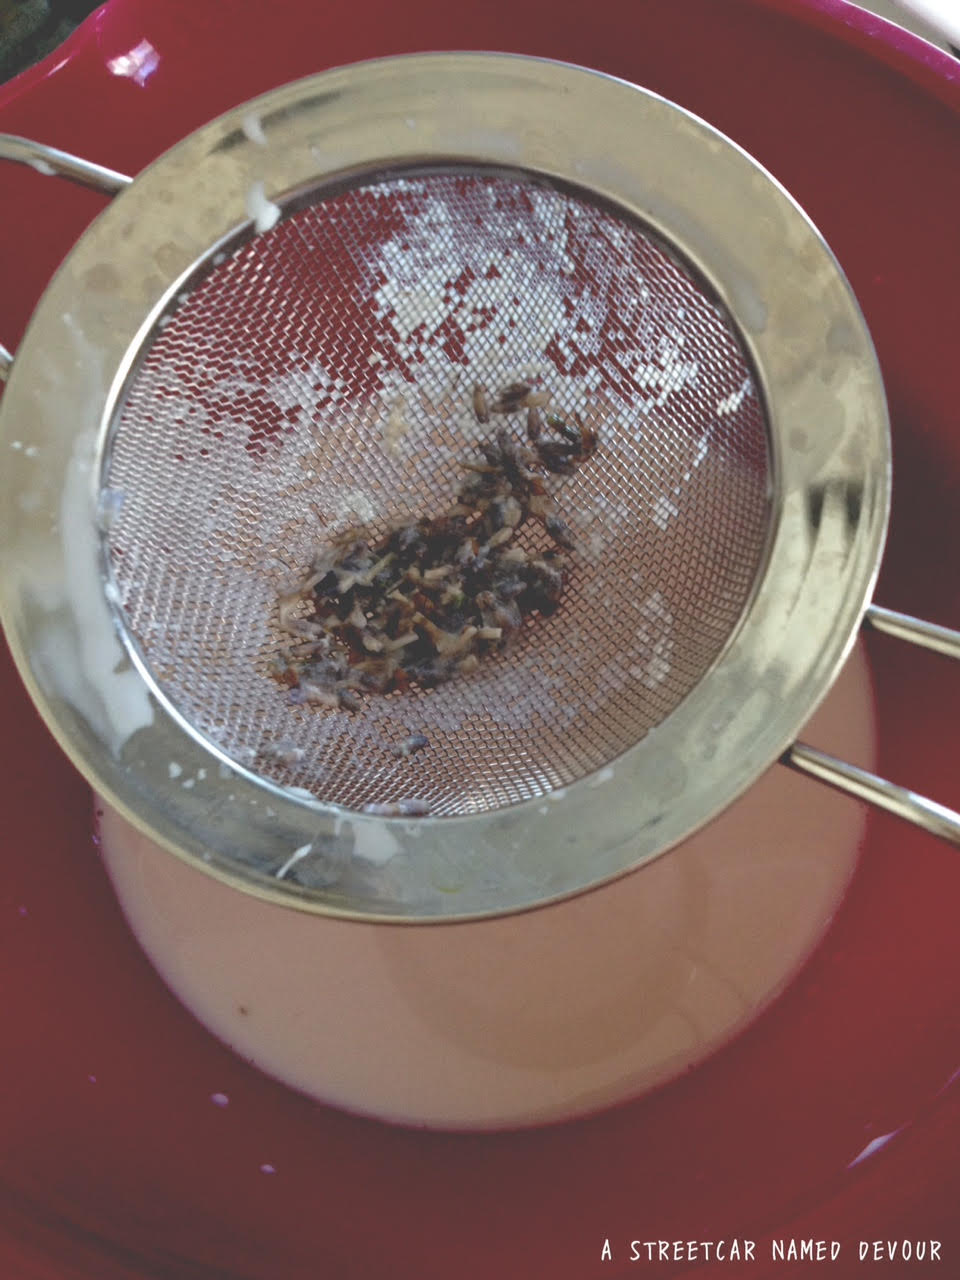
After the lavender/milk mixture has steeped for about an hour, strain the milk with a fine-mesh sieve, discarding the flowers. Return half of the milk into the shallow pan, turning the heat up to medium. Place about 1/4 of the strained milk slowly into the egg/sugar mixture. This is called “tempering” the eggs. You’re essentially heating up the eggs very slowly avoiding to curdling them. Whisk and slowly add in more of the lavender/milk liquid until the mixture is warmed.

unnamed-5

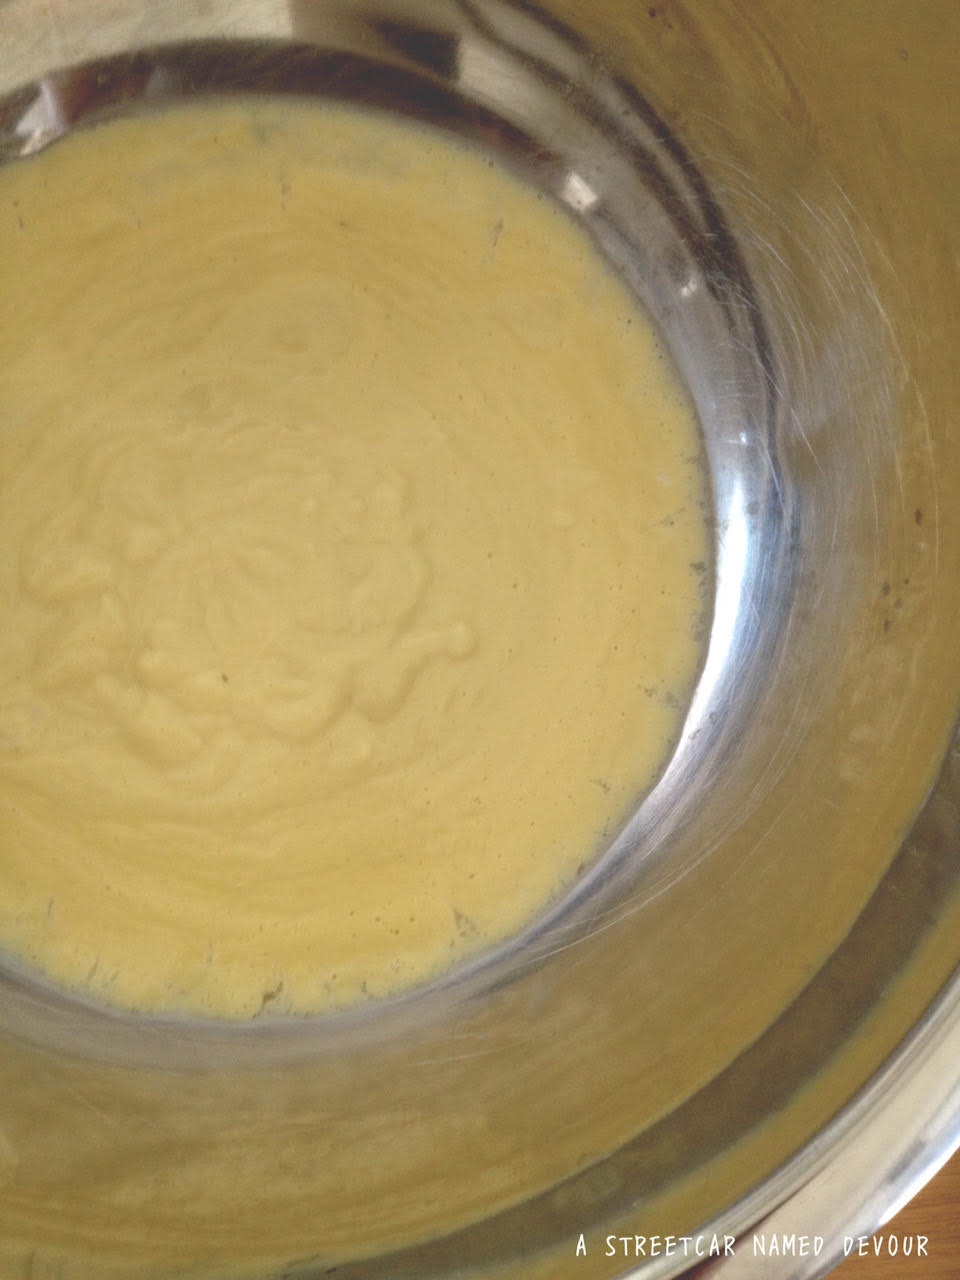
Then add the egg yolk/milk mixture into the shallow pan, incorporating it with the rest of the heated lavender/milk base. Whisk the mixture constantly, making sure not to overcook the eggs. Adjust the heat and/or remove the pan from the heat to maintain an even cooking temperature. Once the mixture has thickened to the point where the mixture coats the back of a spoon, it’s done. Immediately transfer to a shallow bowl and place on top of an ice bath to cool down.

unnamed-6

(Cook’s note: If you see the sides of the pan start to “cook” you’ve overcooked your eggs and must immediately remove from the heat and strain the mixture and place in an ice bath to cool down. When you overcook the mixture you’ll end up with a scrambled egg-tasting ice cream base, or even worse, scrambled eggs!)

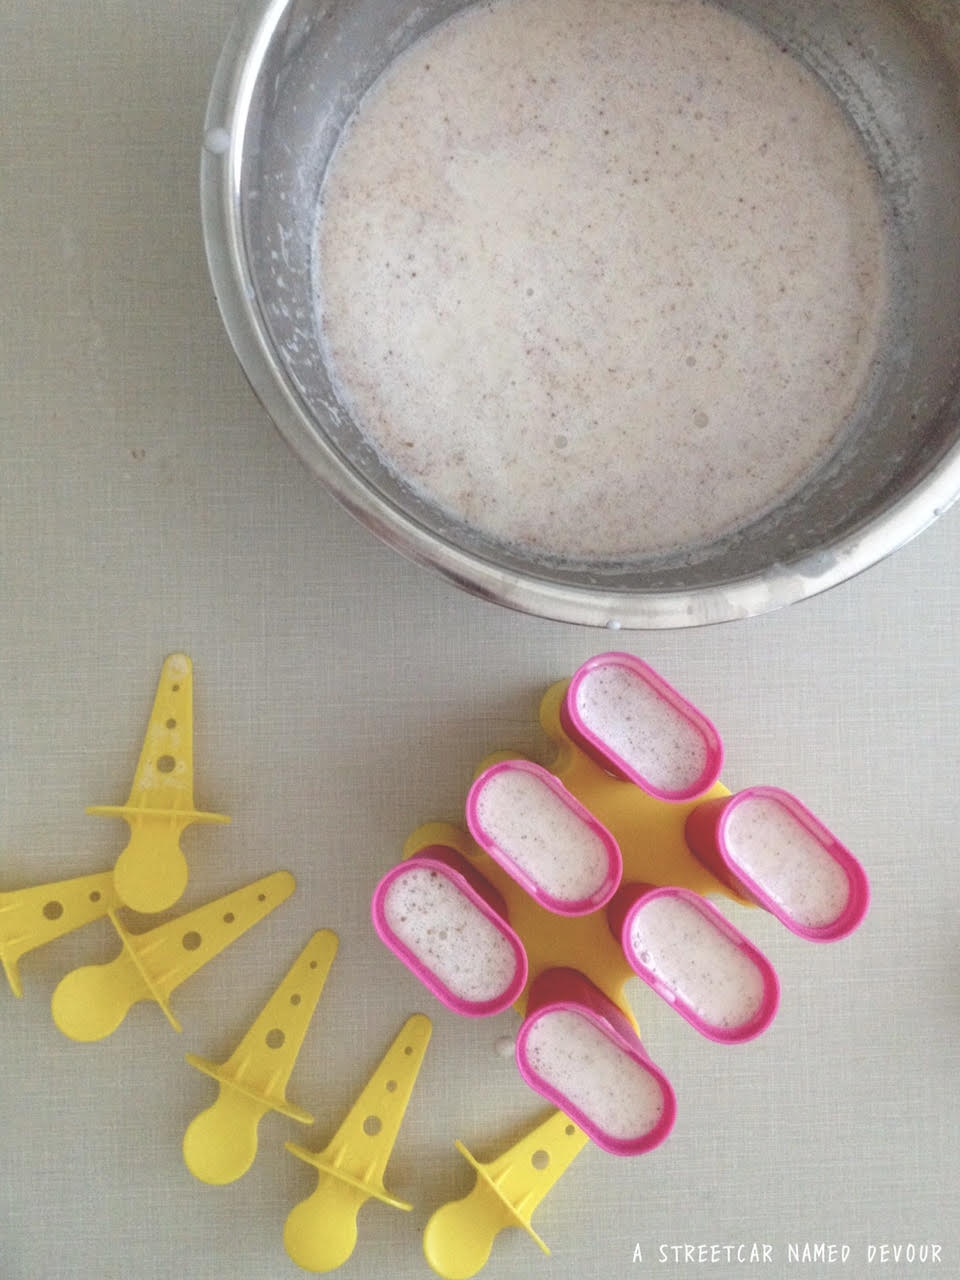
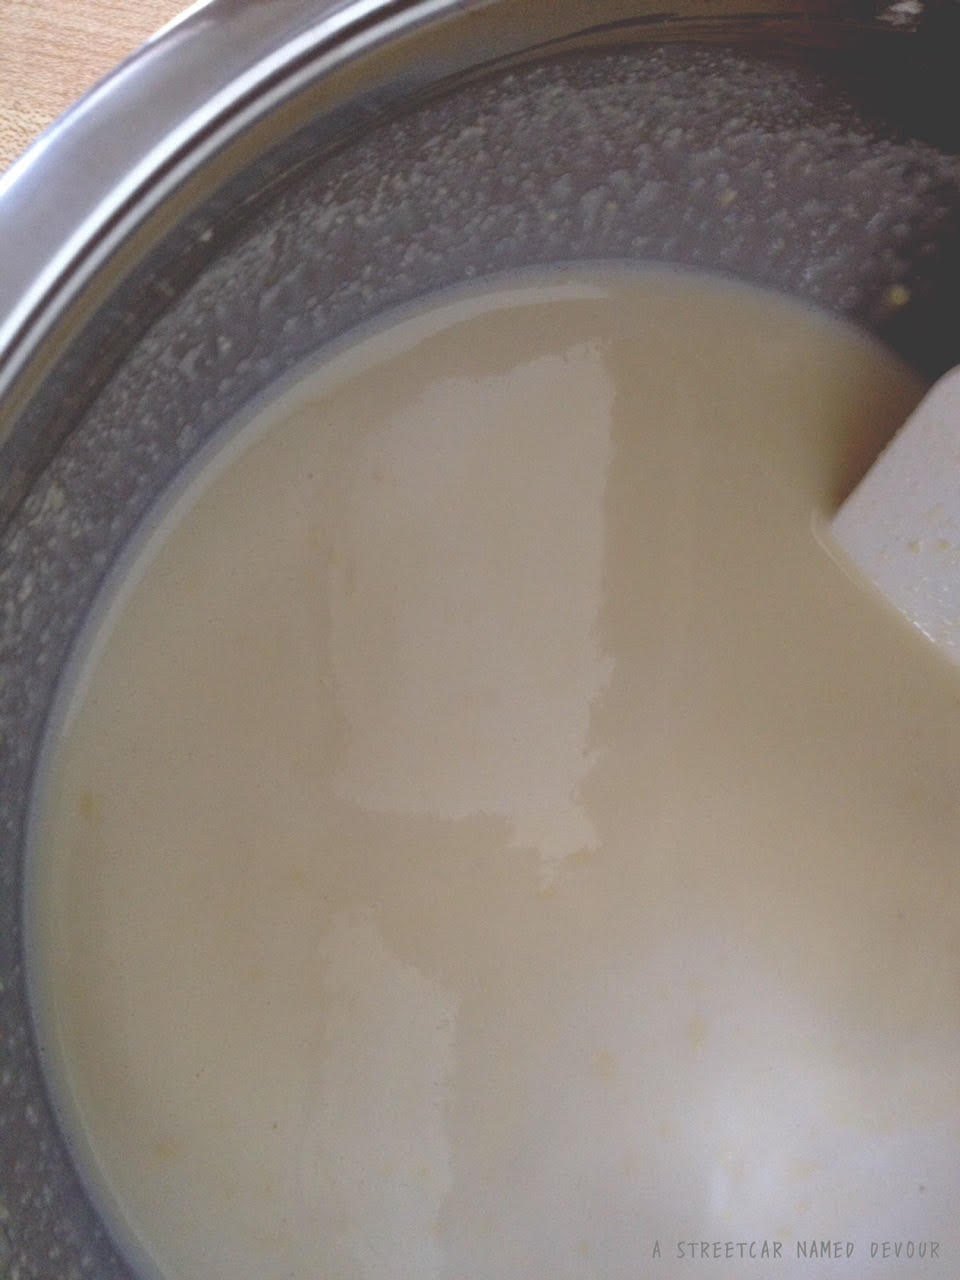
Once the mixture has cooled down, remove from the ice bath. Cover the bowl with plastic wrap and place it into the refrigerator to cool down for an additional 3 hours, overnight if possible.

unnamed-9

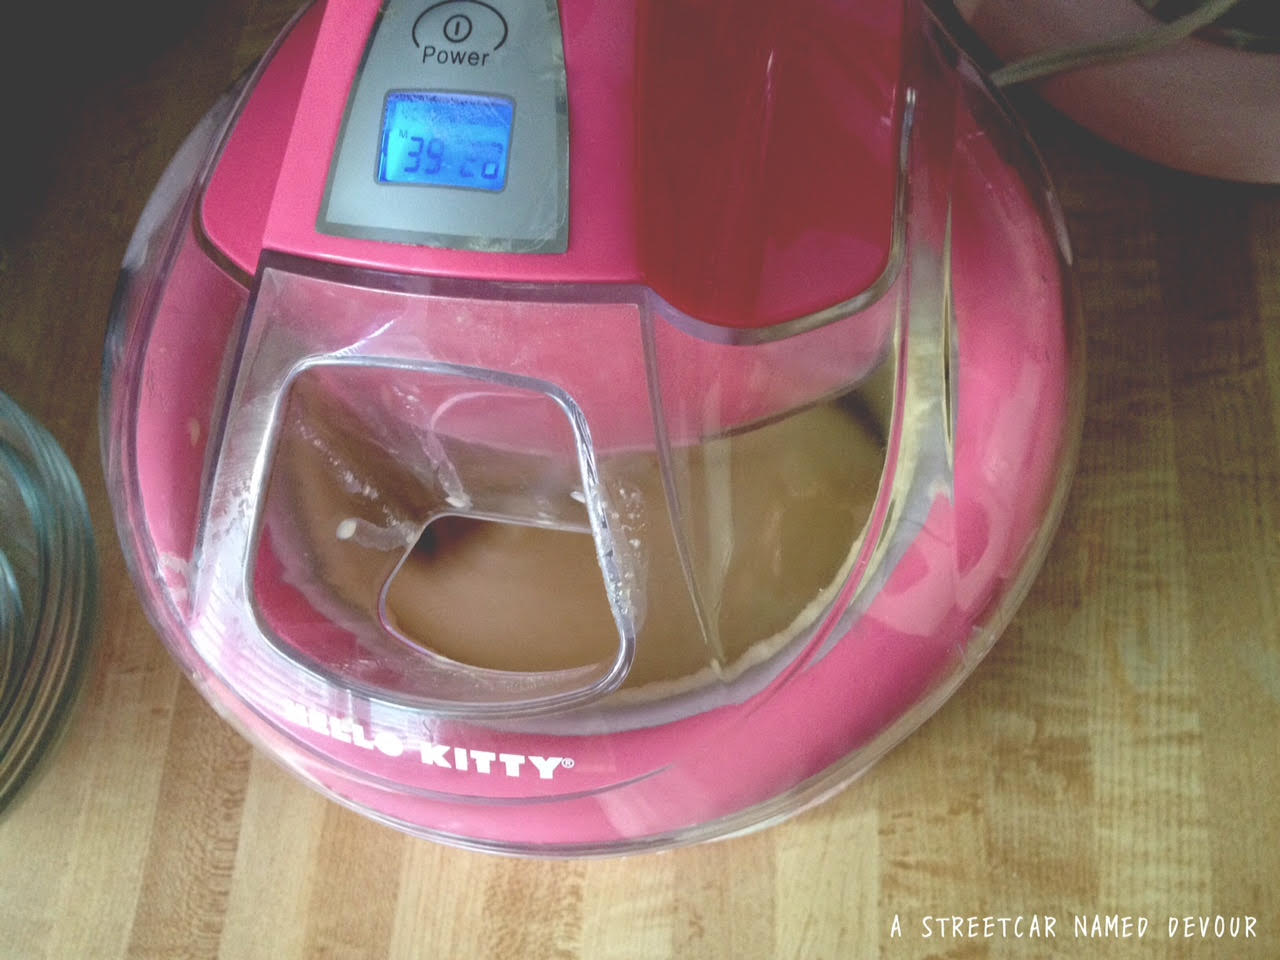
Pour your ice cream base into your ice cream maker when you’re ready to churn it. Follow churning process according to the manufacturer’s instructions.

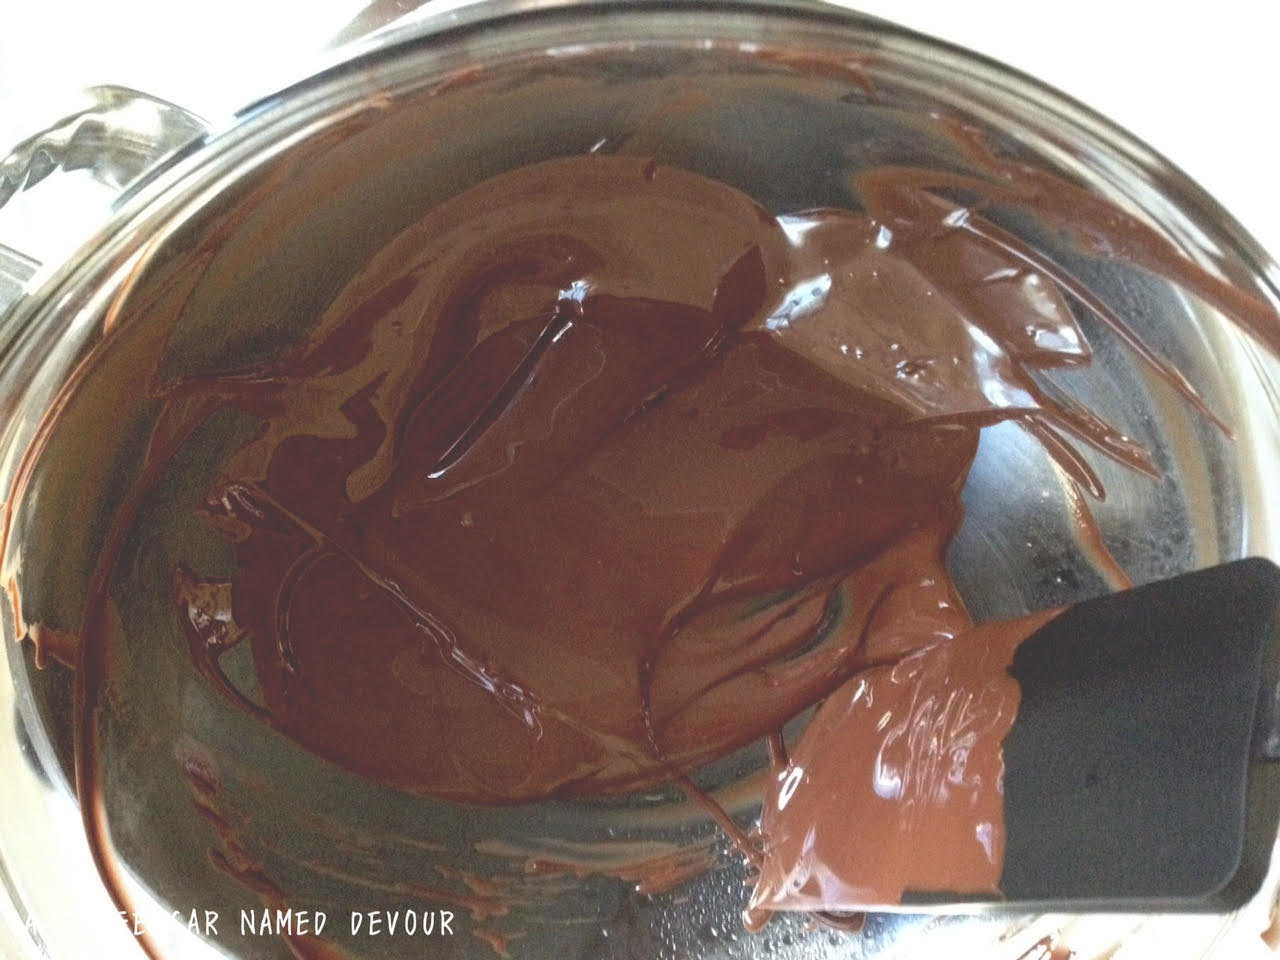
When you have about 30 minutes left of churning, set up a double boiler, and place the chocolate chips into a heat-resistant bowl to melt the chocolate.

unnamed-7

unnamed-8

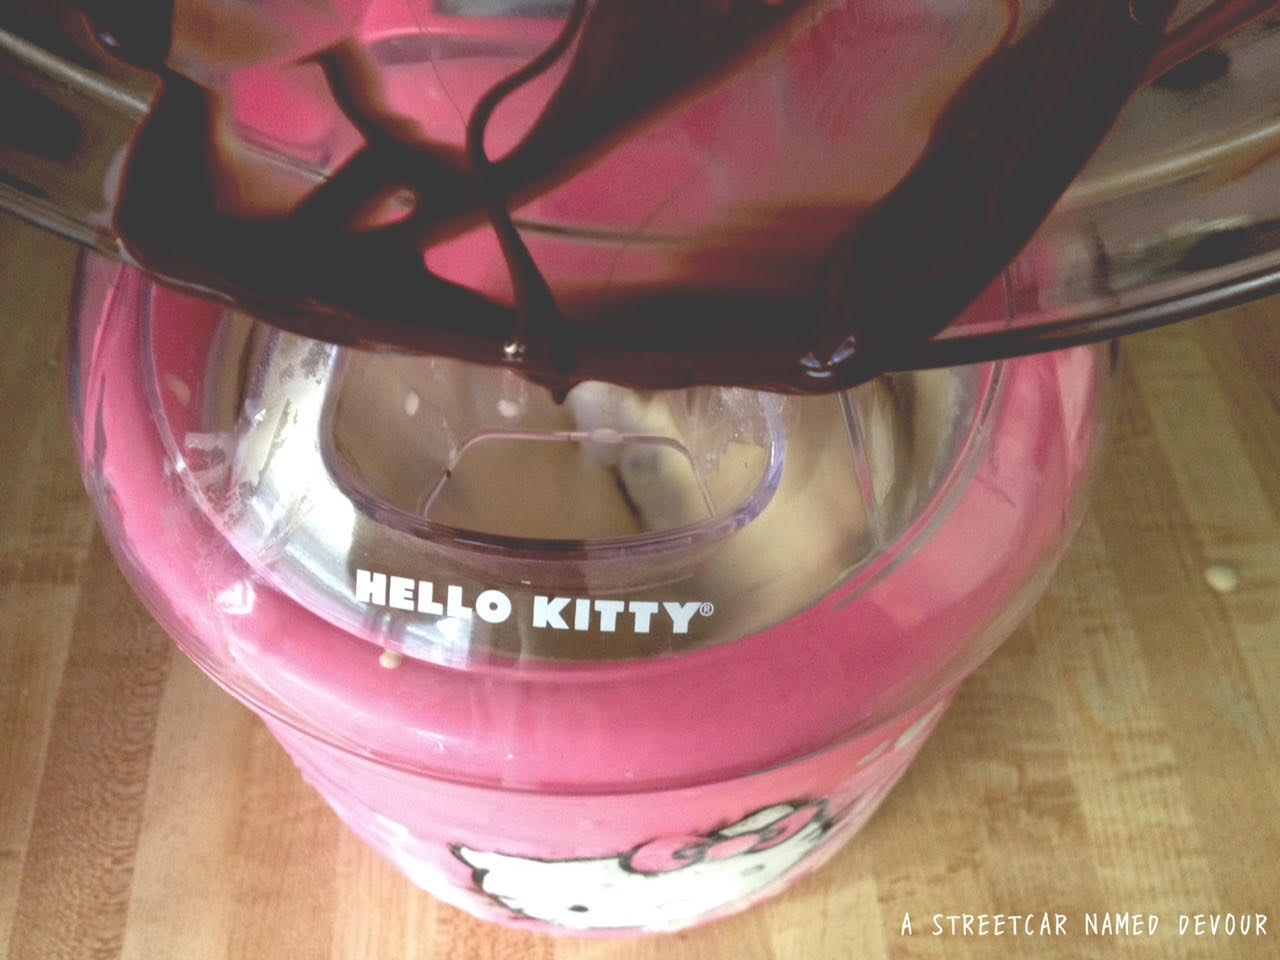
While the ice cream is churning, slowly drizzle in the melted chocolate. The circular motion from the churning will create “shards” from the chocolate once it’s frozen. Which is exactly what “stracciatella” means in Italian:,“little shreds” or “little tears.”

unnamed-10

unnamed-11

unnamed-12

Cover and place the ice cream into the freezer and allow to firm for at least 3 hours.

unnamed-8

unnamed-6

unnamed-4

(Editor’s Note: All TV show screenshots in this story are property of World of Wonder Productions.)

Recreating: Pica Pica’s Arepas

arepas lede a streetcar named devour
The Mexican Gordita.

The El Salvadorian Pupusa.

The Venezuelan and Colombian Arepa.

Each are comprised of a corn flour-batter mix, shaped into a disc, fried in oil and stuffed with various fillings.

They all sound strikingly similar, but most will argue, are quite different. (Just ask a Venezuelan how their arepas compare to that of a Colombian’s, or vise-versa, and you will get strong disagreements from each party.)

While in the past I’ve enjoyed a Gordita or two or 10, and have had quite the experience being a human pupusería, I hadn’t stumbled upon Arepas until my recent trip to San Francisco a few weeks ago. My awesome, longtime friend  and hostess Amber, took me to this amazing Venezuelan restaurant in the Mission called Pica Pica Arepa Kitchen. It is FAN (freaking!) TASTIC. I can’t even begin to describe how delicious the sweet corn, cake-like arepas, filled with hearty shredded beef pabellón, fried plantains, black bean purée and queso fresco were. I was in Arepa heaven. If such a heaven exists, I was definitely in it.

arepa inspo a streetcar named devour

The sweetness of the yellow corn viuda (Spanish for “widow” referring to an unfilled arepa) is most excellent on its own, but when paired with the various fillings, it becomes this flavor explosion in your mouth–the sweetness from the viuda and plantain, the salty from the pabellón and queso fresco and the gentle acidity from the guasacaca. Every inch of your tastebuds are satisfied, wanting more and not knowing when, (or how) to stop.

I had long (actually not quite that long, more like a week after) daydreamed of my rather virginal Arepa experience, wanting more. So I made my best attempt at recreating these delicate bellezas del cielo.

arepas 2 a streetcar named devour

Venezuelan-Style Arepas
Serves 3-6
Arepa dough recipe slightly adapted from Mommyhood’s Diary blog

FOR THE AREPAS (VIUDAS)
4 cups of water, room temperature
2 teaspoons Kosher salt
3 Tablespoons granulated sugar
3 cups Harina P.A.N (precooked white corn meal. Look for the “P.A.N” as it’s very different from the harina used in pupusas and gorditas.)
2 teaspoons vegetable oil

METHOD
In a medium-sized bowl add the water, salt and sugar. With a whisk, mix until the salt and sugar is dissolved. Slowly add in the Harina P.A.N. Using your hands, mix the dough, breaking any clumps with your fingers. Allow the dough to rest 5 minutes to thicken up.

unnamed-5

While you’re waiting, heat a non-stick griddle pan or cast-iron skillet over medium heat. Then add the oil to the dough, working the dough with your hands for about a minute. The arepa dough should be firm but not cracking when formed. If the dough is too soft add a little more of Harina P.A.N or more water if it’s too hard.

unnamed-7

Form dough balls and flatten them gently into discs until they’re about 1/2-inch thick. Immediately place the discs over your preheated pan and cook the arepas for 5-7 minutes on each side or until lightly golden brown. Repeat till all dough has been used. Serve immediately with your choice of fillings.

unnamed-2

FOR THE AREPAS RELLENAS (Filled arepas)
2 Tablespoons olive oil
1 medium onion, julienned
2 1/2 pounds flank or flat iron steak
1 cup (8 ounces) canned tomato sauce
2 teaspoons dried oregano
Salt and pepper, to taste
1 large ripened plantain, peeled and sliced into 1/2-inch pieces on a bias
6 Arepas vuidas
3 Tablespoons butter
1/2 of small wheel Queso Fresco, crumbled
1 cup Guasacaca Salsa*

For garnish
2 small green onions, julienned (green and whites)

METHOD
Rub a generous amount of salt and pepper to both sides of your steak. Preheat a large cast-iron skillet over medium heat. Add in the oil, and when the oil begins to slightly haze, add the steak.

Cook each side for about 3 minutes, or until lightly browned. When both sides are gently seared, using a pair of tongs, remove the steak and place onto plate to rest. Keeping the heat still on medium, add the onions  and sauté till onions are translucent. Then add the tomato sauce, stirring well. Add the oregano and season to taste with salt and pepper. Lower heat to low and allow to simmer for about 20-25 minutes to thicken.

unnamed-3

While your sauce is simmering, and after resting your steak for at least 15 minutes, slice your steak into even 1/4-inch slices. The steak should be at a nice rare pink.

unnamed-4

When your sauce has thickened up, immediately turn off the heat and throw in the sliced steak. The residual heat of the sauce will further cook the meat just a tad.

In another medium-sized non-stick pan or skillet, heat a Tablespoon of oil on medium.

unnamed-8

unnamed-5

Place the sliced plantains in the skillet, cooking each side for about 3 minutes each or until nicely browned and caramelized. Immediately remove from the pan and into a paper towel-lined plate to absorb excess oil.

unnamed-6

Next, gather all filling ingredients together.

unnamed-10

When ready to assemble, split each arepa in half horizontally with a knife. Butter each side of the still-warm arepa. Fill the bottoms of each arepa with the plantains, then layer on the steak, and a heaping spoonful of guasacaca salsaqueso fresco crumbles and green onion garnish.

Serve immediately. (Knife and fork optional, but highly recommended!)

a streetcar named devour arepa lede 3

a streetcar named devour areas lede 2

How To: Guasacaca Salsa

unnamed-1

The guacamole of Venezuela, guasacaca is the green condiment that almost every Venezuelan household has in their fridge. Instead of lime juice, the salsa uses red wine vinegar, giving it heightened acidity, much similar to an avocado relish. The salsa is excellent for dipping (taro chips? plantains? yucca fries?!) or as a condiment spread for Arepas. It’s easy-to-make and stores well in the fridge for about 2 weeks.

unnamed-4

Guasacaca 
Yields 1 quart
Recipe via Mami Talks

INGREDIENTS
1 avocado; halved, pitted and flesh removed
1 medium onion, finely chopped
1 green bell pepper; deseeded and finely chopped
3 green onions, finely chopped (the white and the green part)
1/4 cup of red wine vinegar
1 teaspoon dried oregano leaves
1/4 cup of olive oil
1/4 teaspoon of black pepper
1/2 teaspoon of salt

METHOD
Place all ingredients, except the oil, salt and pepper in a blender or food processor. Blend till fully incorporated. Turn off. Use a rubber spatula to scoop the excess bits on the side of the machine’s bowl, then slowly drizzle in the olive oil. Blend on medium for 30 seconds. Season to taste.

The Horchata Made Me Do It!

a streetcar named devour horchata

Well, summer is officially here, and temperatures are continuing to rise in Portland. It’s warm at home and it’s doubly horrendous when you work in a hot kitchen all day.

Horchata (or Orxata de xufa, depending upon the flavors and Spanish or Latin American region) was originated in Valencia, Spain, where they traditionally use tigernuts (chufa nuts). In Mexico and Guatemala, they use rice as the base of the drink. The Mexican version is what I grew up drinking. (I have also, however, had the Spanish version a few years ago when I vacationed in Spain. It is also, very very good.)

On my day off last week, I made these Mexican Horchata popsicles to help cool down. (And who doesn’t like horchata? It’s so freaking delicious!) I had some leftover horchata base at home and decided to bring it to work to treat my fellow co-workers.

When I started pouring glasses of the Horchata and distributing them to the prep kitchen, more of my fellow cooks came up to me, asking for a glass. Unfortunately, I hadn’t prepared for such a demand and only had enough to feed a few of my co-workers, so I had to think fast and bulk up the batch I had made on-the-fly.

I slowly went down the line and passed glasses of the ice-cold Horchata I had made to all the line cooks. Even in 100-degree weather and a full house of diners (in arguably one of the busiest restaurants in the city), the guys didn’t hesitate to take a second and gulp down that ice-cold cinnamon sweetness. In just a matter of seconds–faces full of sweat, and urgency turned into big smiles of pure delight and relief.

When I returned to my station and went back to work, in a matter of moments I heard calls for more Horchata.

“I’m gonna need more of that cinnamon drink,” said one.

“That was the best Horchata I’ve ever had,” said another.

“This is my first Horchata and I know it’s the best one I’ll ever have,” exclaimed another.

Haha.

And then my sous chef came up to me and pleaded that I make Horchata for all the Back of House once every week.

OK, alright. That’s a deal.

While this Horchata mix is clearly delightful on its own, freezing them into popsicles makes them even more appealing, especially in 3-digit weather.

unnamed-4

Mexican Horchata Popsicles
Recipe adapted from The Candid Appetite
Yields 10-20 popsicles (depending on the size of your molds)

INGREDIENTS
1½ cups long grain rice (uncooked)
4 cups hot water
1-14 ounce can sweetened condensed milk
½ cup coconut milk
2 cinnamon sticks
1 Tablespoon ground cinnamon
3 Tablespoons granulated sugar
1 teaspoon Kosher salt
2 teaspoons dark rum

a streetcar named devour mep horchata

METHOD
Place the rice, hot water, sweetened condensed milk, coconut milk, and cinnamon sticks into a large bowl. Stir the mixture to combine well.

unnamed-13

Cover the bowl tightly with plastic wrap at room temperature for about 1½ hours. Discard the cinnamon sticks and strain the rice, reserving the liquid in a separate container.

unnamed-14

unnamed-7

Place the rice in a blender or food processor. Blend on medium-high till the rice is pureed and smooth. Slowly add in the reserved liquid. Once all of the liquid has been pureed, strain through a fine-mesh sieve. Discard rice paste remnants.

unnamed-8

Stir in the ground cinnamon, sugar, salt, and rum to the strained mixture. Place the horchata mixture into popsicle molds.

Set popsicles in the freezer for at least 5 hours, preferably overnight before serving.

unnamed-10

When ready to serve, gently run cold water on the outside of the mold to loosen and release popsicle.

unnamed-9

unnamed-12

unnamed-1