In Living Color

thailede

Um, so summer got here way too quickly, wouldn’t you agree? I had a big reality check when I decided to weigh myself the other day: I had maintained the 25 pounds I had gained last fall. Last fall. I never lost the weight during the winter. (Who does?) Shit happens.

But now that temperatures are reaching the mid-80s and low-90s, I simply cannot hide underneath a flannel or sweatshirt anymore. I’ve begin to notice that certain items in my summer wardrobe aren’t fitting the way they used to. You know, when skirts and shorts are tight (and not in a hot way).  So I have decided (yet again!) to go on a serious health cleanse. Meaning, I’m cutting out the sweets and other bad things from my diet.

I was doing a little research and stumbled upon The Color Diet: The simple rule to follow is getting a lot of color in your diet. And no–chocolate chip cookies and bacon aren’t valid colors. Neither are doughnuts.

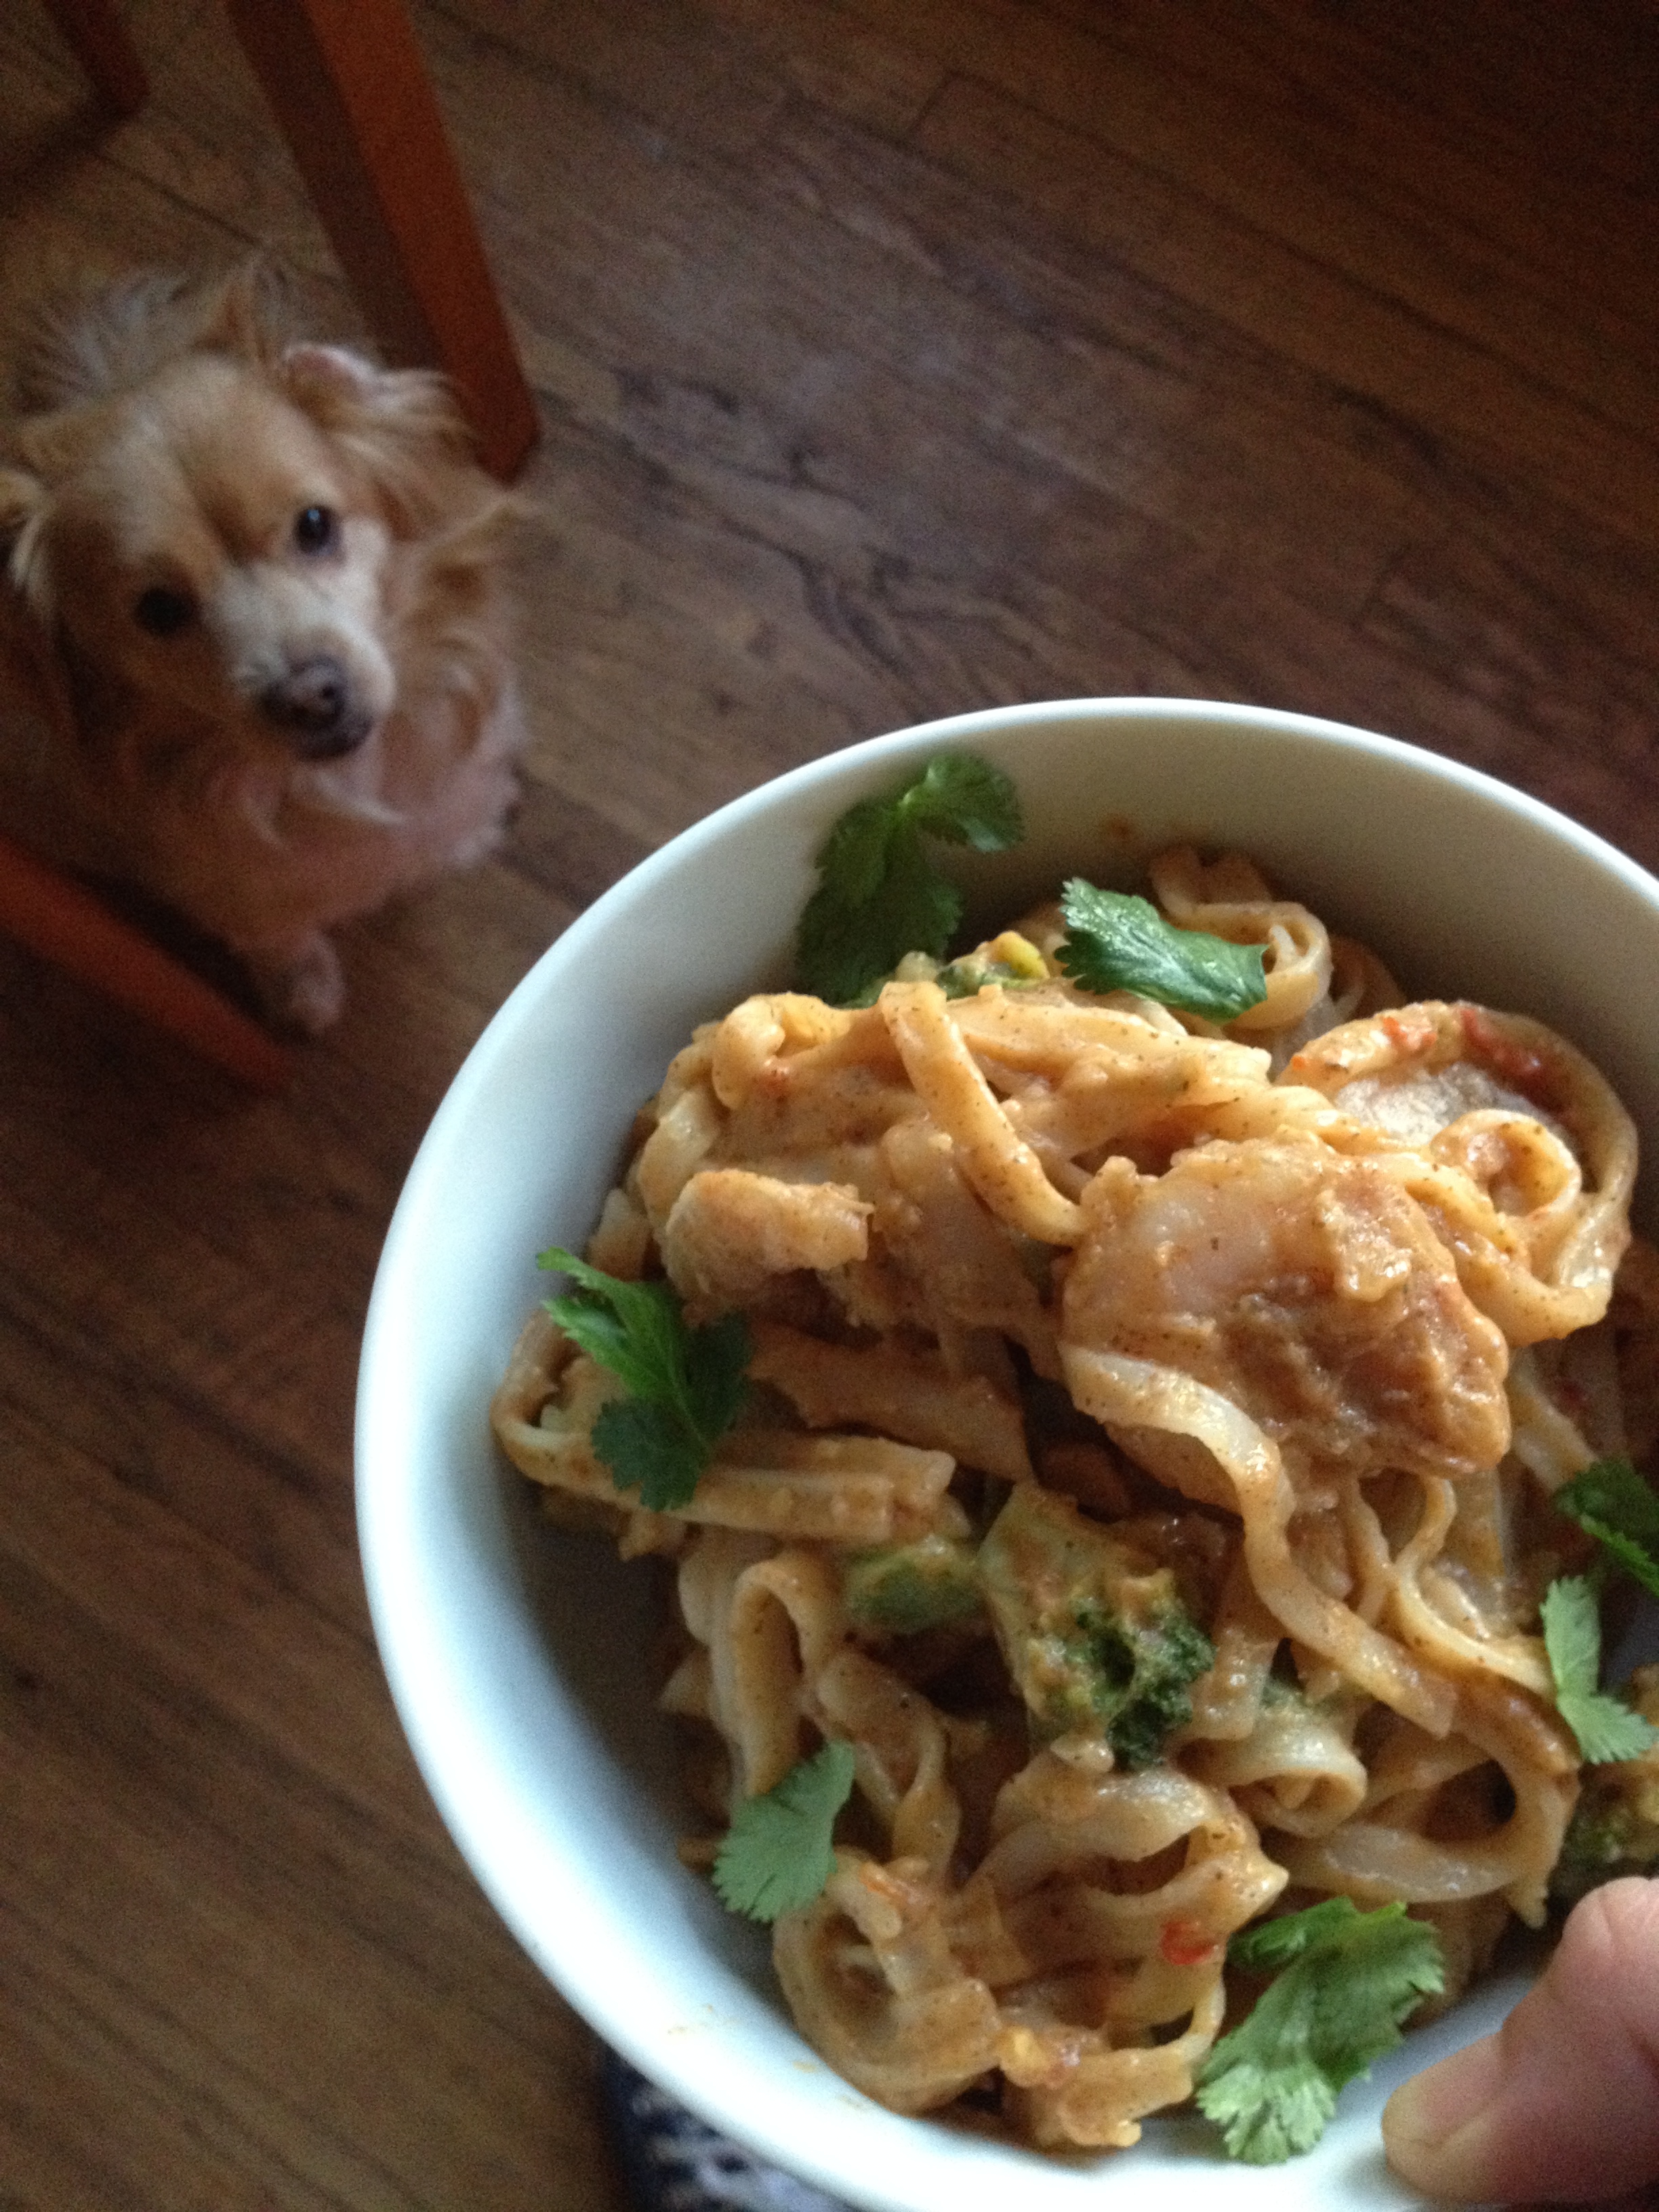
The cuisine I crave most is Thai. It’s my fave. While there are so many wonderful Thai restaurants here in Portland–sometimes I’m too lazy to venture out, and just wanna make something in the comfort of my own home. (Sounds counter-productive to some, but it’s actually easier for me this way.)

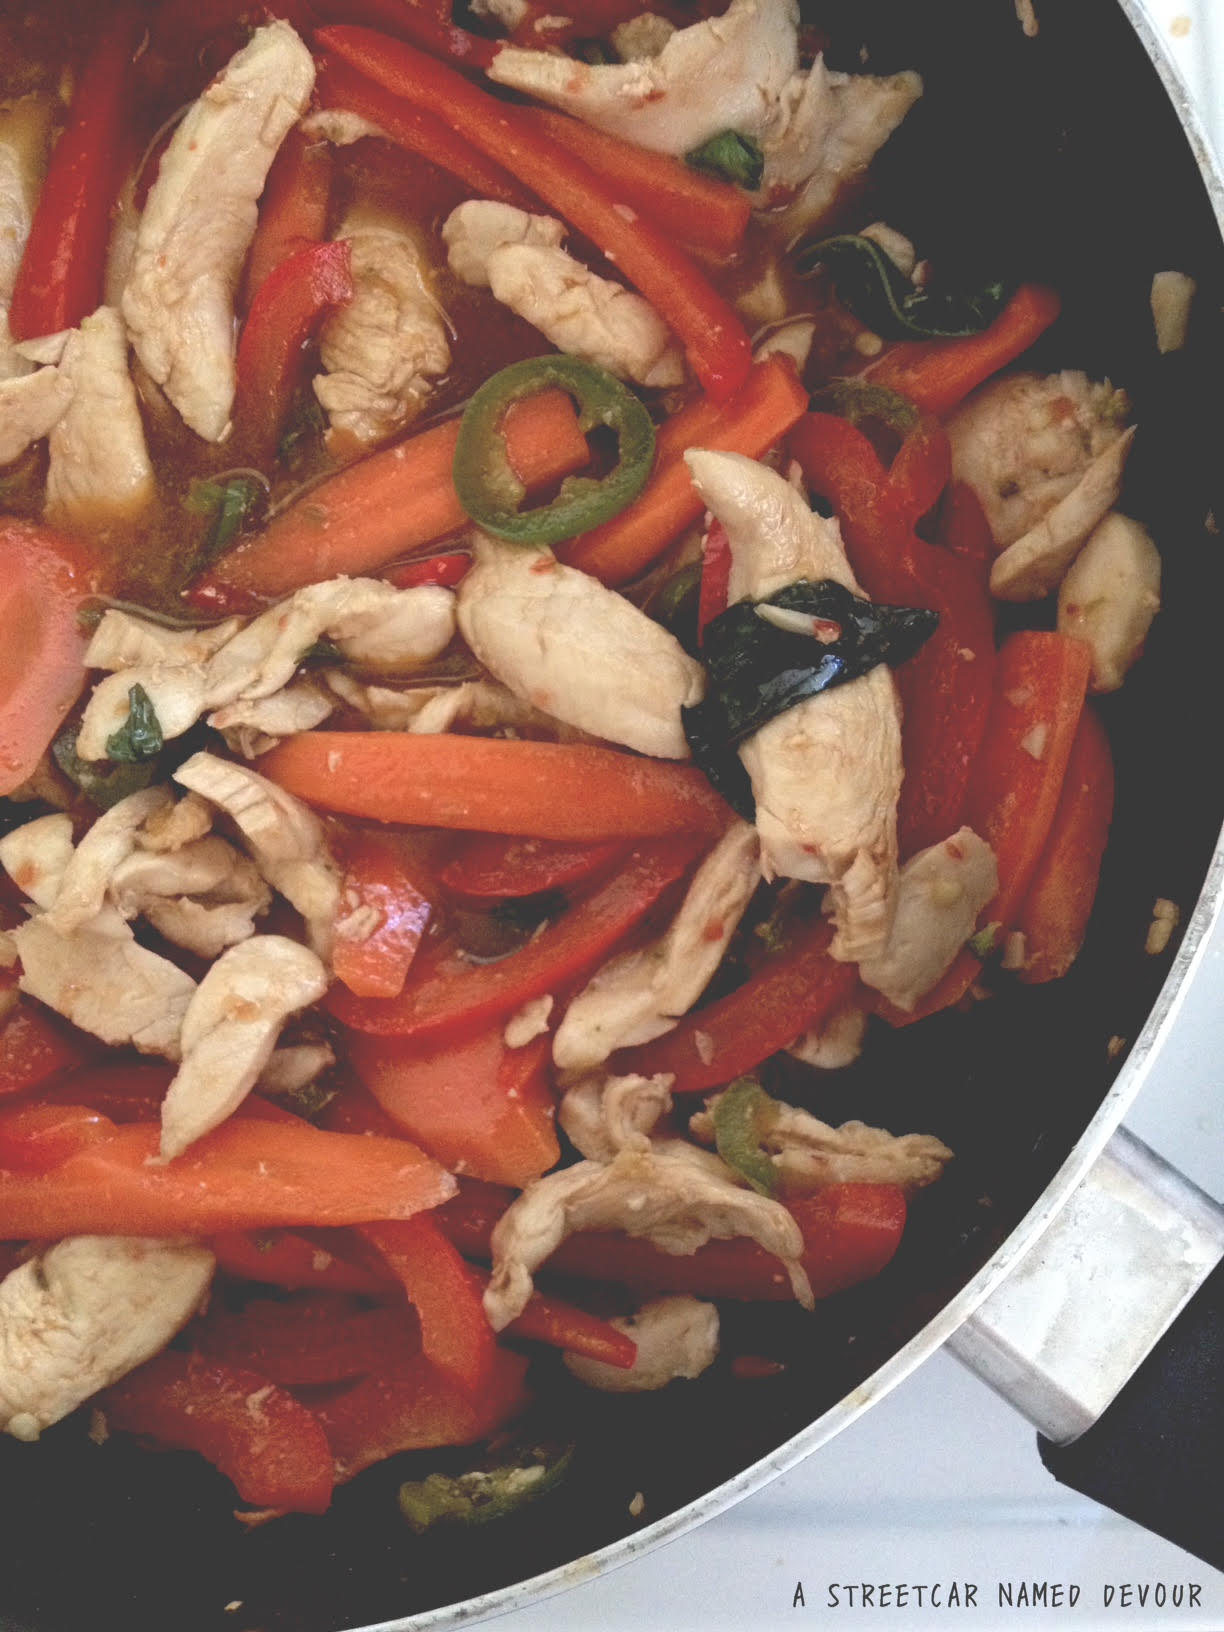
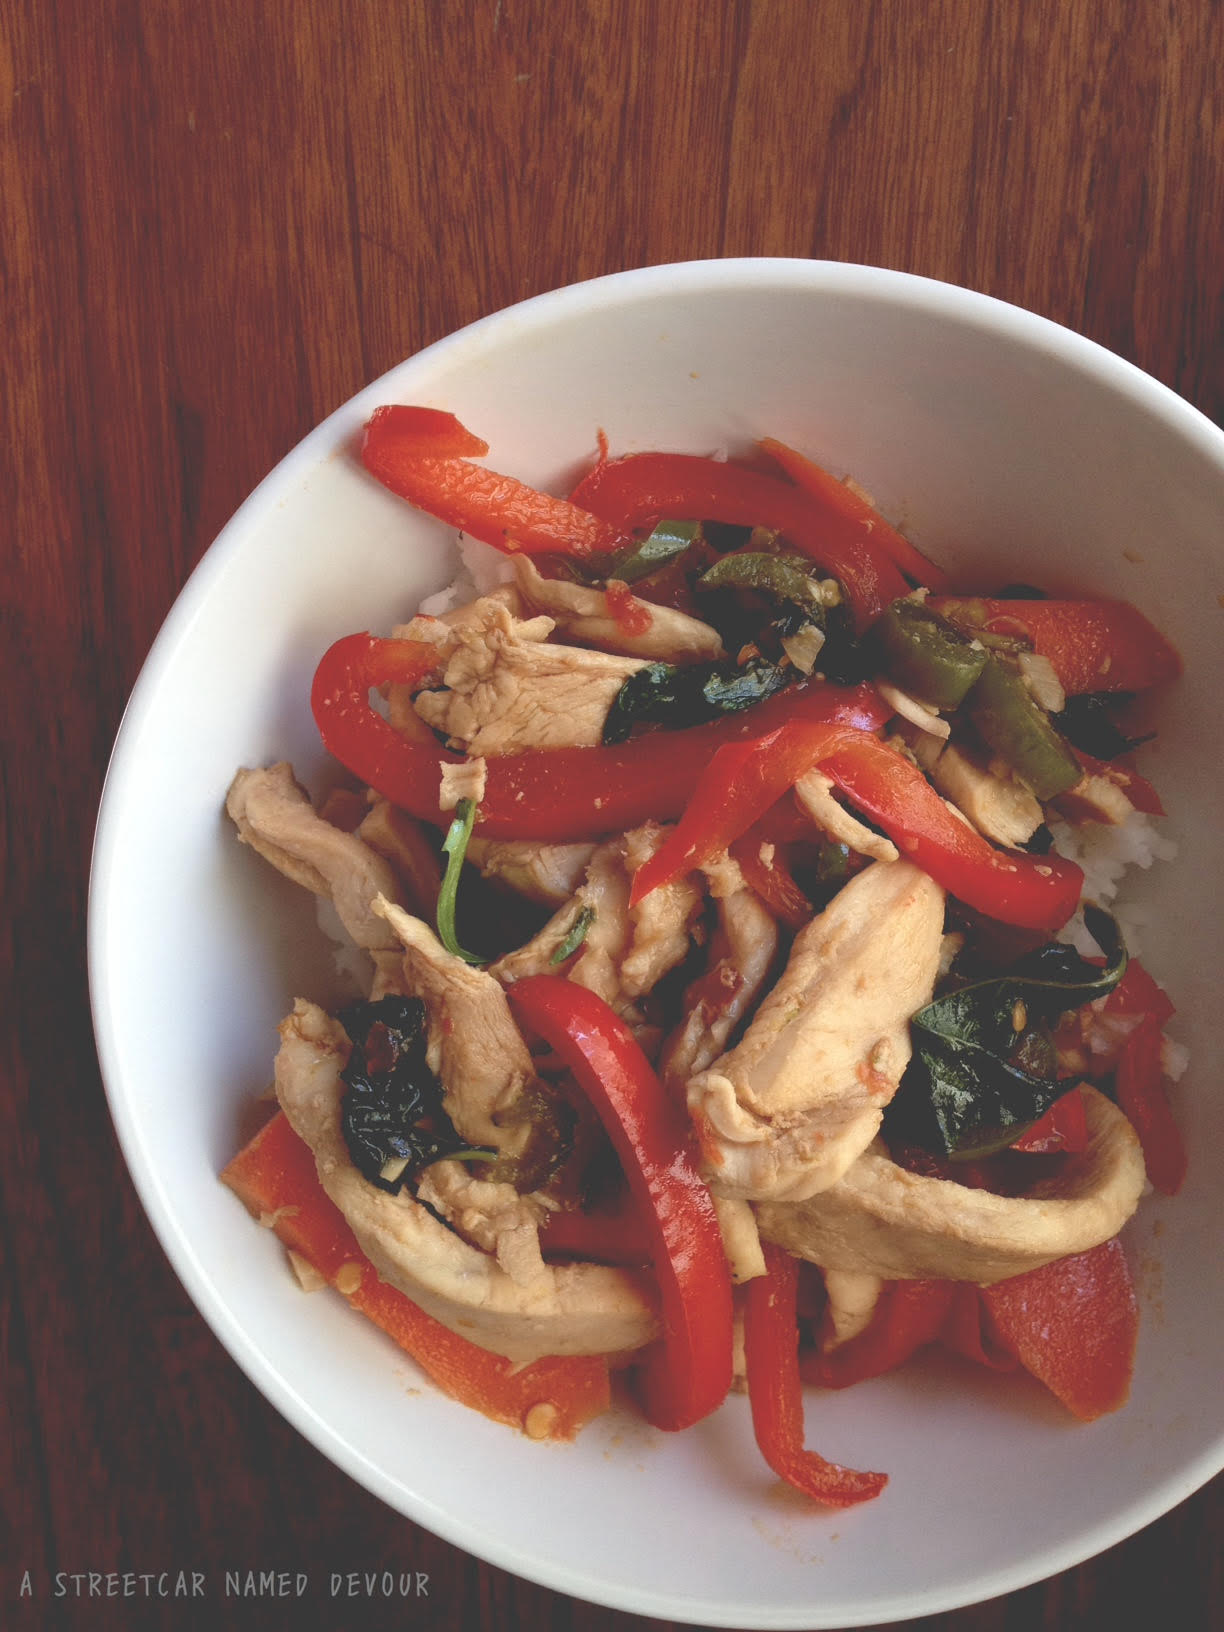
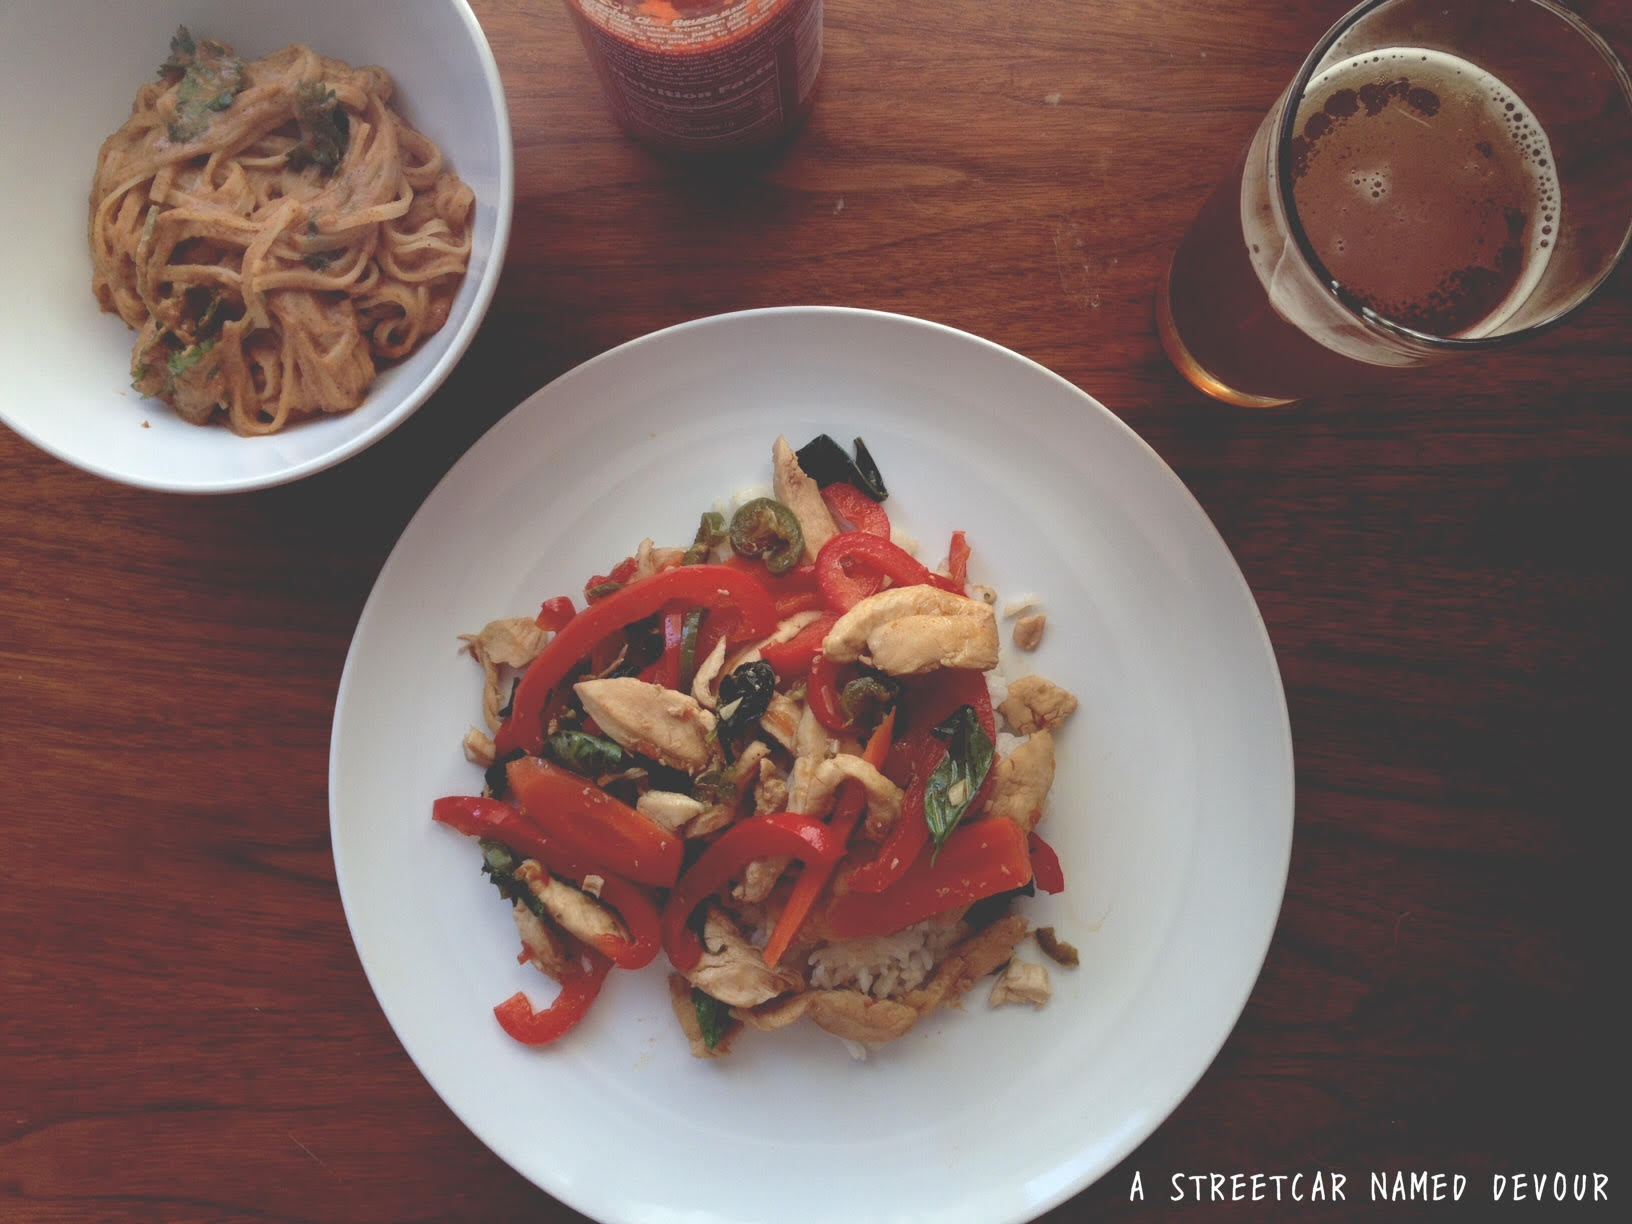
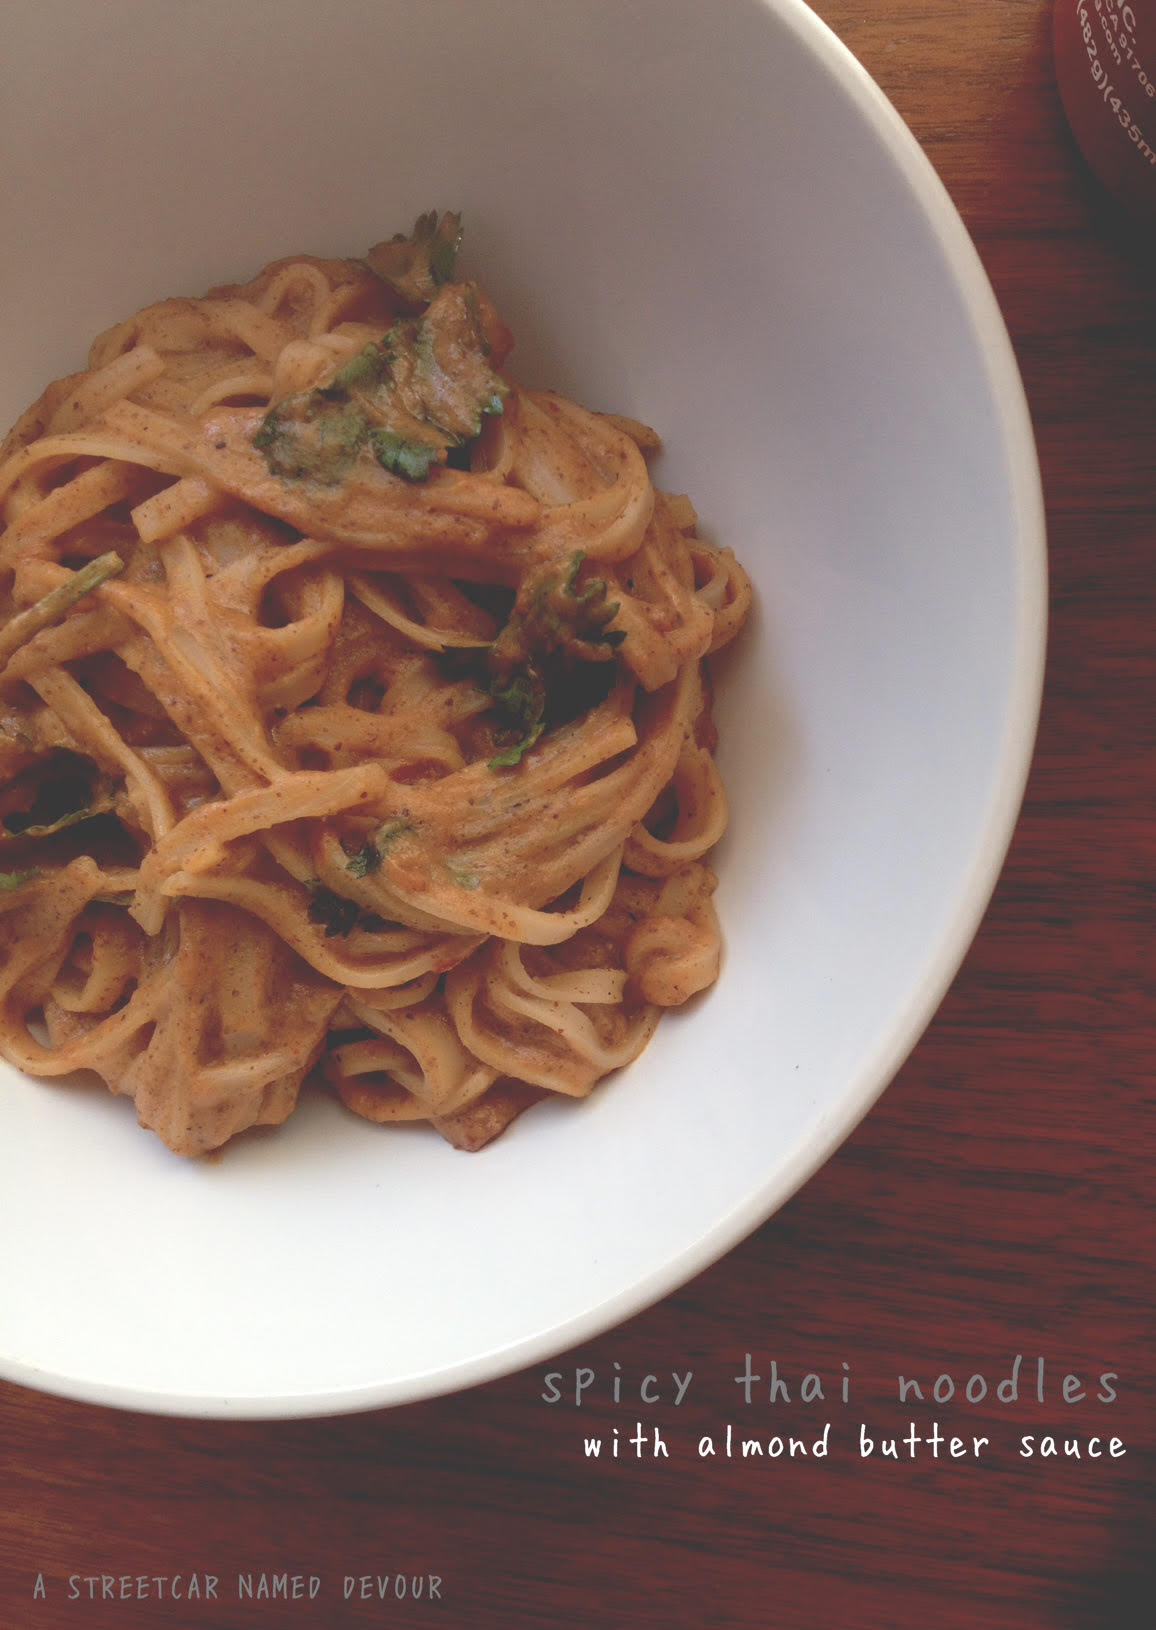
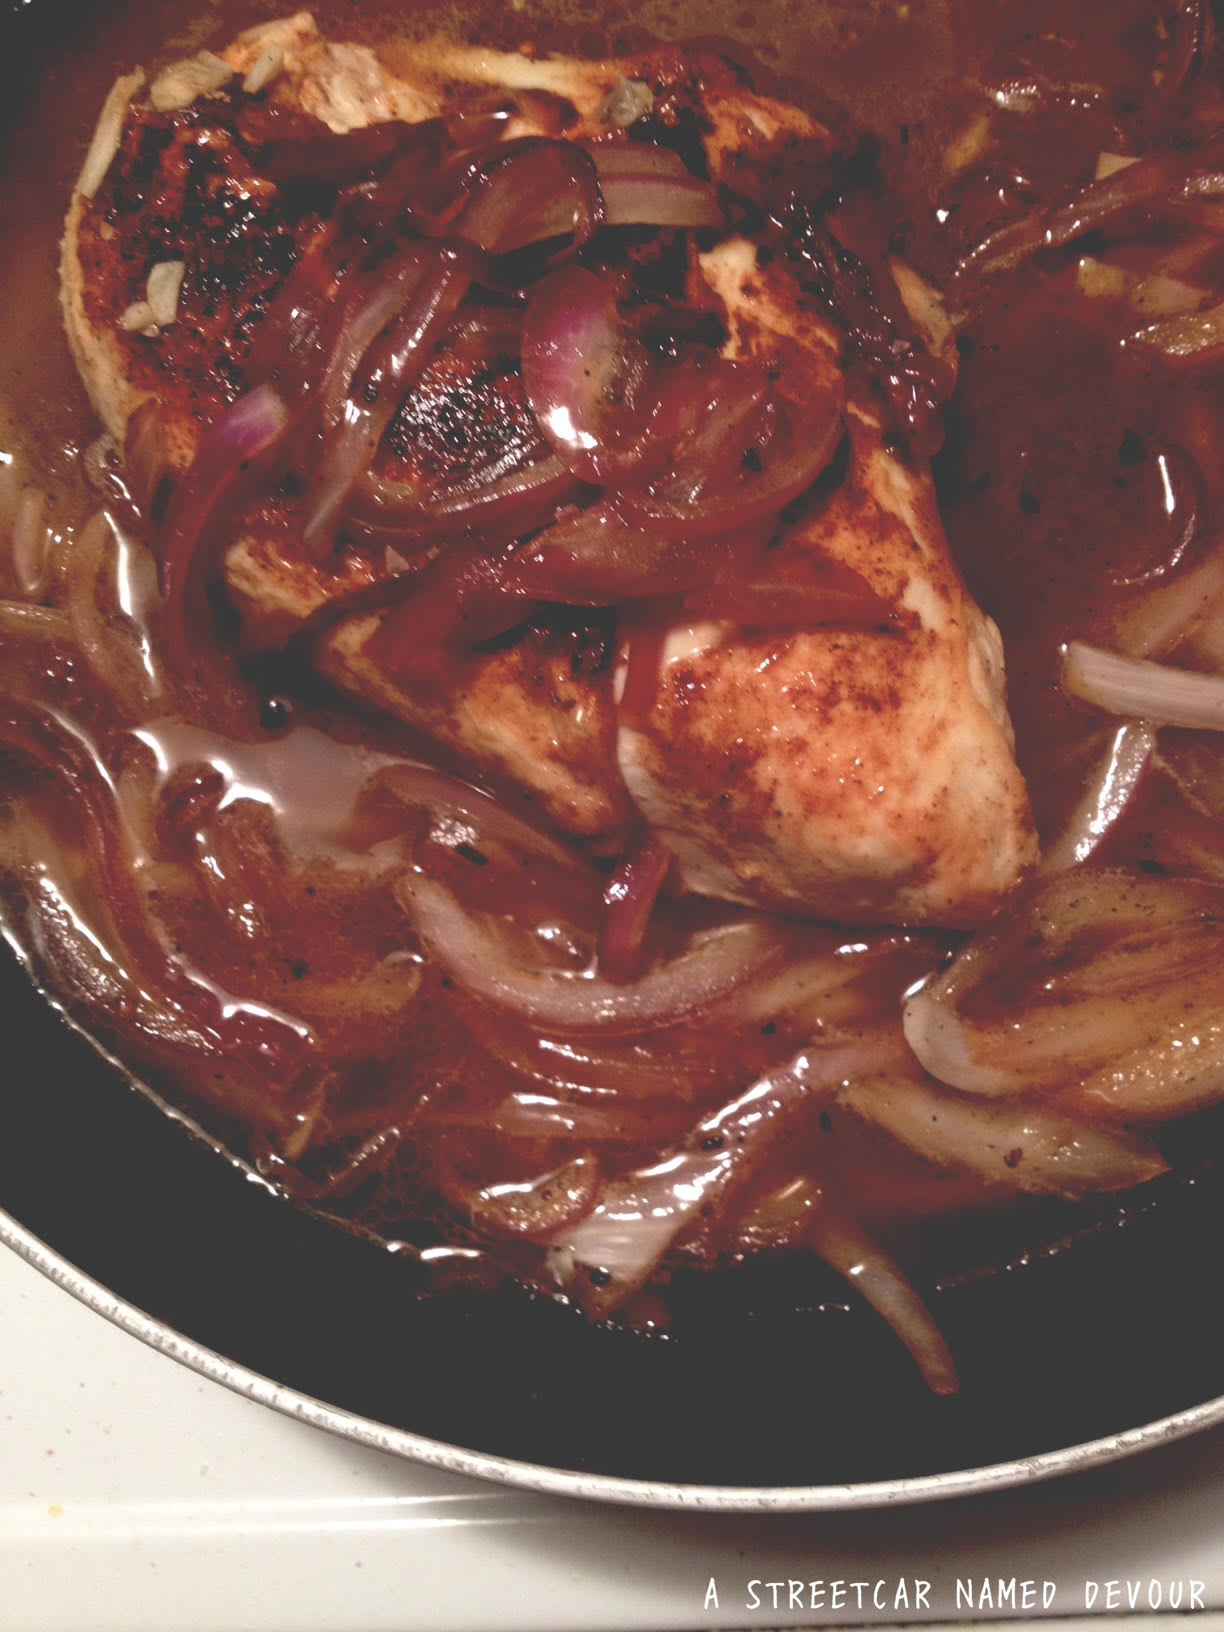
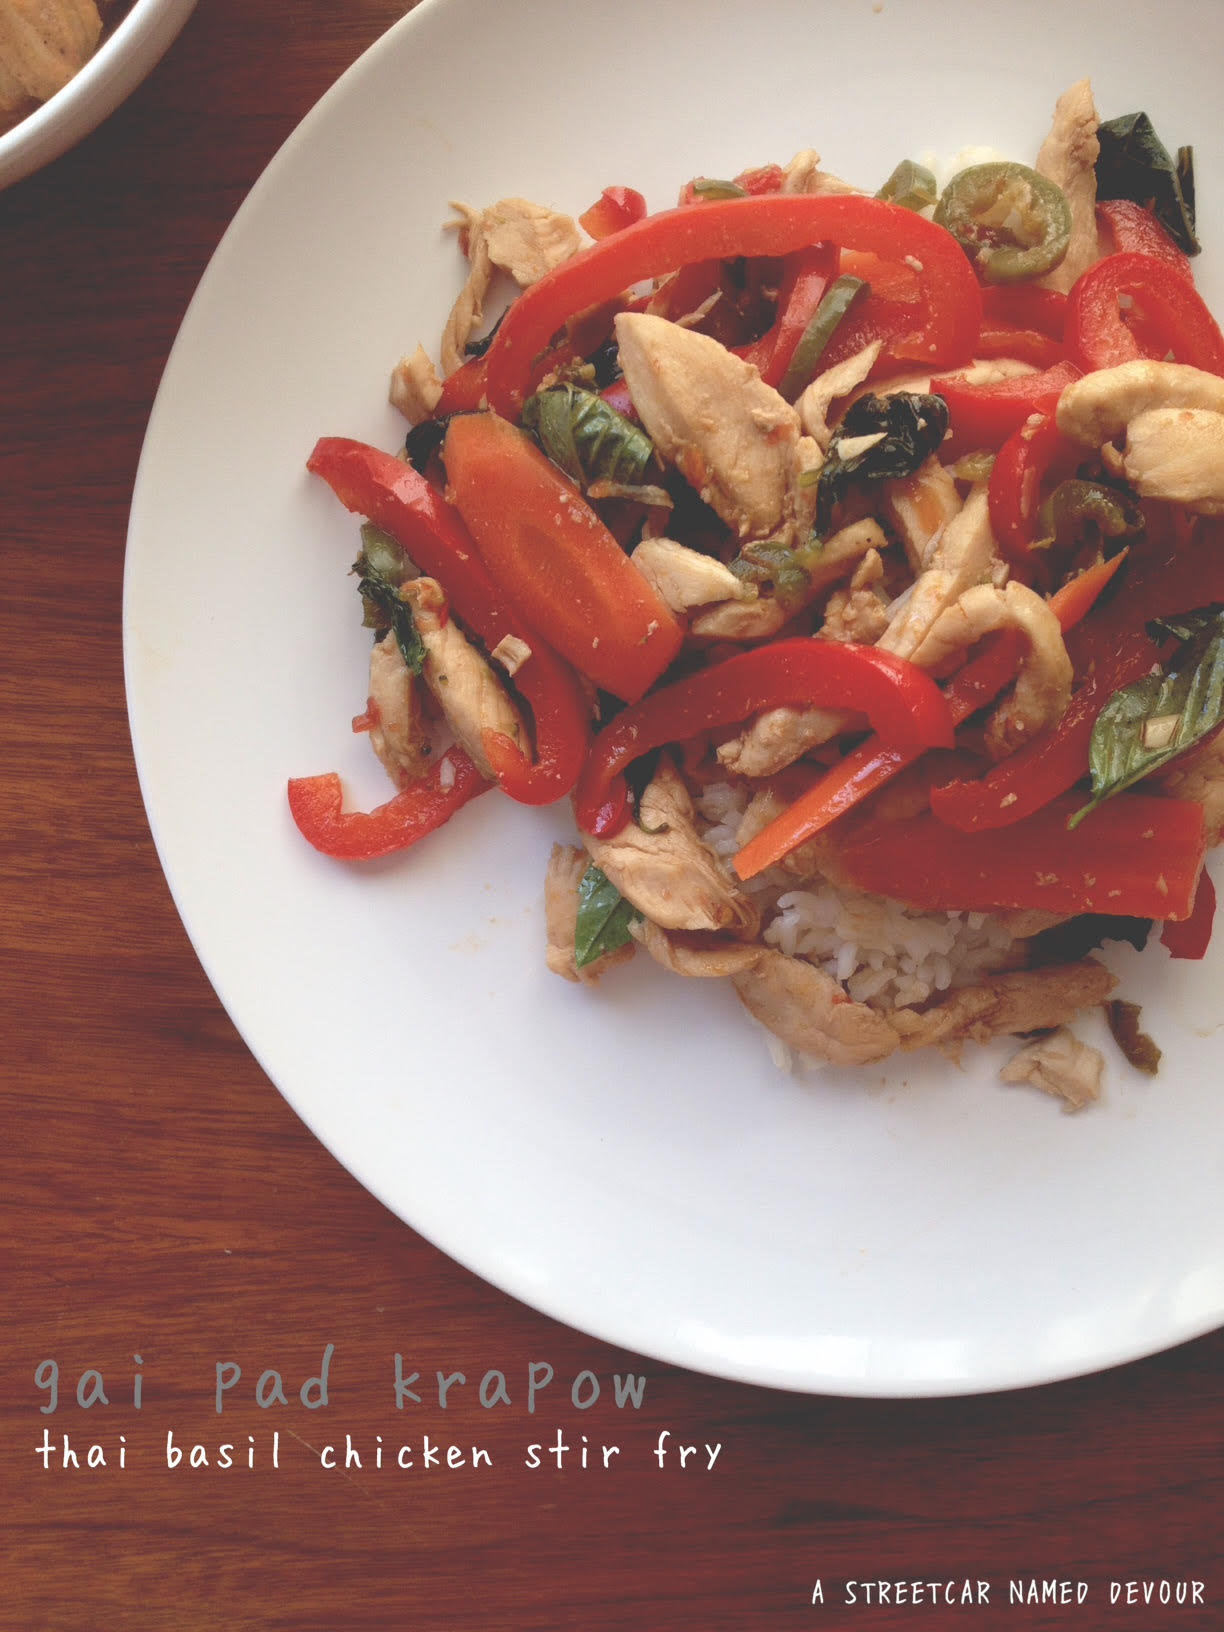
This dish is my take on Gai Pad Krapow (Chicken with Thai Basil) with the addition of some fresh veggies. And you can add whichever veggies you have in your fridge. I opted for some red bell peppers, jalapeños, and carrots. Doesn’t hurt they add a splash of color, eh? (Hence, the Color Diet.) This dish goes perfectly with these Spicy Thai Noodles and Jasmine Rice.
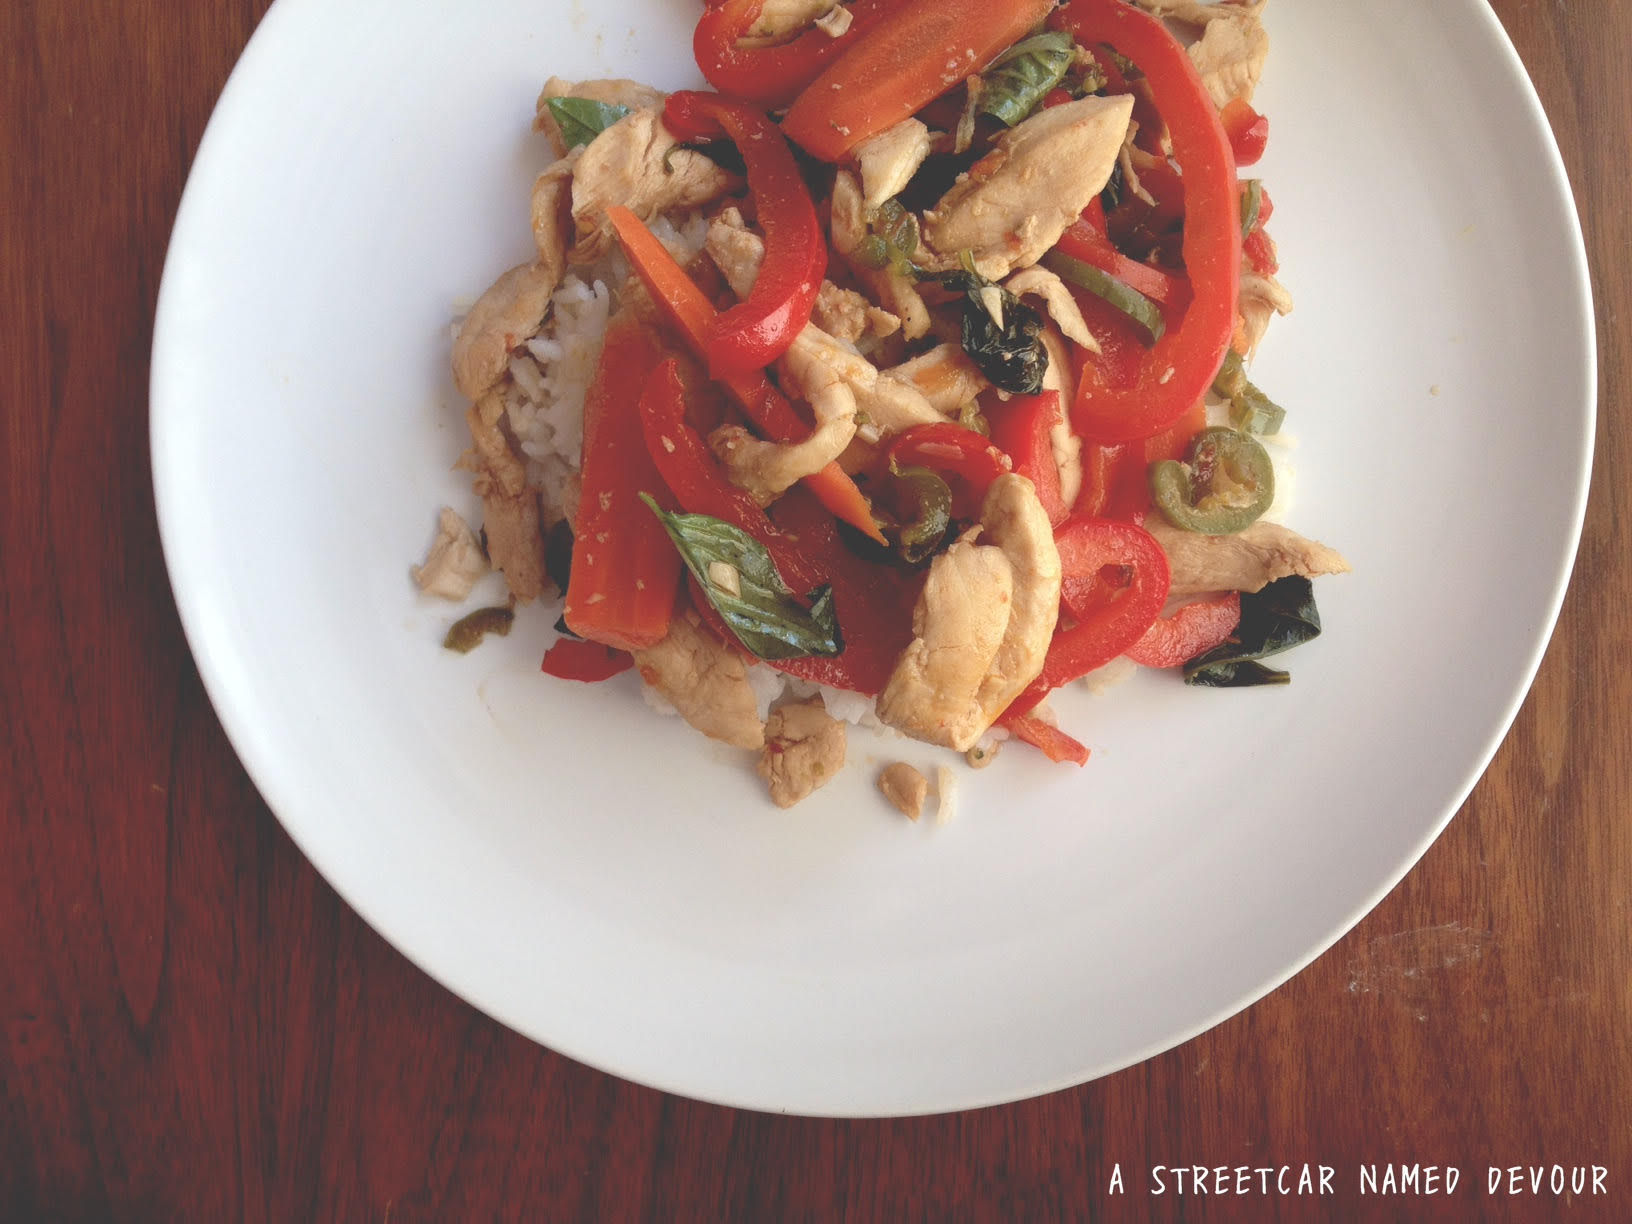
unnamed-12

Gai Pad Krapow
(Thai Basil Chicken Stir Fry)
Serves 2-4

INGREDIENTS
3 Tablespoons olive oil
24 fresh Thai chile peppers -or- 2 jalapenos, sliced thin
5 cloves garlic, peeled and minced
1 1/2 pounds boneless chicken breast, cut into 1/4-inch strips
1 red bell pepper, julienned
2 small carrots, peeled and sliced on a bias
3 Tablespoons granulated sugar
3 Tablespoons Fish sauce
2 Tablespoon soy sauce
1 Tablespoon Sriracha
1/2 cup chicken stock
1 cup fresh Thai basil, picked

METHOD
Heat a skillet or wok with the oil over medium-high. Add in the garlic and chiles, stir-fry for a minute.

unnamed-3

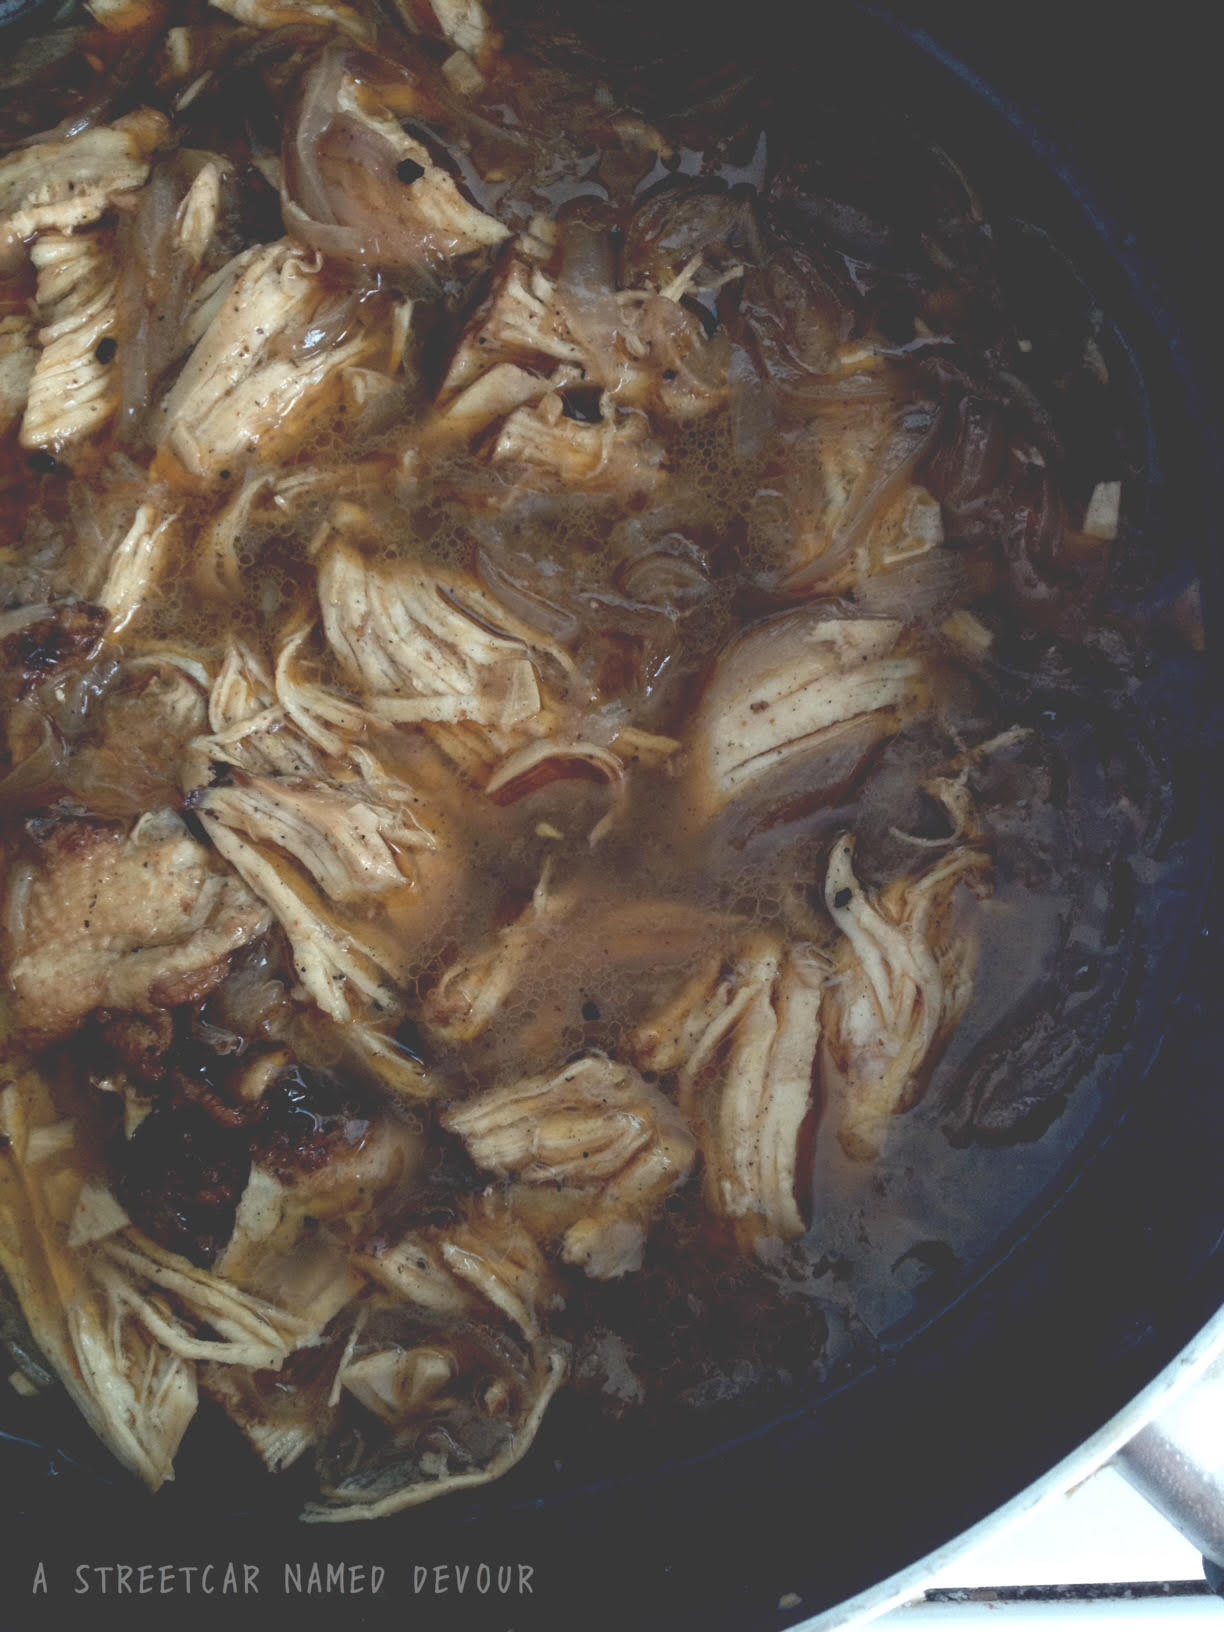
Add in the chicken, toss to coat. Cook for about 3 minutes then add the chicken stock and the vegetables. Cook for another 5 minutes, or until the chicken is no longer a pinkish hue and the vegetables are slightly tender.

Add the fish sauce, sugar, soy sauce and Sriracha. Turn off the heat and fold in the Thai basil. Serve with Jasmine rice and Spicy Thai Noodles.

unnamed-4

unnamed-7

unnamed-11

Hot Noods

thainoodleslede

I eat more ice cream in the winter than in the summer. I enjoy a good bowl of ramen or pho on a hot summer day. I bake more in the summer than in the winter.

Weird.

I don’t know what it is (maybe my body is calibrated to the opposite side of the hemisphere?), but I tend to eat atypical foods seasonally. Am I the only one here on this?

So it’s summer and it’s HOT. And this is coming from a girl who was born in LA. I LOVE the cold. While I lived in New York, most of my friends complained about the snow storms and low temps, I relished in it. So when the temps jump to above 80 degrees, I’m not too stoked.

Yet I crave hot things. And that’s not limited to the spicy-hot variety. I make this Thai-style noodle dish a lot in the summer. Instead of the standard peanut sauce, I swap it for almond butter, which is just as good. This time around I opted for a vegetarian version, but I’ve made this dish with shrimp, chicken, pork and tofu. All of which tasted excellent. Love pairing these noodles with this Thai Basil Chicken dish.

unnamed-8

Spicy Thai Noodles with Almond Butter Sauce
Serves 2-4

INGREDIENTS
6 ounces Pad Thai noodles
4 Tablespoons almond butter
4 Tablespoons soy sauce
½ cup chicken stock, plus 1 cup if needed
4 cloves garlic, minced
4 Tablespoons Thai Chile Garlic Sauce
3 Tablespoons Sriracha
1 cup cilantro leaves, for garnish

METHOD
Cook the noodles according to the manufacturers’ directions.

unnamed-1

unnamed-2

As the noodles are cooking, whisk together all of the ingredients in a shallow skillet or pan. Cook over medium heat until the almond butter is completely melted and the sauce is smooth. If the sauce is too thick, add in another 1/2 cup of chicken stock to thin out. Adjust spice accordingly. Turn off the heat.

unnamed-5

In a large bowl, place the drained noodles and mix in the almond butter sauce. Sprinkle with cilantro leaves and serve immediately.

unnamed-13

IMG_0720
(Bowie really liked the shrimp version I made of this recipe a few months back.)

The Best Diet

cemita a streetcar named devour

So I’m on this Cemita Diet. And it’s working out pretty well so far. You see, I am constantly recipe testing everything I make for this blog (and for my full-time job as a cook). Most of the things I note while I’m recipe testing, is of course, the taste of the products I’m making, the shelf-life of the food, and if it’s so good I can eat the product repeatedly. This tested true for this Cemita recipe, which I ate 4 times within the last 2 weeks. Hence, the Cemita Diet. And it’s not a bad diet to be on.

And what makes this sandwich even better? The FRESH BREAD I made. That’s right, fresh sesame seed buns. As Sir Mix-A-Lot protested: My anaconda don’t want none unless you got buns, hun. Clearly he was talking about bread buns, AMIRITE?

I can attest that this sandwich, a Mexican torta, native to the Pueblo region, is as tasty as it is beautiful. Layers of your choice of meat (in this case, I made shredded chicken), Panela cheese (a Mexican soft, white cheese, similar to Queso Fresco and Mozzarella), ripe avocado slices, chipotle aioli, crisp butterleaf lettuce, tomato and red onion, and a pápalo* salsa roja on a sweet and soft sesame seed bun. If you’ve never tried a Cemita, you’re in for a real treat–every bite is tastier than its predecessor. Perfect with an ice-cold beer on a hot summer day, I’m almost positive the next Big Diet trend, is gonna be that of the Cemita.

(*Cook’s Note: pápalo, also known as Bolivian Coriander, tastes a bit like cilantro, but isn’t actually related to either herb. It’s a relative to the daisy plant, and has a very astringent, floral and minty taste. All the reasons certain people who hate cilantro, are all the qualities that make the pápalo plant so refreshing and delicious.)

unnamed

Cemita Poblano de Pollo
(Pueblan-Style Chicken Torta Sandwich)
Yields 2-4 sandwiches

INGREDIENTS
2 each Cemita rolls (recipe HERE)
1/2 cup prepared chipotle aioli (aioli recipe HERE)
2 avocados, cored and sliced into 1/4-inch pieces
5 ounces Panela cheese (about half a wheel), cut into batonnets
1 cup shredded chicken (recipe HERE)
1/2 cup pápalo* salsa roja (24 ounces canned tomatoes; 2 cups papalo leaves; 1 sprig fresh oregano, picked; 2 jalapenos, tops cut off; roughly chopped; 2 garlic cloves; 1 small red onion, peeled and roughly chopped; 1 lime, juiced, salt to taste)
4 pieces butterleaf lettuce
1/2 tomato, thinly sliced into 4 slices
1/2 small red onion, sliced into a fine julienne

unnamed-4

METHOD
Make the chipotle aioli. Add 1/2 cup of canned chipotles (with sauce) into 2 cups of aioli. Mix together. Place in refrigerator.

unnamed-12

Make the pápalo salsa roja. In a food processor or blender, combine all of the ingredients till well incorporated. Season to taste. Place in refrigerator.

unnamed-16
Slice each roll in the center horizontally. Place into a toaster oven or oven at 375 degrees for about 7 minutes, or until lightly brown.

unnamed-17
Liberally spread both inner sides of the rolls with the chipotle aioli.

unnamed-18

unnamed-19
Add the avocado slices and Panela cheese to both sides.

unnamed-20
Place about 1/2 cup each of shredded chicken on the bottom halve of the cemita roll for each sandwich.

unnamed-21
Spoon 1/4 cup each of the papalo salsa over the chicken.

unnamed-22

unnamed-23

unnamed-24
Add the lettuce, tomato and onion.

Cover with the top halve of the cemita roll. Slice the sandwiches in half. Enjoy

unnamed-5

unnamed-1

El Pollo Loco

unnamed-8

I go crazy over this chicken. This is a very easy (and delicious) recipe I use all the time. Perfect for tacos, burritos, cemitas, and nachos, this is one recipe staple you’ll find you’re using on the regular.

unnamed-13

Shredded Chicken
Serves 2-4
Recipe slightly adapted from The Food Network

INGREDIENTS
3 Tablespoons olive oil
2 pounds rib-in chicken breast
2 teaspoons chili powder
1 Tablespoon ground cumin
1 teaspoon onion powder
1 teaspoon ground coriander
1 teaspoon Kosher salt
2 cups thinly sliced red onions
1 tablespoon minced garlic
2 cups low-sodium chicken stock
1/8 cup lime juice

METHOD
Place a large shallow pan or cast-iron skillet with a lid over medium-high heat and add the oil to the pan. Season the chicken pieces with the spices and salt, tossing both sides evenly to coat. Add the chicken to the pan (skin side first) and sear for 3 minutes per side. Add the onions to the pan and sauté for 5 minutes. Add the garlic to the pan and sauté for a minute. Add the chicken stock over the chicken and slowly bring to a boil. Once the stock is boiling, lower the heat to low and cover with the lid.

Cook the chicken till tender, about an hour. Once fully cooked, turn off the heat, and allow the chicken to cool for about 15 minutes. Once slightly cooled, add the lime juice to the pan and over the chicken, then shred the chicken with your hands, discarding the bones. Season with salt.

On a Roll

unnamed-11
The signature component to a Cemita (a torta/sandwich native to the Pueblo region of Mexico) is its sesame seed bun. Much similar to the Brioche, the Cemita roll is soft, with hint of sweet on the inside and has a nice hard outer crust. I love using this bread for burgers, pulled pork sandwiches, too. But of course, it’s best utilized with this awesome Cemita recipe here.

Cemita Rolls
Yields 2-4 rolls
Recipe adapted from The Homesick Texan

INGREDIENTS
2 cups all-purpose flour
1 teaspoon Kosher salt
3 Tablespoons granulated sugar
1 teaspoon dry active yeast
2 eggs, at room temperature
1/2 cup buttermilk
1/4 cup olive oil
1 Tablespoon milk
1 Tablespoon water
1 cup sesame seeds

METHOD
In a medium-sized bowl, combine the flour, sugar and yeast. In a separate bowl, whisk together the salt, eggs and oil. In a small saucepan, warm up the buttermilk over low heat until it’s just-warm…don’t let it boil! Slowly stir the buttermilk and egg mixture into the flour mixture till the liquid is just incorporated. Allow the mixture to rest for about 15 minutes.

unnamed-7
After the dough has rested, knead the dough on a lightly floured countertop till smooth.
(Note: the dough will be sticky. In this case, rub your hands with extra flour to keep from getting dough stuck on your fingers.)

Place the dough in a well-oiled bowl. Cover with a damp towel and allow to rise for about 1- to 1-1/2-hour or until the dough has doubled in size. Once rested, divide the dough into two or four equal-sized balls. Again, cover the rolled out balls and allow to rest for an additional 15 minutes. unnamed-9
Flatten each dough ball into a disc and place onto a sheet tray. Cover the sheet tray with a damp towel and allow the rolls to proof for a final half-hour. While the dough rolls are proofing, preheat your oven to 400 degrees F. When the dough is done proofing, stir the milk and water in a small bowl and brush the tops of each roll and sprinkle with the sesame seeds. Bake the rolls until lightly browned, about 15 minutes.
unnamed-10