A Miracle Worker

aguaditolede
I don’t get sick too often. Maybe once or twice a year, tops. So when I do get sick all hell breaks loose. I simply hate getting sick and avoid it like, say, the plague.

Blame it on over-exhaustion, not getting enough sleep, working too much. Whatever week-long illness it was, it was completely unbearable. I had this unstoppable cough that seemed to worsen at night while in bed trying to sleep. The incessant coughing led to a sore throat and muscle pains in the abdomen; it was like I was doing nonstop crunches, but no 6-pack to show for.

What I needed was a miracle. Or Miracle Max.

mm1

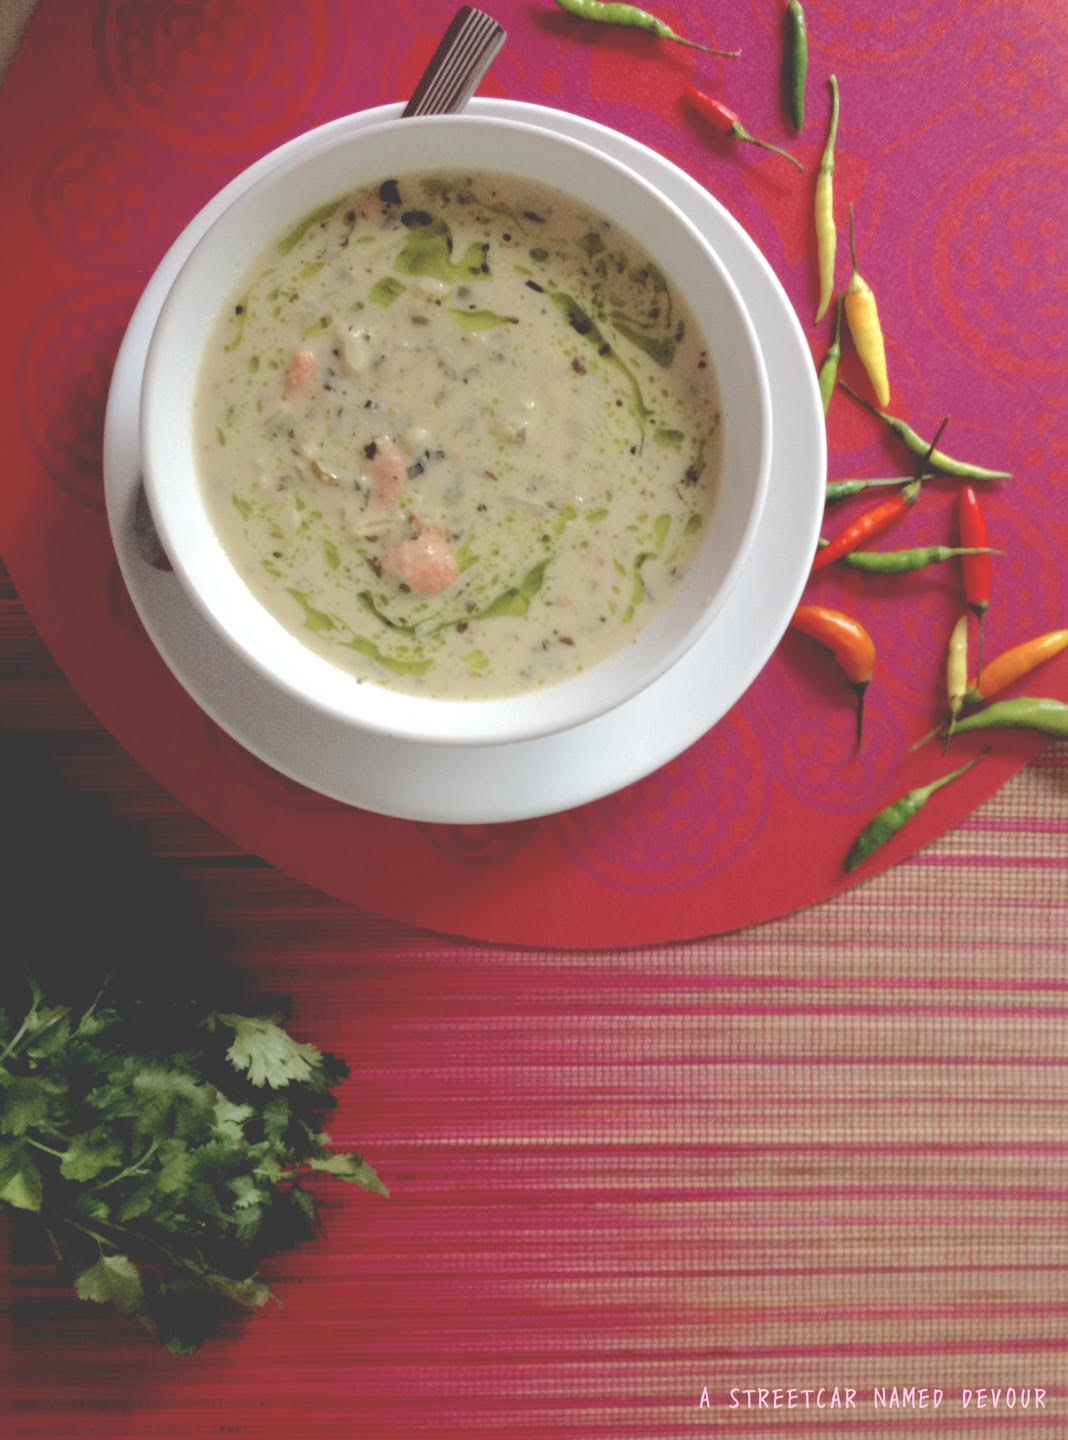
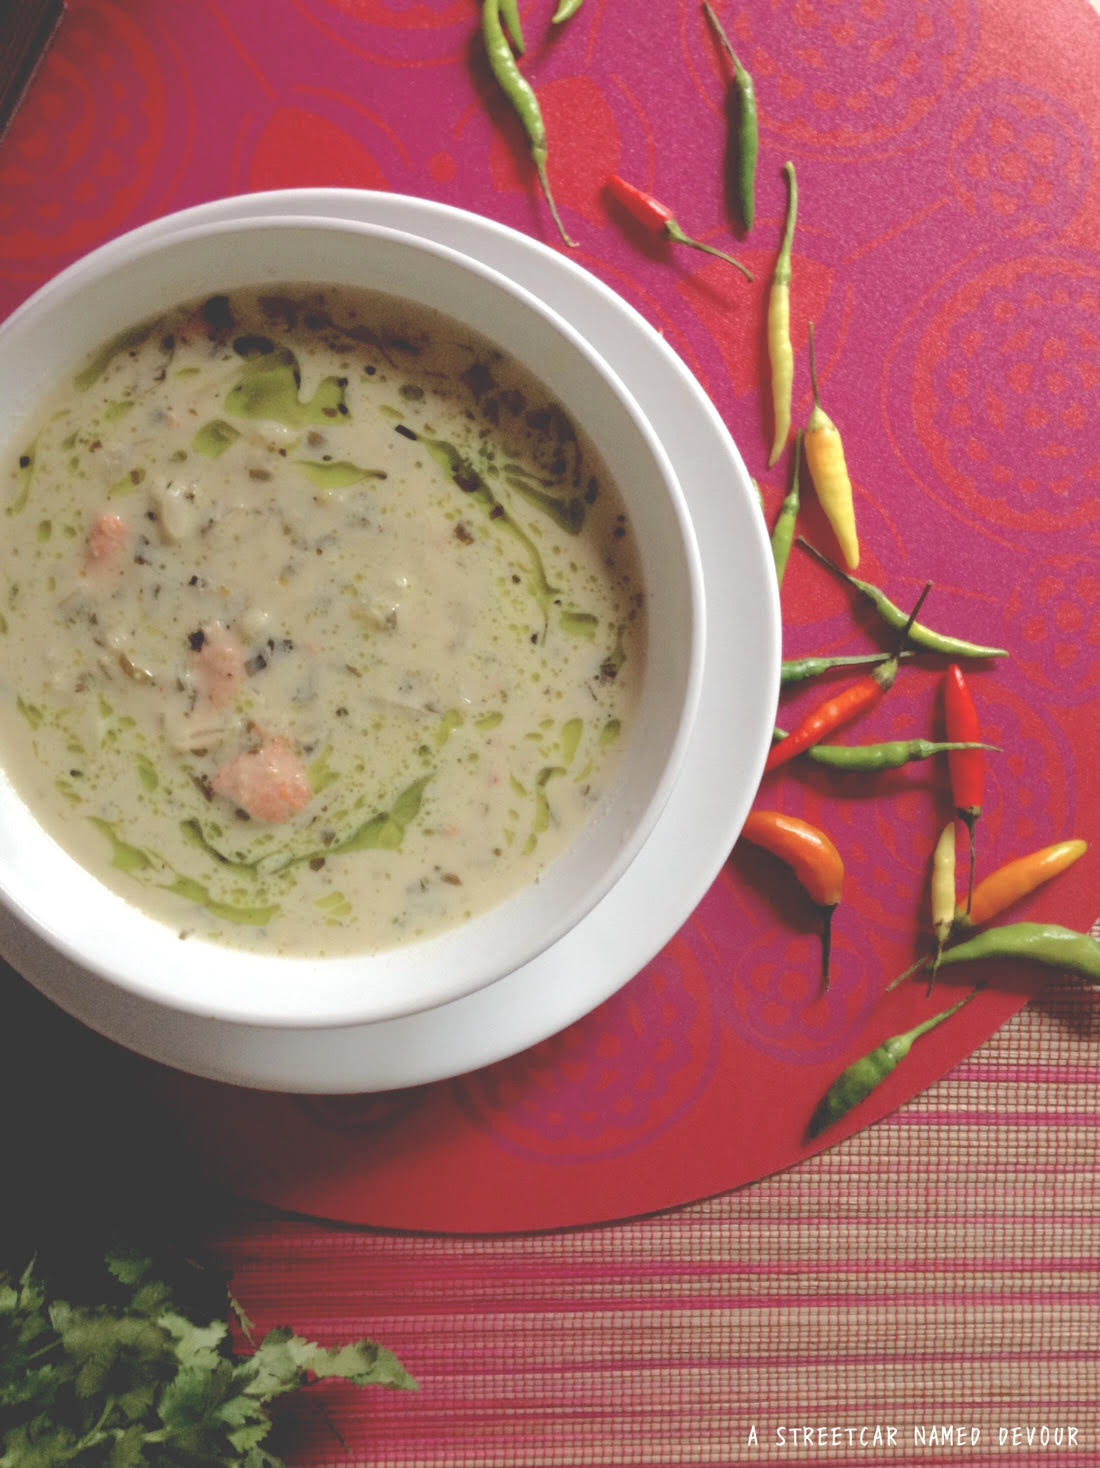
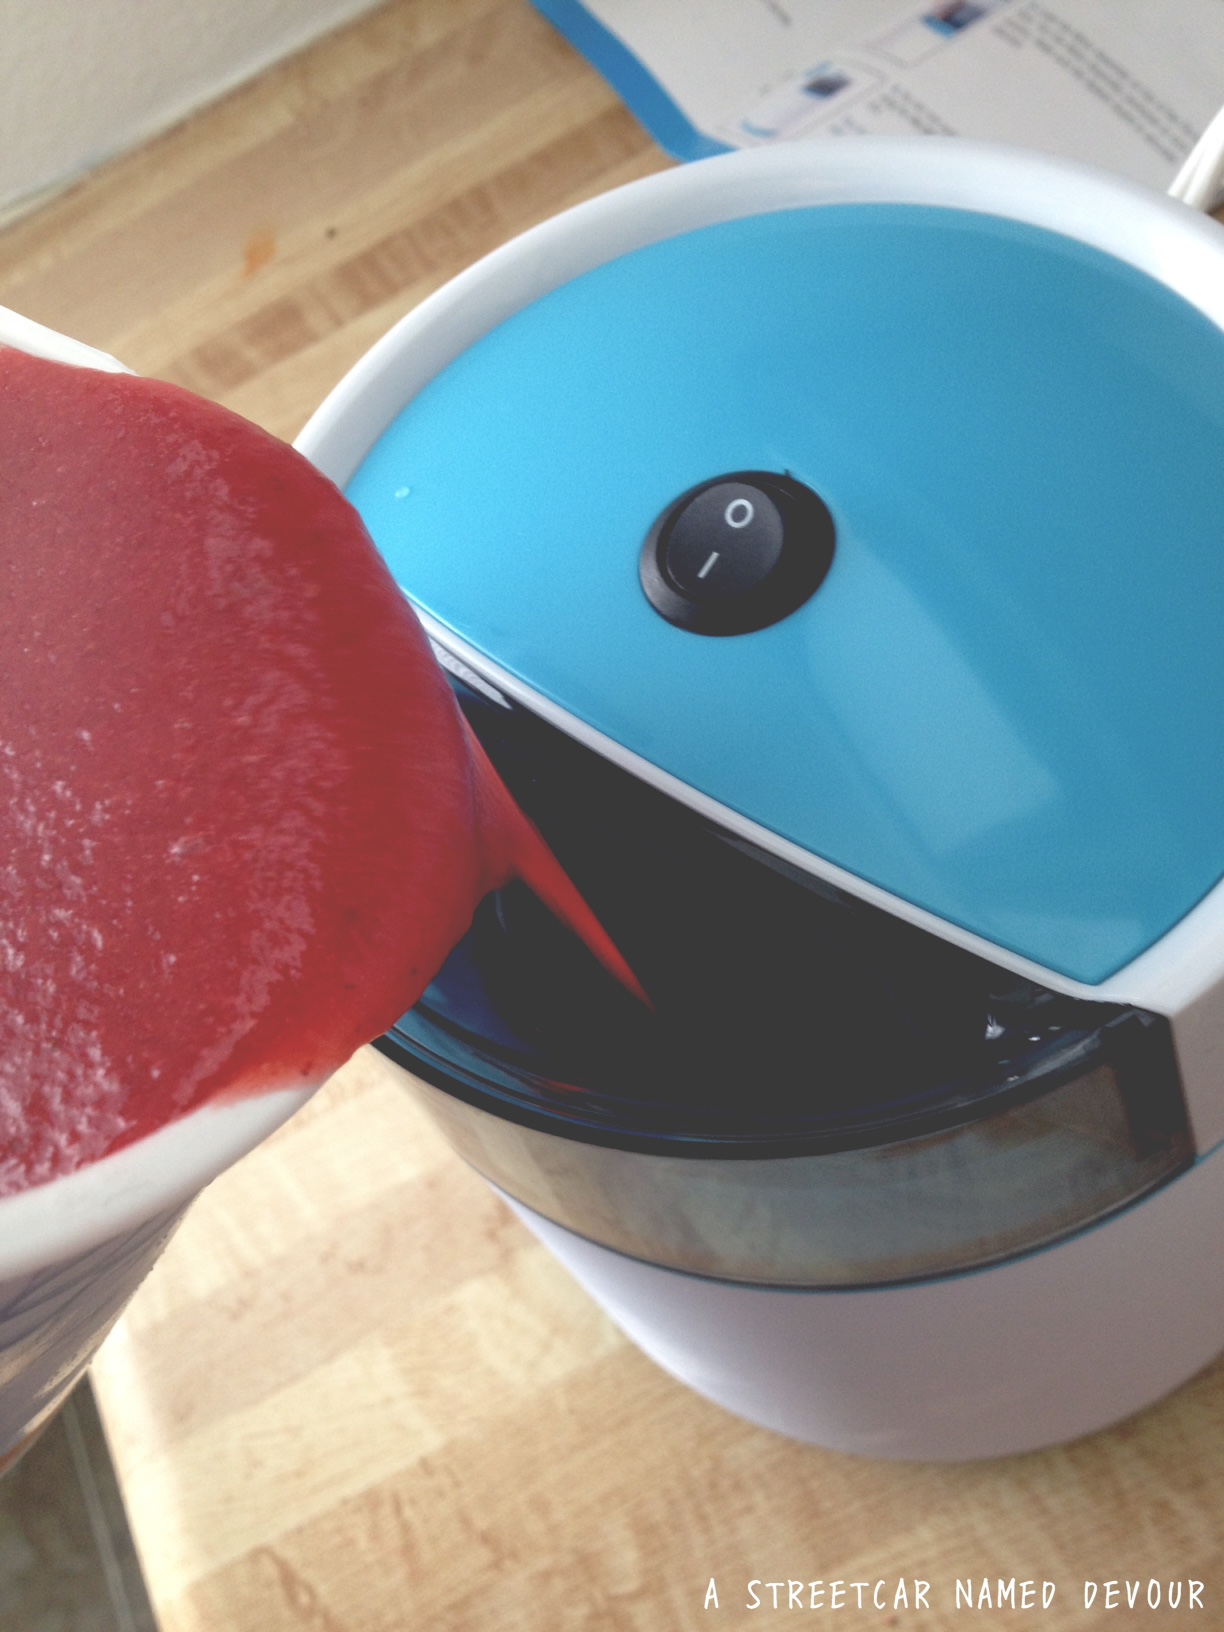
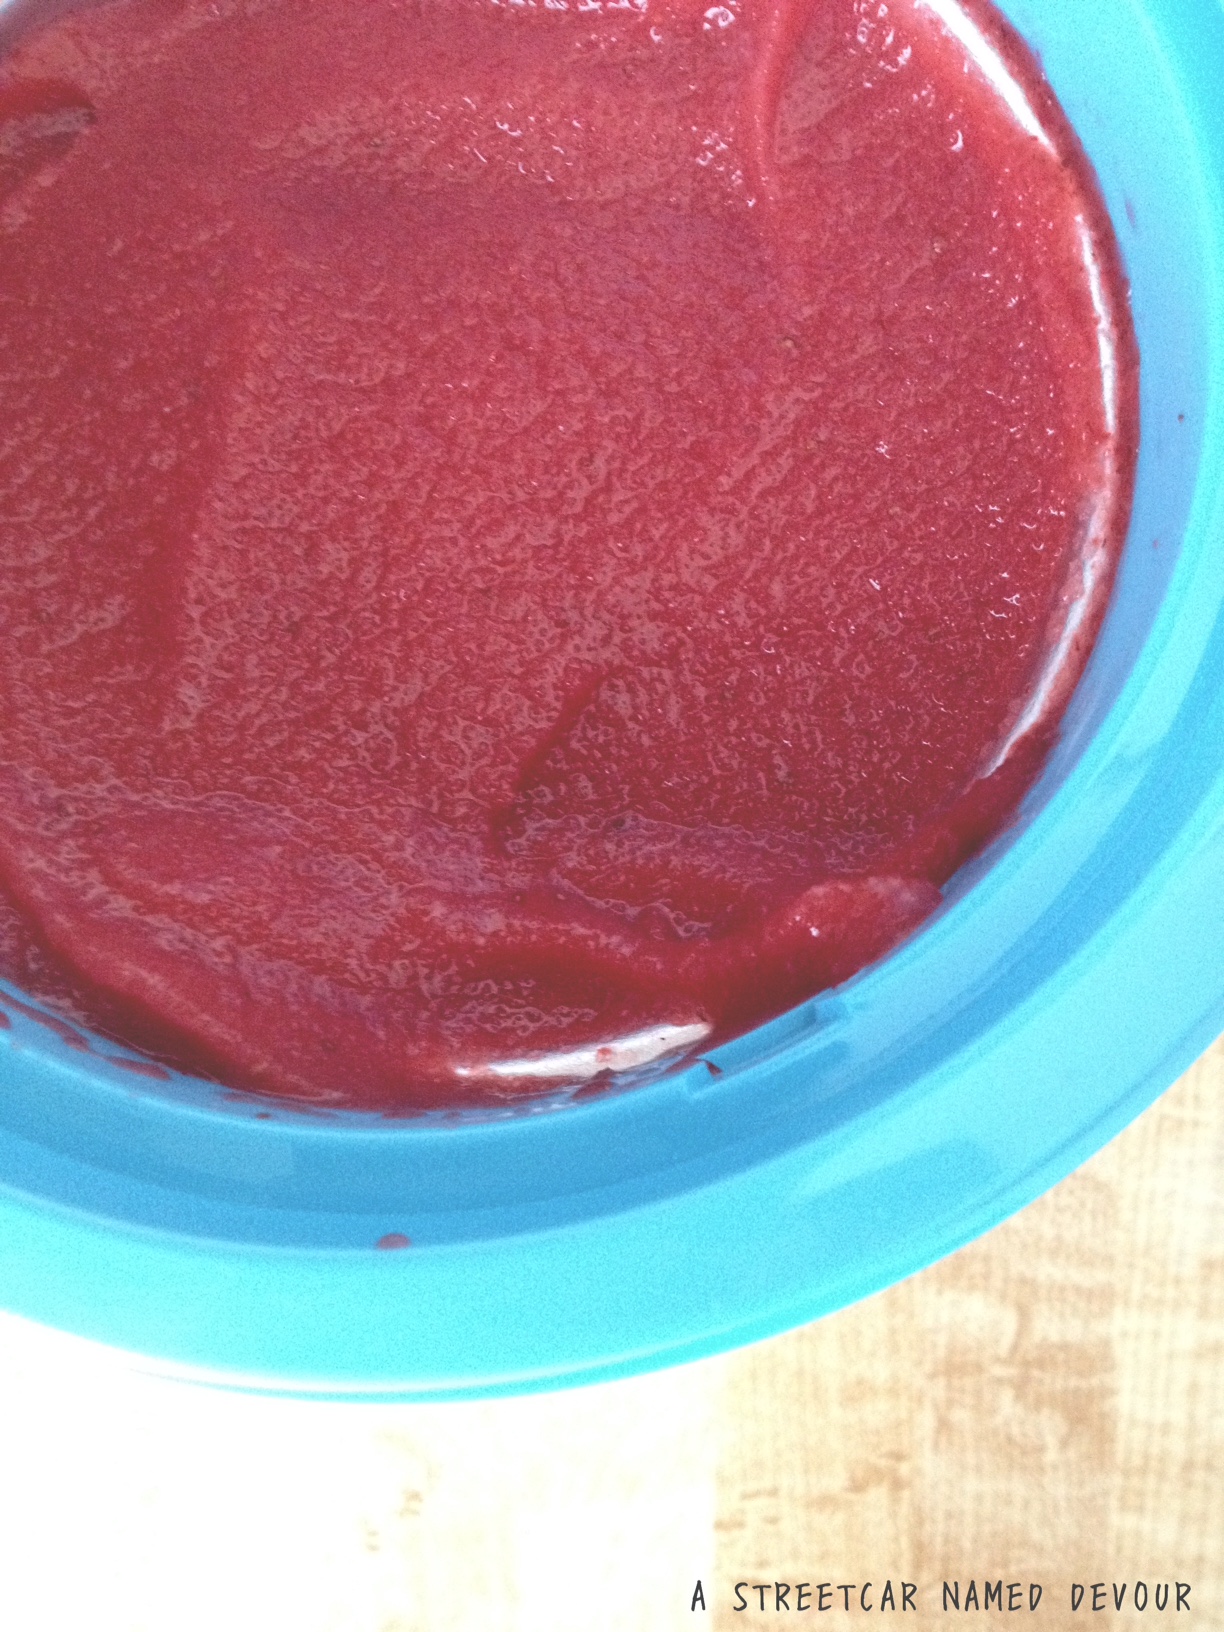
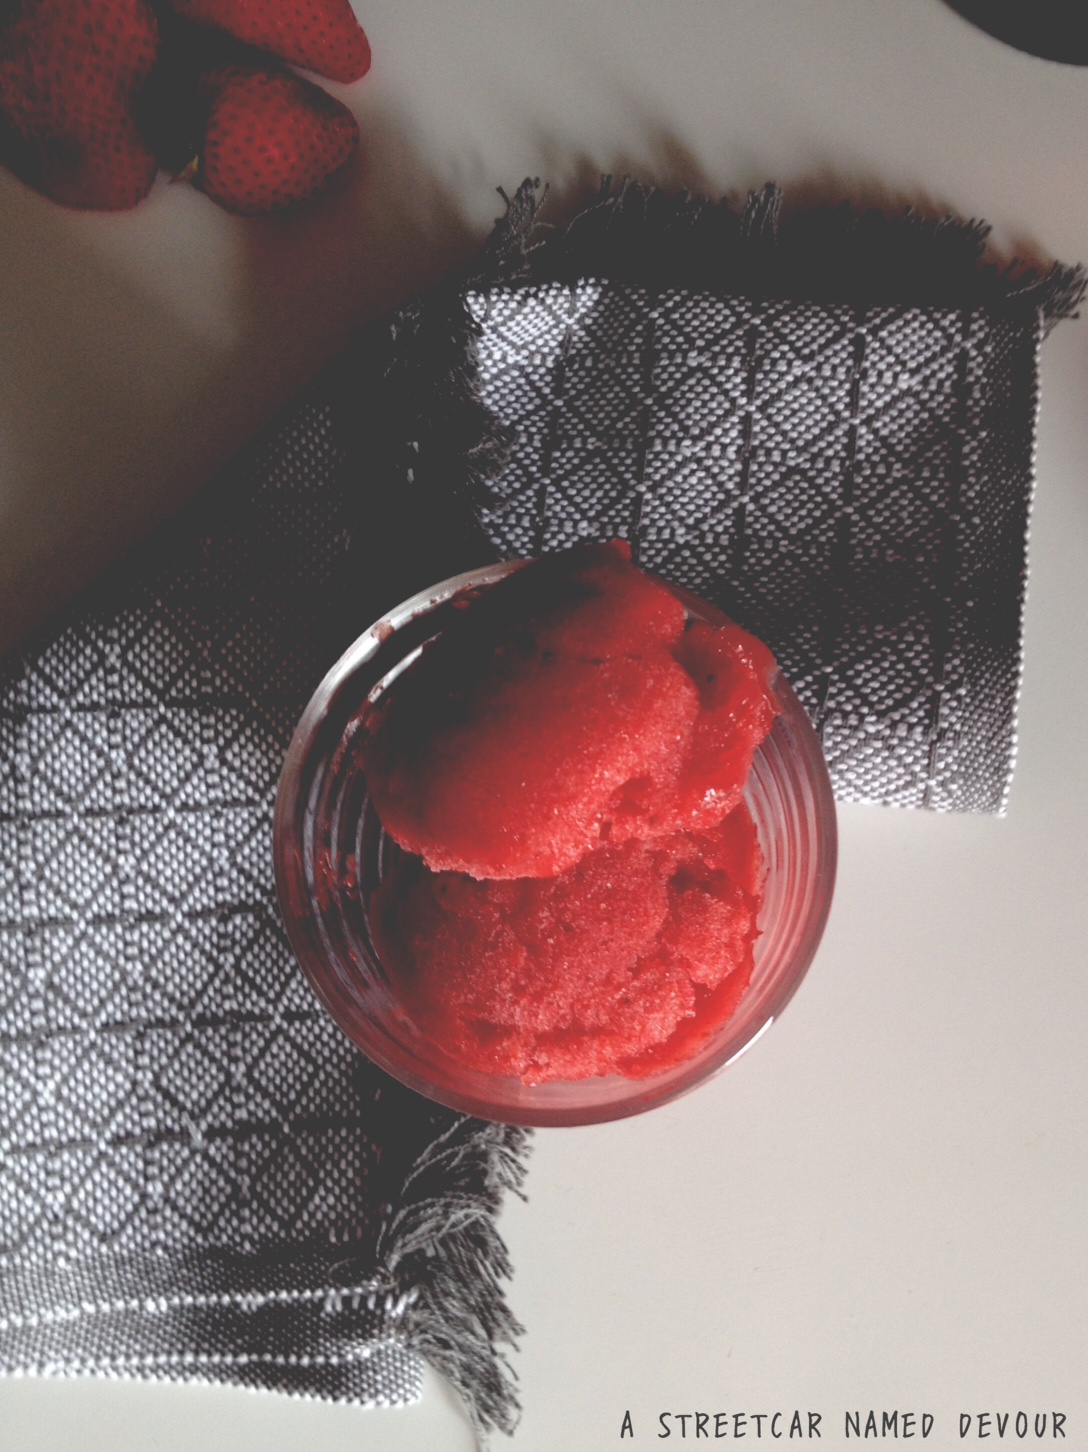
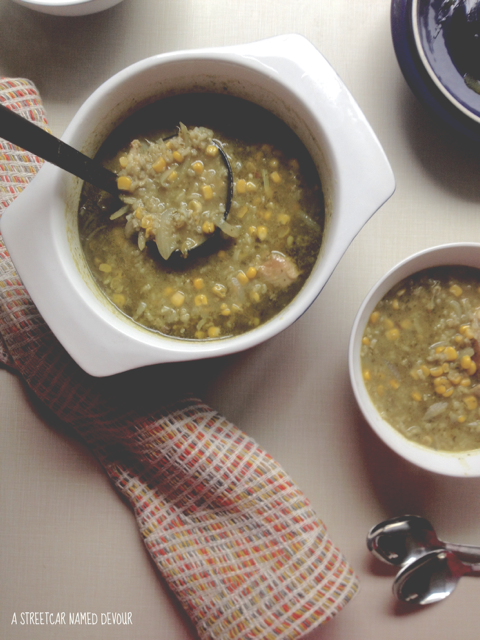
My regimen to nurse these ailments included daily vitamins, Emergen-C, so much orange juice, a hot elixir comprised of honey, fresh lemon juice, ginger, cinnamon, cayenne and turmeric. (It does the trick and nicely coats the throat.) But what really helps is a chicken soup of some kind. I had purchased a whole chicken and decided to make this Peruvian Aguadito soup quite reminiscent of the ones I used to enjoy at the L.A. Peruvian mini-chain, El Pollo Inka, that I used to frequent. The soup only gets better with a squeeze of the restaurant’s cilantro-chile sauce.

This Aguadito is a miracle worker, a magician, or brujo–the Miracle Max of soups. It has magical powers, I think, bringing you back to life. So much so that I felt increasingly better every time I consumed it (I ate the whole thing over the course of a week).

mm2

mm3

unnamed-2

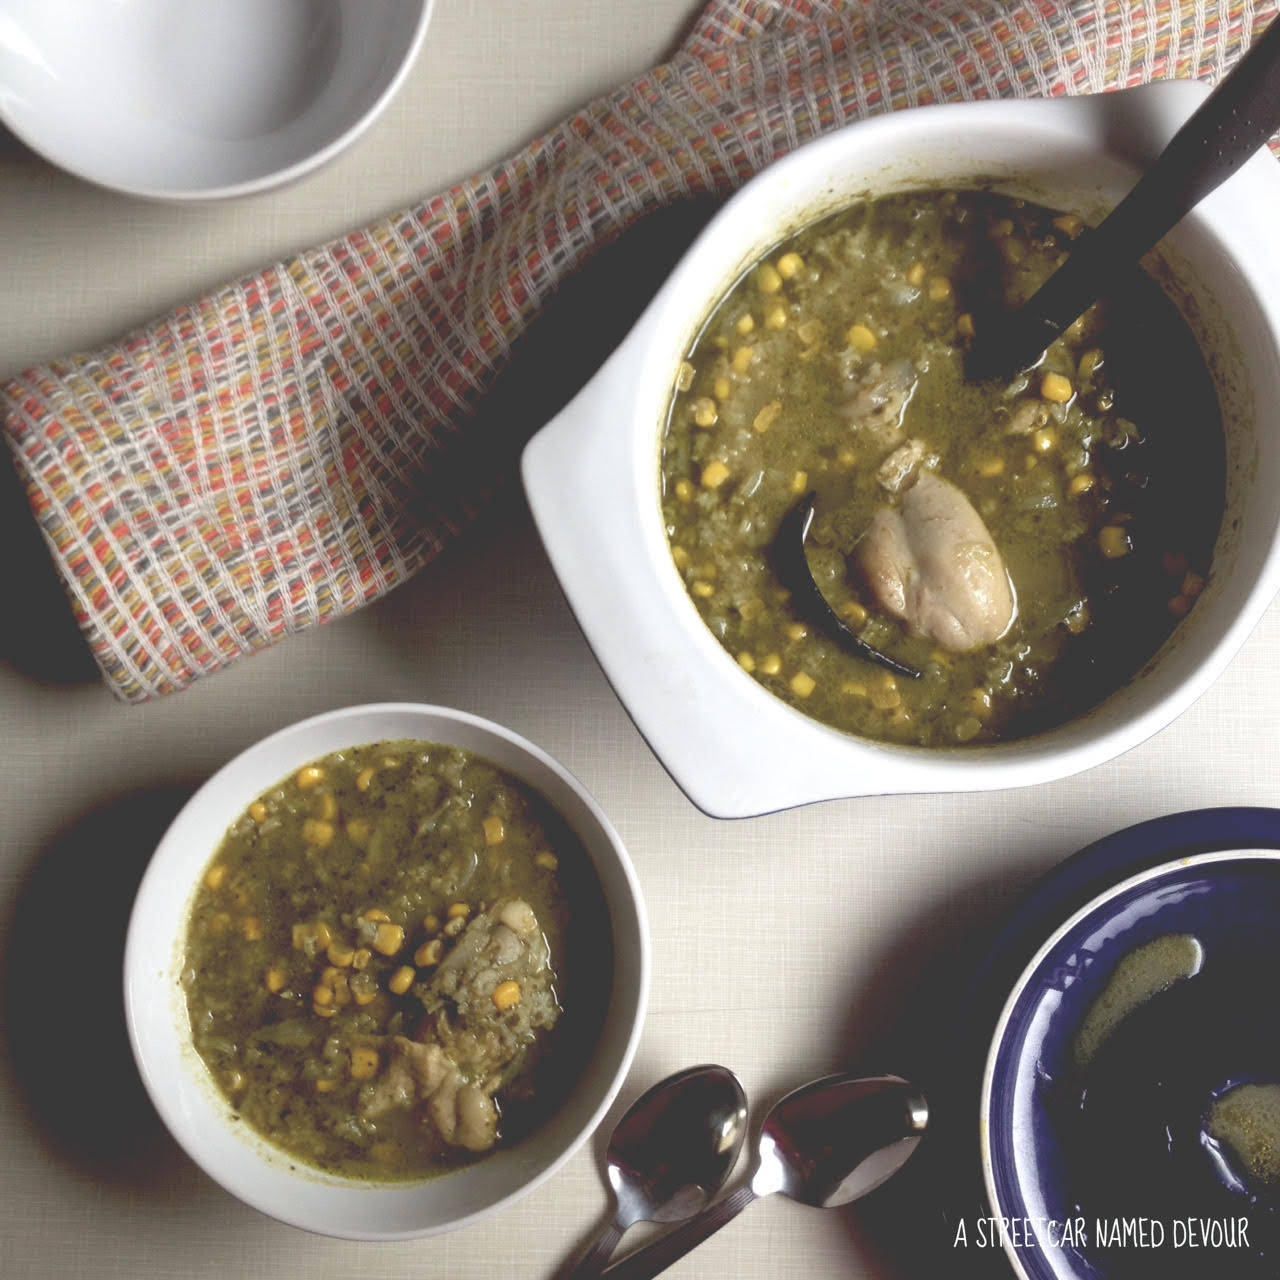
I butchered the whole chicken into 10 pieces (halving the breasts) and kept the leftover bones to make stock for another time. The base of the recipe is usually mild, but I needed an extra kick of heat to help clear my nasal passages, and replaced with whole jalapeños for the typical serrano.

Make this the next time you start to have the ill feels. And once you start feeling better, have fun storming the castle.

mm4

Peruvian Aguadito Chicken + Rice Soup
Recipe slightly adapted from A Cozy Kitchen
Serves 4-10

INGREDIENTS
2 bunches cilantro, stems discarded
12 garlic cloves, peeled
2 medium-sized jalapeños, stems discarded
10 cups chicken stock
3 Tablespoons extra-virgin olive oil
1 whole chicken, skin-on and bone-in, butchered into 10 pieces (2 drumsticks, 2 wings, 2 thighs, 2 breasts halved into 4 pieces)
1 medium-sized red onion, julienned
2 teaspoons ground cumin
1 teaspoon cayenne
1/3 cup long grain rice
1 can corn, drained
1/2 cup fresh lime juice
salt and pepper, to taste

METHOD
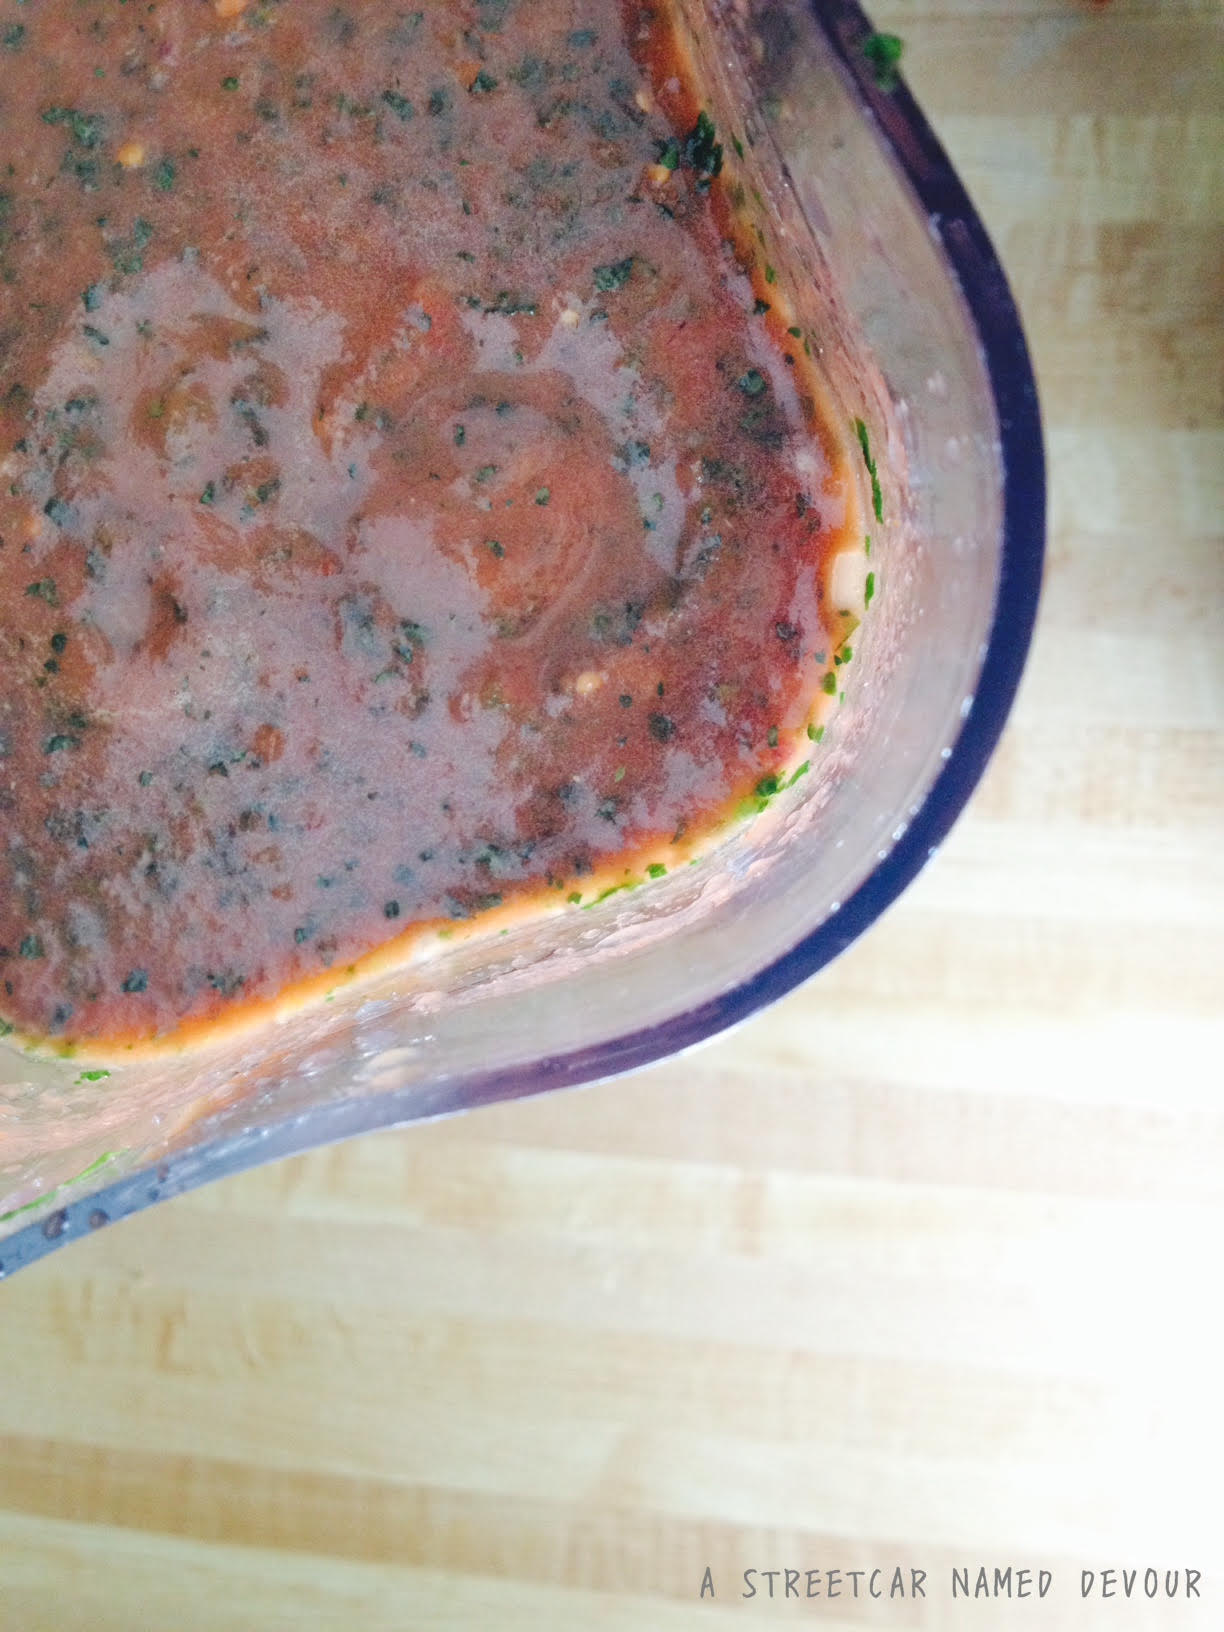
Purée the cilantro, garlic, jalapeños, and 1/2 cup of the chicken stock in a food processor or blender.

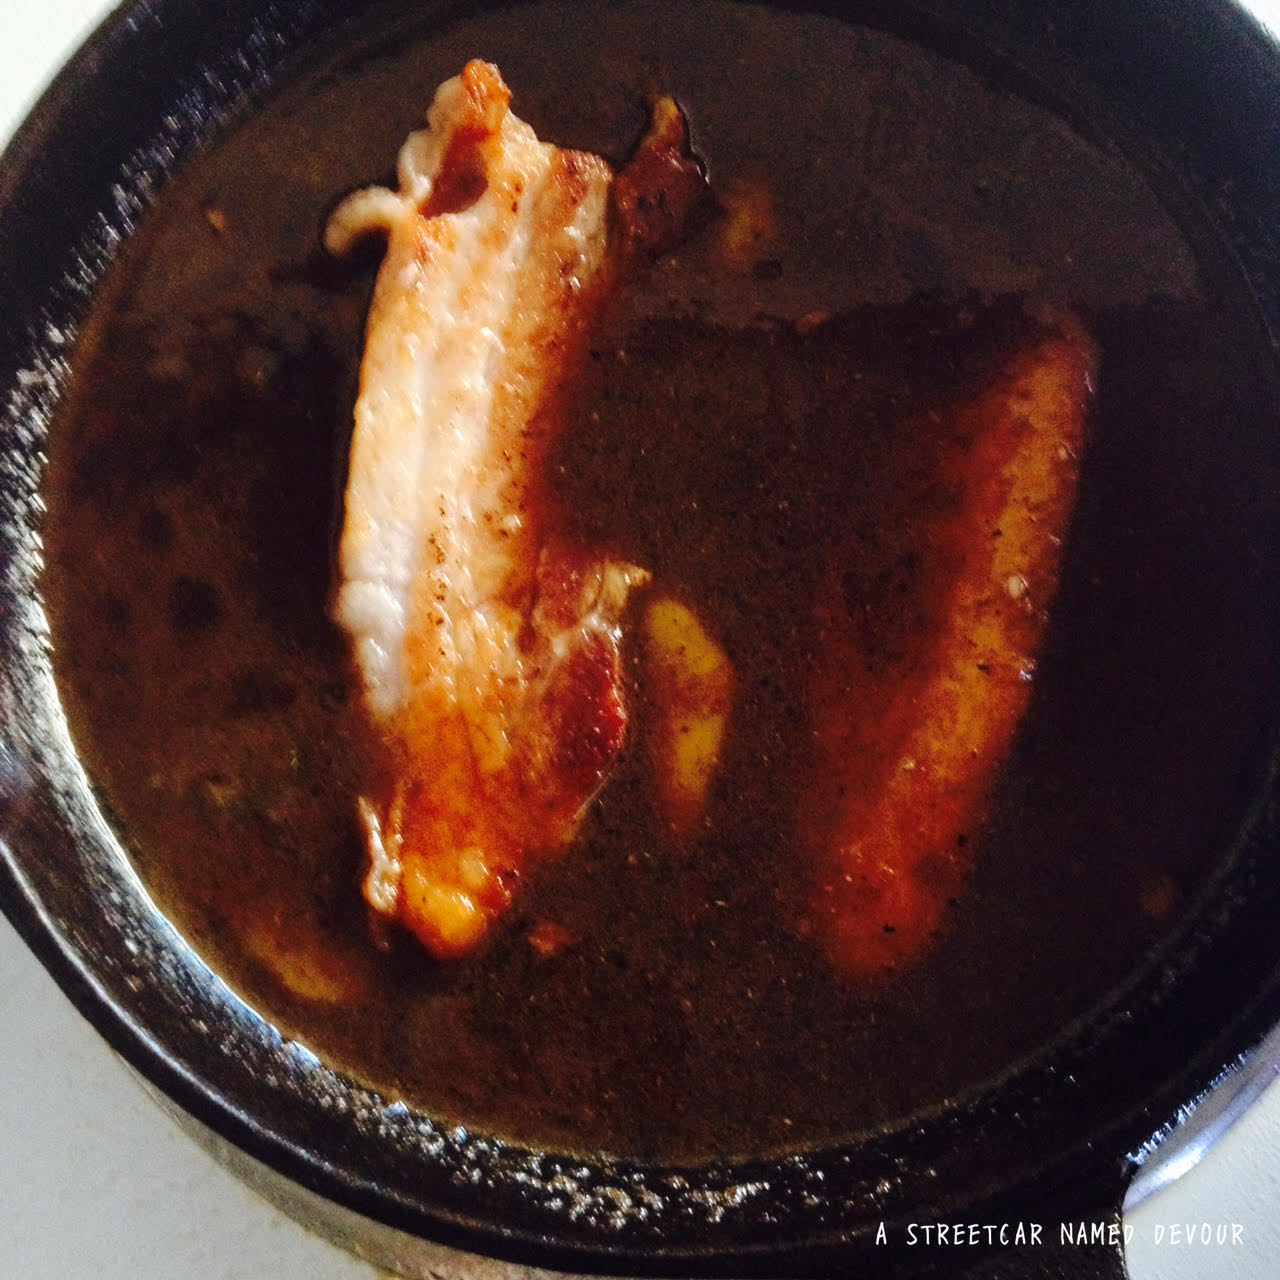
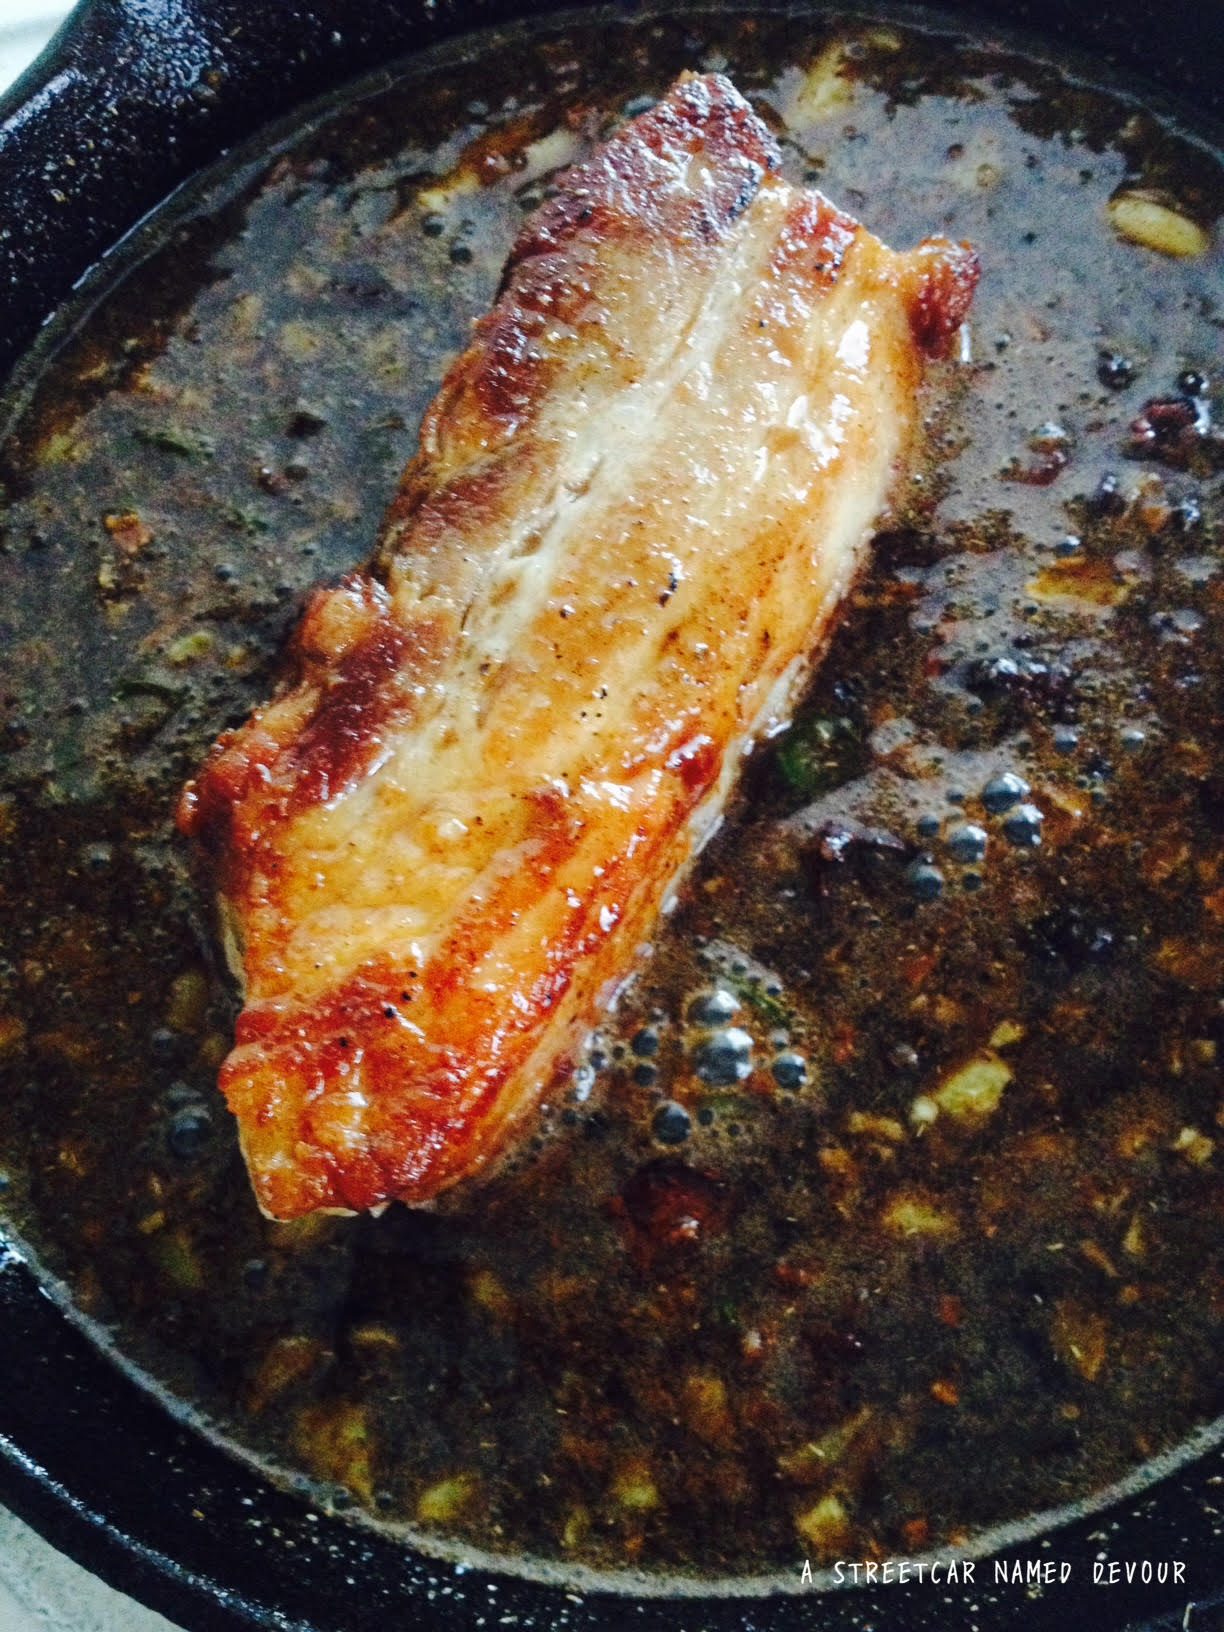
Heat 2 tablespoons of the olive oil in a large stock pot over medium-high heat. Add the chicken pieces, skin side down and season with salt and pepper, cooking for 5-10 minutes or till lightly browned. Turn and sear the other side for an additional 5 minutes. Once all sides are nicely seared, remove from the pot and set aside.

Add the remaining tablespoon of olive oil and add the onions and sauté till translucent. About 5-7 minutes. Add in the cilantro-garlic and jalapeño purée. Stir for 3 minutes to incorporate. Add in the rice, cumin and cayenne, stir for 2 minutes.

Slowly pour in the stock, stirring to incorporate. Bring to a boil, then add in the chicken pieces. Turn down the heat to low, add the corn and allow to simmer for 30-40 minutes.

Finish with the lime juice and season with salt and pepper to taste.

unnamed-1

unnamed-5

(Editor’s Note: All movie screenshots in this story are property of Act III Communications and Twentieth Century Fox.)

Midnight Macaroons

maclead

mactable

macarthur

macjack

maciris

Chocolate-Covered Hazelnut Macaroons
Slightly adapted from Martha Stewart
Yields about 8 cookies

INGREDIENTS
1/4 cup brown sugar, packed
2 large egg whites
1 cup unsweetened shredded coconut
1/4 cup hazelnuts, toasted, skinned and finely chopped
1/2 teaspoon pure vanilla extract
Pinch of sea salt
1/4 cup bittersweet chocolate chips

METHOD
Fill a sauce pot with water and heat to boil. Once boiling, lower the heat to just simmering. Fill a large metal (or heat-resistant) mixing bowl with the chocolate chips and place over the hot water bath. Allow to melt, stirring with a spatula every few minutes.

Preheat the oven to 350 degrees. Line a baking sheet with parchment paper. In a large mixing bowl, whisk together the sugar and egg white. Stir in the remaining ingredients. Form the dough into eight, 2 tablespoon mounds and drop each onto the sheet pan about 2-inches apart.

Bake the macaroons until golden brown on the edges, about 15 minutes. Allow to sit for about 5 minutes then transfer to wire racks to cool. Using a spoon, drizzle the melted chocolate over the cooled macaroons. Serve.

Macaroons will keep in a sealed container for up to one week.

mac2


Return to the full story HERE

(Editor’s Note: All movie screenshots in this story are property of Sony Pictures.)

West Toast

tartlede

It’s so crazy to think about how much of your life can change in one year. 1 year. Last Thanksgiving I spent the entire night working as a cocktail waitress at a thankless job. It was by far the WORST job I have ever had. Luckily, I only stuck around for a month.

At last week’s Thanksgiving, I spent it with some truly awesome friends. We had a delicious meal and plenty of libations. Being away from your family during the holidays is oftentimes hard, but when you have amazing friends, it’s not that bad at all.

My contribution to our Friendsgiving/Thanksgiving meal are these mini Guava and Cream Cheese Tartlets (Pop Tart knockoffs), but they’re soooo good. The filling was inspired by this AMAZING Cuban bakery in LA that I used to frequent, called Porto’s. Their Pastelitos de Guayaba (Guava Pastries) are a reason in itself to visit if you’re ever in LA.

The guava filling can be made at home, but I was a bit lazy this time around, and just visited my local Latin American food market and purchased this GOYA Guava Paste package. For $3 it’s a steal. And it’s so good, guys.

tartstyled

Guava Cream Cheese Tarlets 
(Pastelitos de Guayaba)
Recipe adapted from King Arthur Flour

INGREDIENTS
2 cups all-purpose flour
1 tablespoon sugar
1 1/4 teaspoon salt
1 cup (1 stick) unsalted butter, cut into pats
1 large egg (plus 1 egg for egg wash)
2 tablespoons milk

METHOD
Using a food processor, mix together the flour, sugar, and salt, working the butter in till the mixture holds together when you press it with your fingers. The mixture will be just a tad bit lumpy, with specks of butter still visible. Transfer the dough to a large bowl and add the egg and milk, mixing till everything is cohesive.

tartbowl

Split the dough in half. Shape each half into a rough 3″ x 5″ rectangle, smoothing the edges. If making the dough ahead of time, you can refrigerate for up to 2 days; allowing the dough to rest for 15 minutes at room temperature before rolling out.

tartdo

Preheat your oven to 350°F.

Place the first half of the dough on a lightly floured work surface, and roll it into a rectangle about 1/8″ thick, large enough that you can trim it to an even 9″ x 12″.

tartrolled

Trim off the edges; save the scraps and set them aside, along with the 9″ x 12″ rectangle of dough.

tartcut

Proceed by rolling out the other half of the dough, and cut it as you did with the first half.

tartfillings

Place a rectangle slice of the guava paste and cream cheese onto the center of each marked rectangle.

tartfill2

Lightly beat the last egg, and brush the outer corners of the surface of each pastry dough. Place the second sheet of dough atop the first, using the tines of a fork to press firmly around each pocket, sealing the dough on all sides.

tartdo2

If you have dough scraps, press them together into a ball, then re-roll them out. Repeat the rolling and cutting of the dough according to the size of the dough and fill them if you’re able to.

Gently transfer the tarts to a lightly greased or parchment-lined sheet tray. Lightly brush the tops of each tarlet, and then place into your oven.

Bake the tartlets for 15 to 23 minutes, or till they’re a light golden brown.

tartbaked

tartstyled5

No Contest

thaichowlede

Thai food has become my comfort food. It’s the cuisine I crave on the regular. It’s become a big problem.

At work we had an open call “Salmon Chowder Contest” that would run on our menu at the restaurant if it was chosen to be the winner. This is the soup I made for the contest.

I decided to base my recipe off of one I made last year for my Tom Kha Gai soup. It’s not your traditional chowder, but it’s crazy delicious. Like, it’s really good. Trust me.

Forget tradition and try this! You won’t be disappointed.

Coconut Salmon Chowder
Yields 2 quarts

FOR THE CHOWDER

INGREDIENTS
2 nubs medium-sized galangal, peeled and sliced*
1 stalk lemongrass, white part only, sliced thin
5 kaffir lime leaves
6 Thai bird chiles
1 Tablespoon coconut oil
1 yellow onion, julienned
2 cups Yukon potatoes, peeled and medium-diced
3 cloves garlic, minced
2 cans coconut cream
2 cups vegetable stock
1 pound salmon, skin-off, cut into medium-sized cubes
1/8 cup fish sauce
2 Tablespoons granulated sugar
1 cup Thai basil, picked and minced
1 cup cilantro, picked and minced
1 lime, zested and juiced
salt and pepper, to taste
*galangal is a rhizome from the same family as ginger, used primarily in Thai, Lao and Vietnamese cooking. Find it at your local Asian supermarket.

METHOD
Place the first 4 ingredients in a food processor and process to a paste. Heat the oil in a saucepan over medium heat and add the paste, stirring till fragrant; about 5 minutes. Add the onions and saute till lightly browned. Add the potatoes and garlic and stir for a minute.

Turn down the heat and add the coconut cream and stir. Stir in the fish sauce and sugar, and bring to a gentle simmer, then add the salmon and simmer for an additional 5 minutes or till salmon is cooked.

Add the cilantro, Thai basil, lime zest and juice. Season with salt and pepper. Top with a healthy drizzle of Thai basil oil. (Recipe below).

thaichow1

FOR THE THAI BASIL OIL
Yields 2 cups

INGREDIENTS
2 cups Thai basil, packed
2 cloves garlic, peeled
1 3/4 cups olive oil
1/4 teaspoon salt

METHOD
Blanch the basil leaves in boiling salted water for 20 seconds. Remove the basil and shock in an ice water bath. Add in the garlic and olive oil. Process in a food processor till fully combined.

Store in an airtight container overnight in the refrigerator. Not he next day, strain the oil through a fine-mesh sieve, discarding the leaves.

thaichow2

thaichow3

Curd UP!

Pomegranate-Lemon Curd
Yields about 2 cups
Recipe Slightly Adapted from Baking A Moment

INGREDIENTS
1/8 cup cornstarch
2 Tablespoons granulated sugar
1 Tablespoon water
2 large egg yolks
1 teaspoon Kosher salt
1 pomegranate, juiced
3/4 cup water
1 lemon, juiced and zested
2 tablespoons unsalted butter

METHOD
Whisk together the first five ingredients into a small bowl till smooth.

streetcarpomegranate

Place the juice from the pomegranate, water and the lemon juice in a pot over medium-low heat, and bring to a simmer.

streetcarpomegranatedry

Slowly pour in about a 1/4 cup of the heated juices into the egg mixture, whisking constantly to combine. Add another 1/2 cup of the hot liquid, whisking till the egg mixture is warm to the touch.

Carefully pour in the tempered egg mixture into the pot with the remaining hot liquid, whisking constantly. Cook the mixture gently, stirring constantly to avoid lumps and adjusting the heat temperature accordingly.

streetcarpomegranatecurd

Whisk in the cold butter and lemon zest, then transfer the mixture into a bowl to cool.

Serves well as a filling for cake or this Aebleskiver recipe.

Bao Down

baodownlede
Gua Bao
is a Taiwanese street food, comprised of a steamed bun, braised meat, and other fillings. I was first introduced to these teeny-tiny bites of delight while I worked for a food truck in San Francisco. Every weekend our truck met with other food trucks at Fort Mason hosted by Off the Grid, a Bay Area-based food and music event planner of sorts, bringing together only the best local food trucks at different venues weekly throughout the Bay. Off the Grid events were super fun to work because we were always busy and we got to meet some really awesome and talented people in the food truck community. One of my favorite trucks that I became a huge fan of was Chairman Bao, food truck that specialized in gua bao. A light and fluffy steamed bun with a tender, crisp slice of pork belly, with a nicely pickled crunch of daikon. So many excellent flavors all in one bite. You can’t help but want more.

This week I put my own spin on gua bao with braised pork belly, sweet pickled papaya and spicy pickled cucumbers.

unnamed-2

FOR THE BUNS
Recipe slightly adapted from Food52
Yields 16

INGREDIENTS
1 Tablespoon active dry yeast
1 cup water, room temperature
2 1/8 cups flour
3 Tablespoons granulated sugar
1 1/2 Tablespoon nonfat dry milk powder
1/2 Tablespoon Kosher salt
1/4 teaspoon baking powder
1/4 teaspoon baking soda
1/4 cup reserved pork fat, room temperature (you can use bacon or pork belly fat)

METHOD
Set up a stand mixer with a dough hook. Place the yeast and water together and mix just to incorporate to activate the yeast. Let it sit for 10 minutes. Then add in the flour, sugar, milk powder, Kosher salt, baking powder, baking soda and fat and mix on low for about 10 minutes. After the mixing cycle, your dough should be gathered into a ball. Place the dough ball in a lightly oiled medium-sized bowl, wrapped in plastic wrap. Keep the bowl in a warm area of your kitchen and allow the dough to rest for about 1 hour to 1 hour and 30 minutes, or until the dough has doubled in size.

unnamed-7

Once the dough has rested and risen, transfer it onto a lightly floured work surface. Use a sharp knife to divide the ball in 2 equal-sized pieces.

unnamed-10

Then divide each half into 4 equal-sized pieces, making 8.

unnamed-11

Roll each piece into mini logs, then cut each log in half, making 16 pieces total.

unnamed-12

Each piece should weigh about 25 grams each and be about the size of a Ping-Pong ball. Then roll each piece into a ball and place on a baking sheet. Loosely wrap the sheet tray with plastic wrap and allow to rise for a half-hour.

unnamed-13

After the buns have rested, use a rolling pin to roll each ball into a 4-inch-long oval. Brush each bun lightly with oil, and lay a chopstick horizontally across the center of the oval and fold it over onto itself to form a bun. Gently pull out the chopstick, leaving the bun folded, and place it onto a sheet tray, allow all the rolled out buns to rest for another 45 minutes.

unnamed-16

Set up a steamer on top of your stove. Steam your buns in batches so the steamer isn’t overcrowded, and steam them for about 8 to 10 minutes. Quickly remove each bun and place on a sheet tray to cool.

unnamed-14

The steamed buns can be used immediately or kept frozen in Zip-Lock bags for up to 2 months. Reheat the frozen buns on a stove top steamer for about 3 minutes, or until soft and warmed all the way through.

FOR THE FILLING
Recipe slightly adapted from Serious Eats
Serves 4-8

INGREDIENTS
1/2 pound slab skin-on pork belly
1 Tablespoon olive oil
1 clove garlic, minced
1 stub ginger, peeled and minced
3 each star anise
2 each Thai chili
2 Tablespoons brown sugar
1/4 cup Asian rice wine
1/2 teaspoon Chinese 5 Spice
1/2 cup dark soy sauce
1/4 cup light soy sauce
3 cups water

METHOD
Heat a nonstick or cast-iron skillet on medium-high. Once hot, place the pork belly into the pan and allow to sear for 5 minutes (or until light golden brown) before turning the belly onto the other side. Allow to sear for another 5 minutes, flipping the belly till all sides are seared nicely.

unnamed-15

Remove the belly and place onto a plate. Lower the heat to medium, then add the oil, garlic, ginger, and chilis. Toss for 2 minutes. Then add the star anise and brown sugar. Stir for a minute then deglaze with the wine. Stir till the sugar is melted.

Add the rest of the ingredients and stir thoroughly. Return the belly to the pan and turn down the heat to low. Carefully cover the pan with a lid or aluminum foil. Allow to braise for at least 1 hour. Check the belly for tenderness after 1 hour. Cook till fork tender.

unnamed-17


FOR THE PICKLES

unnamed-9

Spicy Pickled Cucumbers
Yields 1 cup

INGREDIENTS
1 large English cucumber, thinly sliced
1 1/2 cups rice wine vinegar
1/3 cup sugar
1 Thai chili, julienned
1 Tablespoon Kosher salt
2 teaspoons red pepper flakes
2 teaspoons black sesame seeds

METHOD
Heat the vinegar, sugar, chili, salt, pepper flake and sesame seeds in a small pan till boiling. Place the sliced cucumbers in a Mason jar or deli cup, then pour the boiling brine into the jar then cover. Allow to sit in room temperature for an hour, then keep in the refrigerator.

Sweet Pickled Papaya
Yields 2 cups

INGREDIENTS
1 small green papaya, cored and thinly sliced
1/2 cup rice wine vinegar
1/2 cup granulated sugar
1/2 cup water
1 teaspoon Kosher salt

METHOD
Bring the vinegar, sugar, water and salt to a boil until the sugar is dissolved. Pour the brine into a Mason jar or deli cup with the papaya. Cover tightly and allow to sit in room temperature for 1 hour. Then keep in the refrigerator.

Pickles can be used once cooled, and stored in the refrigerator for up to 3 weeks.

unnamed-1

TO ASSEMBLE
16 steamed buns
braised pork belly, sliced into 16 pieces
hoisin sauce
spicy pickled cucumbers
sweet pickled papaya
1/4 cup cilantro leaves

METHOD
Place a slice of the pork belly into the bun, smear a little hoisin sauce on the pork. Put 3-6 cucumber slices and about 3 tablespoons of papaya on top of the pork. Sprinkle with cilantro leaves. Enjoy!

unnamed-3

baodownstyledlast

baodownend

Recreating: Pica Pica’s Arepas

arepas lede a streetcar named devour
The Mexican Gordita.

The El Salvadorian Pupusa.

The Venezuelan and Colombian Arepa.

Each are comprised of a corn flour-batter mix, shaped into a disc, fried in oil and stuffed with various fillings.

They all sound strikingly similar, but most will argue, are quite different. (Just ask a Venezuelan how their arepas compare to that of a Colombian’s, or vise-versa, and you will get strong disagreements from each party.)

While in the past I’ve enjoyed a Gordita or two or 10, and have had quite the experience being a human pupusería, I hadn’t stumbled upon Arepas until my recent trip to San Francisco a few weeks ago. My awesome, longtime friend  and hostess Amber, took me to this amazing Venezuelan restaurant in the Mission called Pica Pica Arepa Kitchen. It is FAN (freaking!) TASTIC. I can’t even begin to describe how delicious the sweet corn, cake-like arepas, filled with hearty shredded beef pabellón, fried plantains, black bean purée and queso fresco were. I was in Arepa heaven. If such a heaven exists, I was definitely in it.

arepa inspo a streetcar named devour

The sweetness of the yellow corn viuda (Spanish for “widow” referring to an unfilled arepa) is most excellent on its own, but when paired with the various fillings, it becomes this flavor explosion in your mouth–the sweetness from the viuda and plantain, the salty from the pabellón and queso fresco and the gentle acidity from the guasacaca. Every inch of your tastebuds are satisfied, wanting more and not knowing when, (or how) to stop.

I had long (actually not quite that long, more like a week after) daydreamed of my rather virginal Arepa experience, wanting more. So I made my best attempt at recreating these delicate bellezas del cielo.

arepas 2 a streetcar named devour

Venezuelan-Style Arepas
Serves 3-6
Arepa dough recipe slightly adapted from Mommyhood’s Diary blog

FOR THE AREPAS (VIUDAS)
4 cups of water, room temperature
2 teaspoons Kosher salt
3 Tablespoons granulated sugar
3 cups Harina P.A.N (precooked white corn meal. Look for the “P.A.N” as it’s very different from the harina used in pupusas and gorditas.)
2 teaspoons vegetable oil

METHOD
In a medium-sized bowl add the water, salt and sugar. With a whisk, mix until the salt and sugar is dissolved. Slowly add in the Harina P.A.N. Using your hands, mix the dough, breaking any clumps with your fingers. Allow the dough to rest 5 minutes to thicken up.

unnamed-5

While you’re waiting, heat a non-stick griddle pan or cast-iron skillet over medium heat. Then add the oil to the dough, working the dough with your hands for about a minute. The arepa dough should be firm but not cracking when formed. If the dough is too soft add a little more of Harina P.A.N or more water if it’s too hard.

unnamed-7

Form dough balls and flatten them gently into discs until they’re about 1/2-inch thick. Immediately place the discs over your preheated pan and cook the arepas for 5-7 minutes on each side or until lightly golden brown. Repeat till all dough has been used. Serve immediately with your choice of fillings.

unnamed-2

FOR THE AREPAS RELLENAS (Filled arepas)
2 Tablespoons olive oil
1 medium onion, julienned
2 1/2 pounds flank or flat iron steak
1 cup (8 ounces) canned tomato sauce
2 teaspoons dried oregano
Salt and pepper, to taste
1 large ripened plantain, peeled and sliced into 1/2-inch pieces on a bias
6 Arepas vuidas
3 Tablespoons butter
1/2 of small wheel Queso Fresco, crumbled
1 cup Guasacaca Salsa*

For garnish
2 small green onions, julienned (green and whites)

METHOD
Rub a generous amount of salt and pepper to both sides of your steak. Preheat a large cast-iron skillet over medium heat. Add in the oil, and when the oil begins to slightly haze, add the steak.

Cook each side for about 3 minutes, or until lightly browned. When both sides are gently seared, using a pair of tongs, remove the steak and place onto plate to rest. Keeping the heat still on medium, add the onions  and sauté till onions are translucent. Then add the tomato sauce, stirring well. Add the oregano and season to taste with salt and pepper. Lower heat to low and allow to simmer for about 20-25 minutes to thicken.

unnamed-3

While your sauce is simmering, and after resting your steak for at least 15 minutes, slice your steak into even 1/4-inch slices. The steak should be at a nice rare pink.

unnamed-4

When your sauce has thickened up, immediately turn off the heat and throw in the sliced steak. The residual heat of the sauce will further cook the meat just a tad.

In another medium-sized non-stick pan or skillet, heat a Tablespoon of oil on medium.

unnamed-8

unnamed-5

Place the sliced plantains in the skillet, cooking each side for about 3 minutes each or until nicely browned and caramelized. Immediately remove from the pan and into a paper towel-lined plate to absorb excess oil.

unnamed-6

Next, gather all filling ingredients together.

unnamed-10

When ready to assemble, split each arepa in half horizontally with a knife. Butter each side of the still-warm arepa. Fill the bottoms of each arepa with the plantains, then layer on the steak, and a heaping spoonful of guasacaca salsaqueso fresco crumbles and green onion garnish.

Serve immediately. (Knife and fork optional, but highly recommended!)

a streetcar named devour arepa lede 3

a streetcar named devour areas lede 2

The Best Diet

cemita a streetcar named devour

So I’m on this Cemita Diet. And it’s working out pretty well so far. You see, I am constantly recipe testing everything I make for this blog (and for my full-time job as a cook). Most of the things I note while I’m recipe testing, is of course, the taste of the products I’m making, the shelf-life of the food, and if it’s so good I can eat the product repeatedly. This tested true for this Cemita recipe, which I ate 4 times within the last 2 weeks. Hence, the Cemita Diet. And it’s not a bad diet to be on.

And what makes this sandwich even better? The FRESH BREAD I made. That’s right, fresh sesame seed buns. As Sir Mix-A-Lot protested: My anaconda don’t want none unless you got buns, hun. Clearly he was talking about bread buns, AMIRITE?

I can attest that this sandwich, a Mexican torta, native to the Pueblo region, is as tasty as it is beautiful. Layers of your choice of meat (in this case, I made shredded chicken), Panela cheese (a Mexican soft, white cheese, similar to Queso Fresco and Mozzarella), ripe avocado slices, chipotle aioli, crisp butterleaf lettuce, tomato and red onion, and a pápalo* salsa roja on a sweet and soft sesame seed bun. If you’ve never tried a Cemita, you’re in for a real treat–every bite is tastier than its predecessor. Perfect with an ice-cold beer on a hot summer day, I’m almost positive the next Big Diet trend, is gonna be that of the Cemita.

(*Cook’s Note: pápalo, also known as Bolivian Coriander, tastes a bit like cilantro, but isn’t actually related to either herb. It’s a relative to the daisy plant, and has a very astringent, floral and minty taste. All the reasons certain people who hate cilantro, are all the qualities that make the pápalo plant so refreshing and delicious.)

unnamed

Cemita Poblano de Pollo
(Pueblan-Style Chicken Torta Sandwich)
Yields 2-4 sandwiches

INGREDIENTS
2 each Cemita rolls (recipe HERE)
1/2 cup prepared chipotle aioli (aioli recipe HERE)
2 avocados, cored and sliced into 1/4-inch pieces
5 ounces Panela cheese (about half a wheel), cut into batonnets
1 cup shredded chicken (recipe HERE)
1/2 cup pápalo* salsa roja (24 ounces canned tomatoes; 2 cups papalo leaves; 1 sprig fresh oregano, picked; 2 jalapenos, tops cut off; roughly chopped; 2 garlic cloves; 1 small red onion, peeled and roughly chopped; 1 lime, juiced, salt to taste)
4 pieces butterleaf lettuce
1/2 tomato, thinly sliced into 4 slices
1/2 small red onion, sliced into a fine julienne

unnamed-4

METHOD
Make the chipotle aioli. Add 1/2 cup of canned chipotles (with sauce) into 2 cups of aioli. Mix together. Place in refrigerator.

unnamed-12

Make the pápalo salsa roja. In a food processor or blender, combine all of the ingredients till well incorporated. Season to taste. Place in refrigerator.

unnamed-16
Slice each roll in the center horizontally. Place into a toaster oven or oven at 375 degrees for about 7 minutes, or until lightly brown.

unnamed-17
Liberally spread both inner sides of the rolls with the chipotle aioli.

unnamed-18

unnamed-19
Add the avocado slices and Panela cheese to both sides.

unnamed-20
Place about 1/2 cup each of shredded chicken on the bottom halve of the cemita roll for each sandwich.

unnamed-21
Spoon 1/4 cup each of the papalo salsa over the chicken.

unnamed-22

unnamed-23

unnamed-24
Add the lettuce, tomato and onion.

Cover with the top halve of the cemita roll. Slice the sandwiches in half. Enjoy

unnamed-5

unnamed-1

Save this one for Louis Prima

timpanolede

timpanostyled3


“This is so fucking good, I should kill you!” screams rival restauranteur, Pascal (Ian Holm), as he takes his first bite of the grand, drum-shaped Timpano. 

bntimpano

In what is truly a labor of love, the Timpano is a very special Italian dish–best explained by Primo to have, “a special crust, that is shaped like a drum, and inside…all of the most important things…in the world.”

bntimpano1

bntimpano2

bntimpano4

bnchecktimpano

bntimpanowhole

bntimpanosliced

There are several components to the dish. First, the pasta crust. Then the meatballs. Then the marinara sauce, and everything else in between. Unfortunately, because of time restraints, I wasn’t able to make the pasta by hand, so I decided to cheat a little bit (just one cheat!) and topped the Timpano with lasagna sheets. The result is not as good as its original, but boy, the inside of the pasta pie well then makes up for it!

If you’re ready to wow your guests (and impress yourself, for that matter!) roll up your sleeves, and prepare to make this very special, timely dish.

==

timpanoballs

Italian-Style Meatballs
Yields 14-18 meatballs, depending on size
Recipe via A Streetcar Named Devour

INGREDIENTS
1 pound ground beef
1/2 pound ground pork
1 small onion, finely minced
1 shallot, finely minced
3 cloves garlic, finely minced
1 egg
1/4 cup Parmesan, grated
1/2 cup Italian parsley, finely chopped
1/4 cup basil, finely chopped
1/2 cup breadcrumbs
1 Tablespoon salt
2 teaspoons crushed red pepper flake
olive oil

METHOD
In a medium-sized skillet, heat the oil till hazy. Add in the onion and shallot, saute till translucent. Add in the garlic, stirring for one minute. Remove from the pan and allow to cool.

In a medium-sized bowl, mix the ground beef and pork, egg and cheese. Once the onion mixture is fully cooled down, add it into the mixture. Finish with the rest of the ingredients, mixing till just incorporated.

Roll the meatball mixture into 2 1/2 Tablespoonfuls-sized balls. Set aside.

Heat the same skillet over medium-high heat, adding just enough oil to reach about 1 1/2 inches of the skillet.

Load the skillet with the meatballs, making sure not to overcrowd the pan. Cook all sides of the meatballs for 3 minutes per side. Remove from the pan and place onto a baking sheet.

Once all of the meatballs have been cooked, place into a 350-degree oven and cook for an additional 10-15 minutes, or until the center of the meatballs are cooked through.

(This can be done a day ahead.)

timpanosauce

Italian-Style Marinara Sauce
Yields 3 1/2 quarts
Recipe via A Streetcar Named Devour

INGREDIENTS
24 ounces of canned whole tomatoes
3 Tablespoons dried oregano leaves
1/2 cup basil, torn
1/4 cup extra virgin olive oil
2 Tablespoons Kosher salt

METHOD
Place all ingredients into a food processor or blender. Puree till all ingredients are completely blended together. Set aside.

(This can be done a day ahead.)

==

timpanostyled1

Timpano (Baked Pasta Pie)
Serves 4-6 people
Recipe slightly adapted from LA Mag

INGREDIENTS

FOR THE ASSEMBLY
1 1/2 cups Genoa salami pieces
1 1/2 cup sharp provolone cheese chunks
6 hard-cooked eggs, shelled and quartered lengthwise, each quarter cut in half
2 cups small meatballs* (Recipe above)
3 1/2 cups marinara sauce* (Recipe above)
1/2 pounds ziti, cooked al dente (about half the time recommended on the package) and drained, tossed in olive oil
1 tablespoons olive oil
1/2 cup finely grated pecorino Romano
3 eggs, beaten
8-10 sheets of lasagna, cooked al dente, drained, tossed in olive oil

timpanomep

METHOD
Preheat your oven to 350 degrees. Make sure salami, provolone, hard-cooked eggs, meatballs and marinara sauce are out at room temperature. Toss the ziti with 2 cups of the marinara sauce. Place 4 cups of ziti onto the bottom of the pan. Add a layer of a 1/2 cup salami, 1/2 cup provolone, 1 1/2 eggs, 1/2 cup meatballs and 1/4 cup Pecorino Romano cheese after that. Pour another 1/2 cup of sauce over the ingredients, repeat this step, adding layers of ingredients until the filling comes to about 1 inch of the top of your timpano pan. The last of the marinara sauce should be the top layer. Then pour eggs over the filling. Fold the lasagna sheet layers over the filling to seal it completely.

timpanomeatballs

timpanolayers

Cover with aluminum foil and bake until lightly browned, about 1 hour. Remove the foil and continue to bake the timpano till it’s cooked through and is golden brown (and reaches an internal temperature of 120 degrees), an additional 30-45 minutes. Once done, remove from oven and allow the timpano to rest for another 30 minutes to allow it to cool and contract before attempting to remove it from the pan. Failing to do so, will result in a broken pasta pie. Once it’s fully cooled down, the baked timpano should not adhere to the pan.

timpanowhole

Place a baking sheet or a large, thin cutting board that covers the entire diameter on the pan on top of the timpano. Grasp the baking sheet or cutting board and the rim of the pan firmly and invert the timpano. Remove the pan and allow timpano to cool for 10 minutes. Using a long, sharp knife, gently slice the timpano like slicing a pie into individual portions. Serve!

timpanostyled2

Return to the full story HERE

(Editor’s Note: All movie screenshots are property of Rysher Entertainment and Timpano Productions.)

Un Dolce Finale

sorbettolede

To complete a rather heavy (yet balanced!) Italian feast, inspired by the glorious meal shown in the classic film, Big Night, I wanted to incorporate a light and fruit-forward dessert. When planning the final course for this special meal, I consulted with my good friend, Brett, who is the pastry chef assistant at a superb Italian restaurant in Oakland that I used to work with him at. He immediately suggested a strawberry sorbet topped with some Cava or Prosecco. It was pure genius. This recipe of my Strawberry Sorbet from a few years’ back is my go-to. Just make the sorbet a day-ahead and pour a bit of Prosecco tableside and just see how delighted your guests will be!

Sorbetto alla Fragola con Prosecco (Strawberry Sorbet with Prosecco)
Serves 4

INGREDIENTS
1 quart strawberry sorbet (recipe HERE)
1 bottle Italian Prosecco

sorbetto1

sorbetto2

sorbetto3

METHOD
Make the sorbet at least 1 day before serving.

When ready to serve, leave the sorbet out in room temperature for about 20 minutes to soften a bit. Using an ice cream scoop, scoop 2-3 scoops of sorbet into each bowl. Pour enough Prosecco over sorbet to just cover. Repeat for all bowls. Serve!

sorbetprosec1

sorbettopour

sorbettopour2

sorbettostyled

sorbettostyled2

Return to the full story HERE

(Editor’s Note: All movie screenshots are property of Rysher Entertainment and Timpano Productions.)