As a professional cook, I’m often asked what is my favorite thing to make at home. My answer is always breakfast; it’s my favorite meal. And the best thing about breakfast is that you can essentially eat it any time of day, sans guilt. (At least I don’t think so, anyway.) My go-to breakfast food that I usually make at home is chilaquiles. I usually have made-ahead enchilada sauce, tortilla chips, cheese and eggs in my pantry, so it takes just a few minutes to put it all together.
After a year working at an Italian restaurant, I became a bit of a pizza expert. I lived and breathed pizza. If you thought eating pizza every day would be tiresome, it’s surprisingly not. The pizzas we made changed daily, so there was always something new to try. I thank that job for these rock-hard abs I’m sporting these days. (That’s completely false, by the way. Purely fiction. The only thing hard on me is my inability to give up major vices: namely cookies, coffee, beer, hot men and, of course, pizza.)
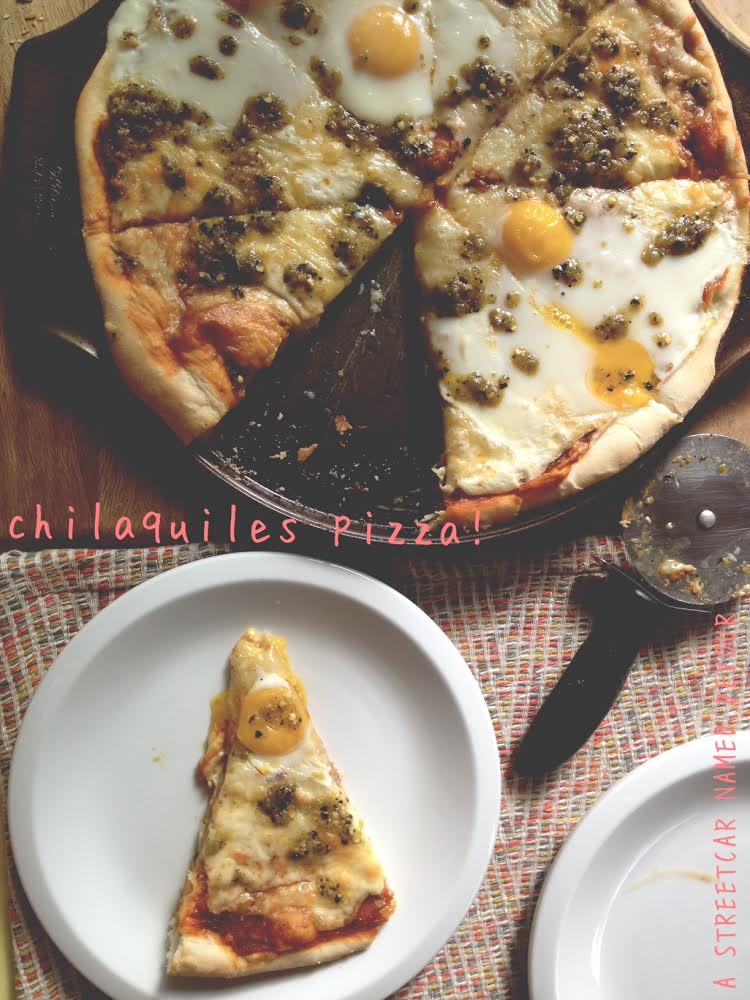
After one night of not being able to decide between making chilaquiles or pizza for dinner, my brain had a ding-ding-ding! moment, where I thought: Why don’t I just put them together?
And that, I did.
=
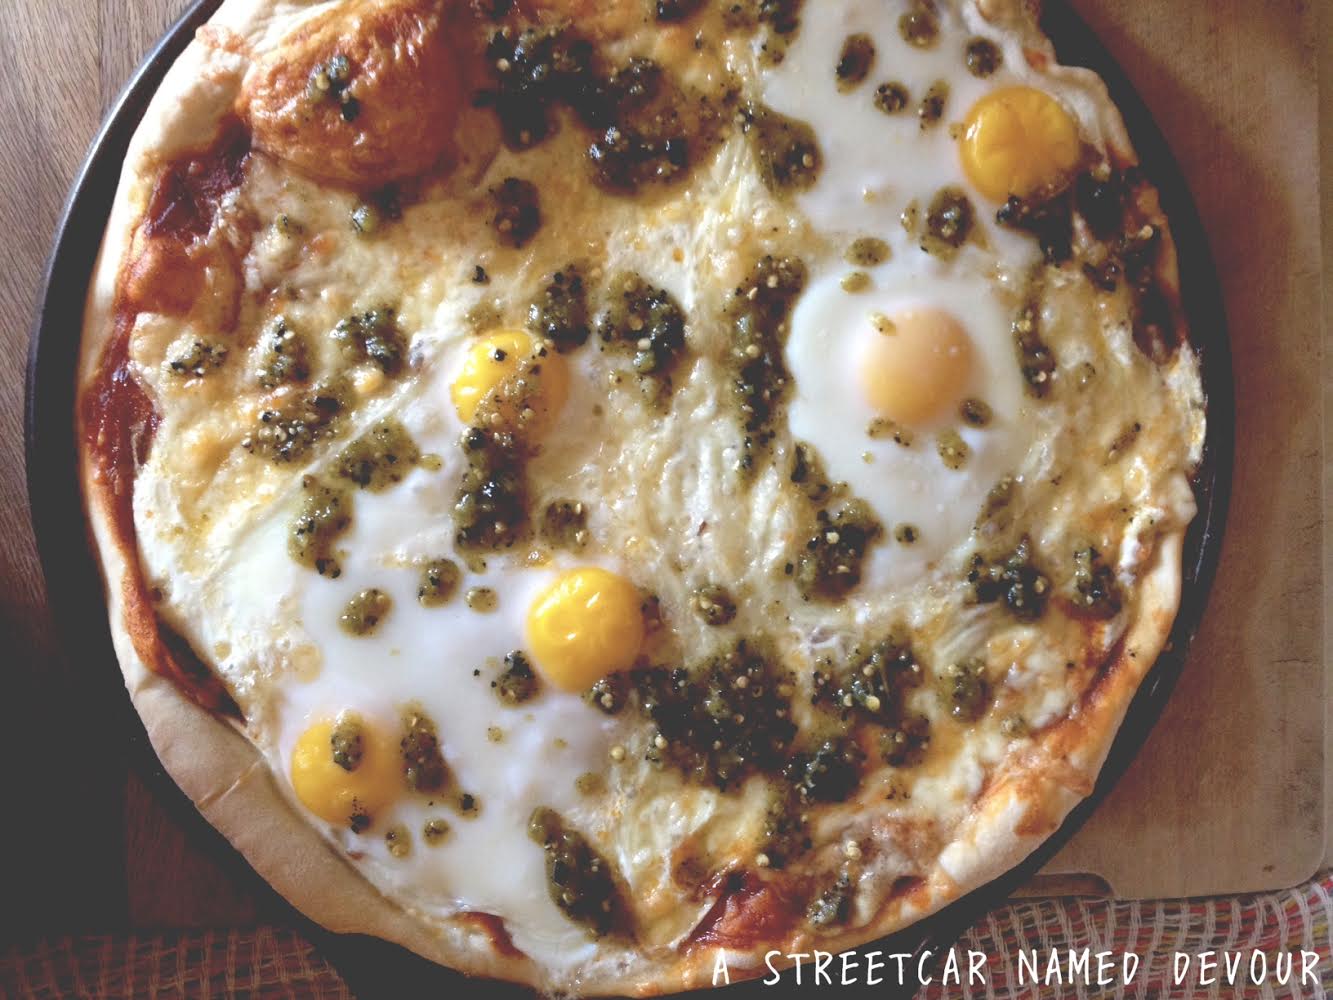
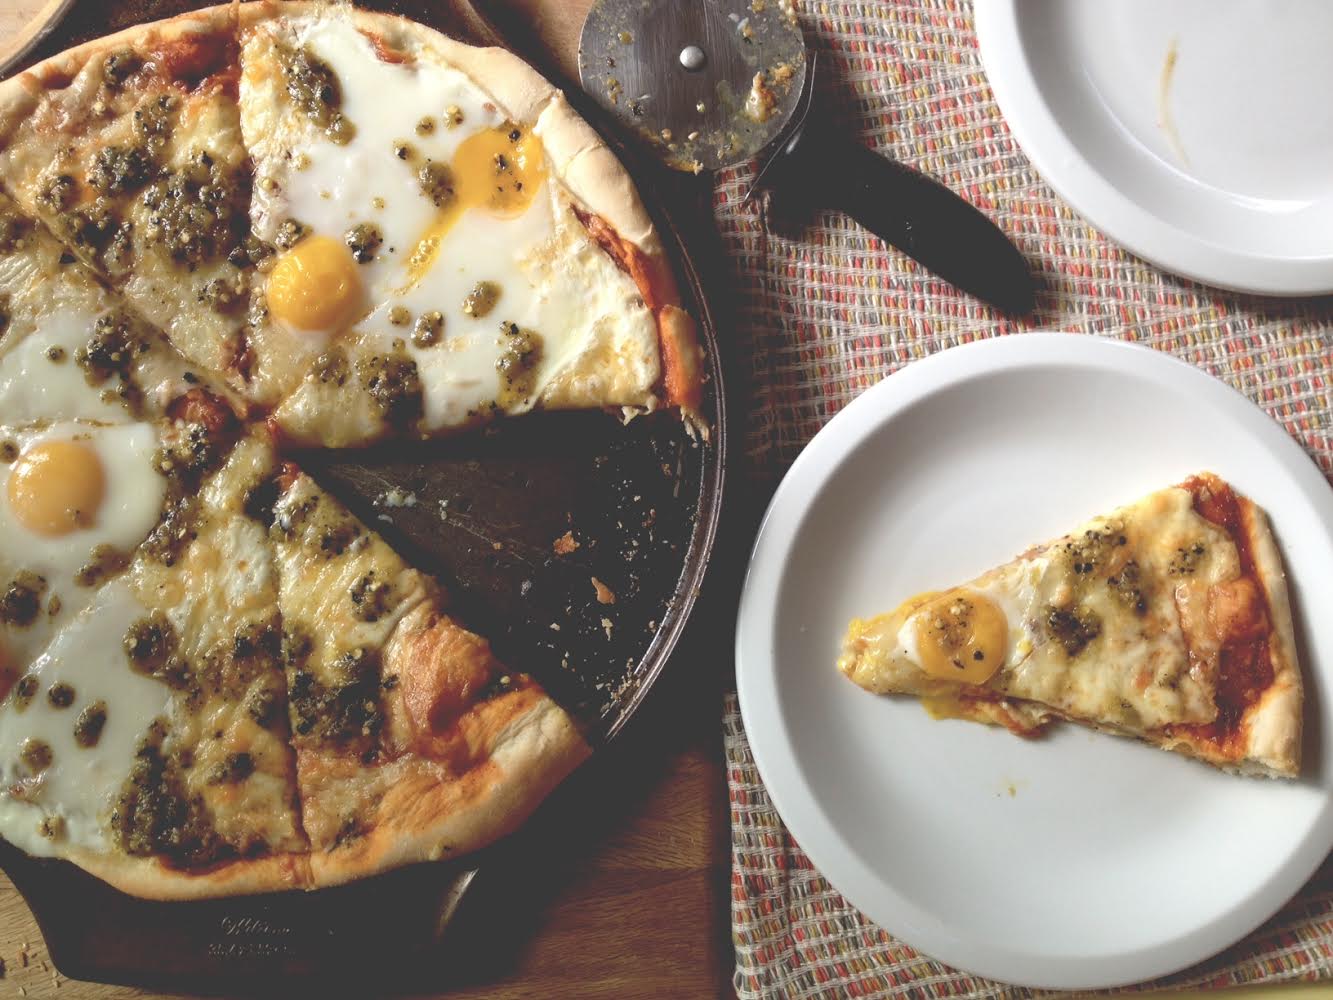
Chilaquiles Pizza
Serves 1-4
FOR THE RED SAUCE
Recipe slightly adapted from A Cozy Kitchen
INGREDIENTS
1 pasilla chile, charred and scraped
15 ounces (1 can) tomatoes
1 medium shallot, minced
1 1/2 tablespoons of tomato paste
3/4 cup beer
2 handfuls, tortilla chips
salt and pepper, to taste
METHOD
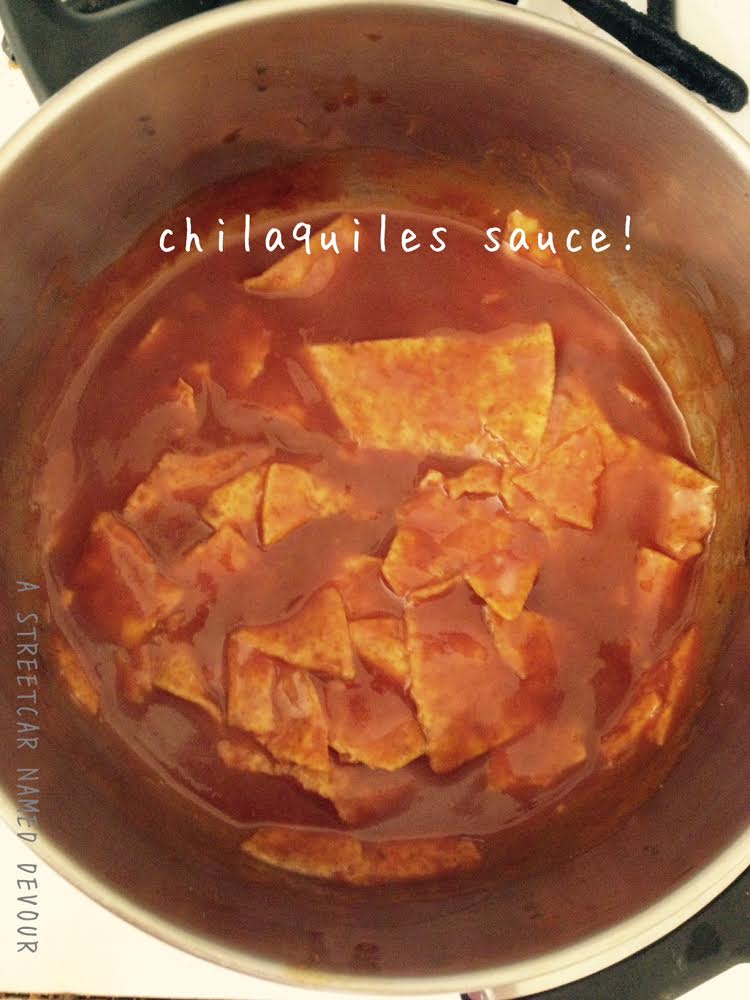
Place the pasilla over the grates of a gas stove. Heat the chile, rotating it on medium-high heat and char till it’s evenly blackened. Place the charred pasilla in a medium-size bowl and tightly cover with plastic wrap. (The lack of released oxygen will cause the charred skin to easily separate itself from the flesh of the chile.) After about 5-7 minutes, remove the chile from the covered bowl and scrape apart the charred skin using a knife. Chop the pasilla’s flesh, removing the seeds and thick membrane. Place the chopped pasilla and canned tomatoes into a blender and pulse till smooth.
Meanwhile, in a medium-size skillet, heat 2 tablespoons of olive oil over medium-high heat. Add the shallot and cook till lightly browned (but not burned), about 7 minutes. Deglaze the pan with the beer. Stir to get all the tasty, sugary bits incorporated. Pour the tomato/pasilla sauce mixture and tomato paste into the skillet. Simmer the sauce, uncovered, until reduced by about half, about 10 minutes. Make sure to stir the mixture often, to avoid scorching. Add the tortilla chips and stir till softened. Season with salt and pepper, to taste.
FOR THE SALSA VERDE
INGREDIENTS
1 bunch cilantro, roughly chopped
1/4 bunch parsley, roughly chopped
1/2 red onion, small dice
1 jalapeño, charred, deseeded and roughly chopped
1 poblano, charred, deseeded and roughly chopped
1 lime, juiced
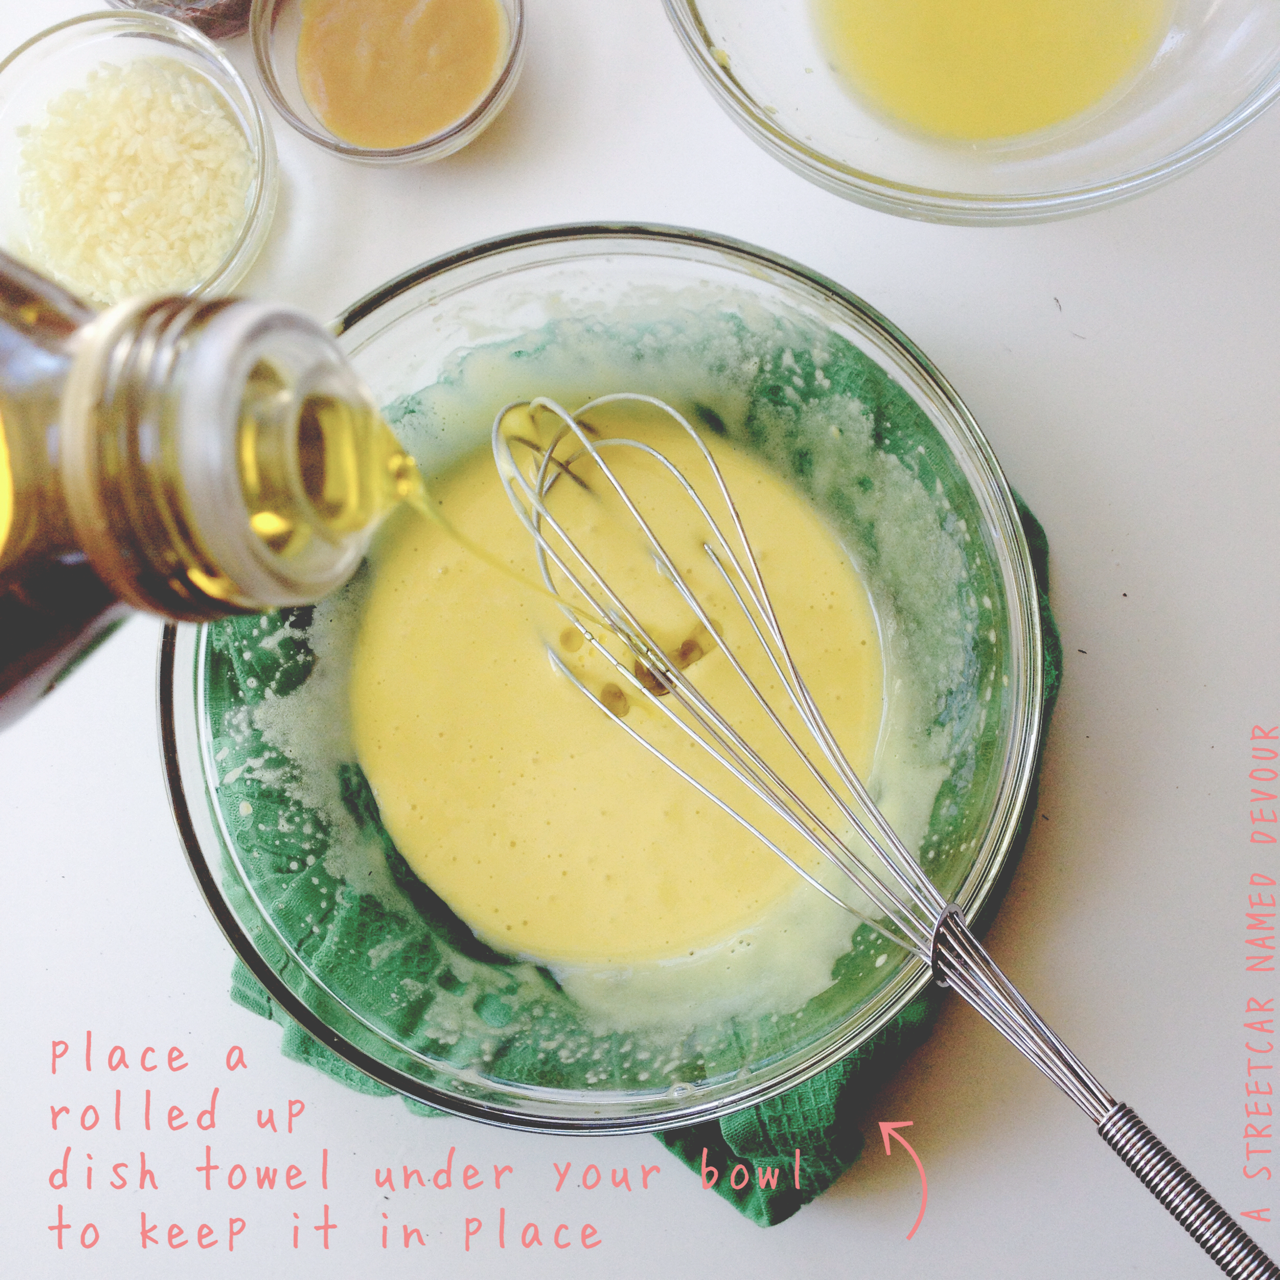
1/2 – 1 cup olive oil
METHOD
Add all the ingredients except the oil into a blender and pulse till incorporated. Stream in the oil to create an emulsion. Add more oil if too stiff. Season with salt, to taste.
FOR THE PIZZA DOUGH
INGREDIENTS
2 teaspoon active dry yeast
2/3 cup warm water**
2 cups flour
2 tablespoon olive oil
1/2 teaspoon kosher salt
METHOD
Place the room warm water and yeast into a KitchenAid mixing bowl and quickly whisk till incorporated. Allow to rest for 5 minutes to activate the yeast. **The yeast won’t properly activate if the water is too cold. And thus, will over activate if it’s too hot.**
Add the flour and then the salt. (Adding salt directly to yeast can kill it.) With the dough hook attachment, start mixing the dough for about 3 minutes on the medium speed. Slowly stream in the olive oil. Mix till fully incorporated and a little sticky.
Transfer the dough onto a well-oiled bowl and cover the bowl with plastic wrap. Allow the dough to rest in a warm spot in the kitchen. (I usually have it placed on top of the stove while I’m heating up the oven.) Let the dough proof until it doubles in size (about 1 hour, depending on the room temperature).
Once the dough has been proofed, roll out onto a well floured countertop. Knead the dough with your hands and divide into two equal size balls. Set one ball aside for later use by tightly wrapping and placing in the fridge or freezer. Roll the other ball evenly. Using a a floured rolling pin, roll out until evenly sized on a baking or pizza pan.
**PIZZA ASSEMBLY**
INGREDIENTS
1 pizza dough, rolled out
olive oil
1-2 ladles chilaquiles sauce
1 cup mozzarella cheese
1 egg
salsa verde, garnish
Mexican crema (optional)

METHOD
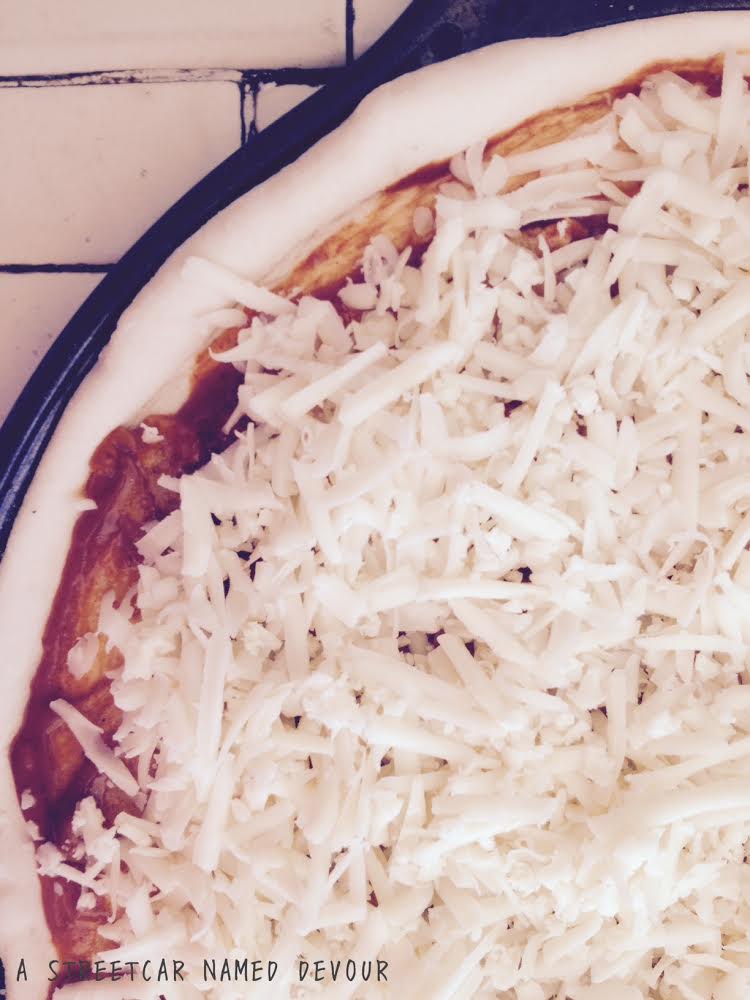
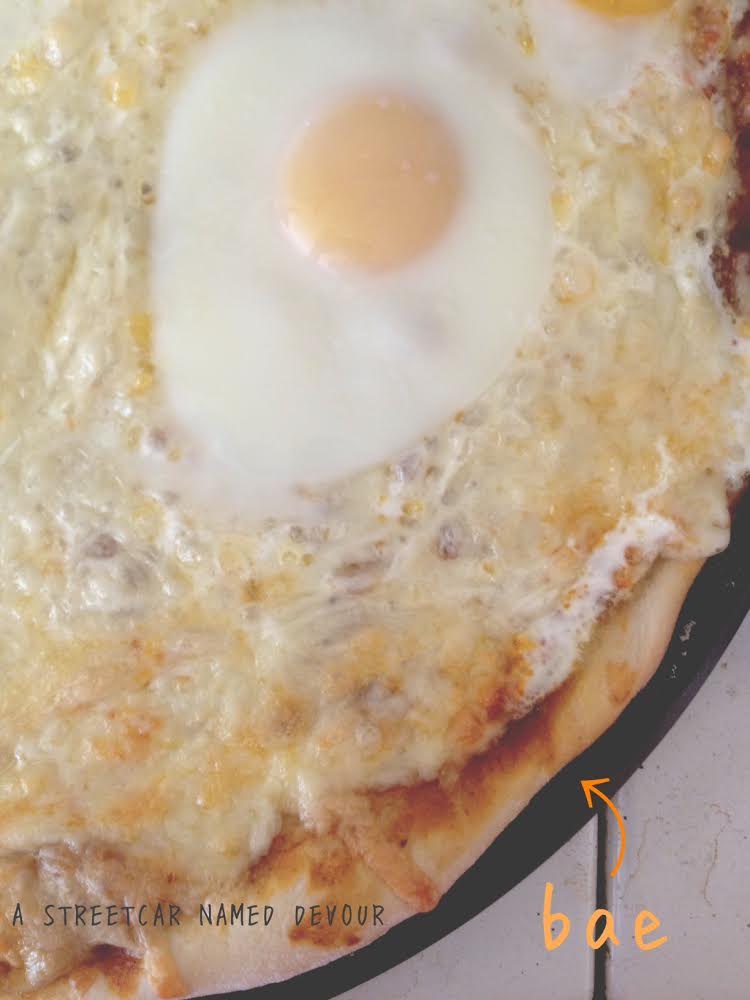
Preheat oven to 400 degrees. Brush three dots of olive oil onto the pizza dough. Sprinkle a bit of salt onto the dough, too. Using a ladle, spoon the chilaquiles sauce onto the surface evenly. Sprinkle the cheese on top. Create a little well in the center of the pizza to add the egg at the last few minutes of cooking.
Bake for 8 minutes on the bottom rack of the oven. Rotate pizza to make sure all sides cook evenly. Check for doneness. Cook for another 5 minutes. When the dough is 1/4 done (just slightly doughy) Slowly crack in the egg. This should cook for an additional 1-2 more minutes, till set but still runny.
When fully cooked, remove and place onto a cooling rack. Drizzle with salsa verde and crema, if desired.