This is a great beginner’s recipe for making bread. I haven’t made baguettes since my Breads and Pastries class in culinary school, so this was a great refresher course. I made this bread specifically for this recipe.
==
Vietnamese-style French Baguette Recipe adapted from Vietnam Online Yields 4 small baguettes
INGREDIENTS 4 cups all-purpose or bread flour
1 1/2 cups lukewarm water
2 Tablespoons granulated sugar
2 Tablespoons and 2 teaspoons melted butter
2 teaspoons salt
2 teaspoons instant yeast
2 Tablespoons softened butter
extra flour for coating
METHOD Dissolve the sugar and 3/4 cup of the lukewarm water, add the yeast and dissolve.
In a large bowl, mix together the flour, melted butter and salt. Add the sugar water yeast mixture and beat slowly with an electric mixer. Add the rest of the lukewarm water gradually if the mixture is still dry. Beat and mix well until the dough has a smooth surface.
Butter a large bowl and place the dough there, cover with a damp towel and allow to sit for about an hour or until the dough doubles in size. Once doubled, beat the dough slightly and knead well. Divide the dough into 4 equal-sized portions. Slightly deflate the dough to even out the flour and roll back into mini baguettes.
Place the rolls onto a sheet tray. Preheat the oven to 212°F. Allow the rolls to proof in the oven for 30 minutes, turning off the heat after 10 minutes. (You can spray a little water onto the rolls to give the bread some moisture.)
After proofing, the rolls should be doubled in size. Remove from the oven and preheat the temperature to 375°F. Using a sharp razor, make a vertical slash onto the top of each roll. Smooth a tiny bit of water on the surface of the bread and dust with flour. Use the leftover butter to fill in each slash.
Bake the rolls for about 15-20 minutes until the bread turn light yellow and toothpicks come out clean. Remove and set aside to slightly cool.
I digress. So the whole thing with mangoes started when my parents came to visit me in Portland recently (yay!). I was so excited to host them in my new apartment. We went on a road trip and visited our family in Idaho. It was such a lovely week, I’m so glad to have spent some quality time with my family. Working in the hospitality industry, it’s hard to get the time to take long vacations and spend time with loved ones. I really want to (and will!) make an effort this year to work less and spend more quality time with the special people in my life. Promise.
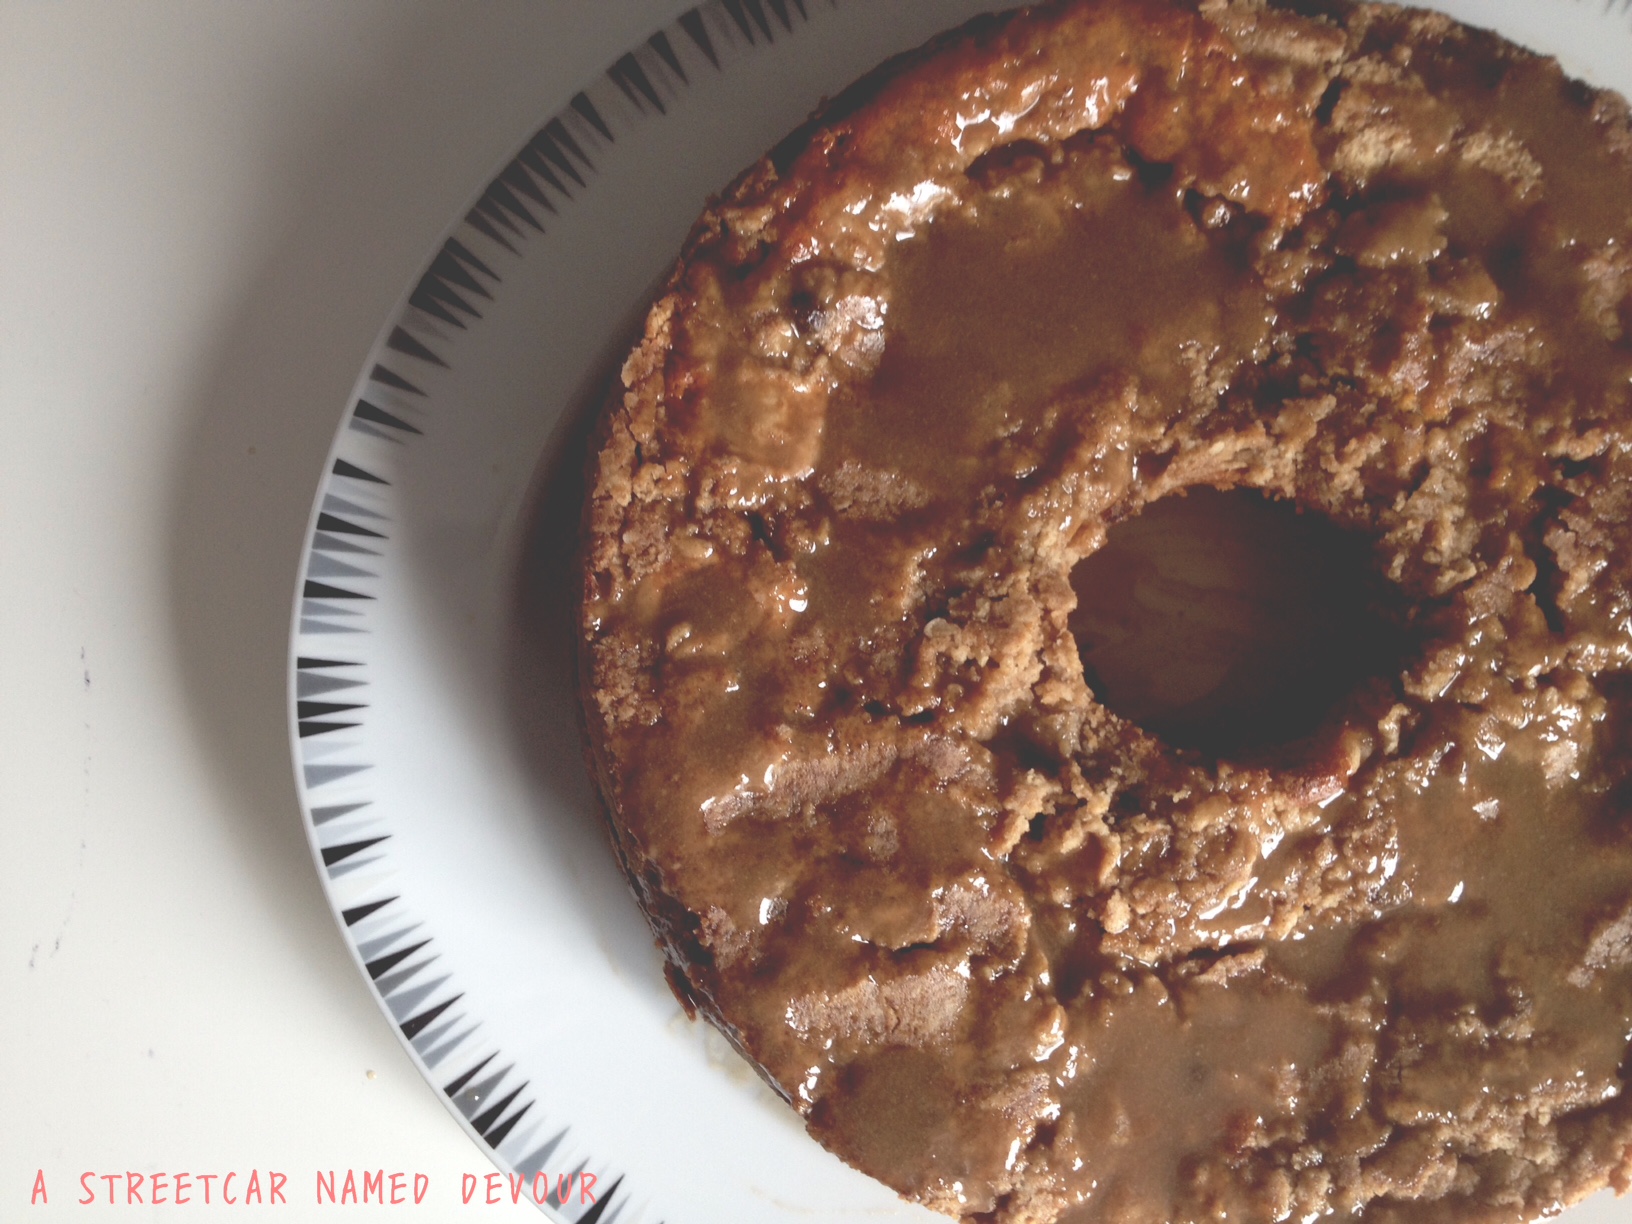
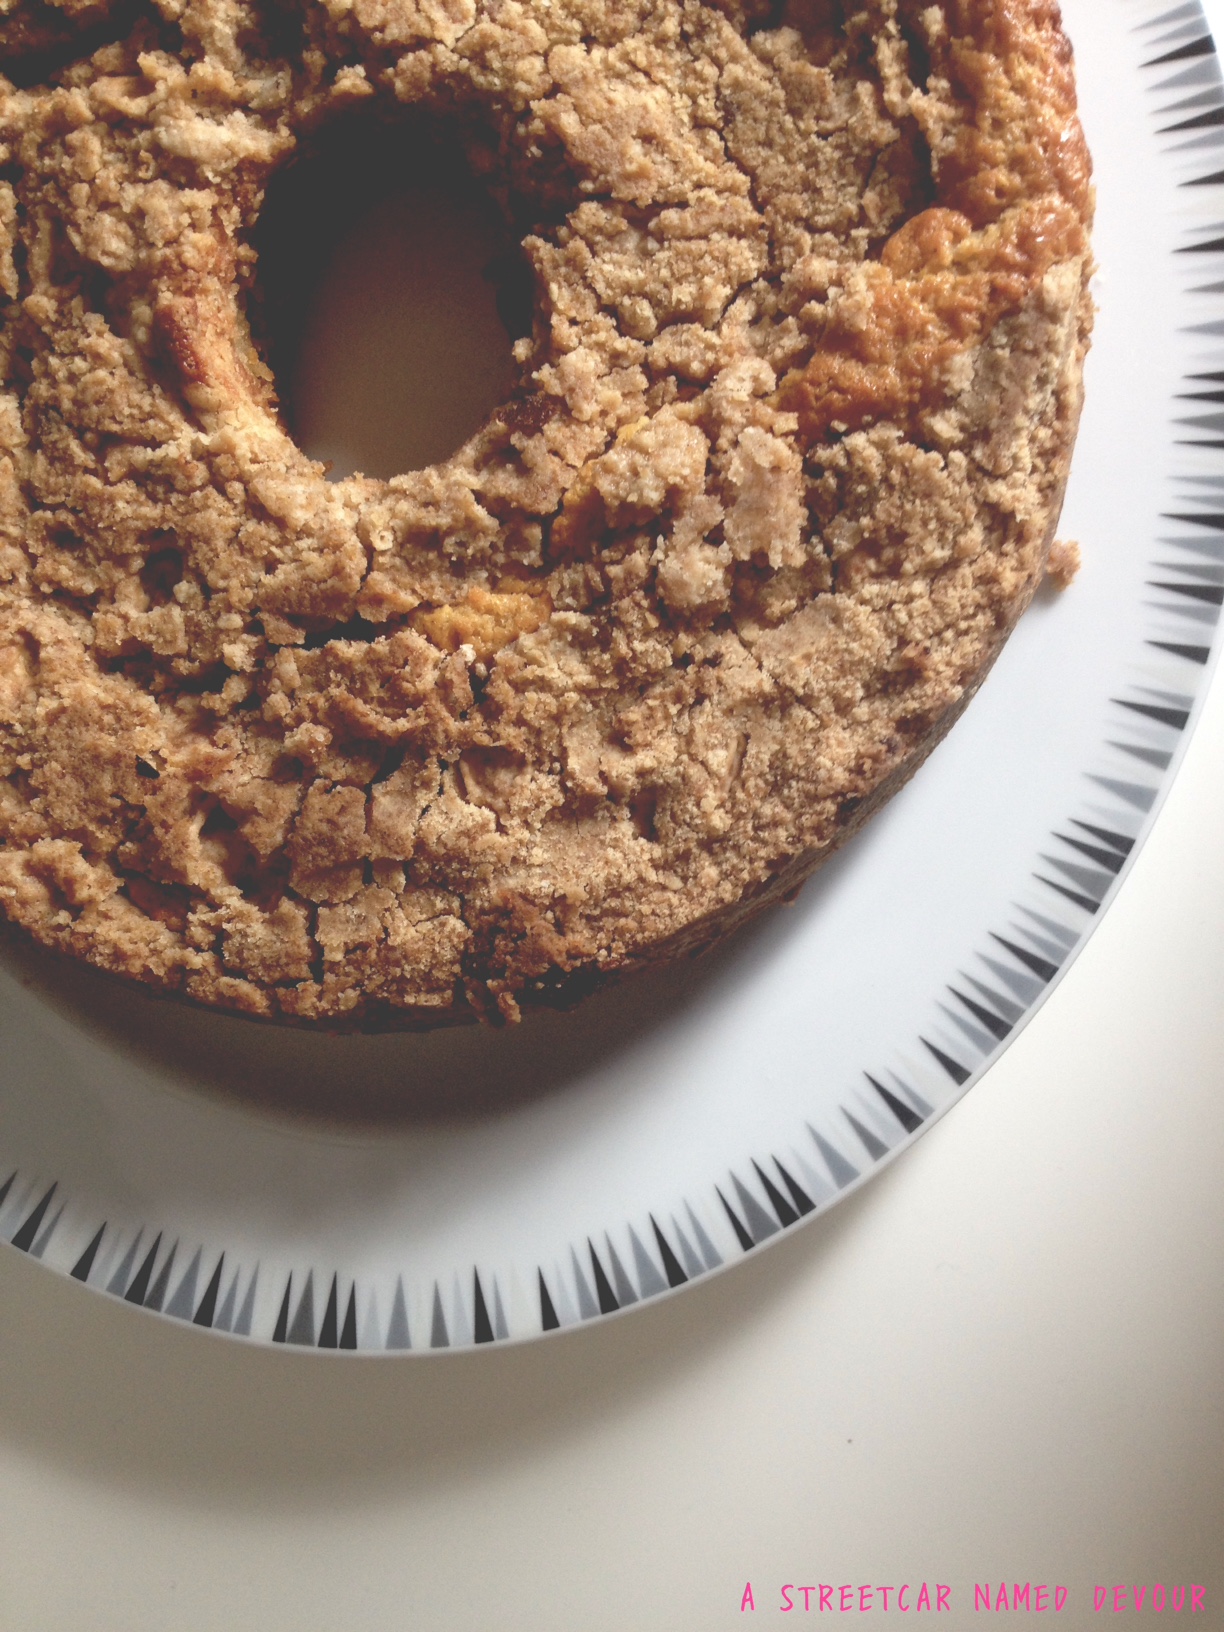
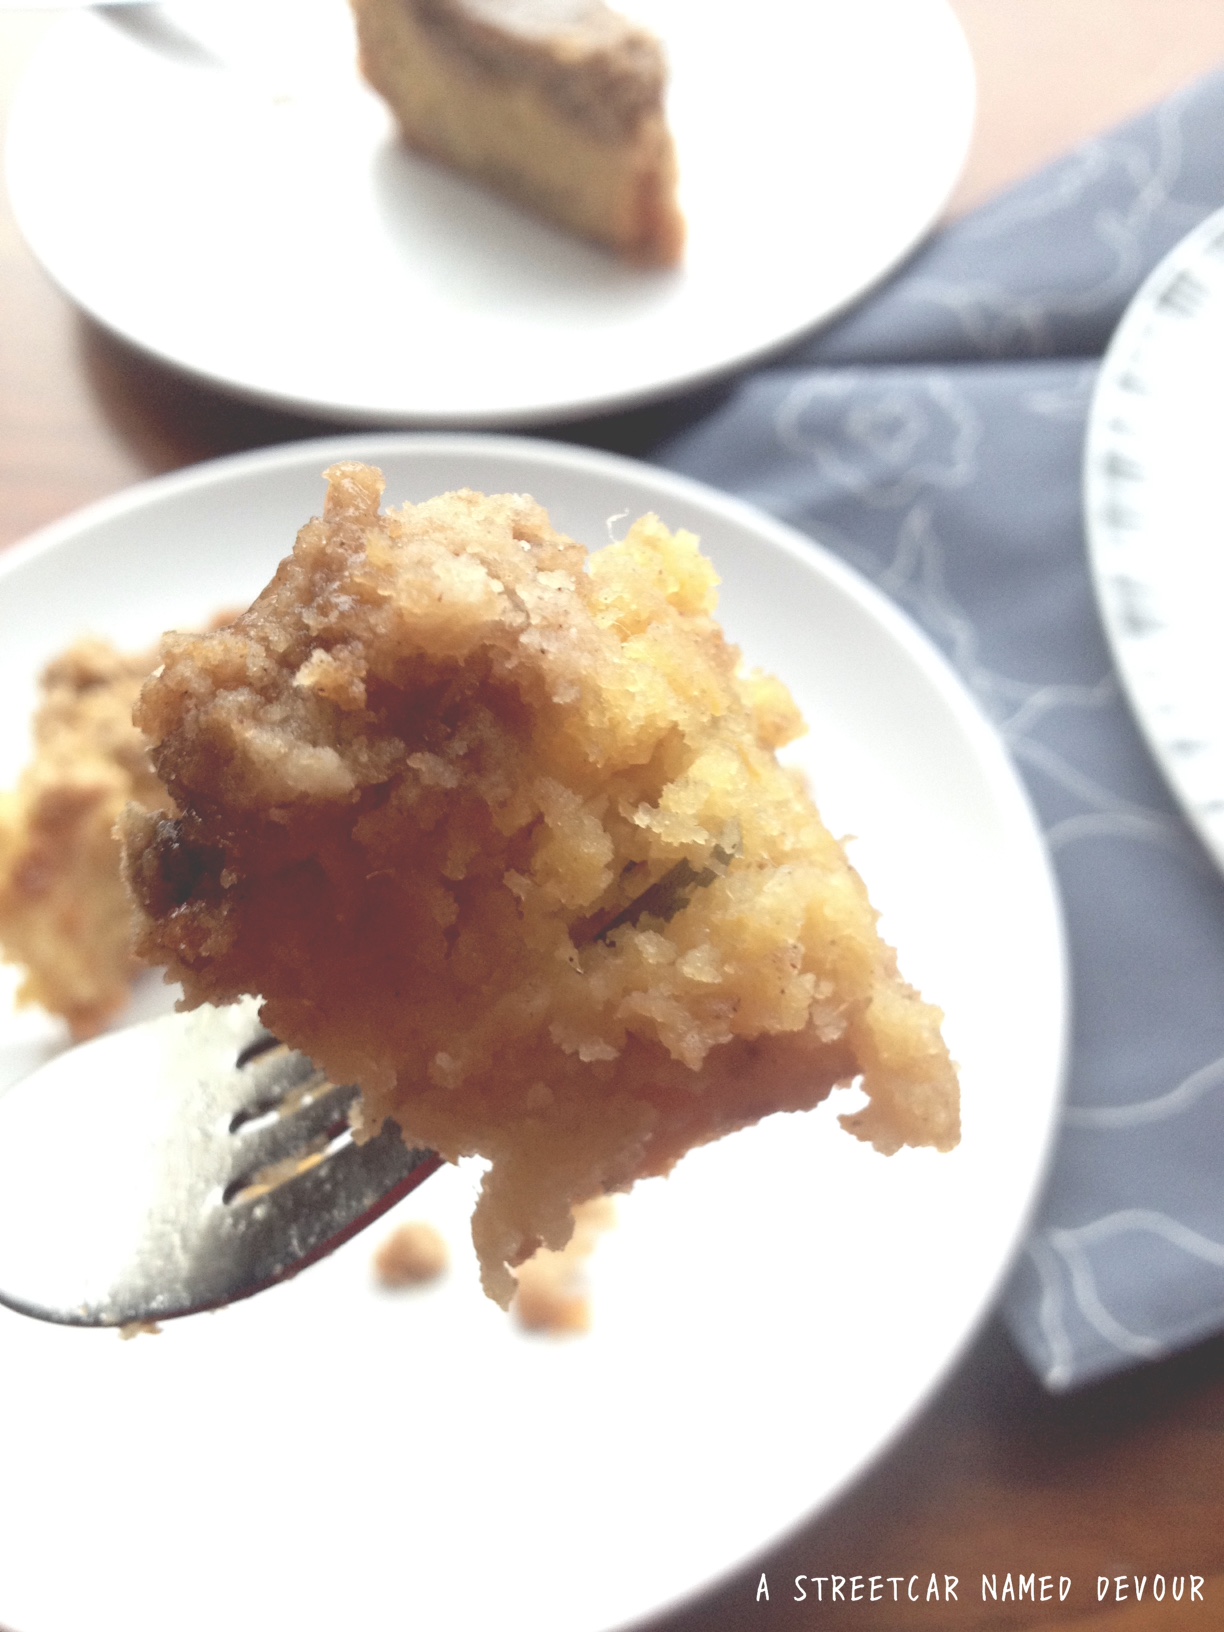
Back to the point of this story: My mom brought me a bunch of mangoes (it’s her favorite fruit), her reasoning being that I “need to eat more fruit.” (She thinks I don’t eat enough fruit, which is pretty much true.) But I somehow forgot about them, and when I finally remembered that I had them (in actuality, a telephone conversation with my mom asking me if I had eaten said mangoes) I found them overripe in my fridge. I was bummed; they were too mushy to eat raw. And I’m really hesitant to eat things with weird textures. (Random fact about me: I don’t care for eggplants or bananas because of their weird mushiness.) Yet I tasted the overripe mangoes and figured they were still salvageable, so I made this delectable Mango Coffee Cake instead.
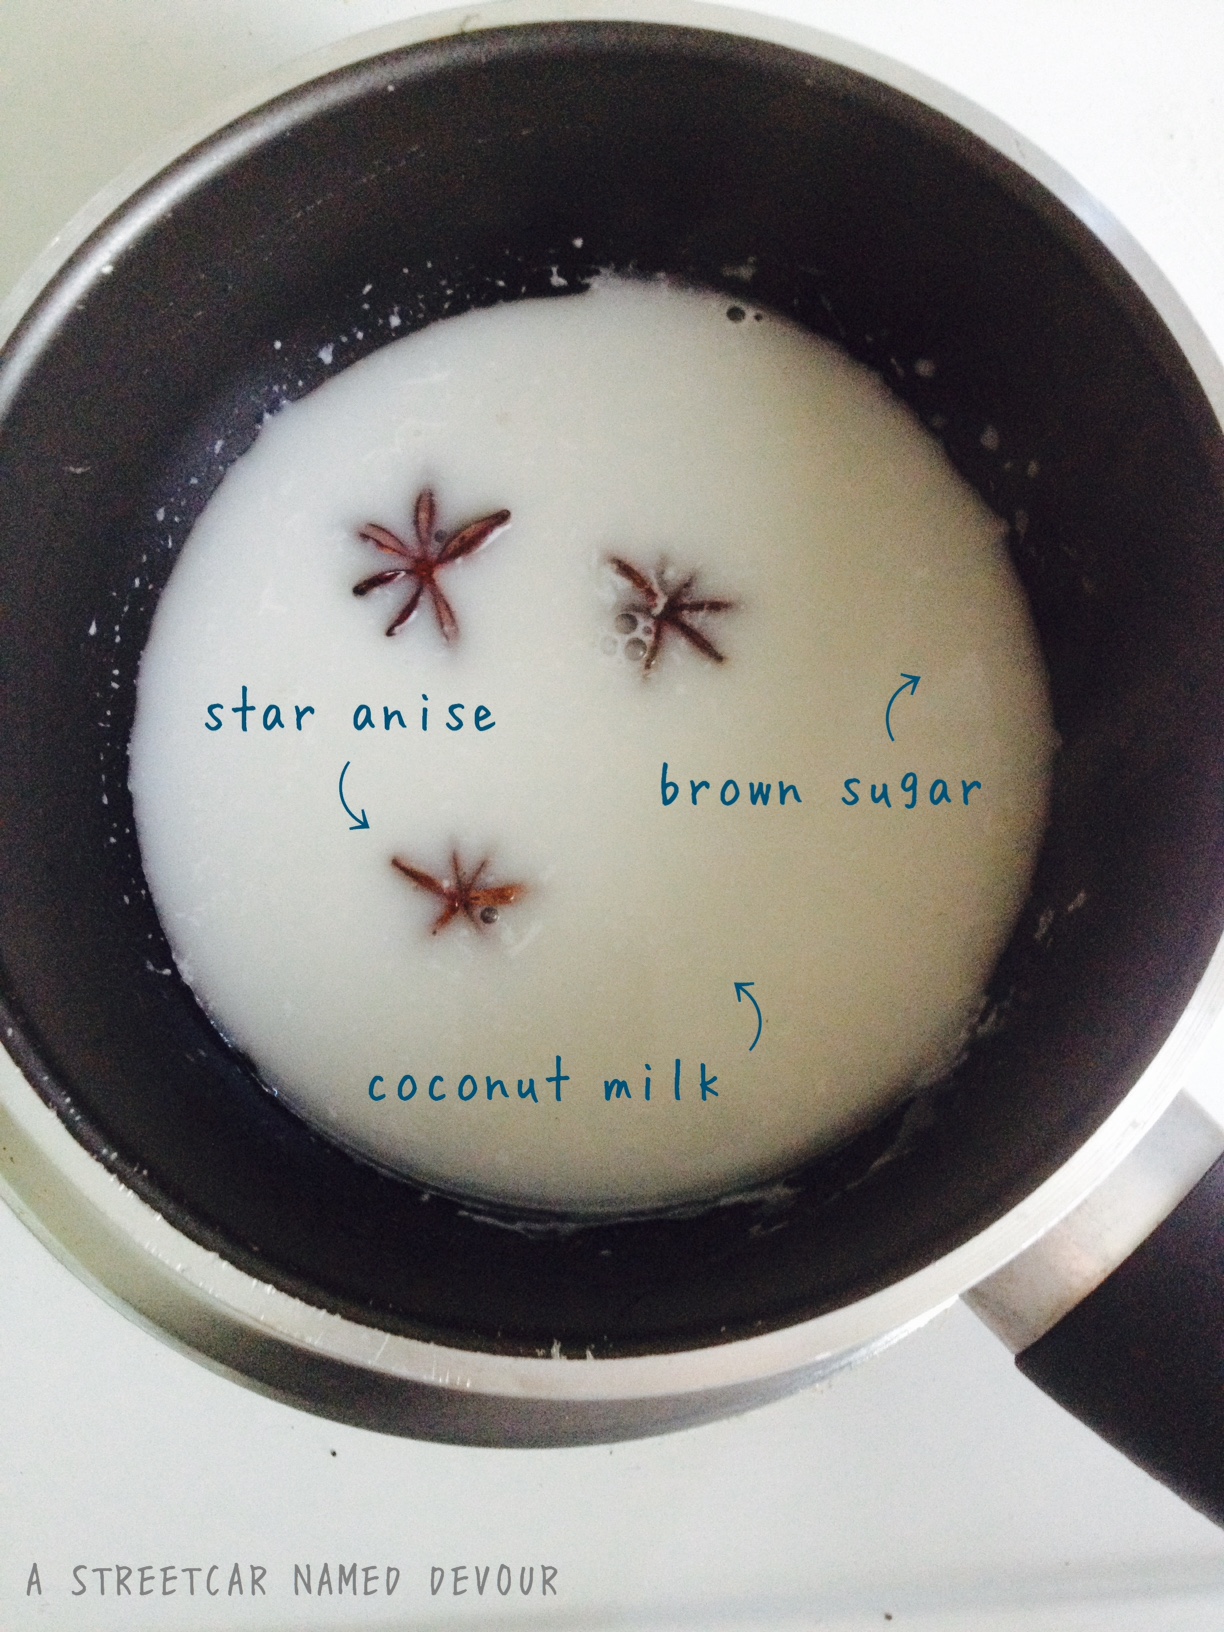
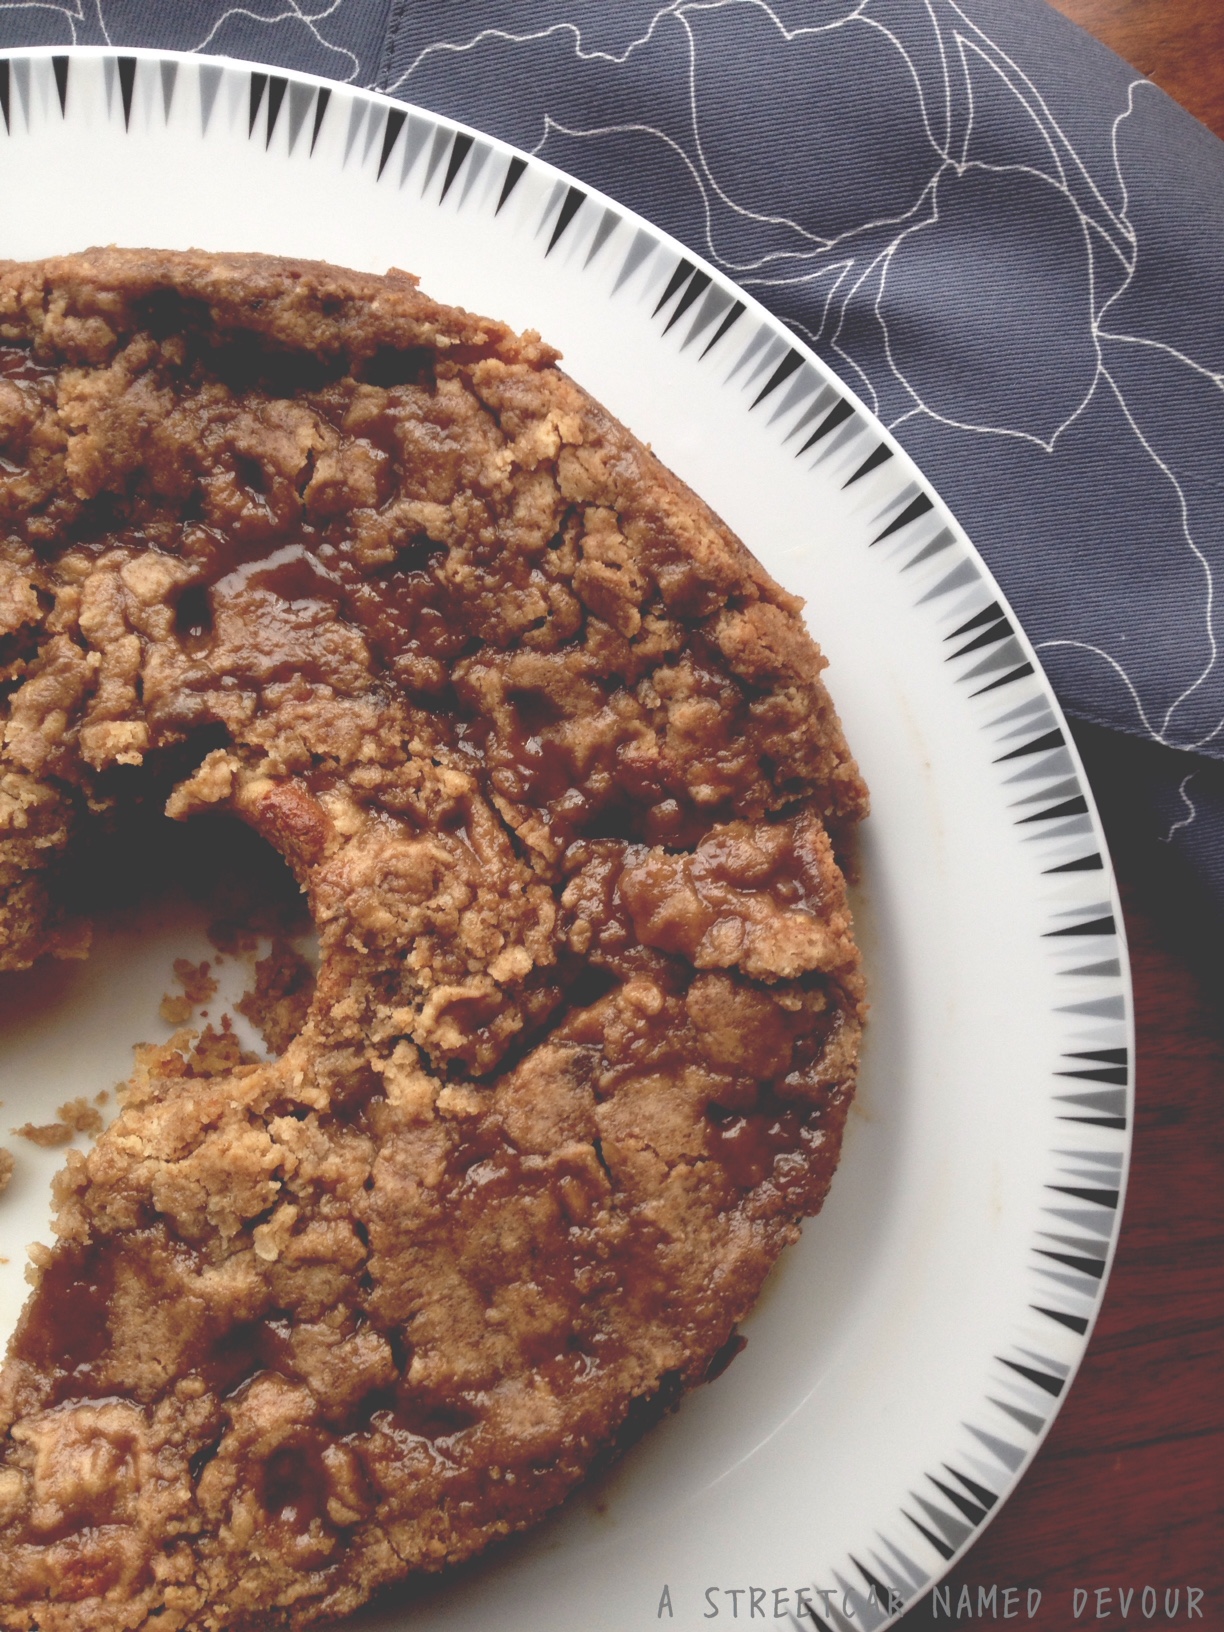
The Martha Stewart recipe I adapted it from called for a glaze, but I decided to top the cake with my Vegan Caramel Sauce that I upgraded by steeping the coconut milk with star anise for about an hour.
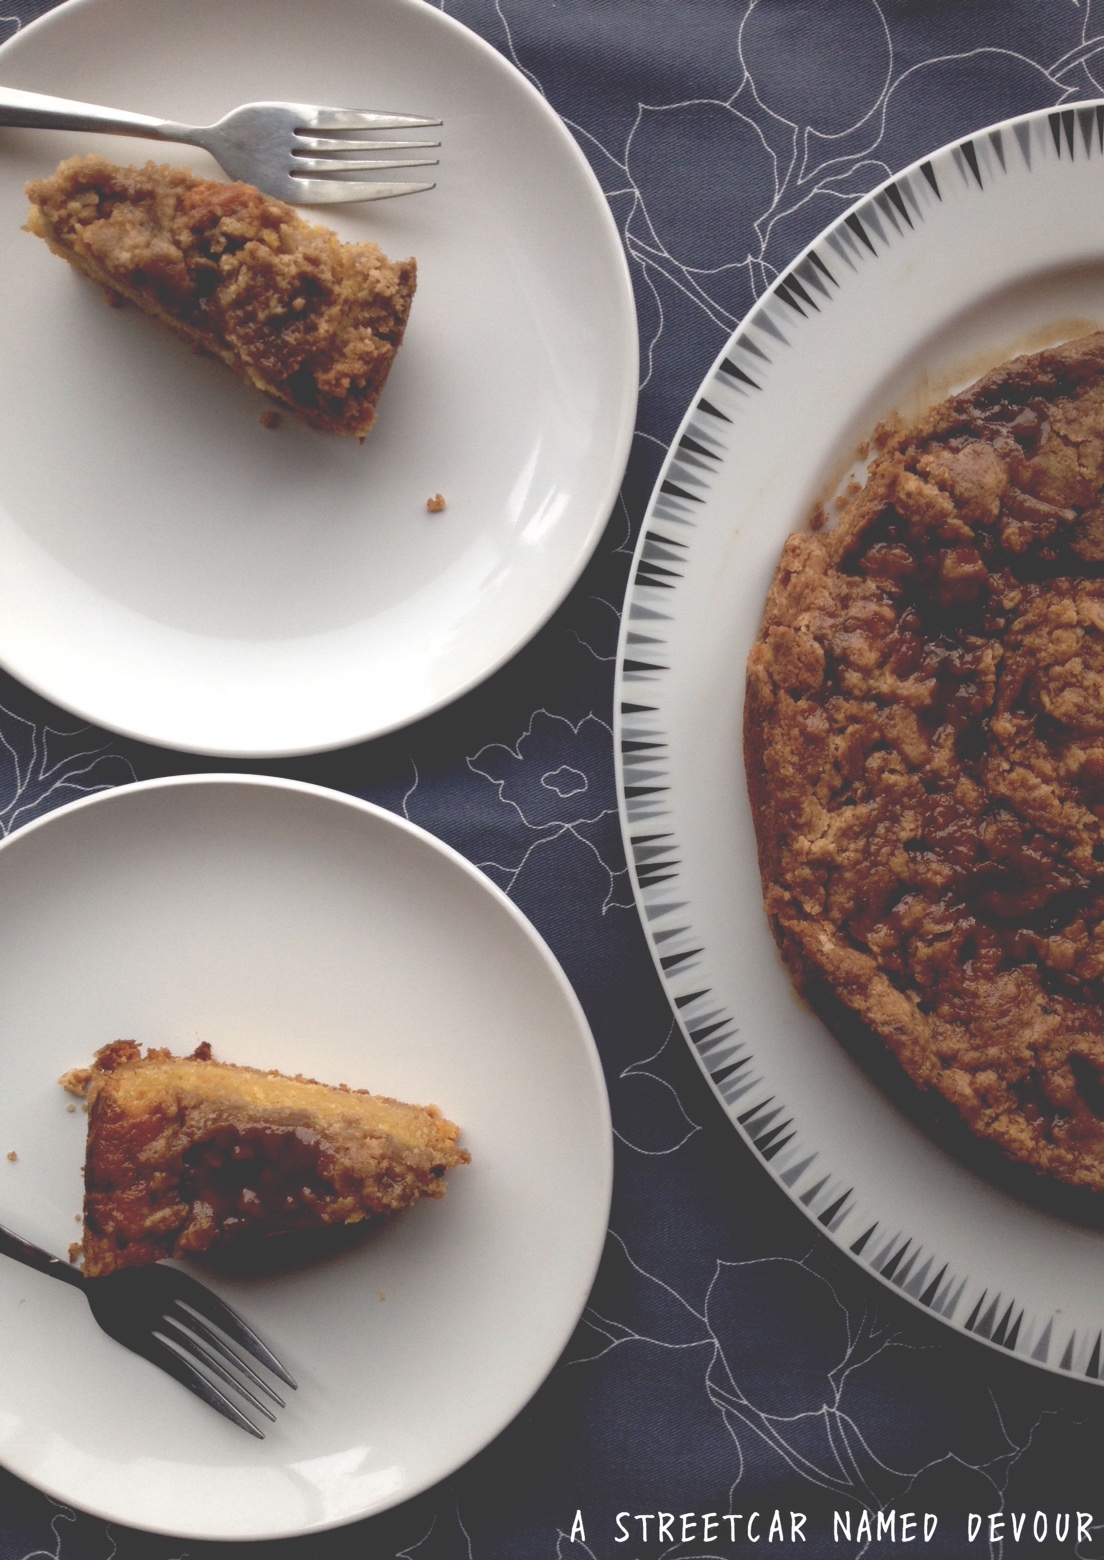
This recipe is best served warm and with coffee. (Duh.) Store the cake in room temperature wrapped in plastic. Upon serving, just reheat it in the oven at 350 degrees for about 10 minutes. It still tastes really good even after a week.
==
Mango Coffee Cake with Coconut-Star Anise Caramel Recipe slightly adapted from Martha Stewart
INGREDIENTS FOR THE STREUSEL TOPPING AND CENTER
3/4 cups all-purpose flour
1 cup packed dark brown sugar
1 1/4 teaspoons ground cinnamon
1 teaspoon coarse sea salt
1 1/2 sticks cold unsalted butter, cut into small pieces
FOR THE CAKE
1 stick unsalted butter, room temperature, plus more for your baking pan
2 cups all-purpose flour
1 1/4 teaspoons baking powder
1/2 teaspoon baking soda
1 teaspoon coarse sea salt
2 teaspoons ground cinnamon
1 cup granulated sugar
1 large egg
1 1/2 teaspoons pure vanilla extract
3/4 cup sour cream
5 overripe mangoes, flesh scooped and mashed lightly
METHOD
First make the streusel topping. In a medium-sized bowl, mix together the flour, 3/4 cup brown sugar, 1 teaspoon cinnamon, and 1 teaspoon salt. Cut in the butter using a pastry cutter or rub in with your fingers until small to medium clumps form. Refrigerate until ready to use.
Make the streusel center: Mix together the remaining 1/4 cup of brown sugar and 1/4 teaspoon cinnamon.
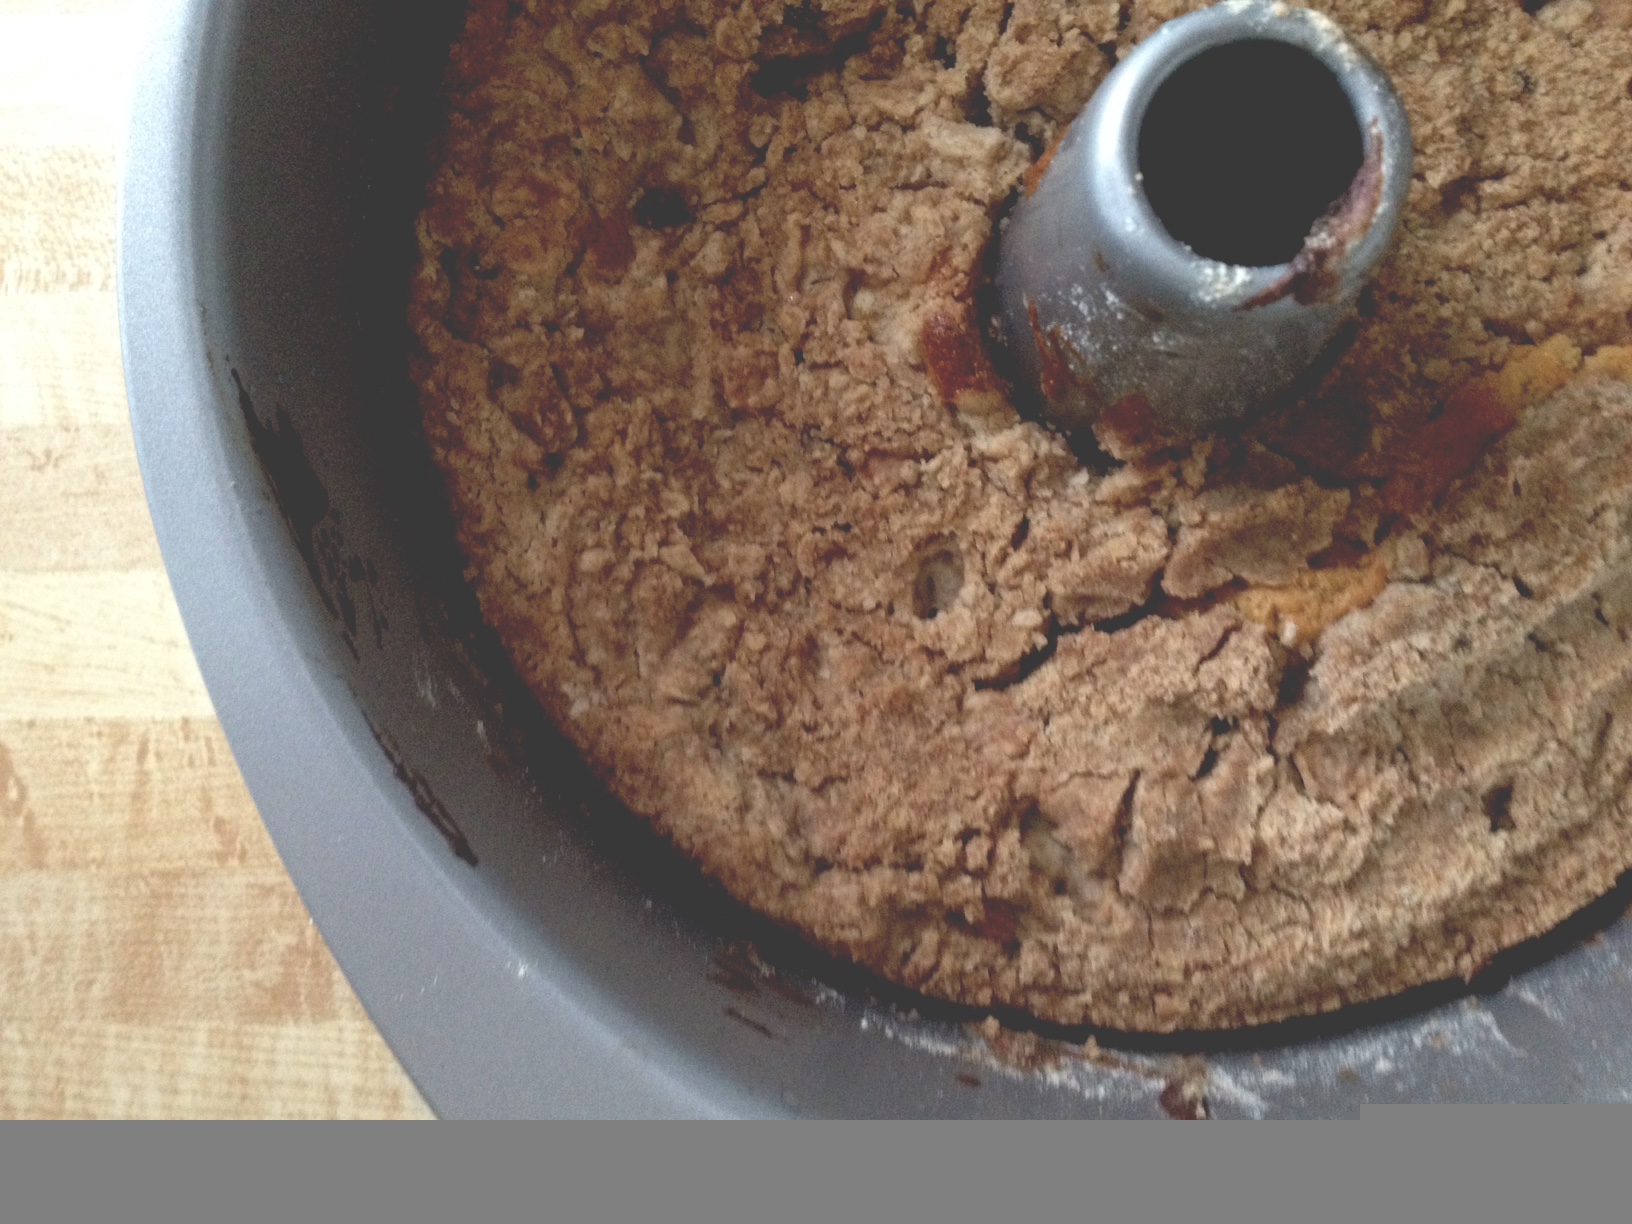
Preheat your oven to 350 degrees. For the cake: Butter a 9-inch tube pan with a removable bottom. Place the flour, baking powder, baking soda, cinnamon and 1/2 teaspoon salt into a bowl and mix together.
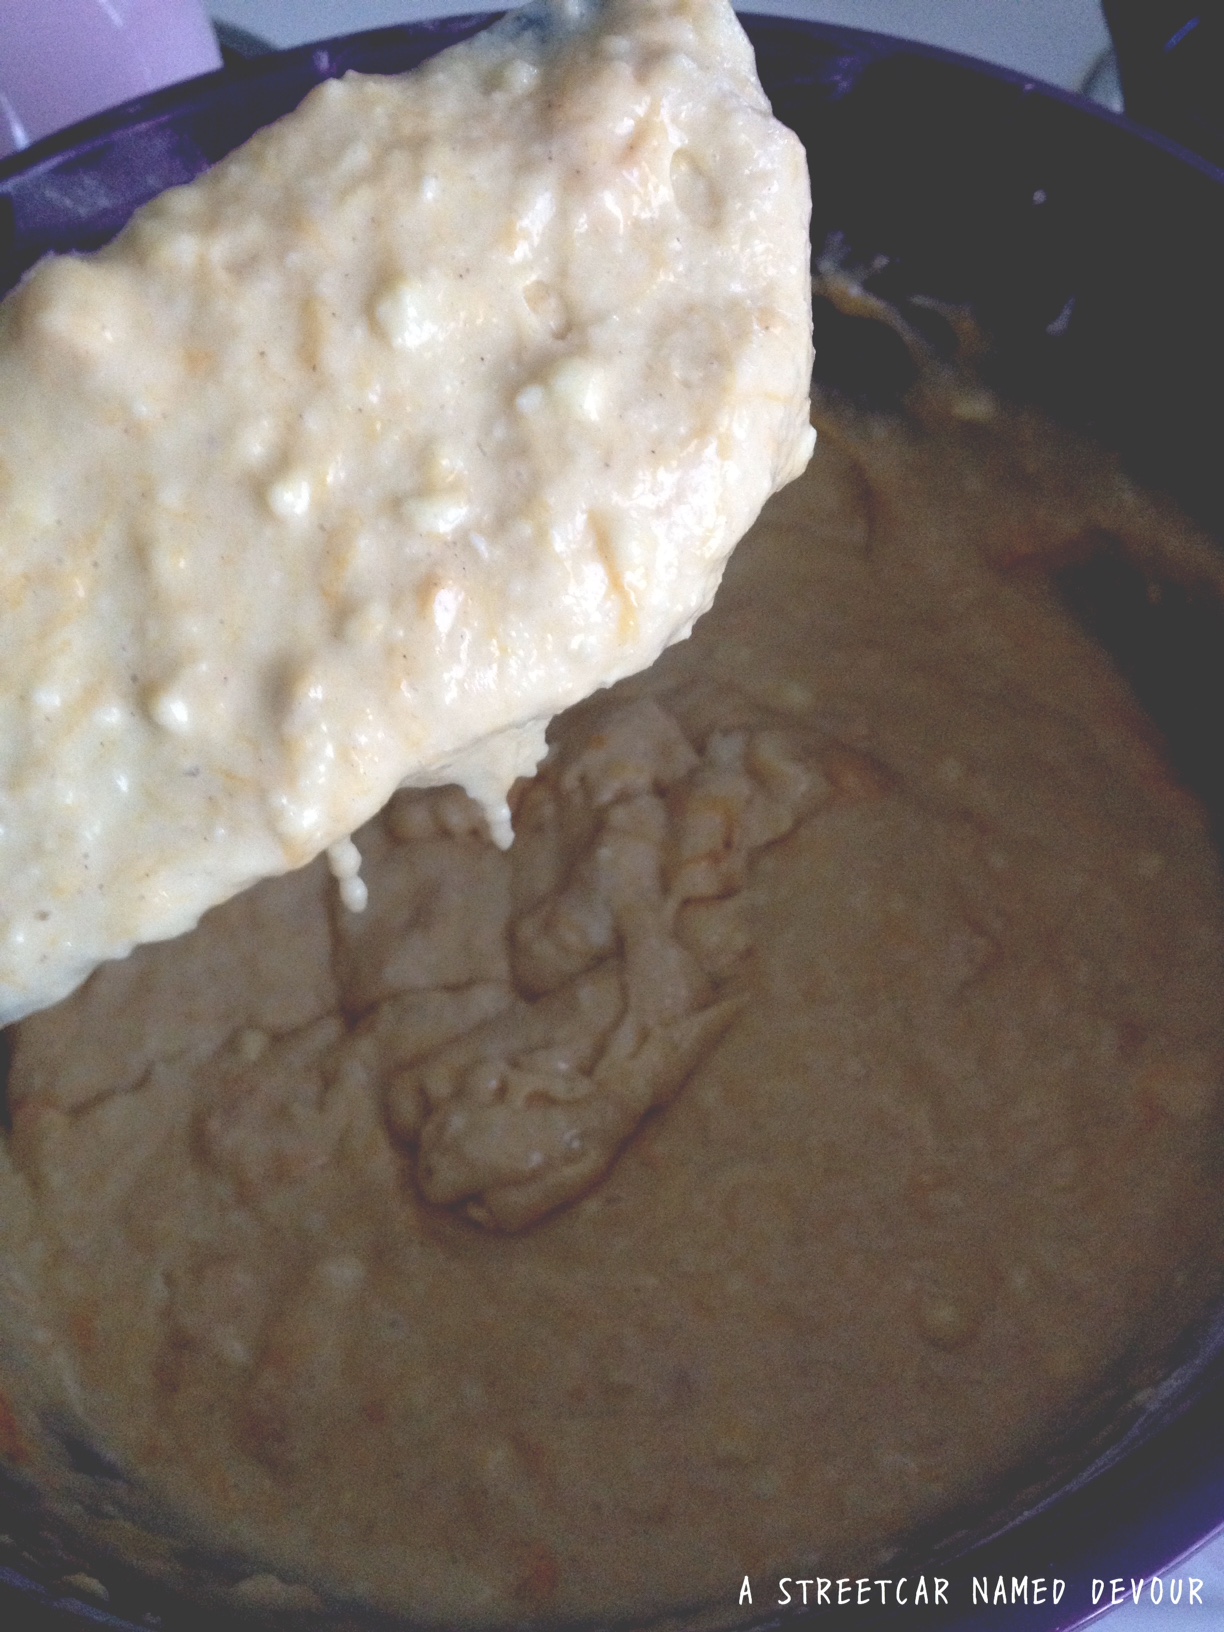
Beat the butter and granulated sugar with a mixer on medium-high speed till fluffy, about a minute. Add in the egg and vanilla. Beat in the flour mixture in 3 additions, alternating with the sour cream and mashed mangoes, beginning and ending with flour. Continue to beat until well combined.
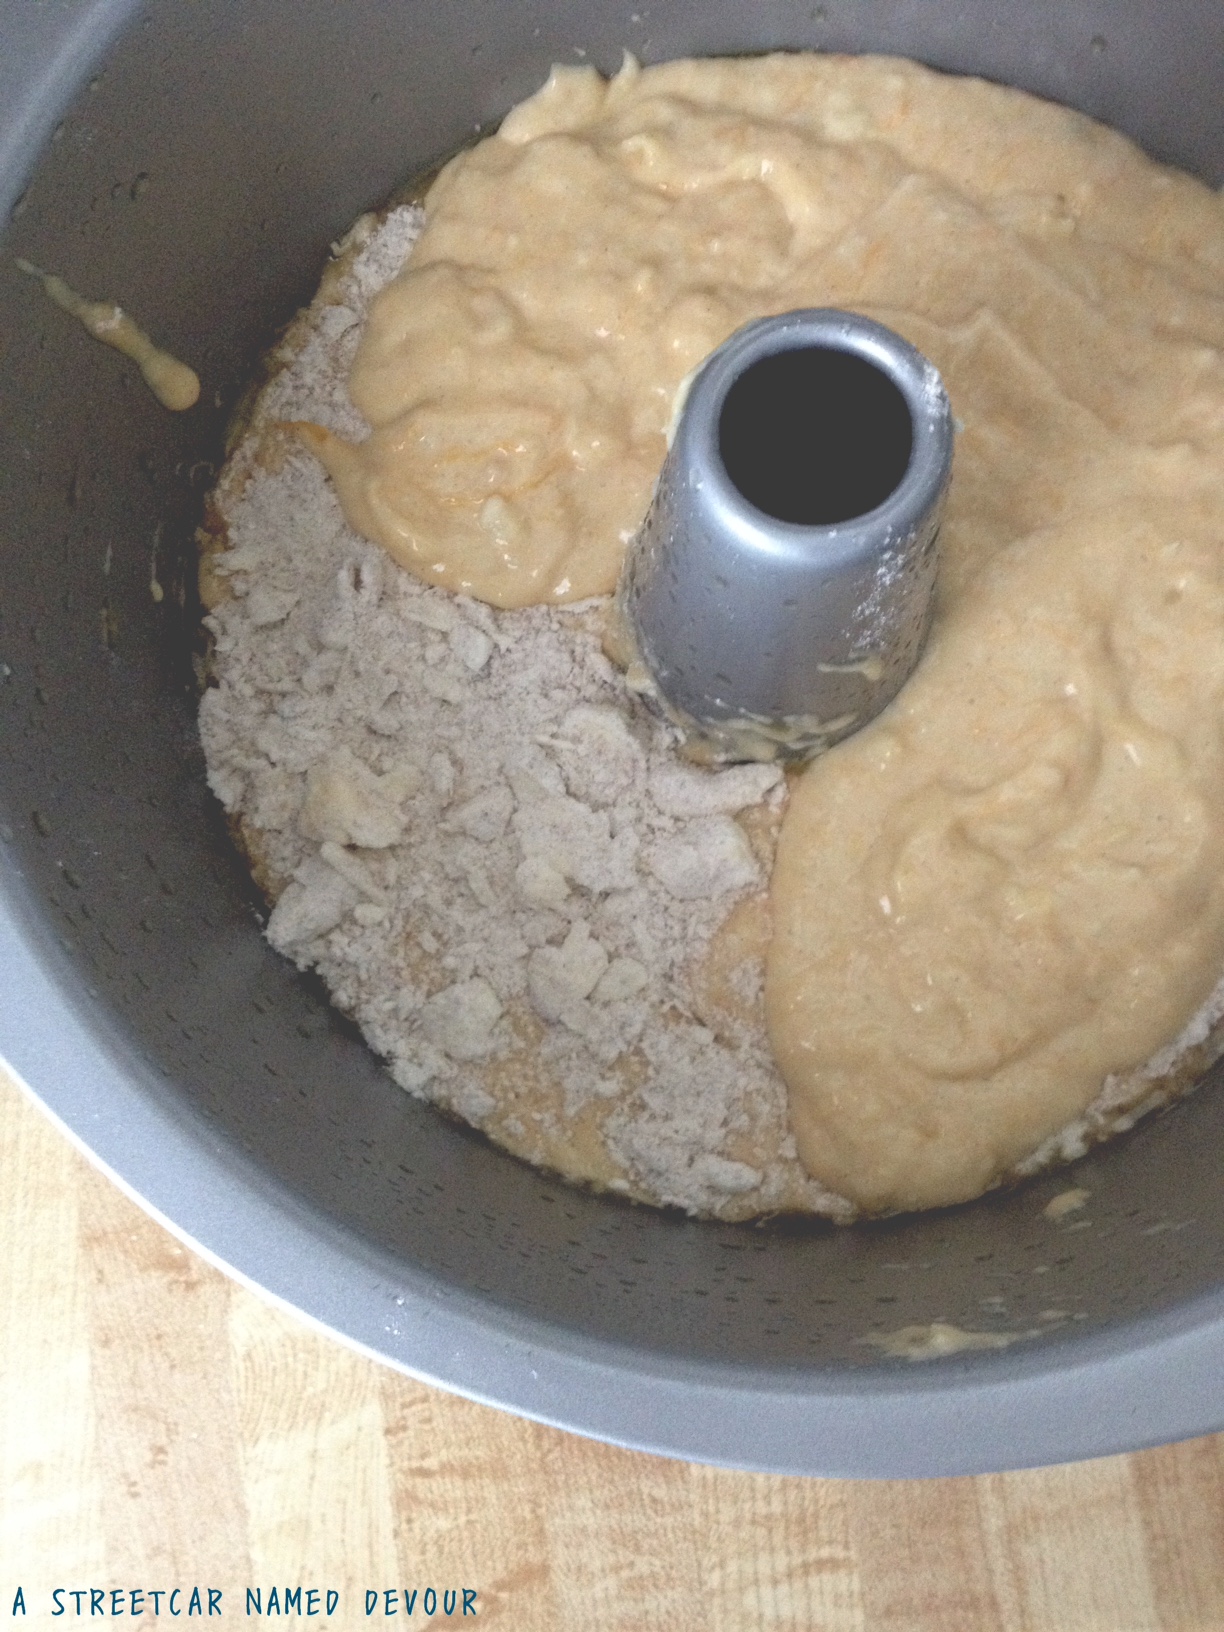
Pour half of the batter into the greased pan. Sprinkle the streusel center mixture evenly over the batter. Pour in the remaining batter, and spread evenly using an offset spatula. Sprinkle the rest of the streusel topping.
Place into the oven and bake until the cake is golden brown and a toothpick inserted into the center comes out clean, about 55 minutes. Transfer the pan to a wire rack, and allow to cool completely. Remove cake from pan, and transfer to parchment.
Make the caramel sauce. While still warm, drizzle over cake and let the sauce drip down to the sides. Let set for 5 minutes before serving.
(This scene in Clueless always makes me laugh. Cher is so ignorant clueless, she doesn’t realize that her maid, Lucy, is from El Salvador, not Mexico. And that they are, in fact, two different countries. Luckily, hunky Josh sets the record straight.)
I first learned how to make traditional El Salvadorian pupusas with a very fiesty 50-something-year-old woman named Marta. I worked with Marta at a restaurant a few years ago; she was our dishwasher who’d come into work every day with the reddest lipstick and a full face of makeup and her curly hair all styled perfectly. You wouldn’t think she came into work to wash dishes by the way she presented herself. She took pride in the way she looked, and always joked to me and the other cooks that she was a “hot mama.”
Marta didn’t speak a word of English, so we communicated with each other in Spanish. Marta called me “Selena” because I would often belt out a song by the Tejano singer when I’d bring dishes to the dishpit, and she would be there, smiling brightly as I sang the words to “Como La Flor” with such passion and conviction. (Marta was one of my biggest fans.)
I learned in our conversations that she owned a pupuseria in El Salvador. How fortunate was I to work with a real pupusa expert?! “Mira, Selena,” she’d say, as she brought me and the staff pupusas con chicharones (shredded pork) and share them with the staff. I wanted so desperately to pick her brain and learn how to make the pupusas myself. So after a while we began serving her pupusas once a month in the restaurant, and guess who made them with her? Yep, me. Working next to her as she formed and shaped the pupusa balls at lightning speed was so impressive. It was, at first, quite difficult catching up to her. (She had been making pupusas for 40+ years.) But I was determined to be well versed in pupusa-making. And after a while, I got pretty good at it! Here are the recipes I remember making with Marta.
==
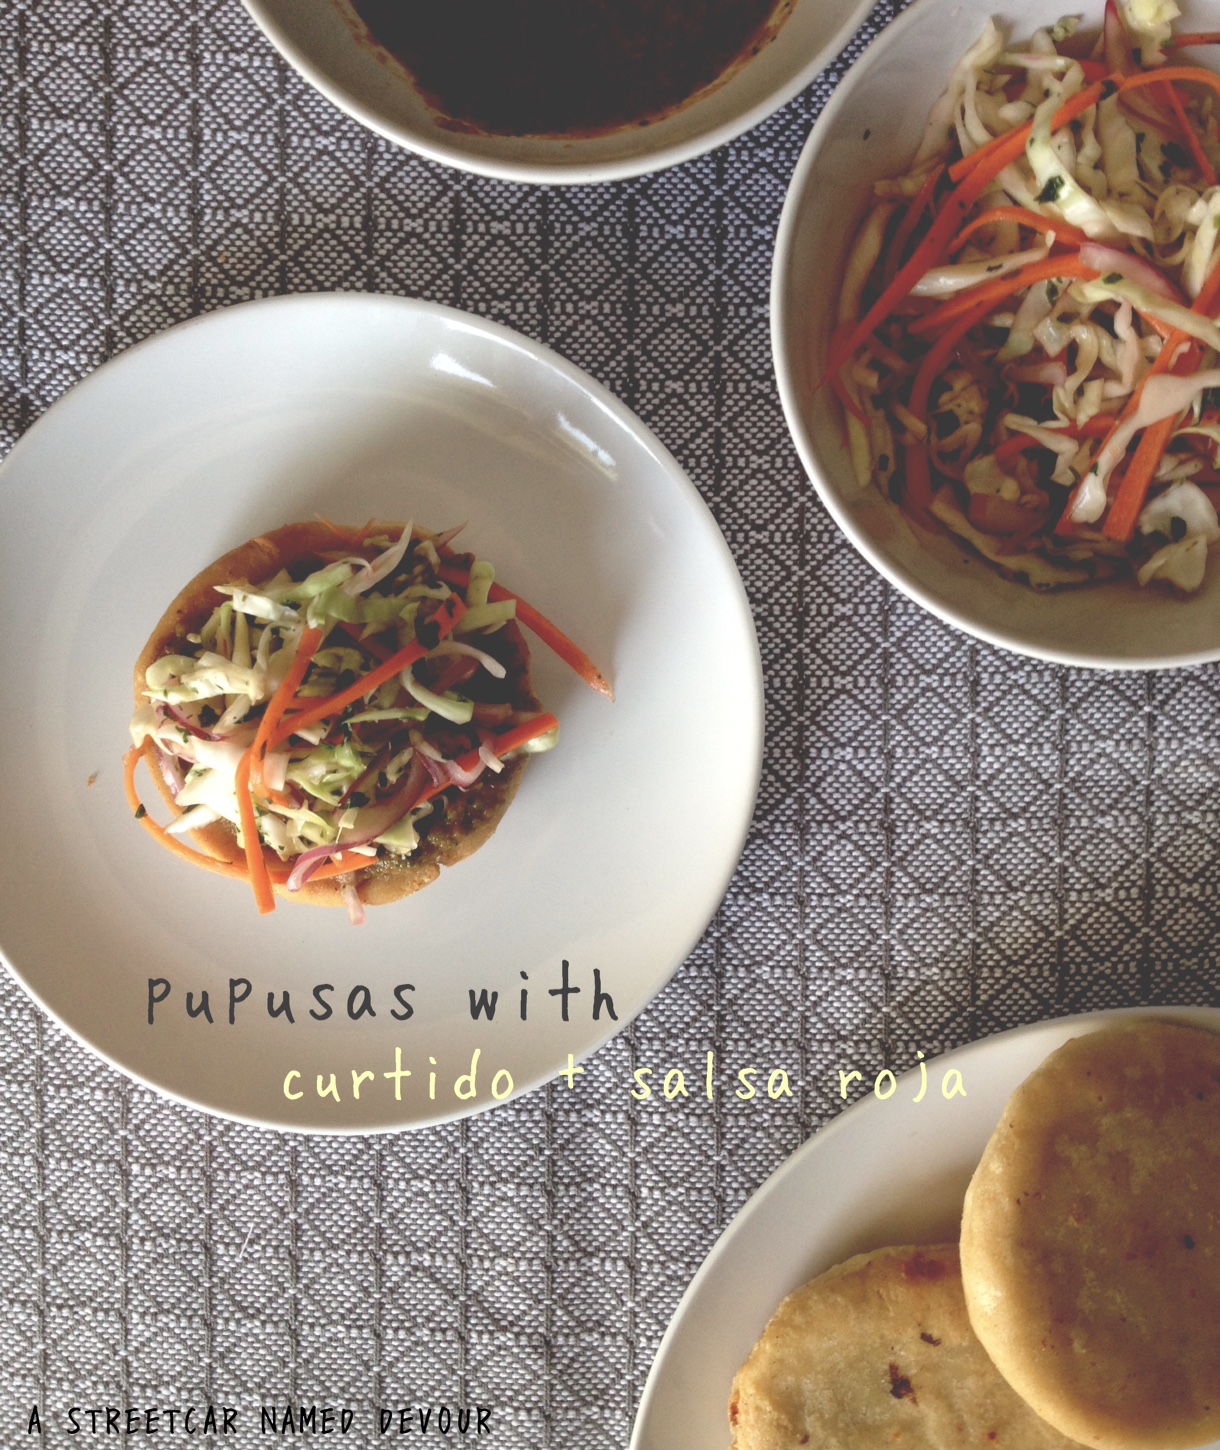
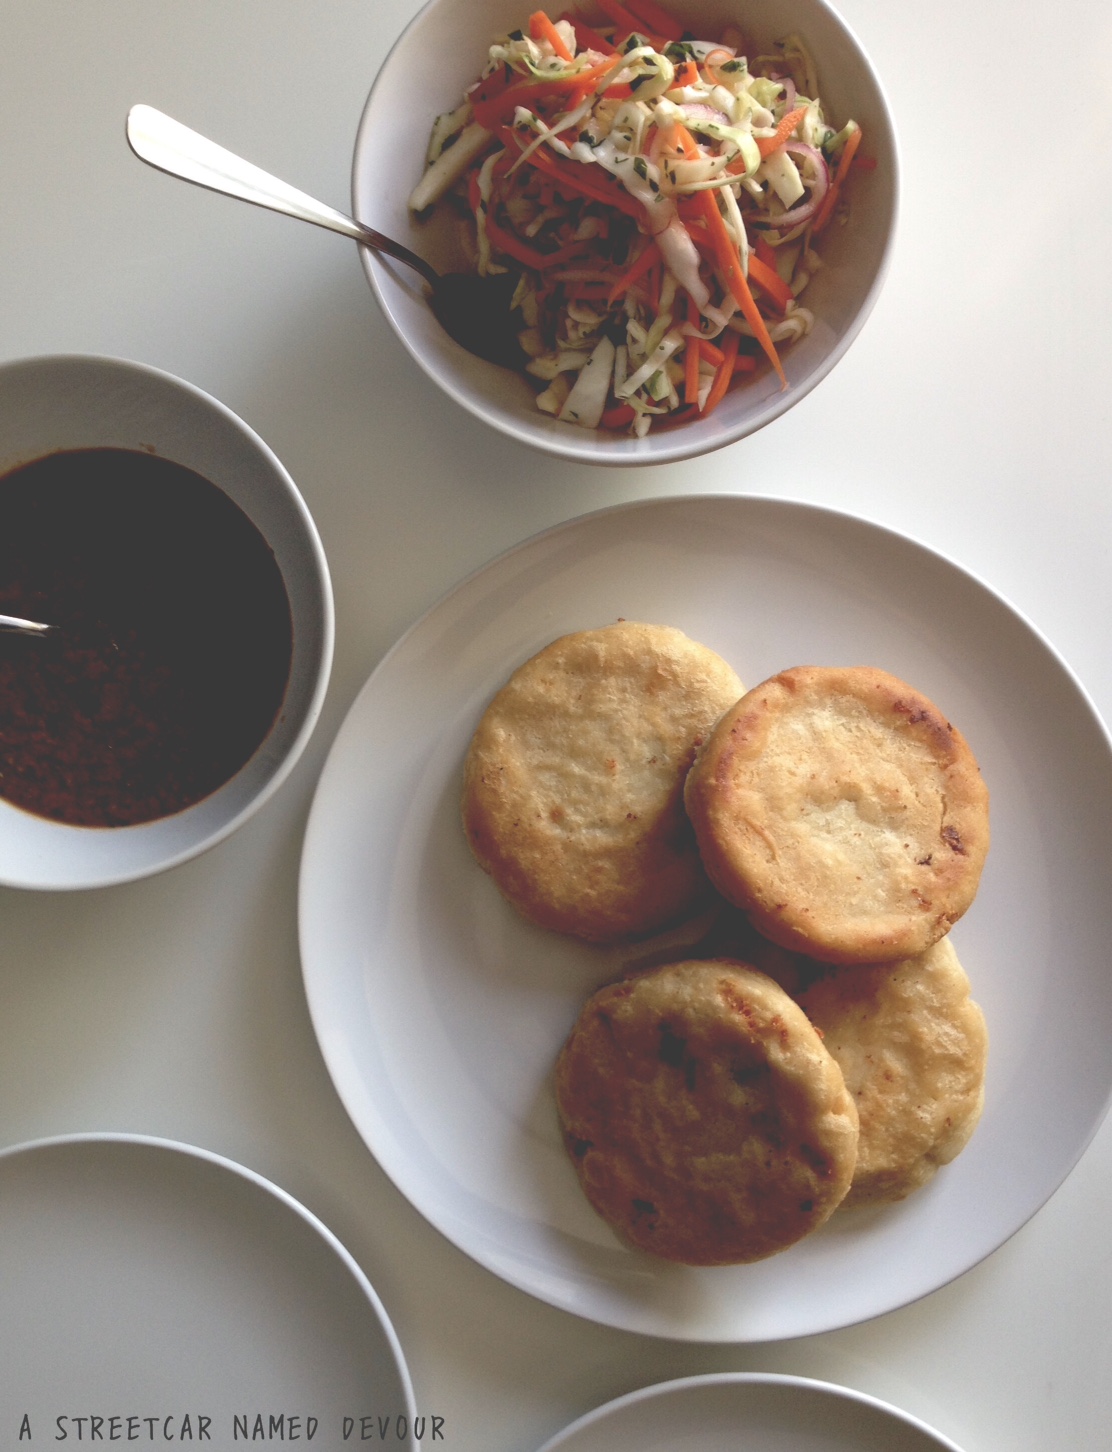
El Salvadorian Pupusas with Curtido and Salsa Roja Yields 5 pupusas; 1 quart curtido; 1 pint salsa roja
INGREDIENTS FOR THE CURTIDO
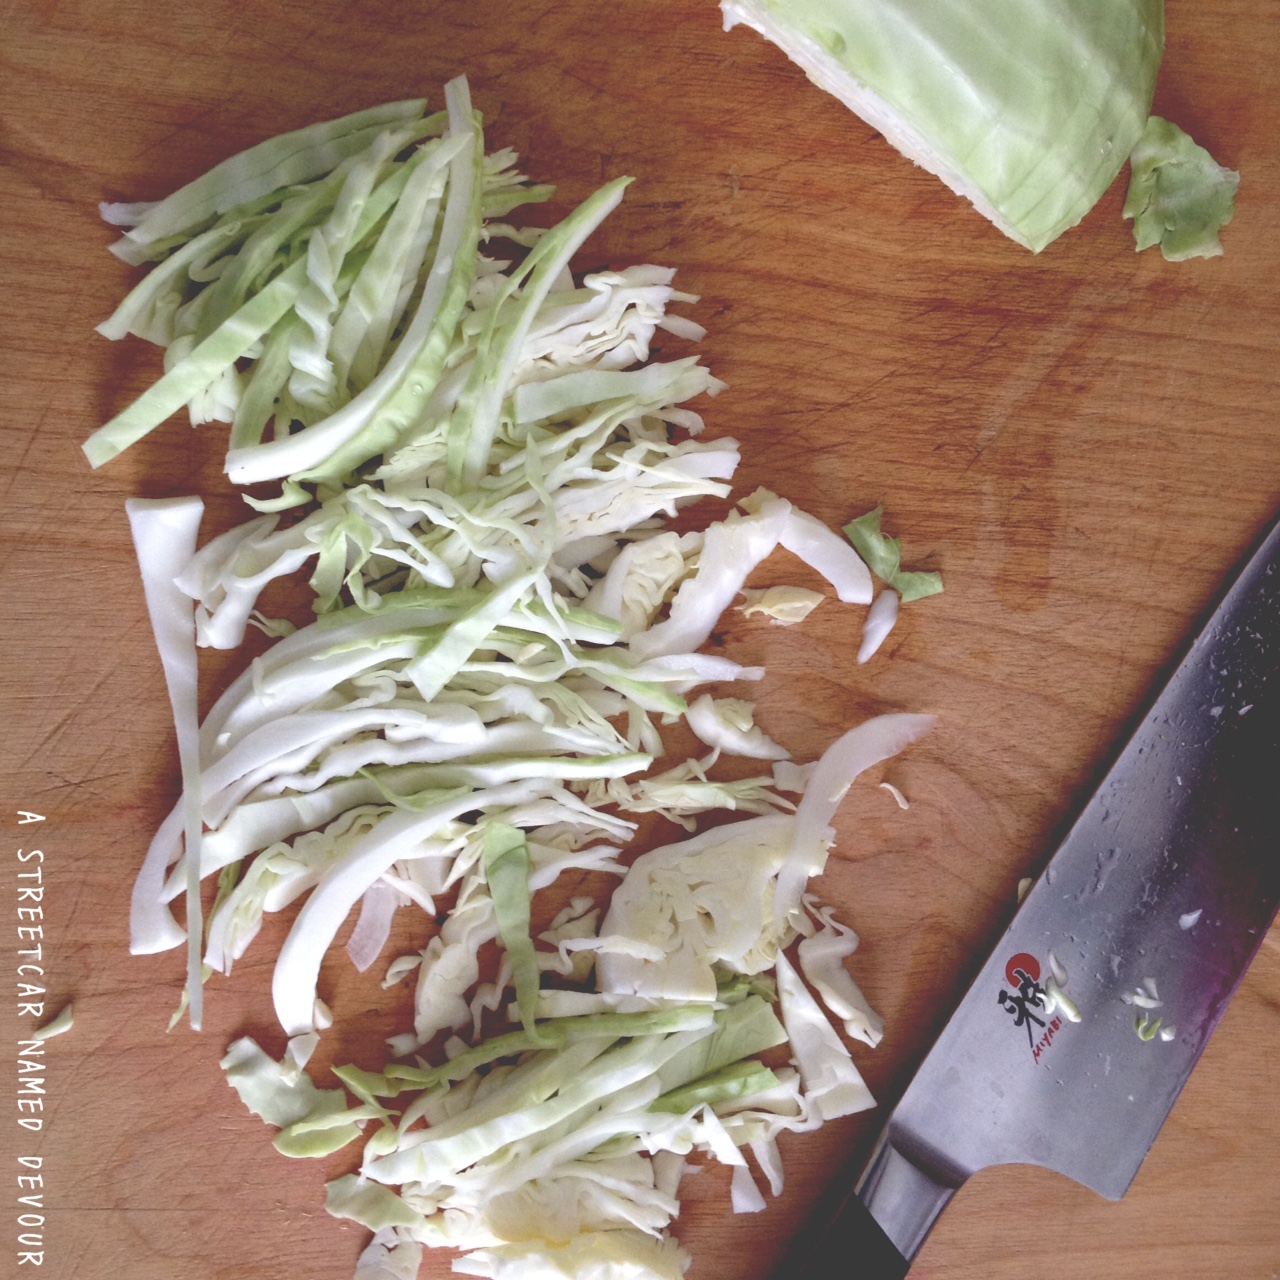
1/2 head of small green cabbage, julienned thin
2 each carrots, peeled and cut into matchsticks
1/2 white onion, julienned thin
1/2 cup white vinegar (or apple cider vinegar)
1/4 cup fresh oregano, finely chopped
1/2 bunch cilantro, finely chopped
Kosher salt and freshly ground pepper, to taste
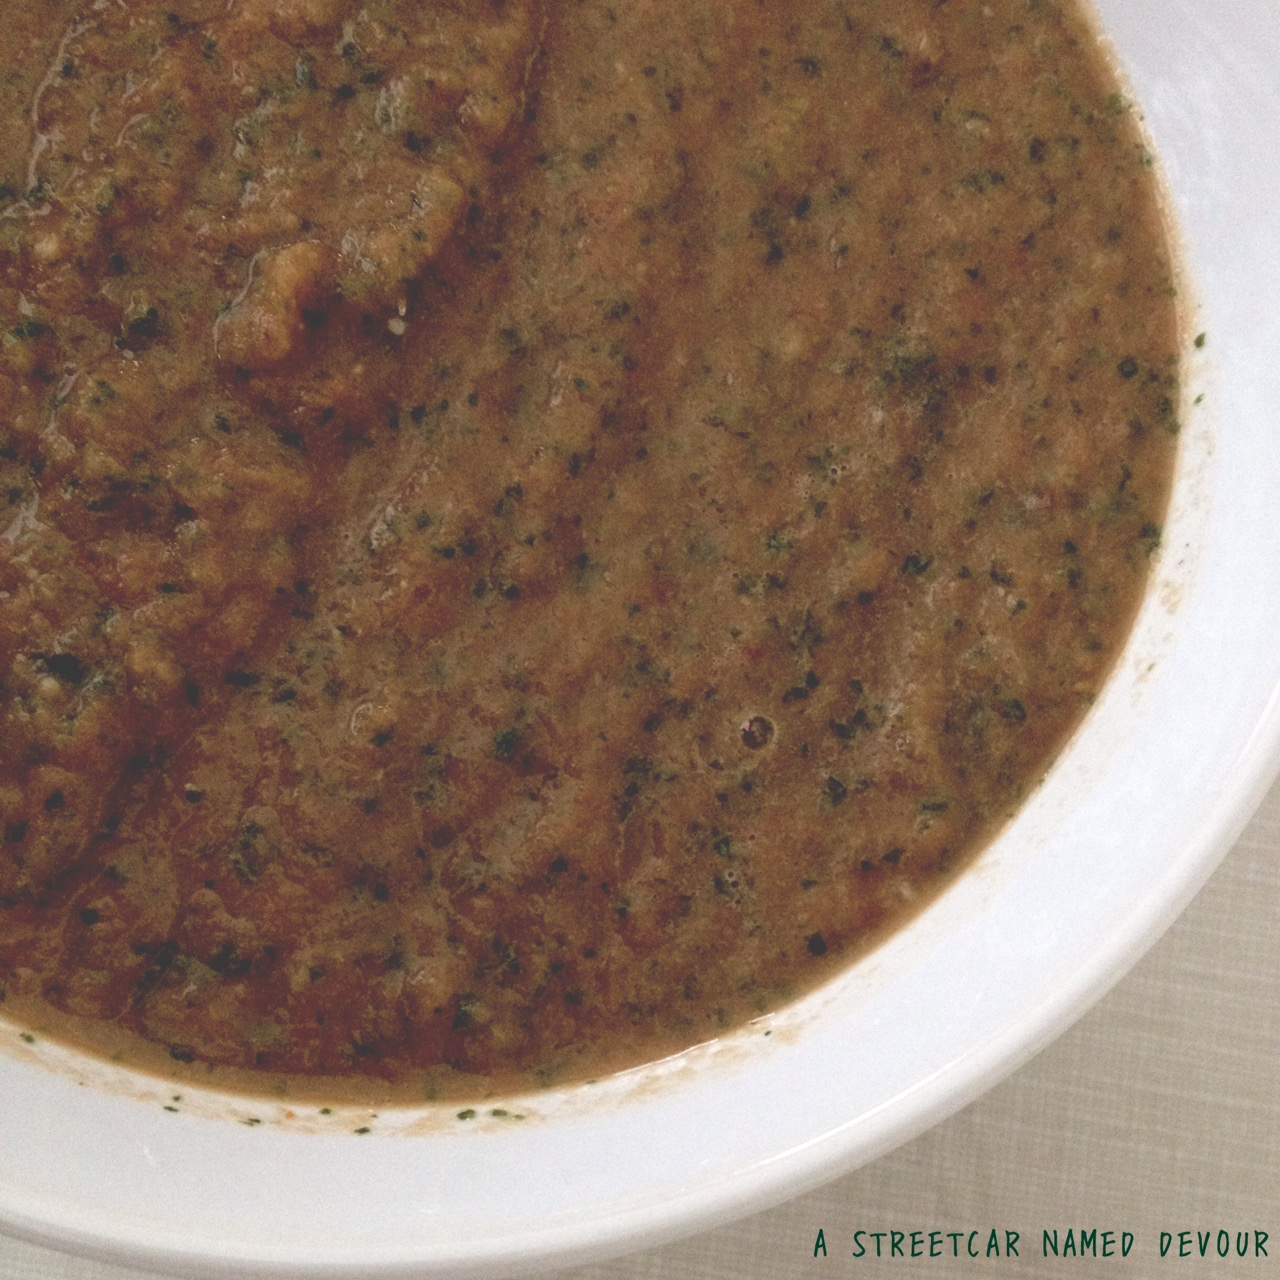
FOR THE SALSA ROJA
1 each canned tomatoes
2 cloves garlic, peeled
1 bunch cilantro, stems removed
1 bunch fresh oregano, picked
1/2 white onion, roughly chopped
1 jalapeño, tops cut off and deseeded
1 each lime, juiced
Kosher salt, to taste
splash olive oil, to taste
FOR THE PUPUSAS
2 cups masa harina (corn flour, I used Maseca)
2 cups water
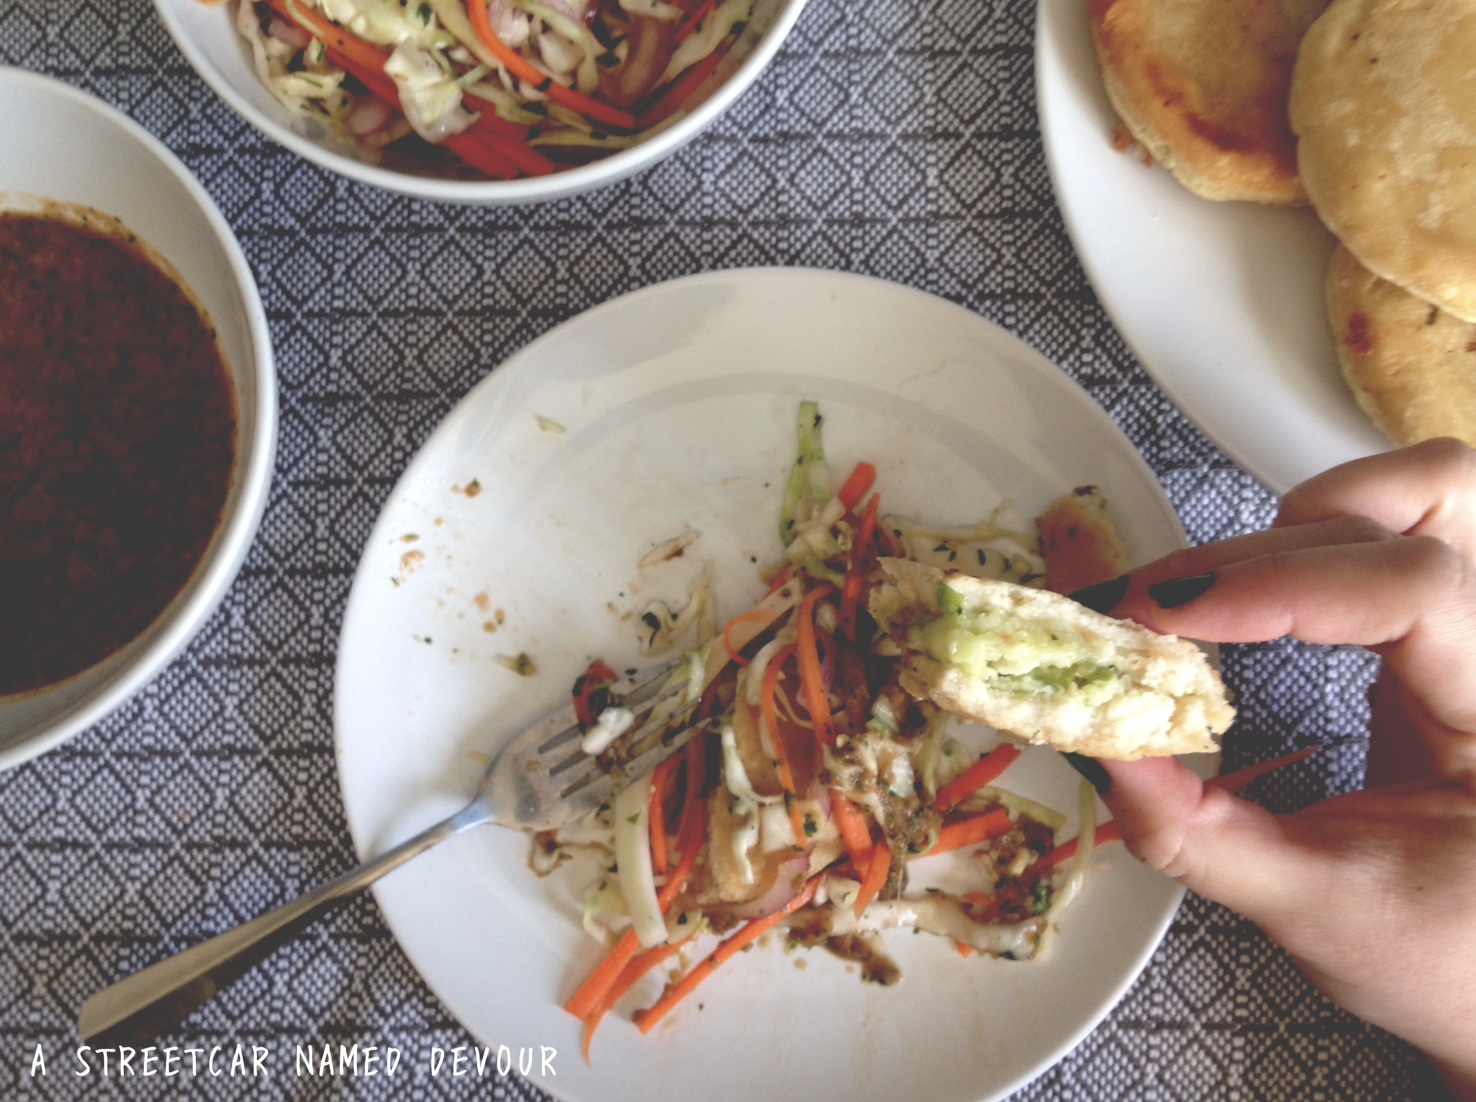
1 cup shredded habanero jack cheese
2 jalapeños, minced
oil for frying
METHOD FOR THE CURTIDO (cabbage slaw)
Mix the shredded cabbage, onion, carrots in a large bowl. Sprinkle salt and add in the vinegar and herbs. Mix thoroughly with your hands. Set aside for at least 1 hour to allow the cabbage to break down.
FOR THE SALSA ROJA
Place all ingredients into a blender or food processor till fully incorporated. Add salt to taste. Set aside.
FOR THE PUPUSAS
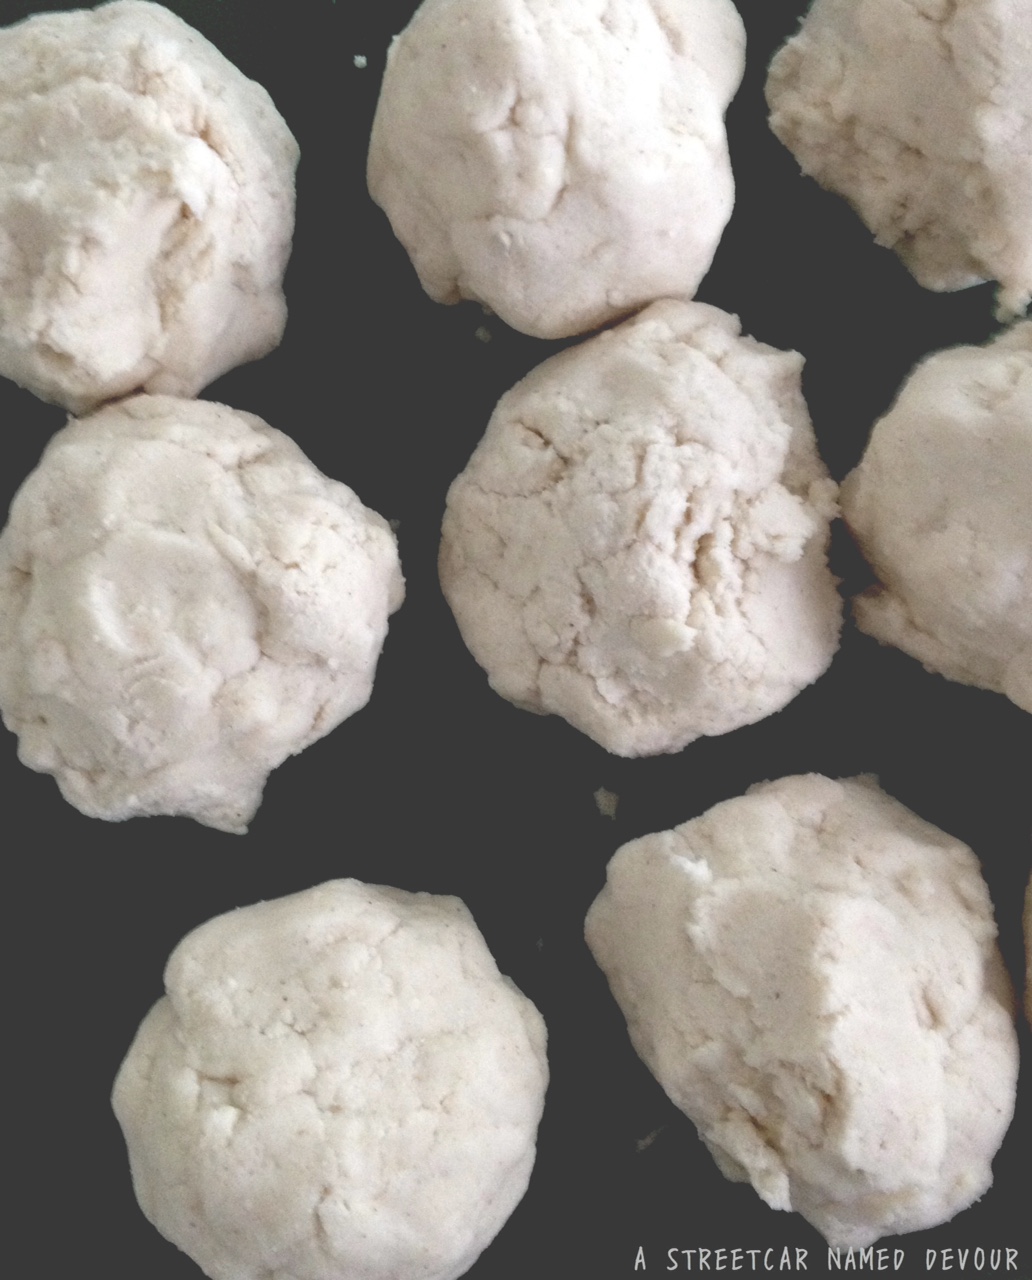
In a large bowl and with your hands, mix the masa, salt and water till the dough is thoroughly mixed and feels like slightly wet clay or Play-Doh.
Divvy up with dough and form into large balls. You should have about 5. In a small bowl add the minced jalapeños and shredded cheese. Add a splash of water to help bind the cheese-chile filling together.
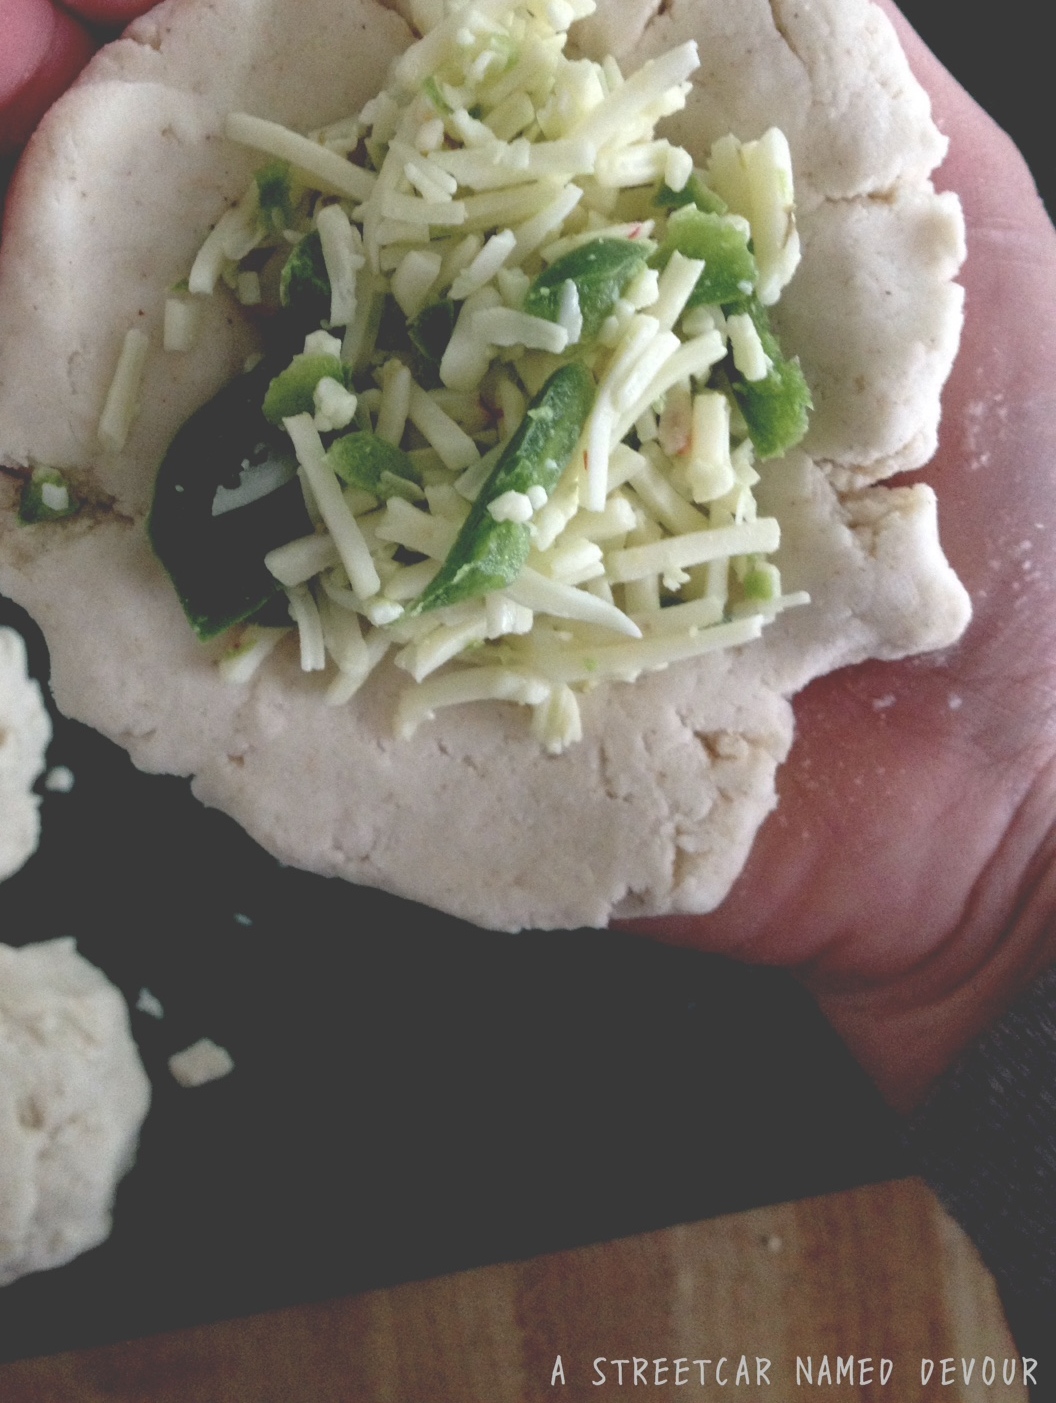
Fill a small bowl with lukewarm water. This water will help you when working with the pupusa dough, as it may harden and may become difficult to shape. Take one of the masa balls into your hand and flatten it onto your palm, creating a plate-like shape. Place a dollop of the cheese-chile mixture into the middle of the masa ball.
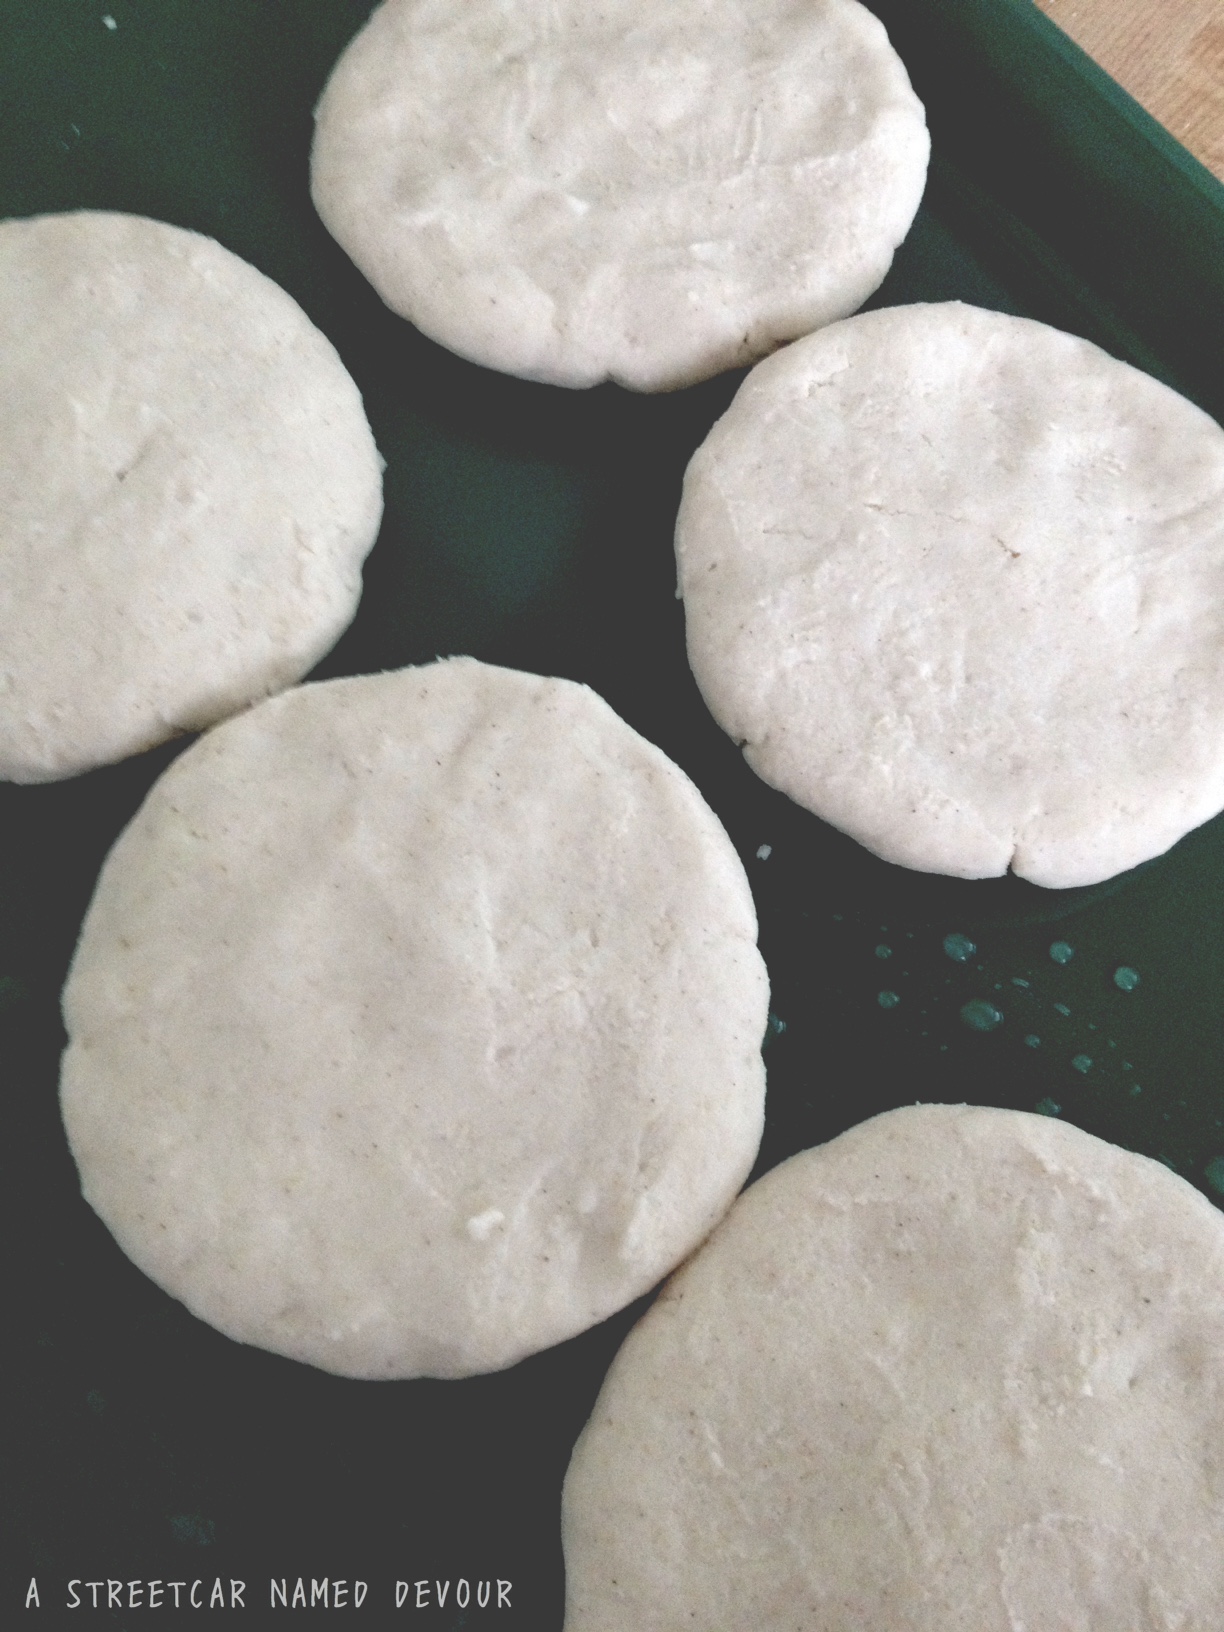
Bring the outer sides of the masa to the other side to close the filling. Press down on the sides together to seal the seams. Shape the pupusa balls into a saucer-like shape. Dip your hands into the water bowl to add moisture to the dough if needed. Using some of the water also helps to close the seams and any cracks the dough may create.
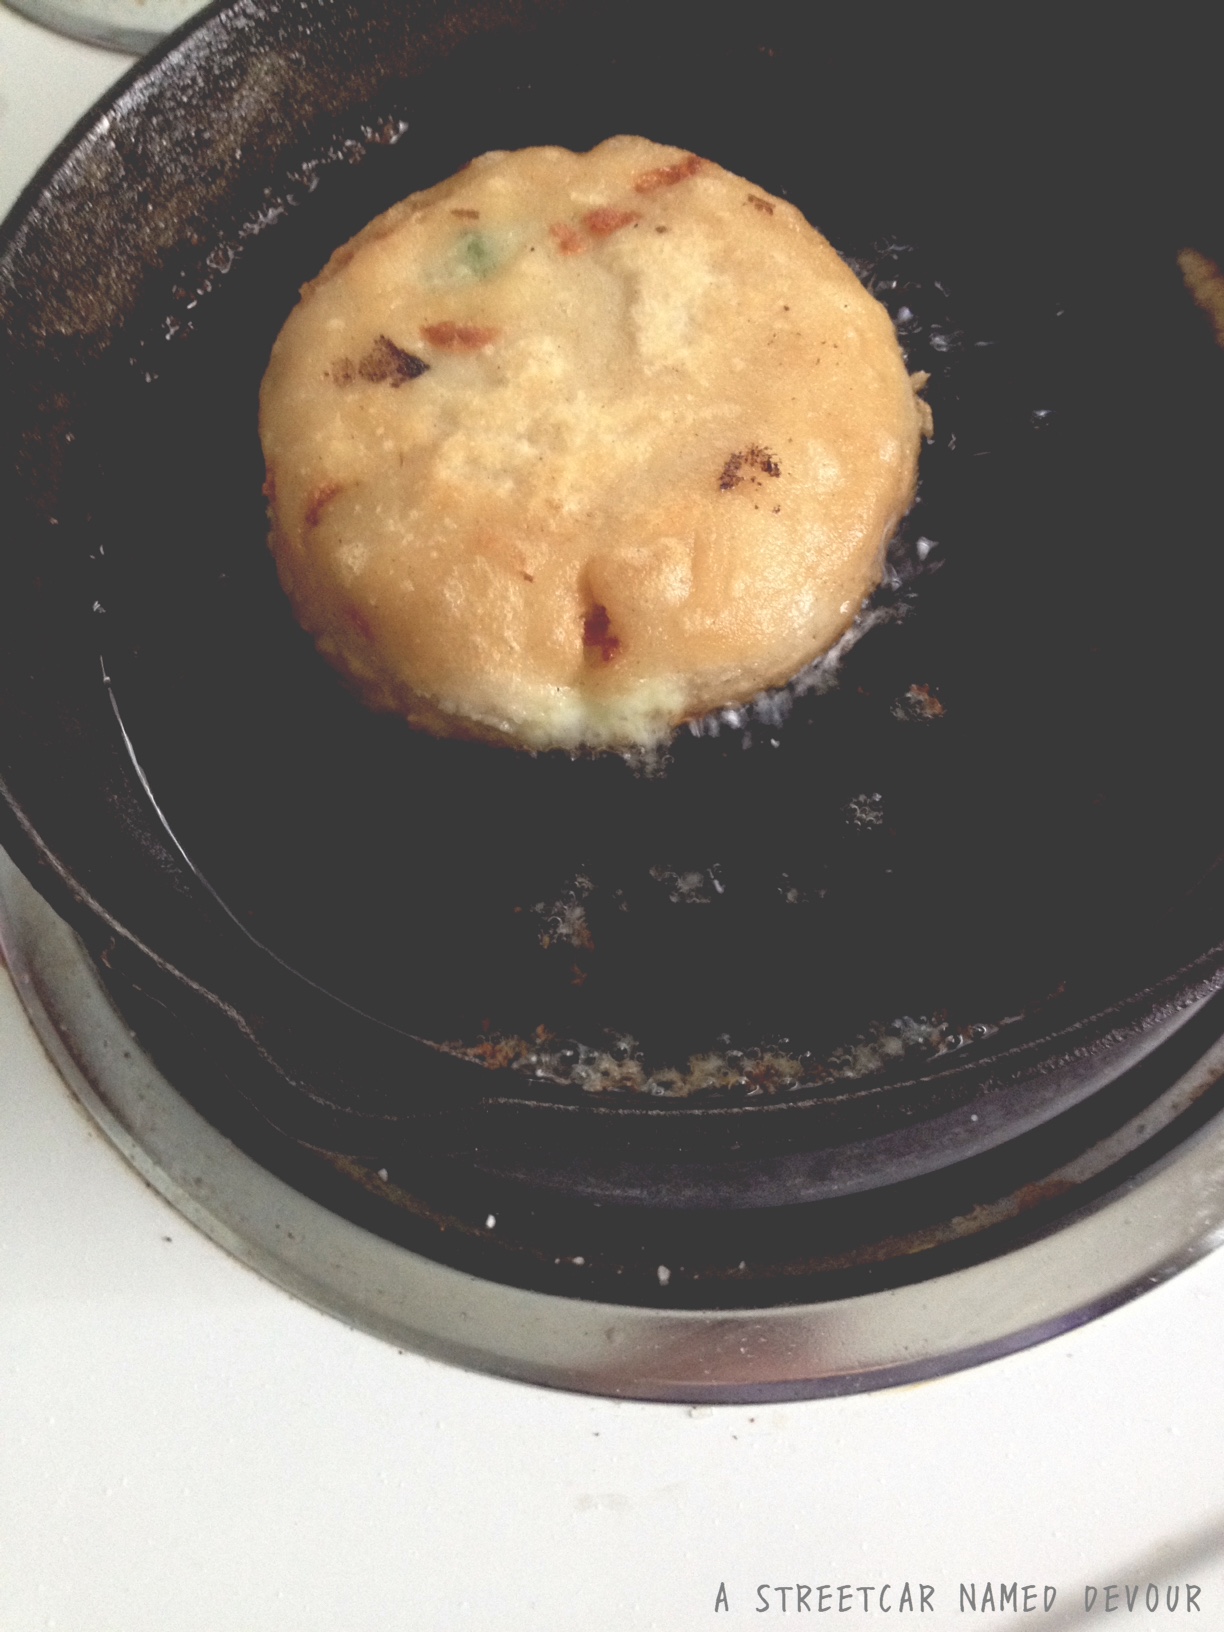
Fill a cast-iron skillet or shallow pan with about a half-inch of oil and turn the heat onto medium. When the skillet is hot and a little haze is over the oil, slowly add in the pupusas without overcrowding the pan.
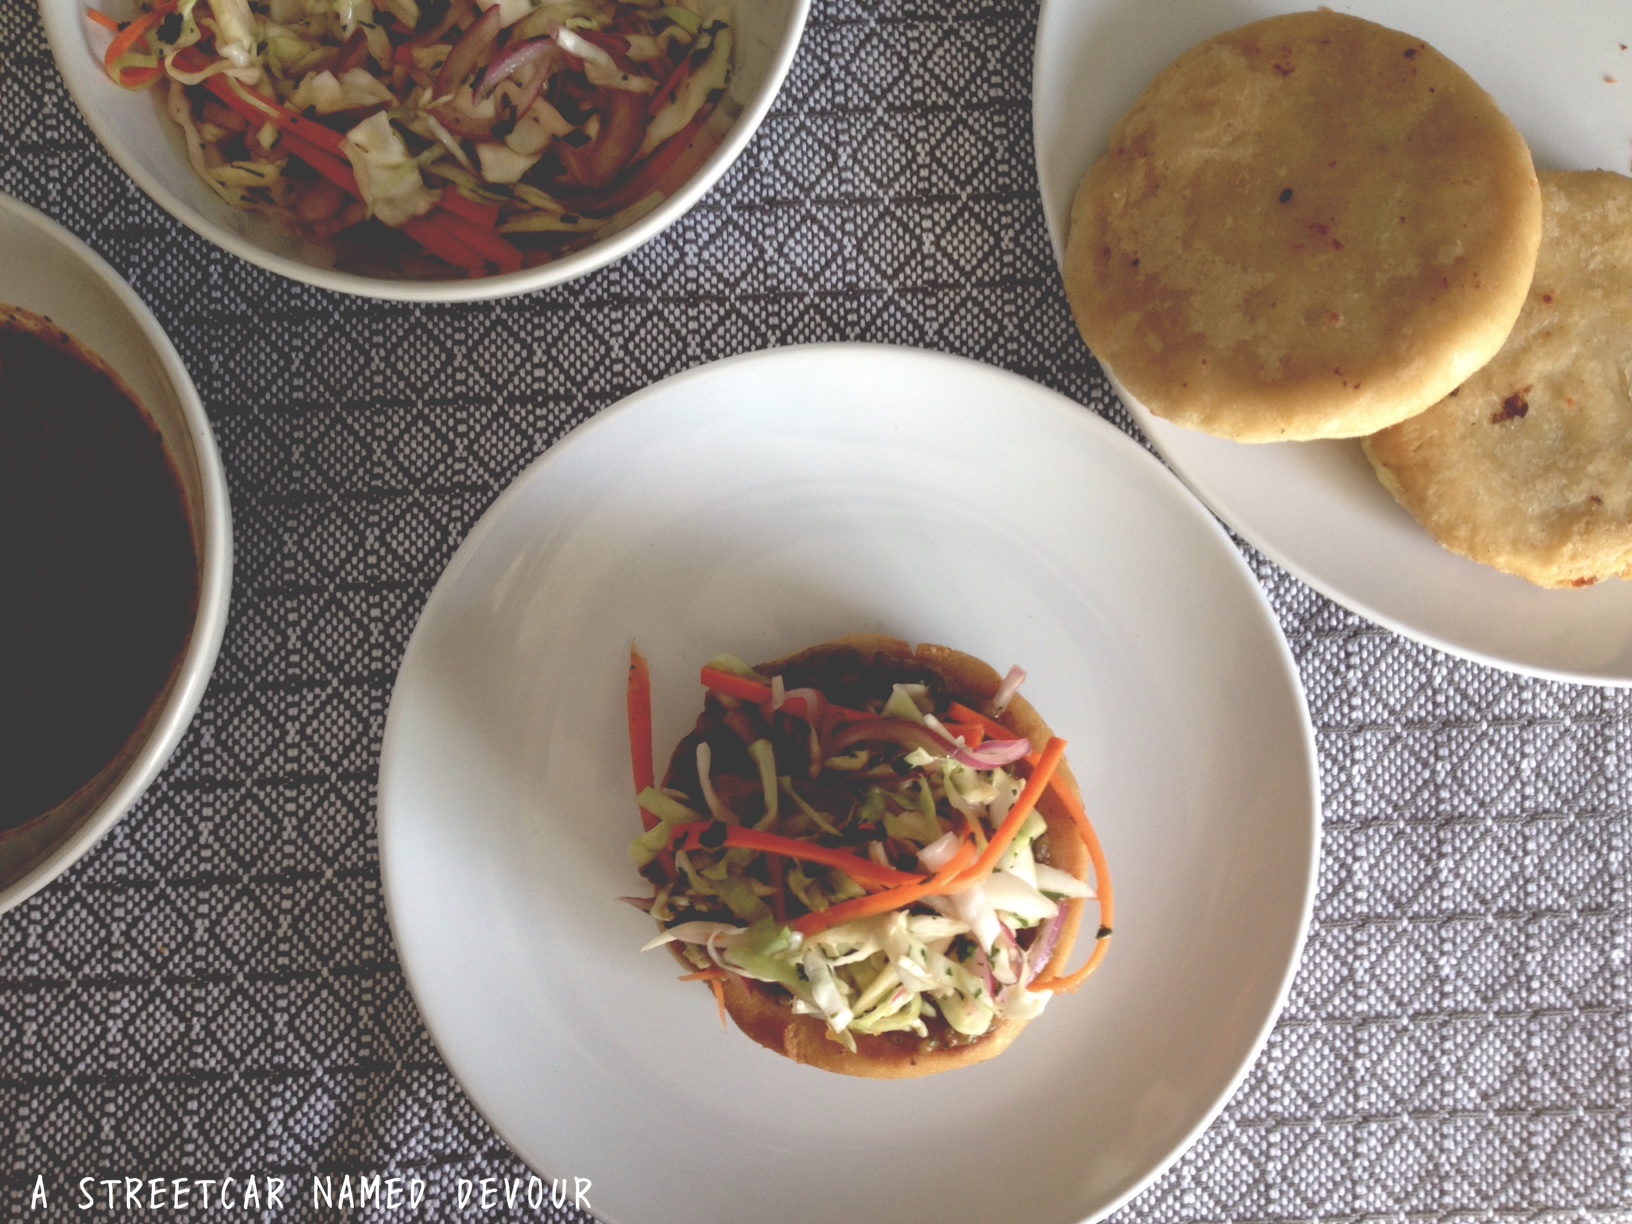
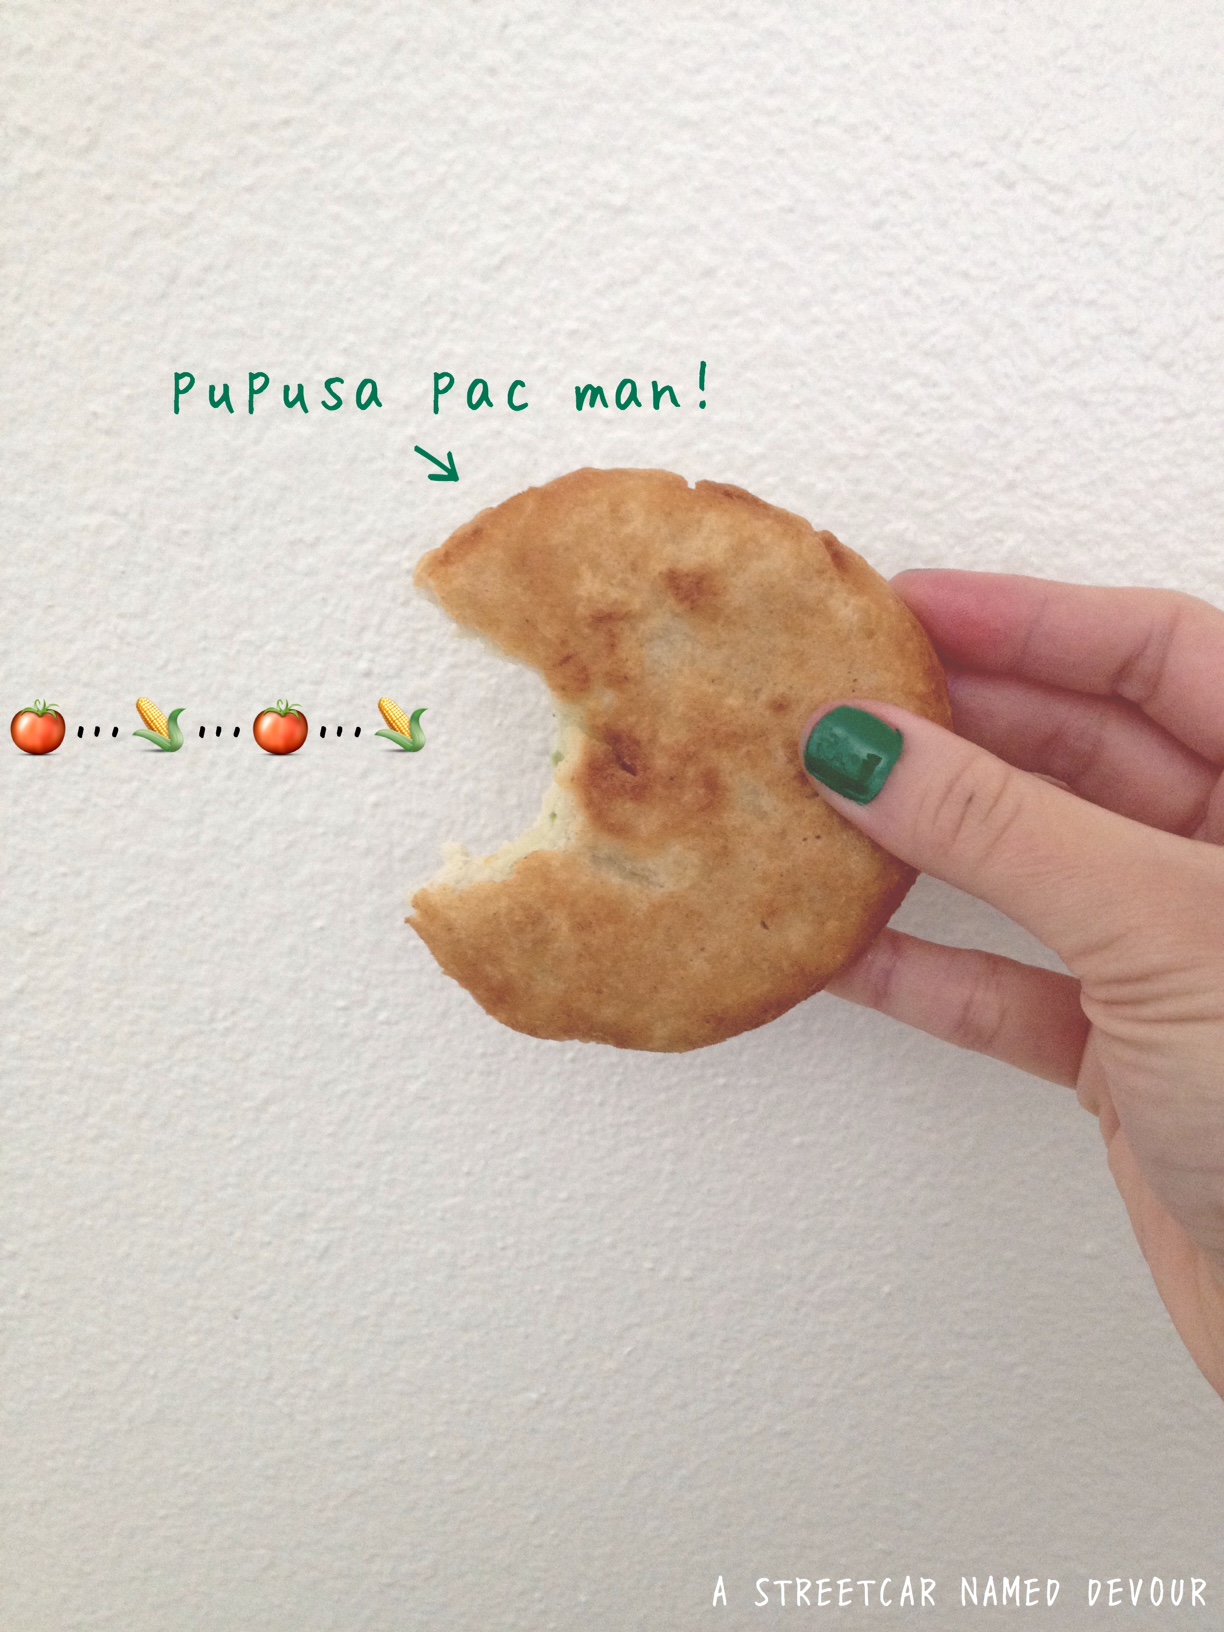
Allow the pupusas to cook for about 5 minutes per side. Using a heat-resistant spatula, place the fried pupusas onto a paper towel-lined plate. Repeat till all pupusas are cooked off. Serve with curtido and salsa.
Soul for Real was a very talented R&B singing group that I listened to as a kid. And I admit to having mix tapes with “Candy Rain” that I still listen to today. Great record.
Anyway, my first introduction to Korean cuisine was less than great. My family and I were headed to the Philippines for vacation. (Keep in mind I was 13 years old at the time and my palette wasn’t as sophisticated as it is today.) We flew via Korean Air and had an 8-hour layover in Seoul. (Despite how long the layover was, the shopping at the airport, however, was very exciting!)
Our mid-flight meal consisted of a menu I honestly cannot remember in great detail. But the food that me, my brother and cousins ordered was what was labeled as, “Pancakes and Sausage.” Of course, to kids we were overwhelmed with excitement. “Pancakes?! YESSSSSSS!” <hands in the air> Little did we know, the airline’s interpretation was not what we had imagined. I remember the pancakes being super thin and pale, and the sausage being white in color. “White sausage?!!” Us kids complained. We didn’t know any better, of course. Remember, we were just kids. So we refused to eat it. Looking back now, I really do wish that I did at least try it.
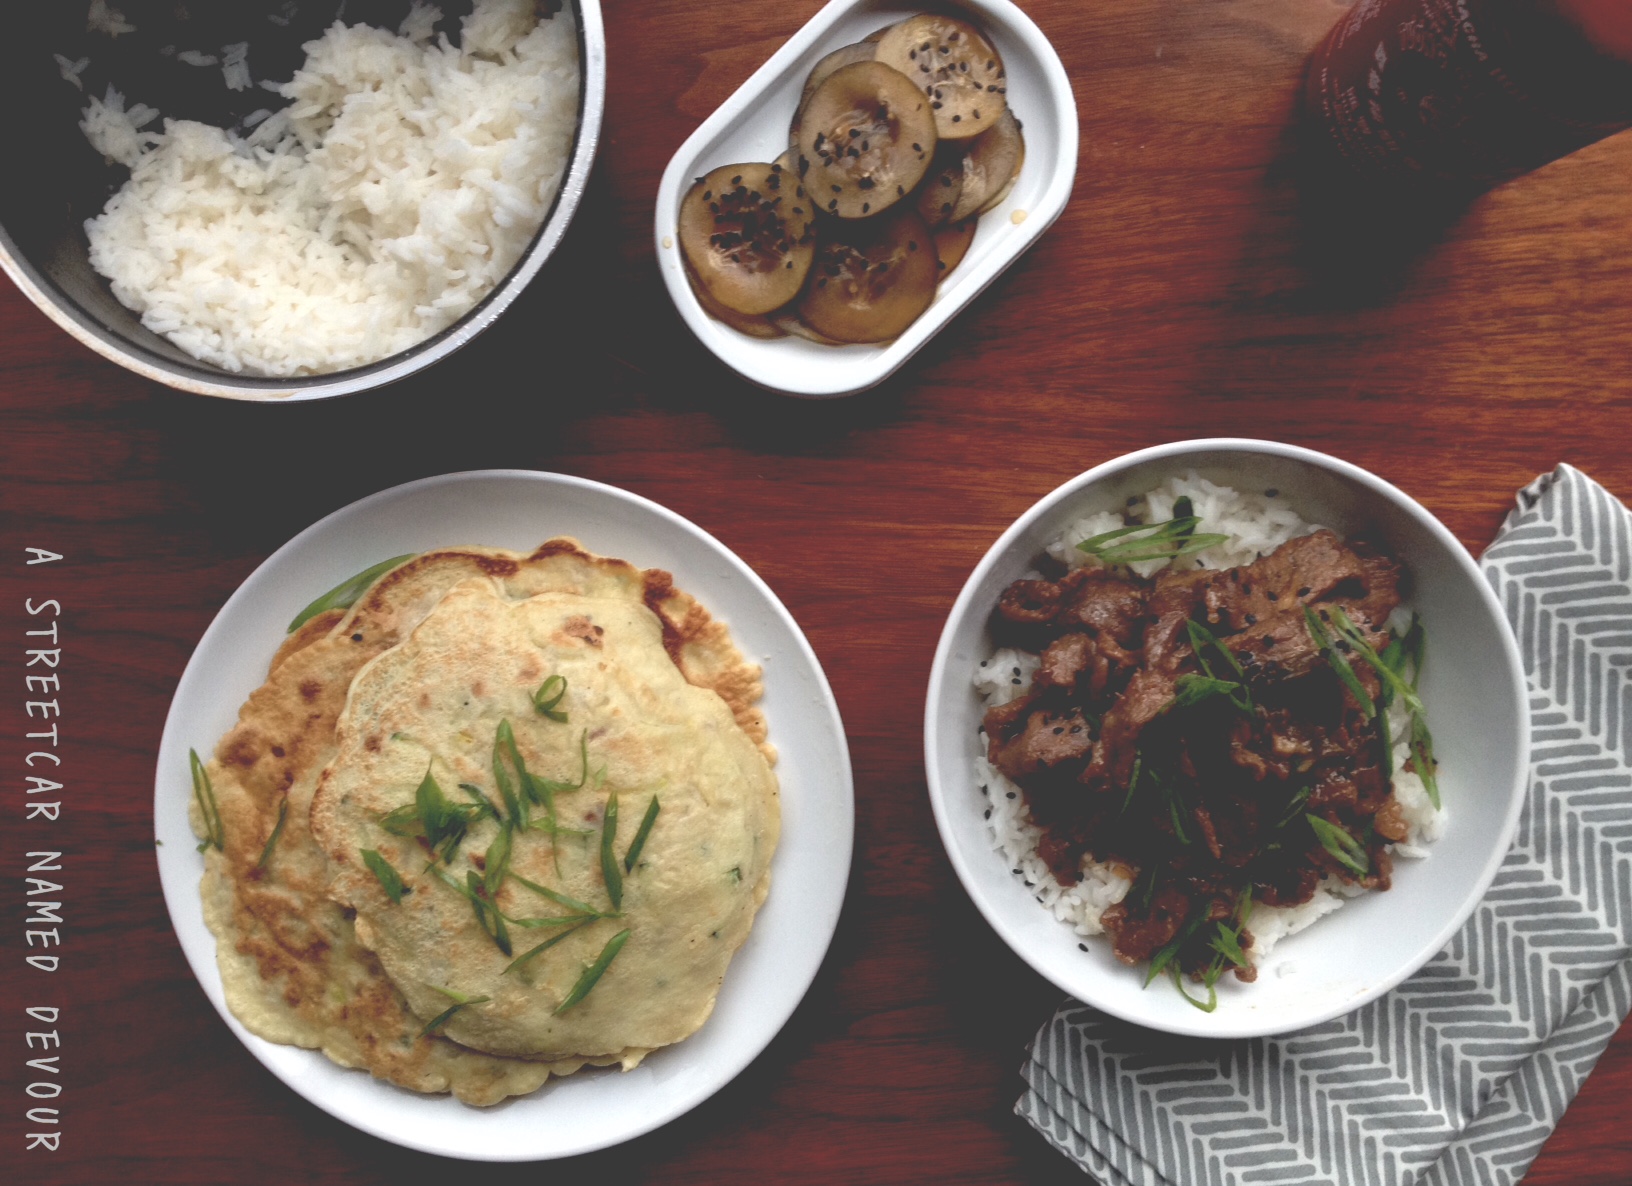
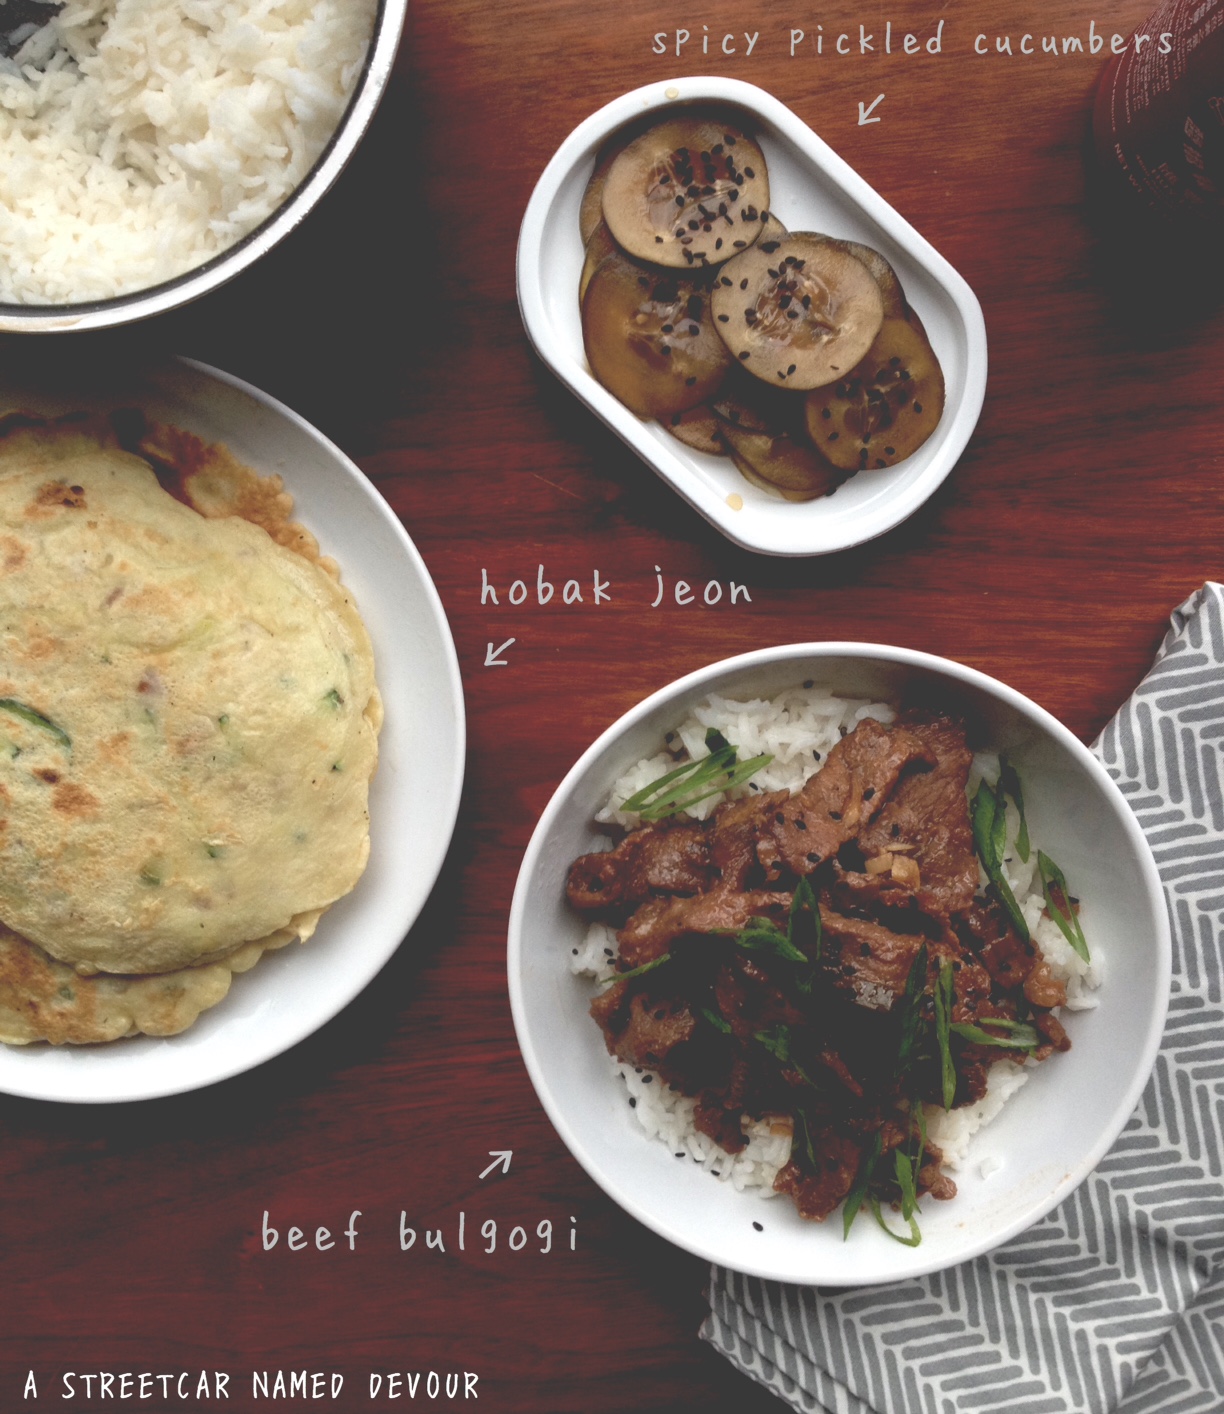
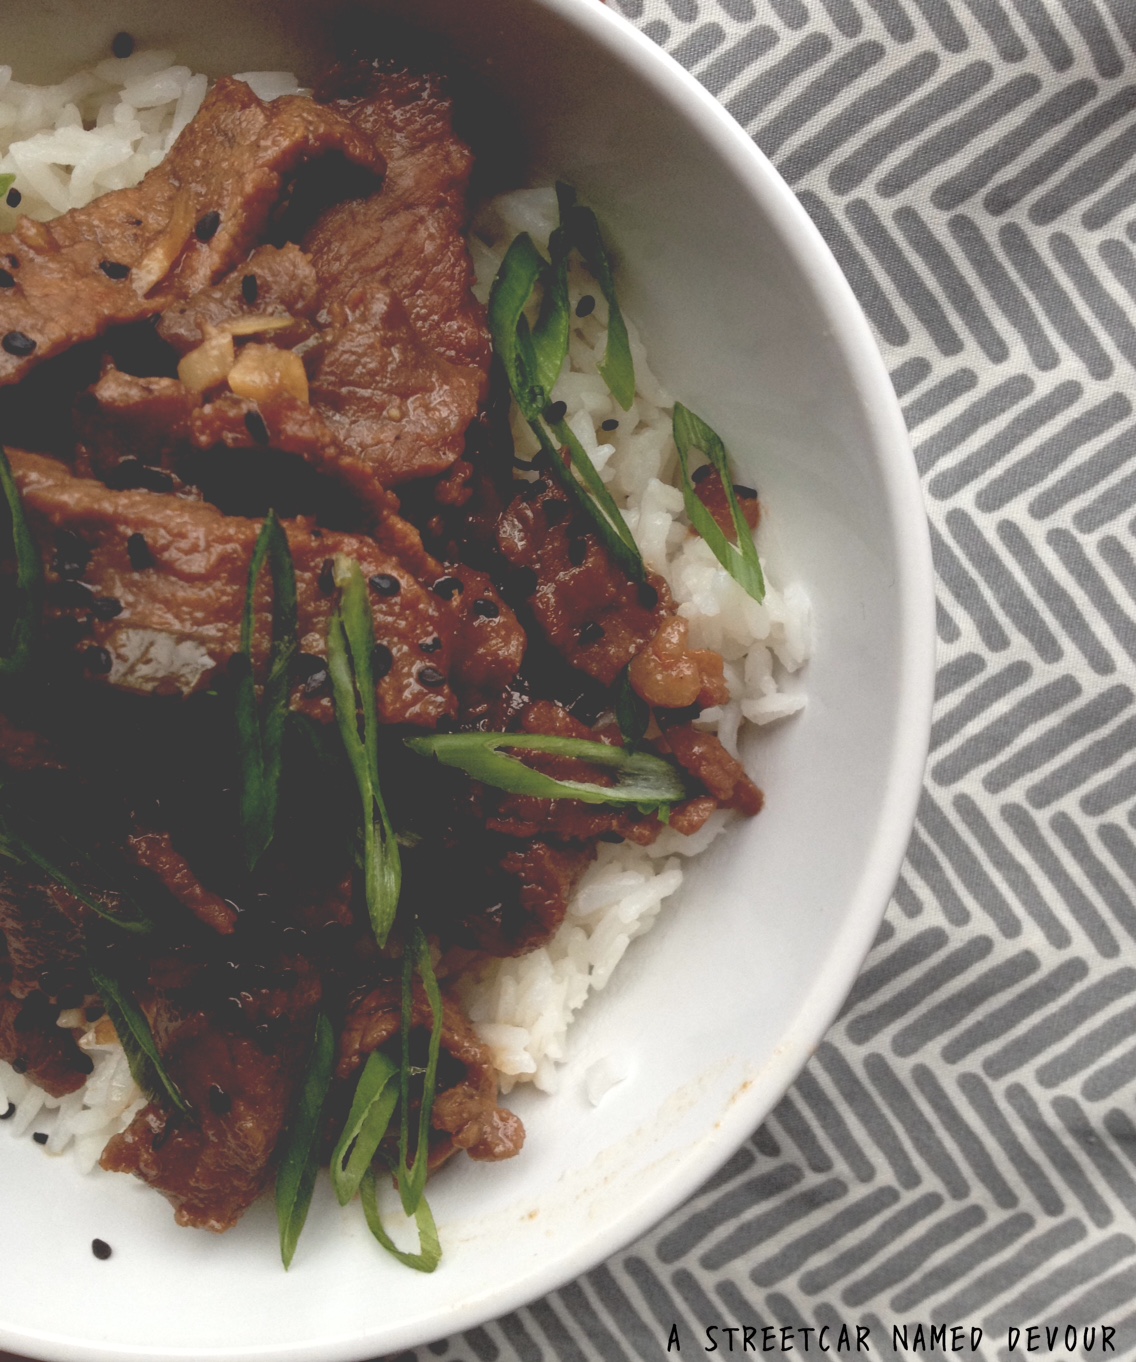
So now that I’m older and wiser (haha) I’m lucky to have been exposed to several different cuisines and foods that I would have never tried before. Culinary school and my genuine curiosity is to thank. But my favorite current Korean-style meal right now is Beef Bulgogi (Korean bbq) and Hobak Jeon (savory zucchini pancakes). Check out the following links for these very delicious and worthwhile recipes!
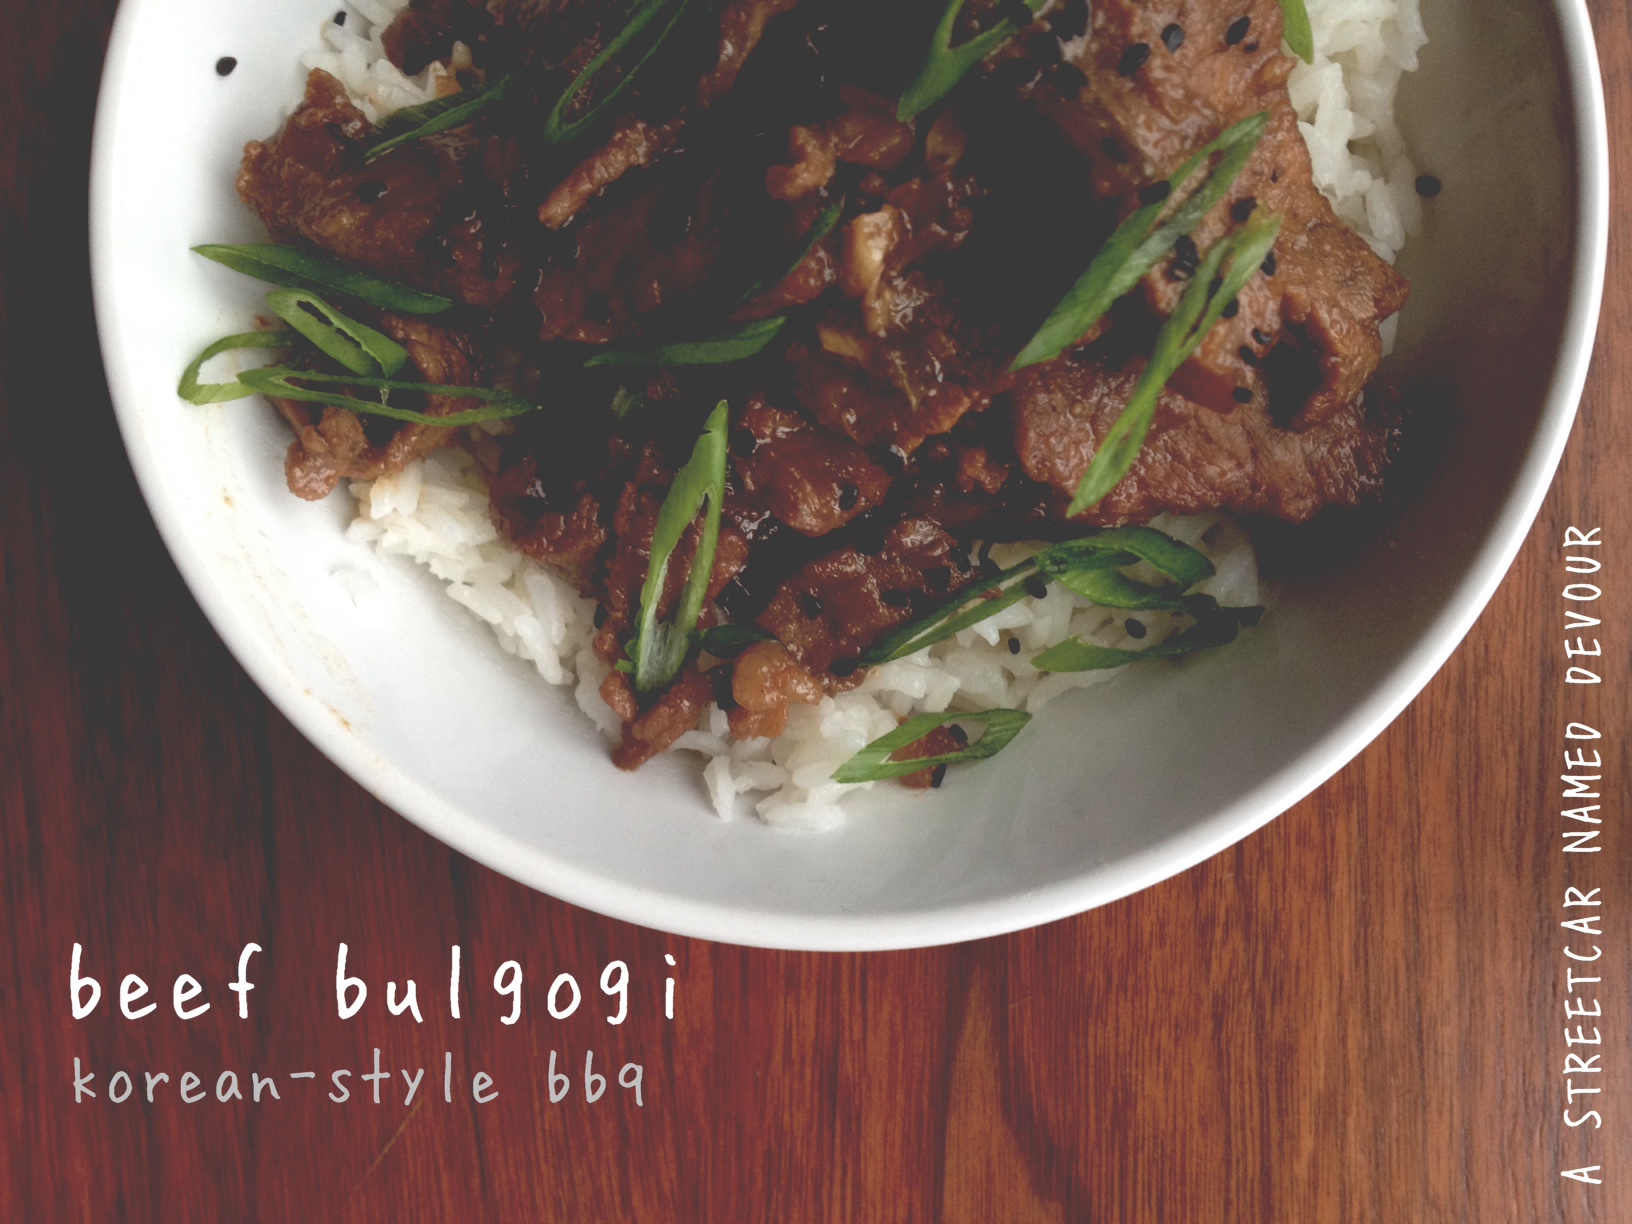
Beef Bulgogi Korean-Style BBQ
Recipe adapted from A Spicy Perspective Serves 1
INGREDIENTS
1 lb. lean steak, frozen
1/2 cup low-sodium soy sauce
3 tablespoons dark brown sugar
2 tablespoons sesame seed oil
3 ea. cloves garlic, minced
1 tablespoon fresh ginger, peeled and grated
1/2 teaspoon freshly ground black pepper
1 teaspoon Sriracha sauce
1 bunch green onions, chopped, whites and greens separated
1 tablespoon sesame seeds, toasted
METHOD
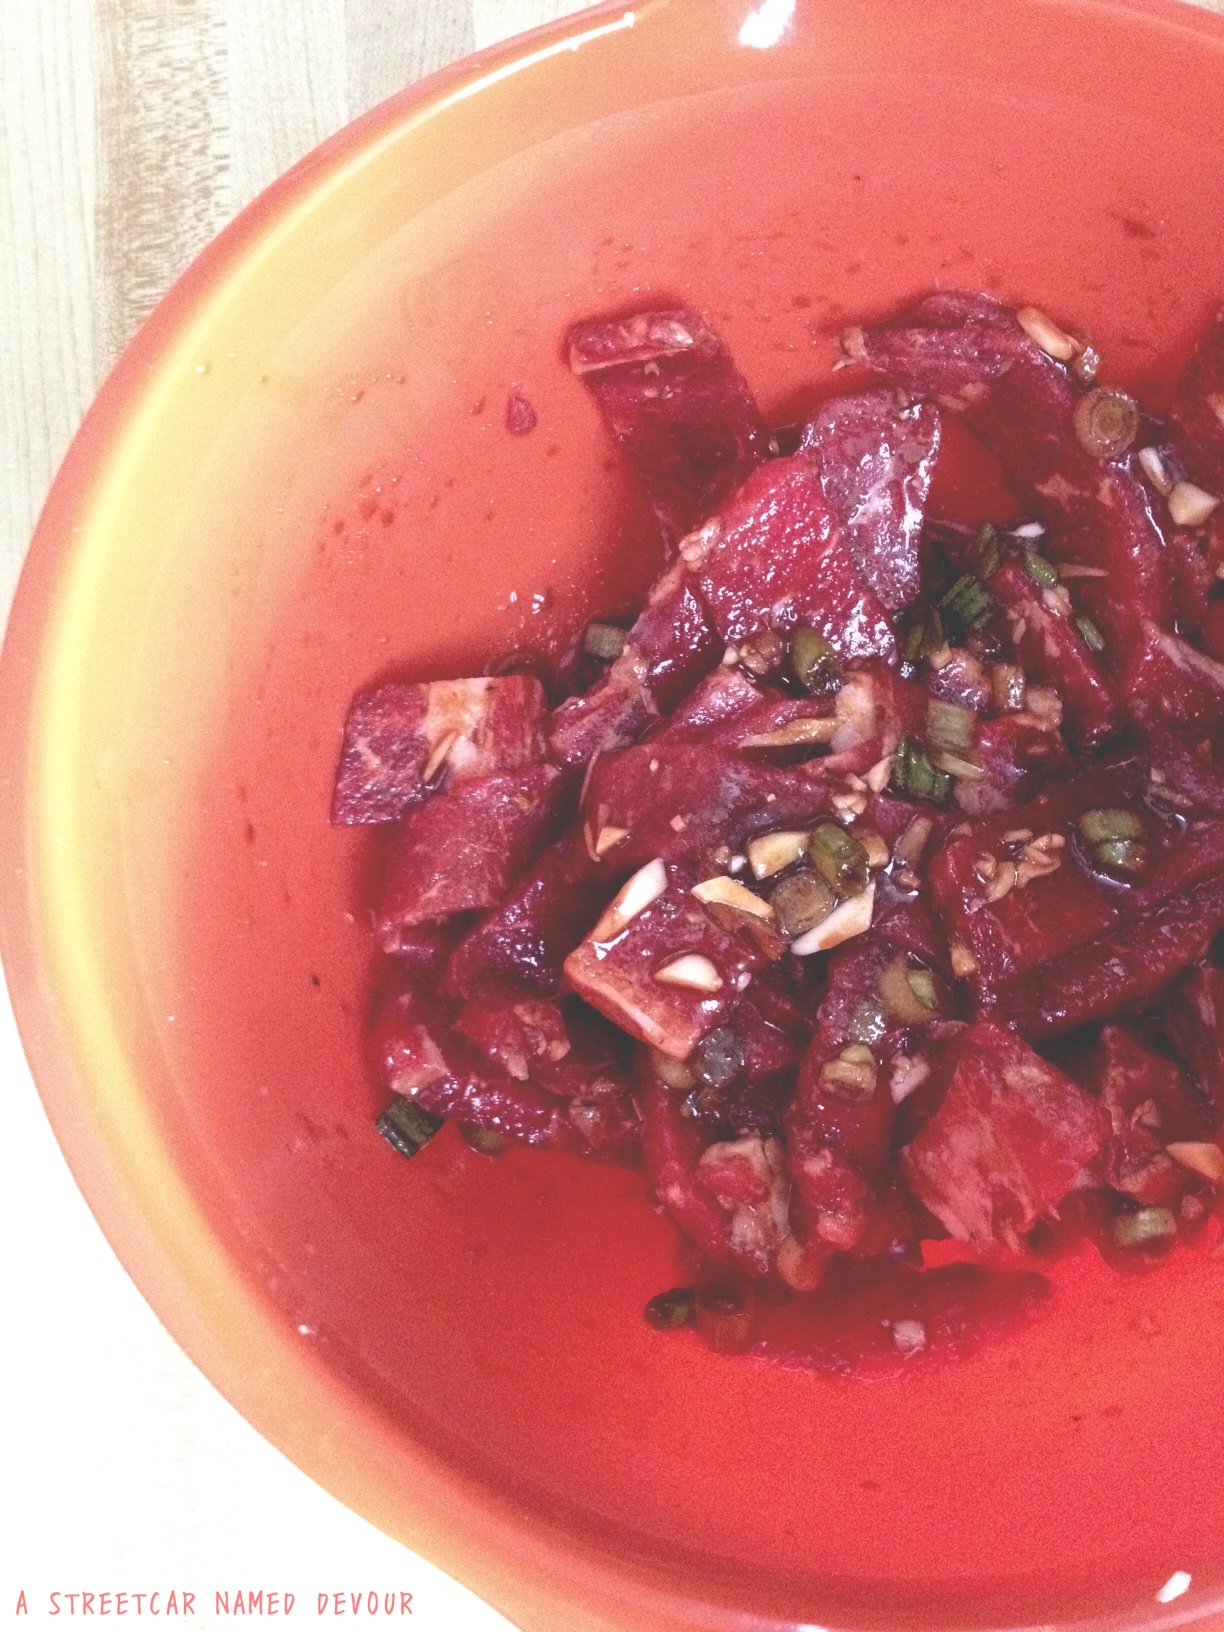
While the steak is still frozen, trim the excess fat and slice into thin strips. (Cook’s note: the steak is easier to cut through when it’s frozen.)
Place the steak into a large bowl with the next 7 ingredients. Toss all of the ingredients to coat, and then adding the white parts of the onion. Allow the steak and marinade to thaw for about 1 hour.
Heat a large skillet or wok to medium-high heat. Using a pair of tongs, place the meat onto the heated skillet. Spread the pieces of meat evenly to allow all pieces to cook evenly. After about a minute, add the marinade onto the pan. Toss to coat and allow the sauce to caramelize. Once the marinade is cooked down and the steak is cooked to desired temperature, turn off the heat.
When ready to serve, garnish with sesame seeds, green onion.
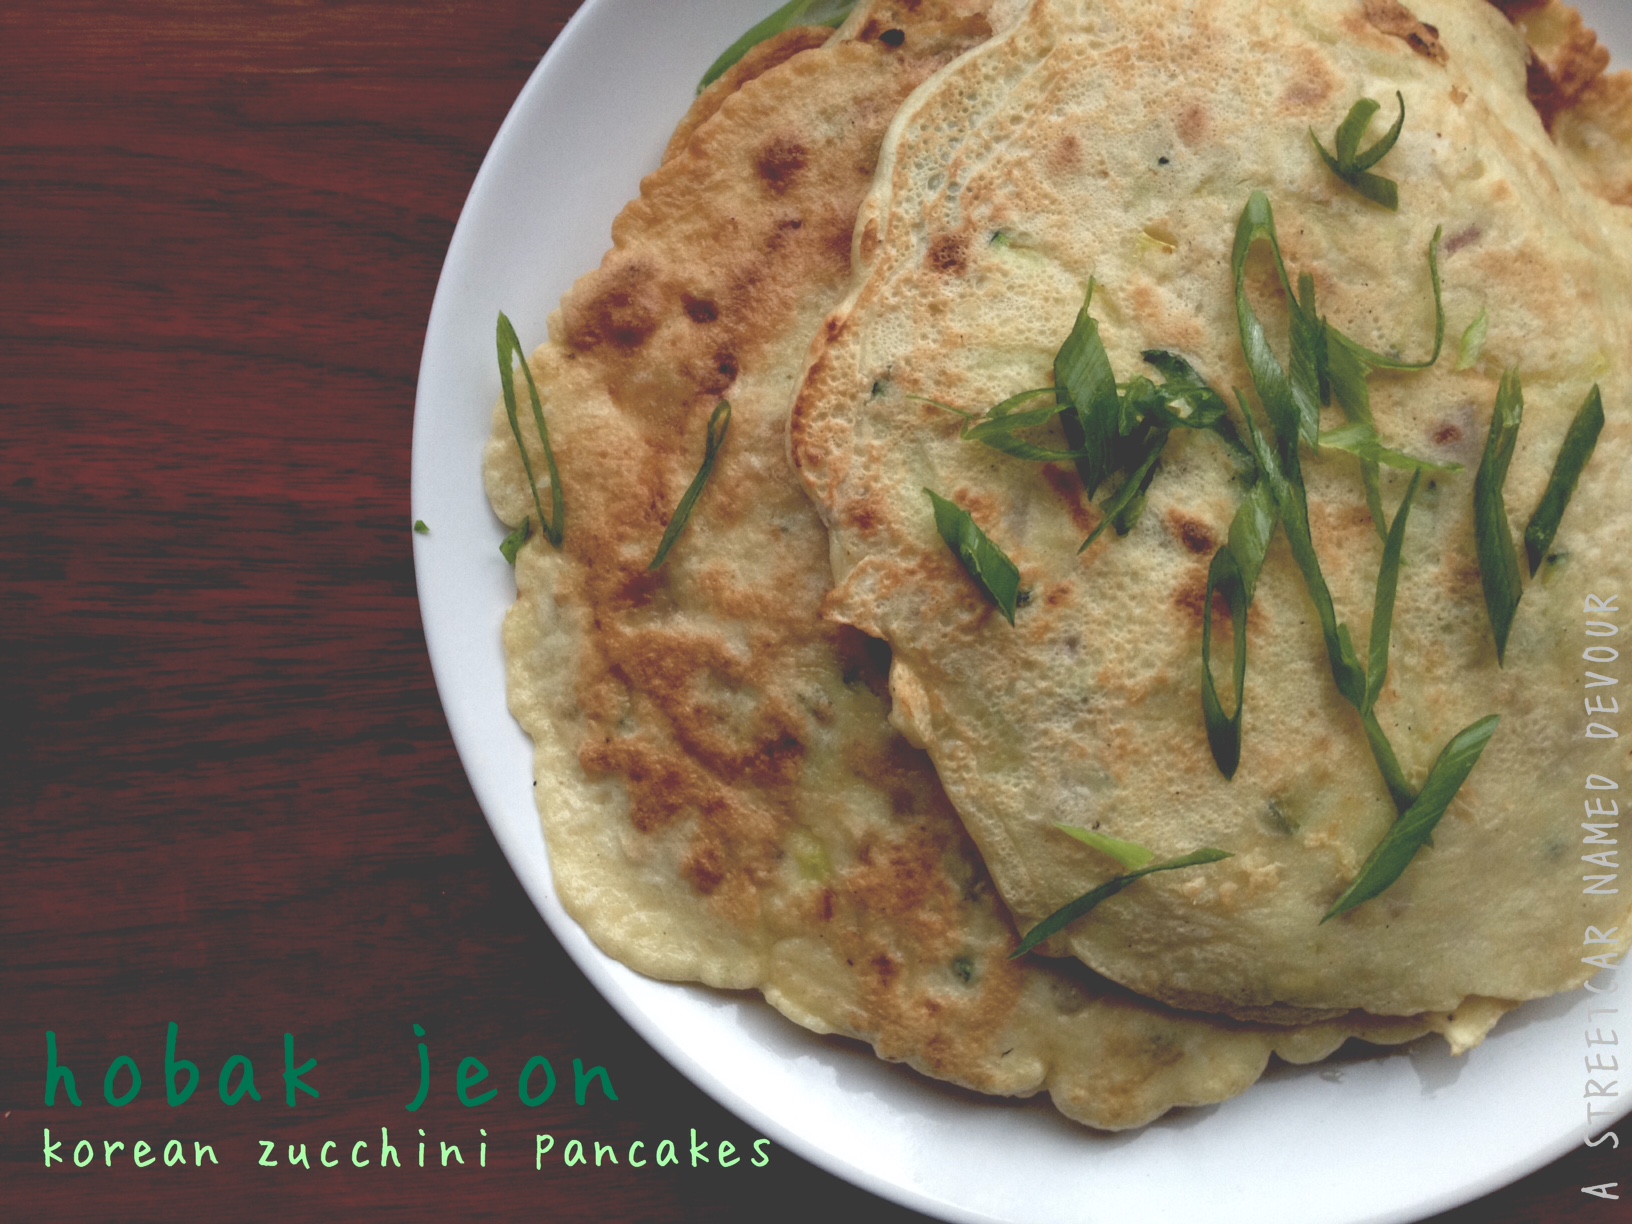
Hobak Jeon Korean Zucchini Pancakes
Recipe adapted from Insanity Theory Yields about 6 pancakes
INGREDIENTS
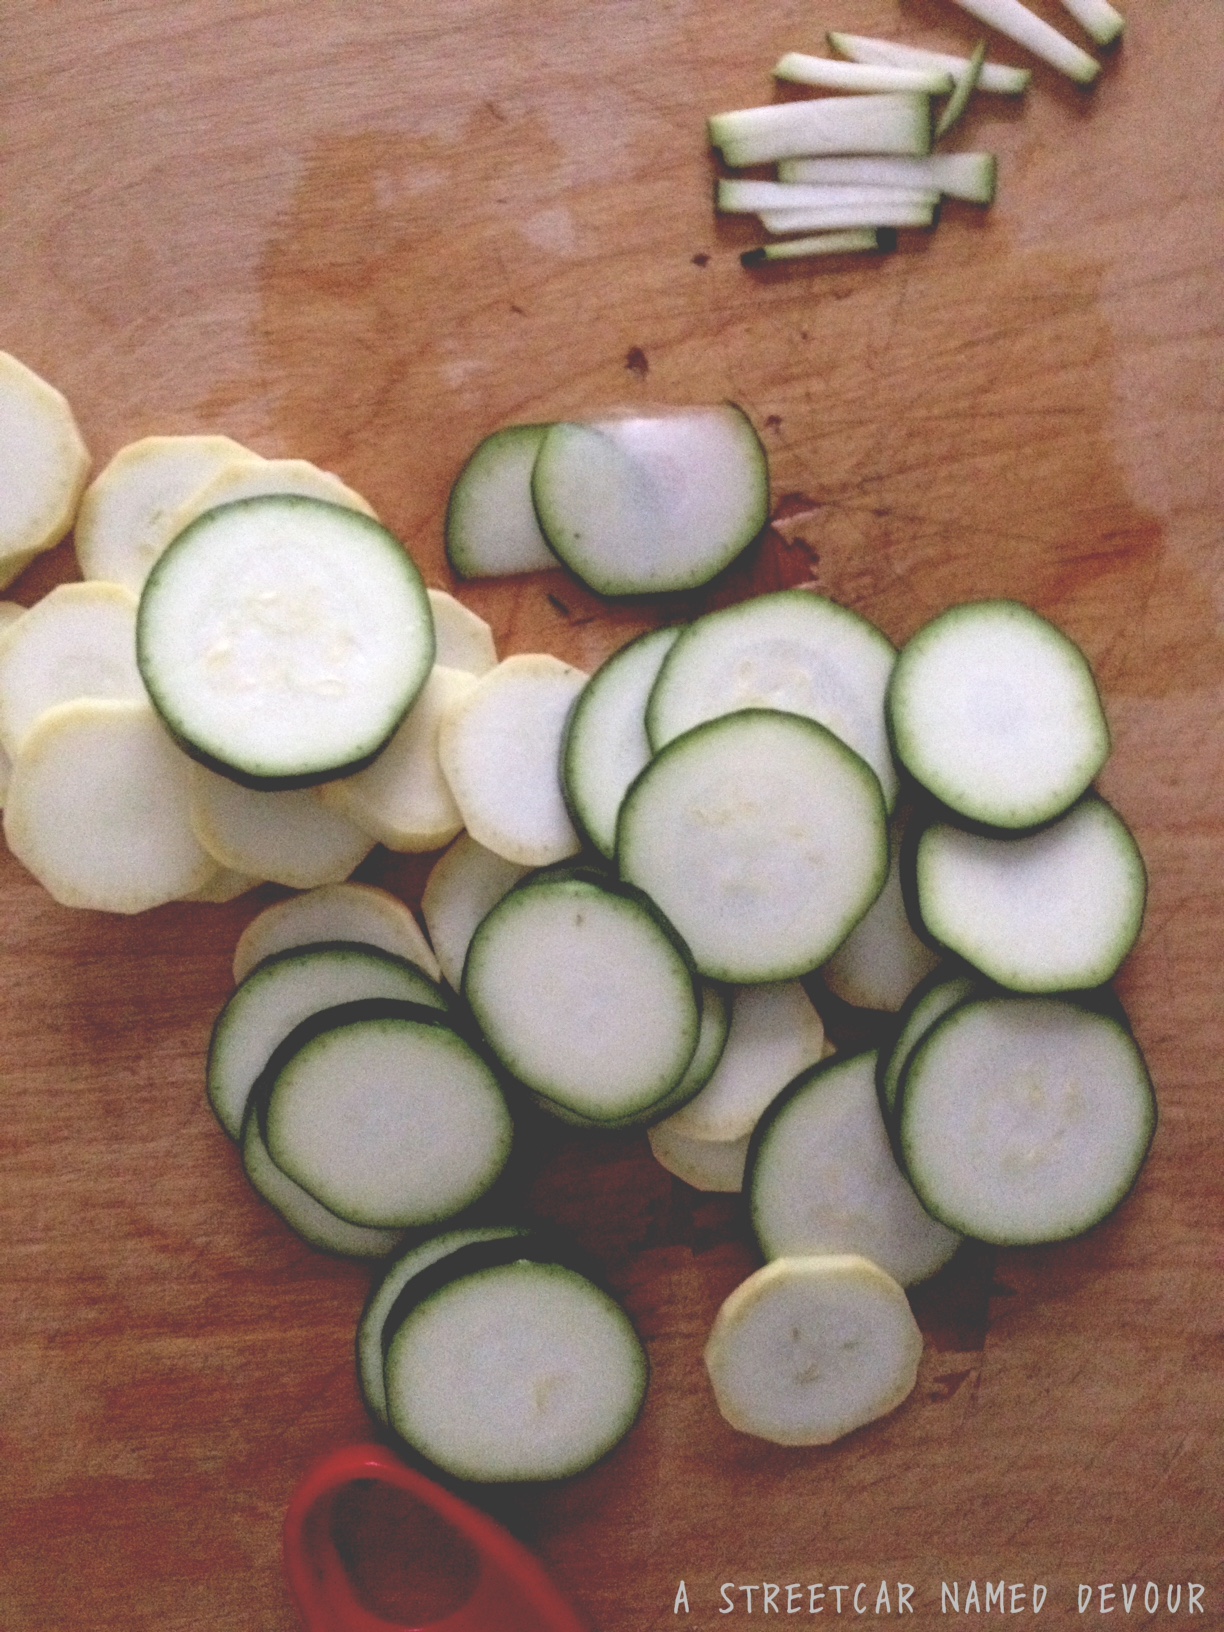
1 ea. zucchini and yellow squash
2 teaspoon Kosher salt
1 ea. medium onion, peeled and minced
2 cups AP flour
2 large eggs
2 cups water
Salt and pepper, to taste
METHOD
Cut off the ends of the yellow squash and zucchini, and then slice into 1/4-inch rounds. Then julienne the rounds.
Toss the squash with the salt, and then place into a bowl for about 30 minutes to drain out the water from the squash.
While you’re waiting for the squash to soften, beat the eggs together till combine. Slowly add in the flour and whisk till incorporated. Then add in the water slowly to thin out. You want the mixture to resemble pancake batter. Add in more water or flour accordingly.
Place the shredded squash into a kitchen towel or cloth, and squeeze out the excess water. Add the squash into the batter, discarding the water. Add in the minced onion.
Heat a cast-iron skillet or non-stick frying pan with a tablespoon of olive oil over medium-low heat. Once the oil starts to haze, add in a scoopful (I used a 1/2 cup) of the pancake batter to the pan. Swirl the pan to evenly coat.
Cook the pancake till light brown on one side (about 2-5 minutes, depending on your pan), then carefully flip over using a spatula and finish cooking, about 1-2 minutes. Transfer the cooked pancake onto a paper towel-lined plate, then repeat till all batter is used. Reapply oil as needed. Serve with hot dipping sauce. (I mixed 1 part Sambal 1/2 part soy sauce.)
I was never a Girl Scout. In lieu of those activities, my mom encouraged me take ballet and tap dance classes, piano lessons and vocal coaching. I was a bit of a singer/dancer as a child, taking any chance I could to steal the limelight to sing in front of an audience (large or small). I loved singing and dancing so much that I didn’t miss or even notice the other activities I could’ve been doing with other kids my age. It wasn’t until I was about 12 years old when I first saw Troop Beverly Hills, a movie about a group of Wilderness Girls from the 90210, led by the fierce (and amazingly dressed) Shelley Long.
Troop Beverly Hills is one of my favorite movies, and after re-watching it in my 20s I immediately recognized one of my favorite artists, a young Jenny Lewis. In fact, the movie is flooded with young stars you may recognize.
Looking back, I kind of wish I would’ve been a Wilderness Girl, just so that I could sing the “Cookie Time” song.
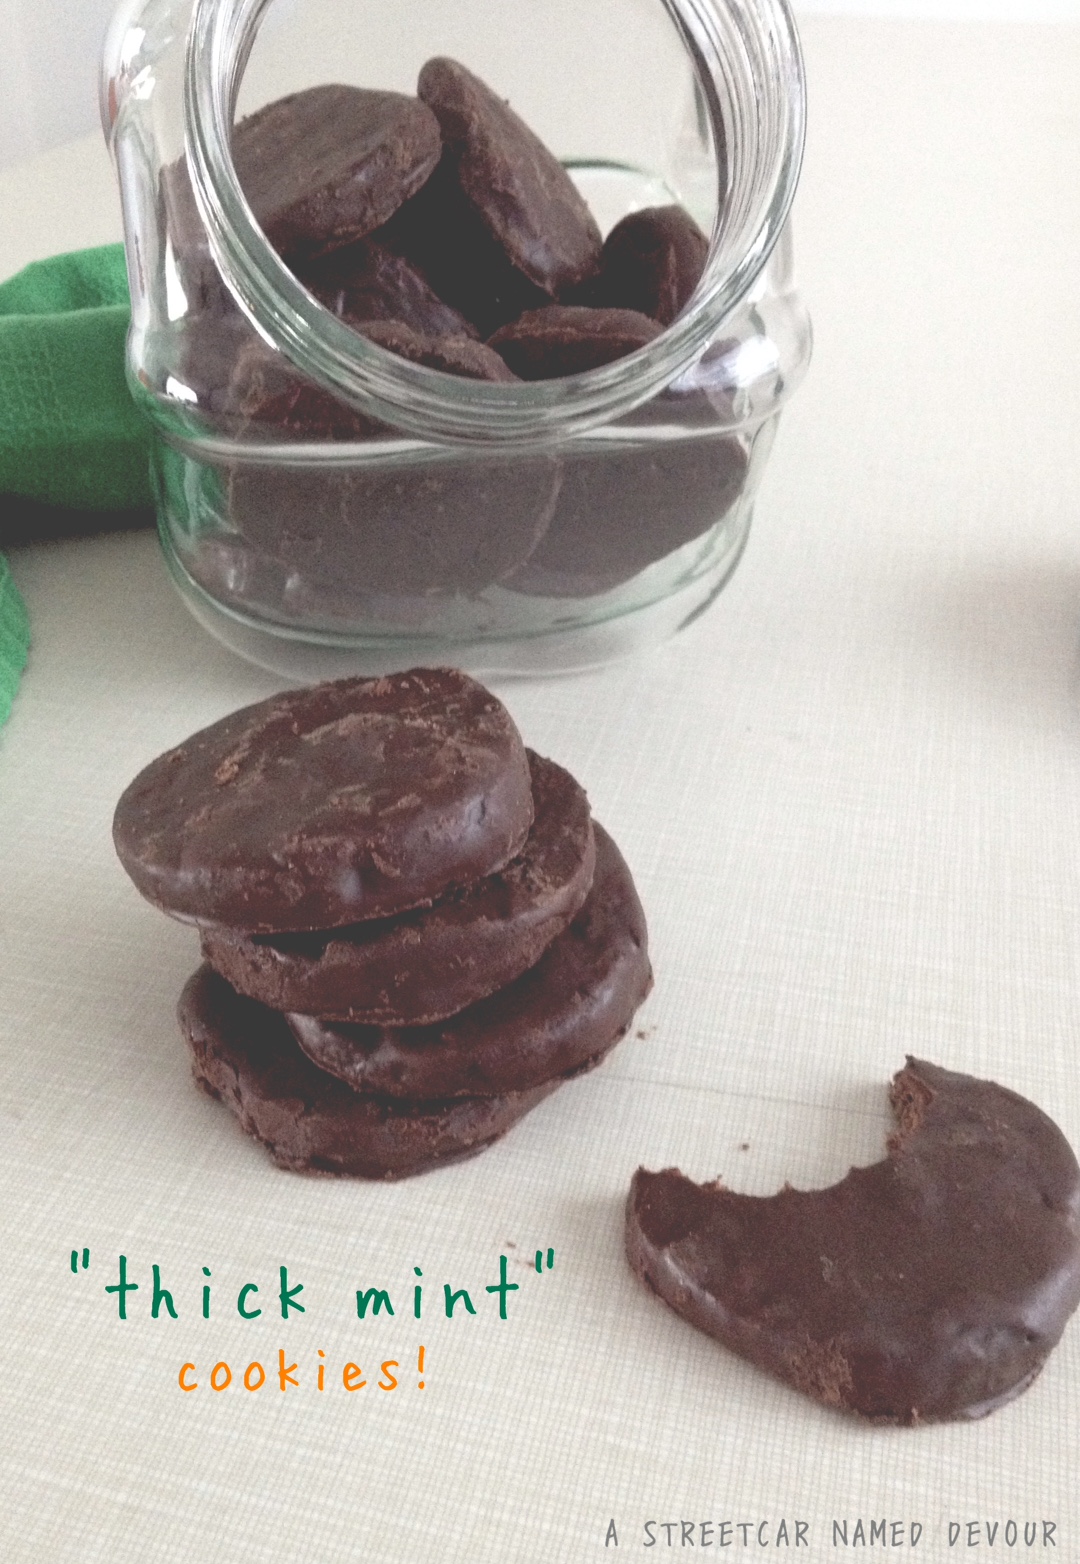
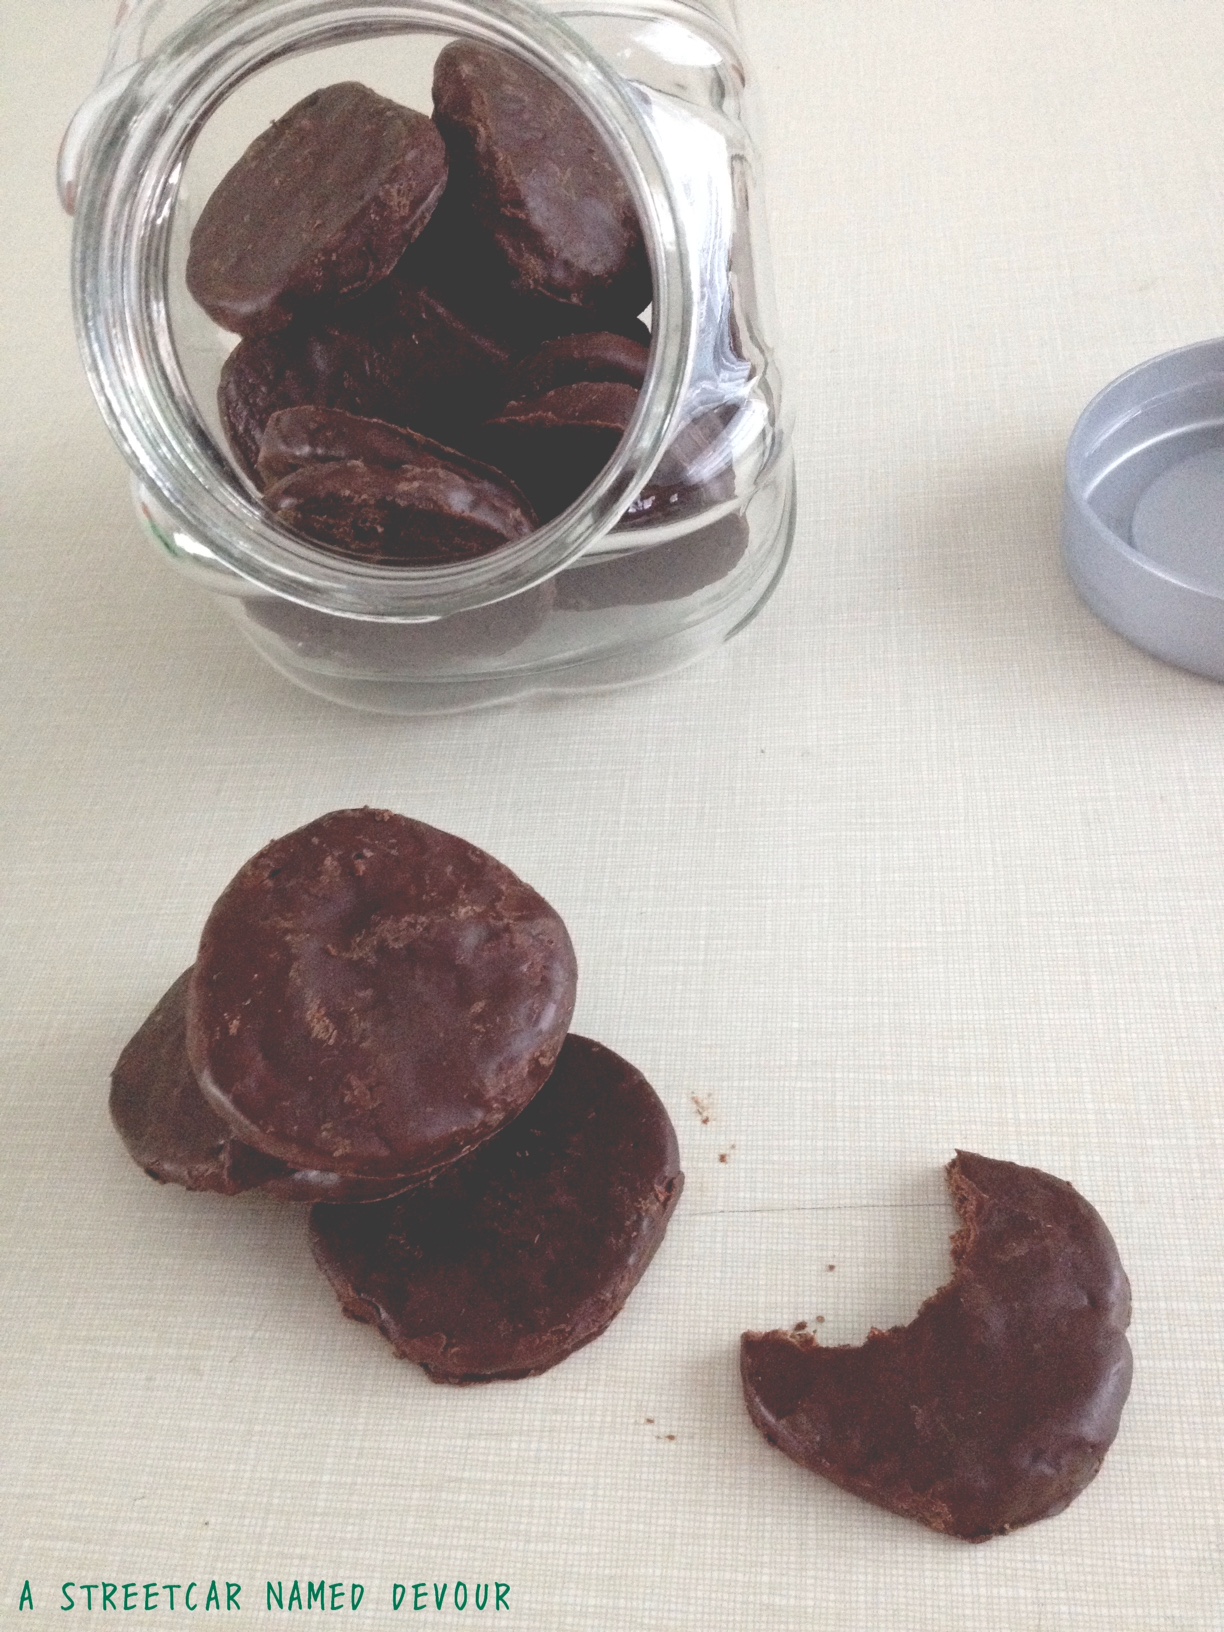
So right now (with all of my social media channels flooded with posts of Girl Scout cookies) I’m craving Thin Mints so very much. But no such luck on finding any Girl Scout cookie sales booths. Being the proactive and slightly impatient person that I am, I decided to create my own. The resulting recipe is vegan-optional (if you choose to use margarine instead of butter) and has a very subtle coconut flavor. ‘Cause mint and coconut go together like khaki and green, right? I’m calling ’em “Thick Mints” for obvious reasons.
==
Homemade Thick Mints
Recipe slightly adapted from BakingBites.com
Yields about 2 1/2 dozen
INGREDIENTS
For the cookies:
8 ounces butter (or margarine)
1 cup unsweetened cocoa powder
1 cup rice flour (I used Mochiko)
1 1/2 teaspoons pure vanilla extract
1 tablespoon peppermint extract
1/3 cup unsweetened coconut milk
1 teaspoon salt
1 ½ cups all purpose flour
For the dipping chocolate:
1 cup semi-sweet chocolate chips
1 tablespoon peppermint extract
1/8 cup canola oil
METHOD
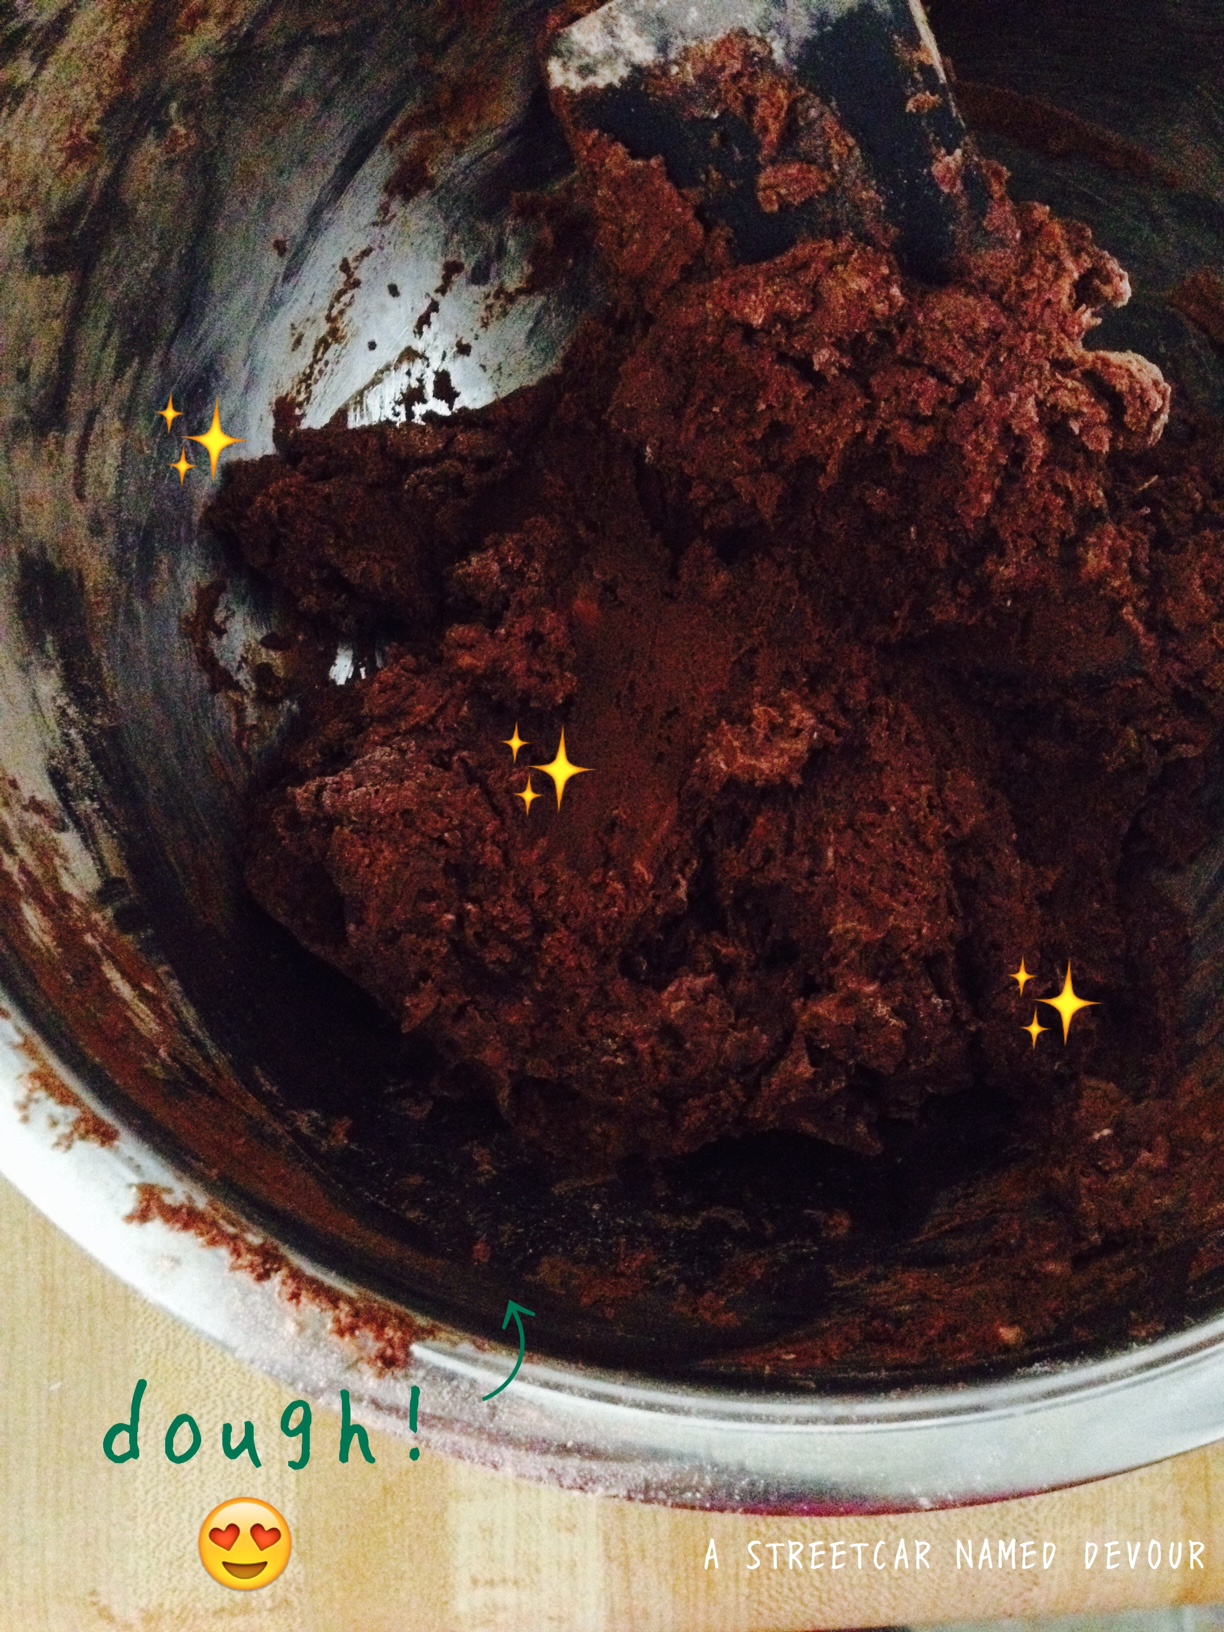
Preheat your oven to 350 degrees. Cream the butter (or margarine) and sugar till fully incorporated. Stir in the salt, extracts, coconut milk and cocoa powder. Mix until the cocoa powder is integrated and the batter looks like chocolate frosting. Add the flours and mix till just combined, making sure to not over-mix.
Form the dough into a cylinder-like roll (think rolling pin-sized). Wrap the dough completely in Saran or other plastic wrap tightly. Place the dough into the freezer for at least 3 hours or overnight.
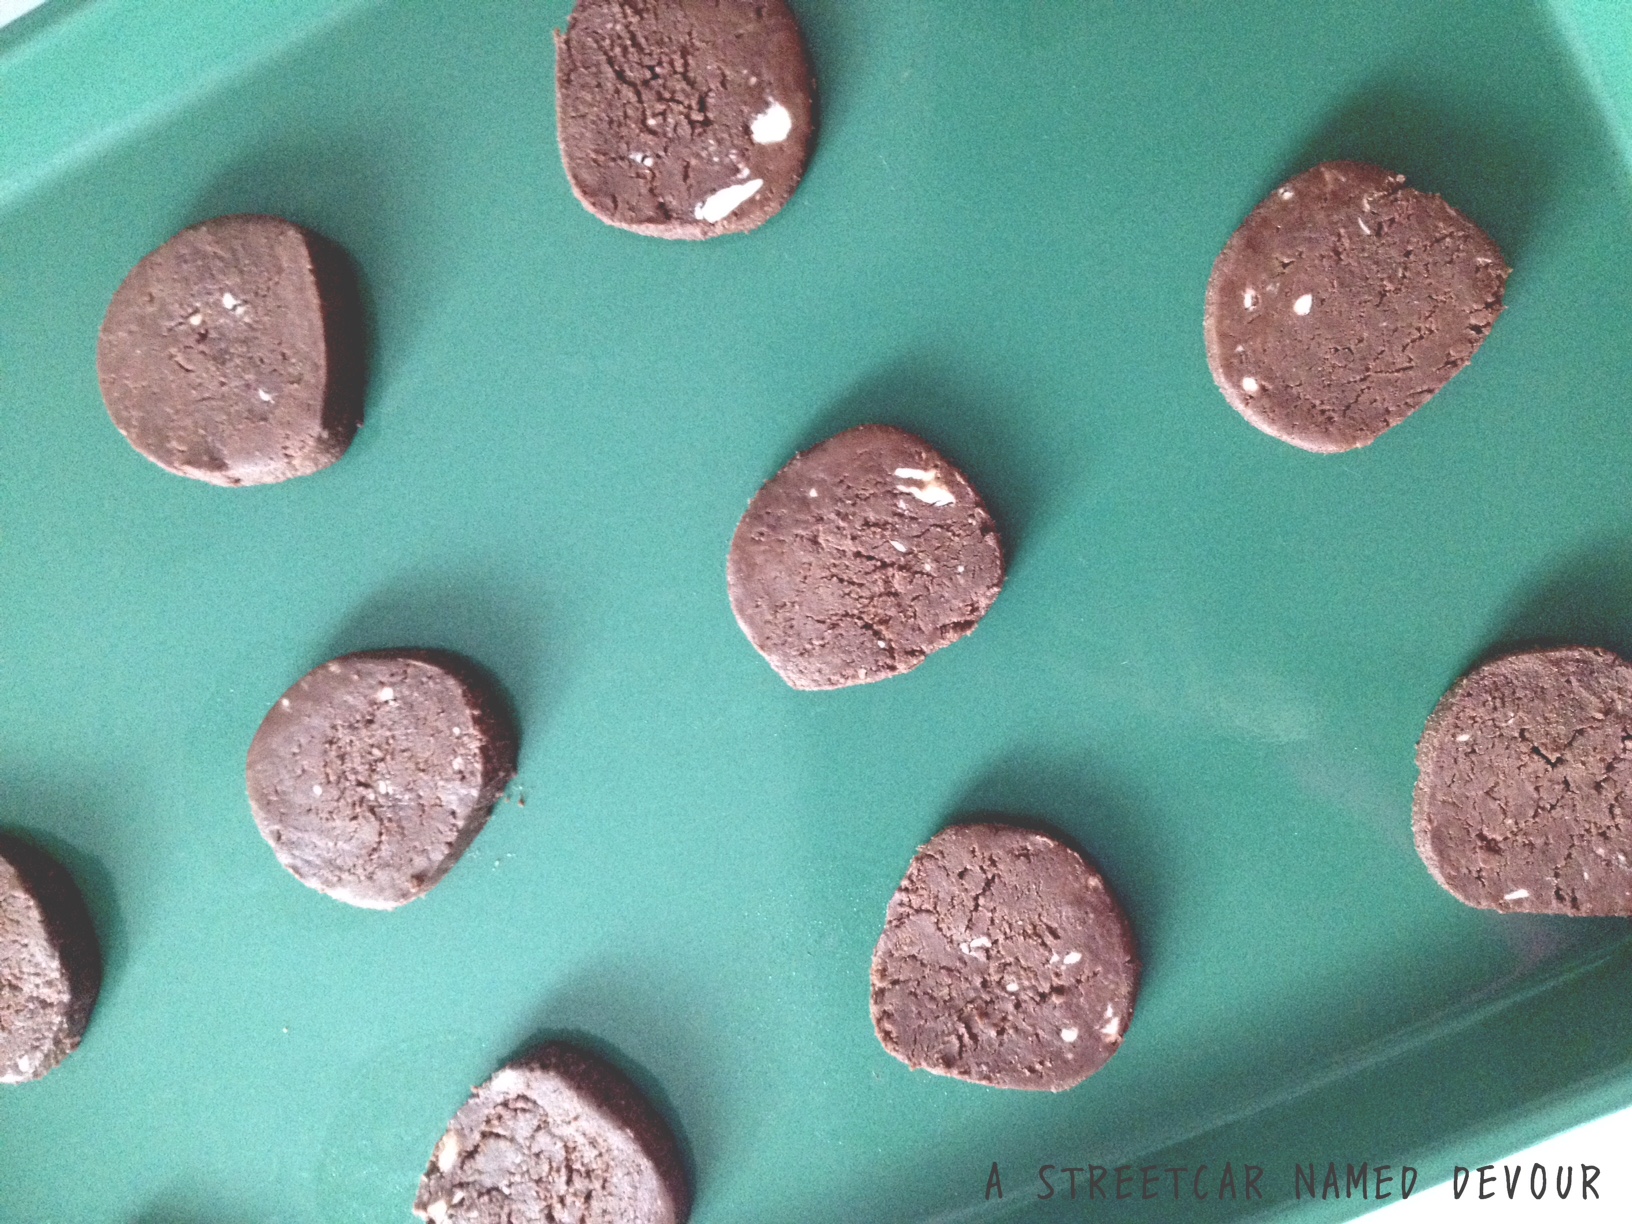
After properly resting, remove dough from the freezer and carefully discard plastic wrap. Using a sharp serrated knife cut dough into 1/2-inch discs, slowly cutting so as to not break the dough.
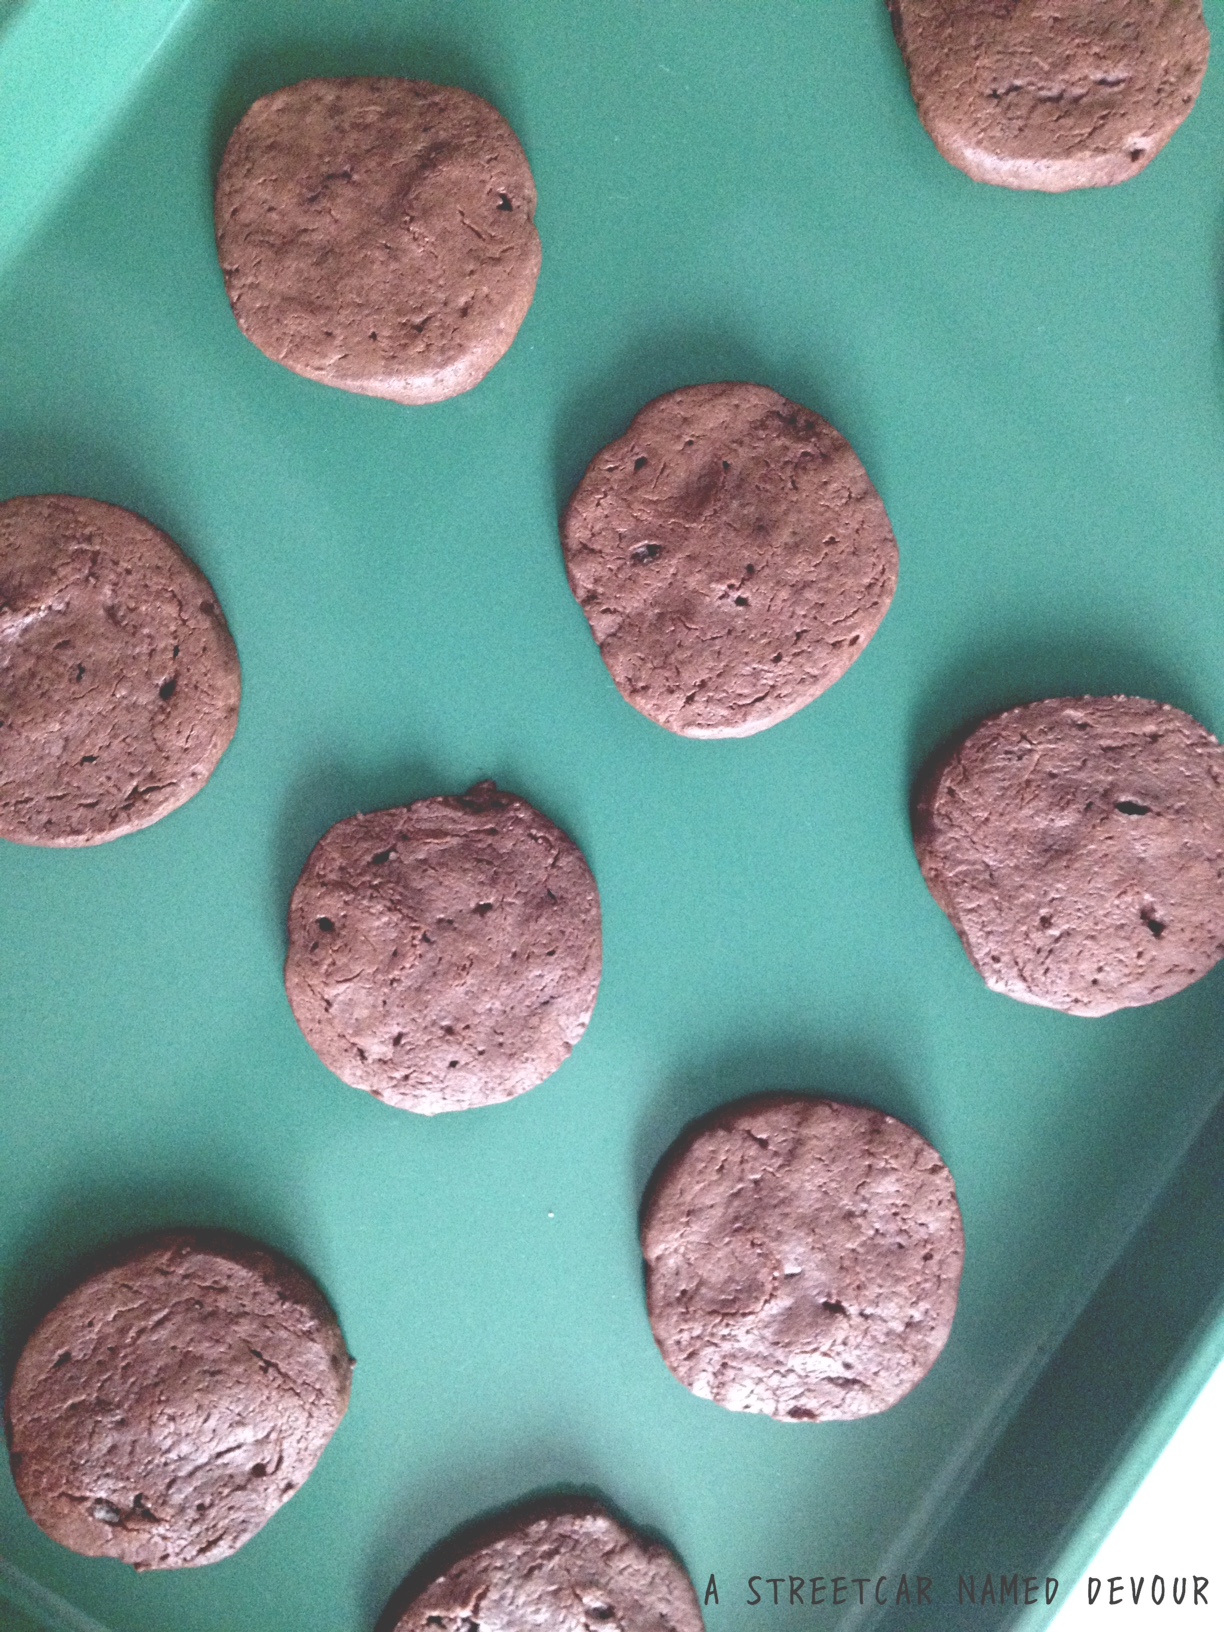
Place the cookies on a baking sheet and bake for 11-13 minutes. Remove the cookies from the oven and allow them to cool completely on a wire rack, about 5 minutes.
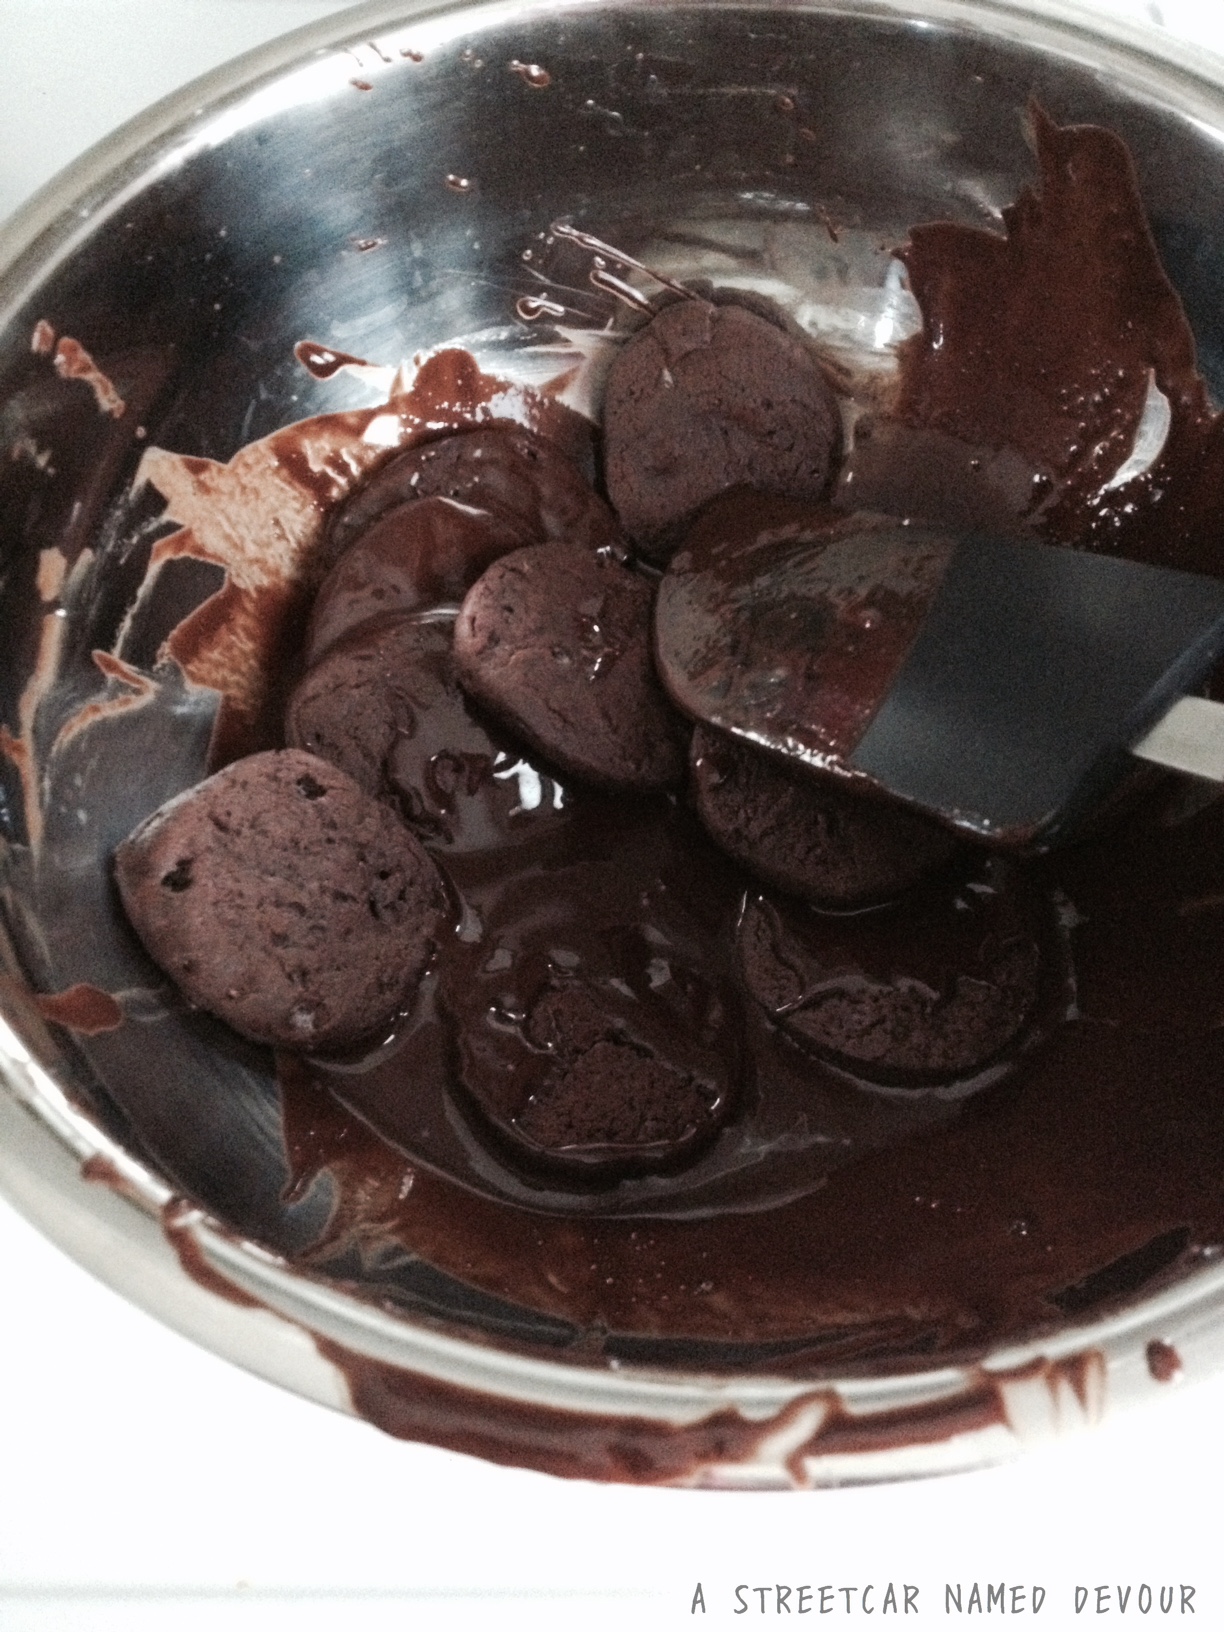
While the cookies bake, make the peppermint coating. Heat a sauce pot of water till boiling. Place the baking chocolate into a heat-resistant bowl over the boiling water, making sure not to get water into the chocolate.
(Cook’s Note: I have read recipes online instructing to place chocolate into a microwave. Please, I repeat, please don’t do that. Heating chocolate in the microwave will oftentimes scorch it. Chocolate is a temperamental food that needs to be treated carefully. On that note, please don’t ever heat chocolate over a direct flame. Melting chocolate over a double-boiler creates a more controllable heat source.)
Once the chocolate has melted, stir in the peppermint extract. Then slowly add in the oil to thin it out.
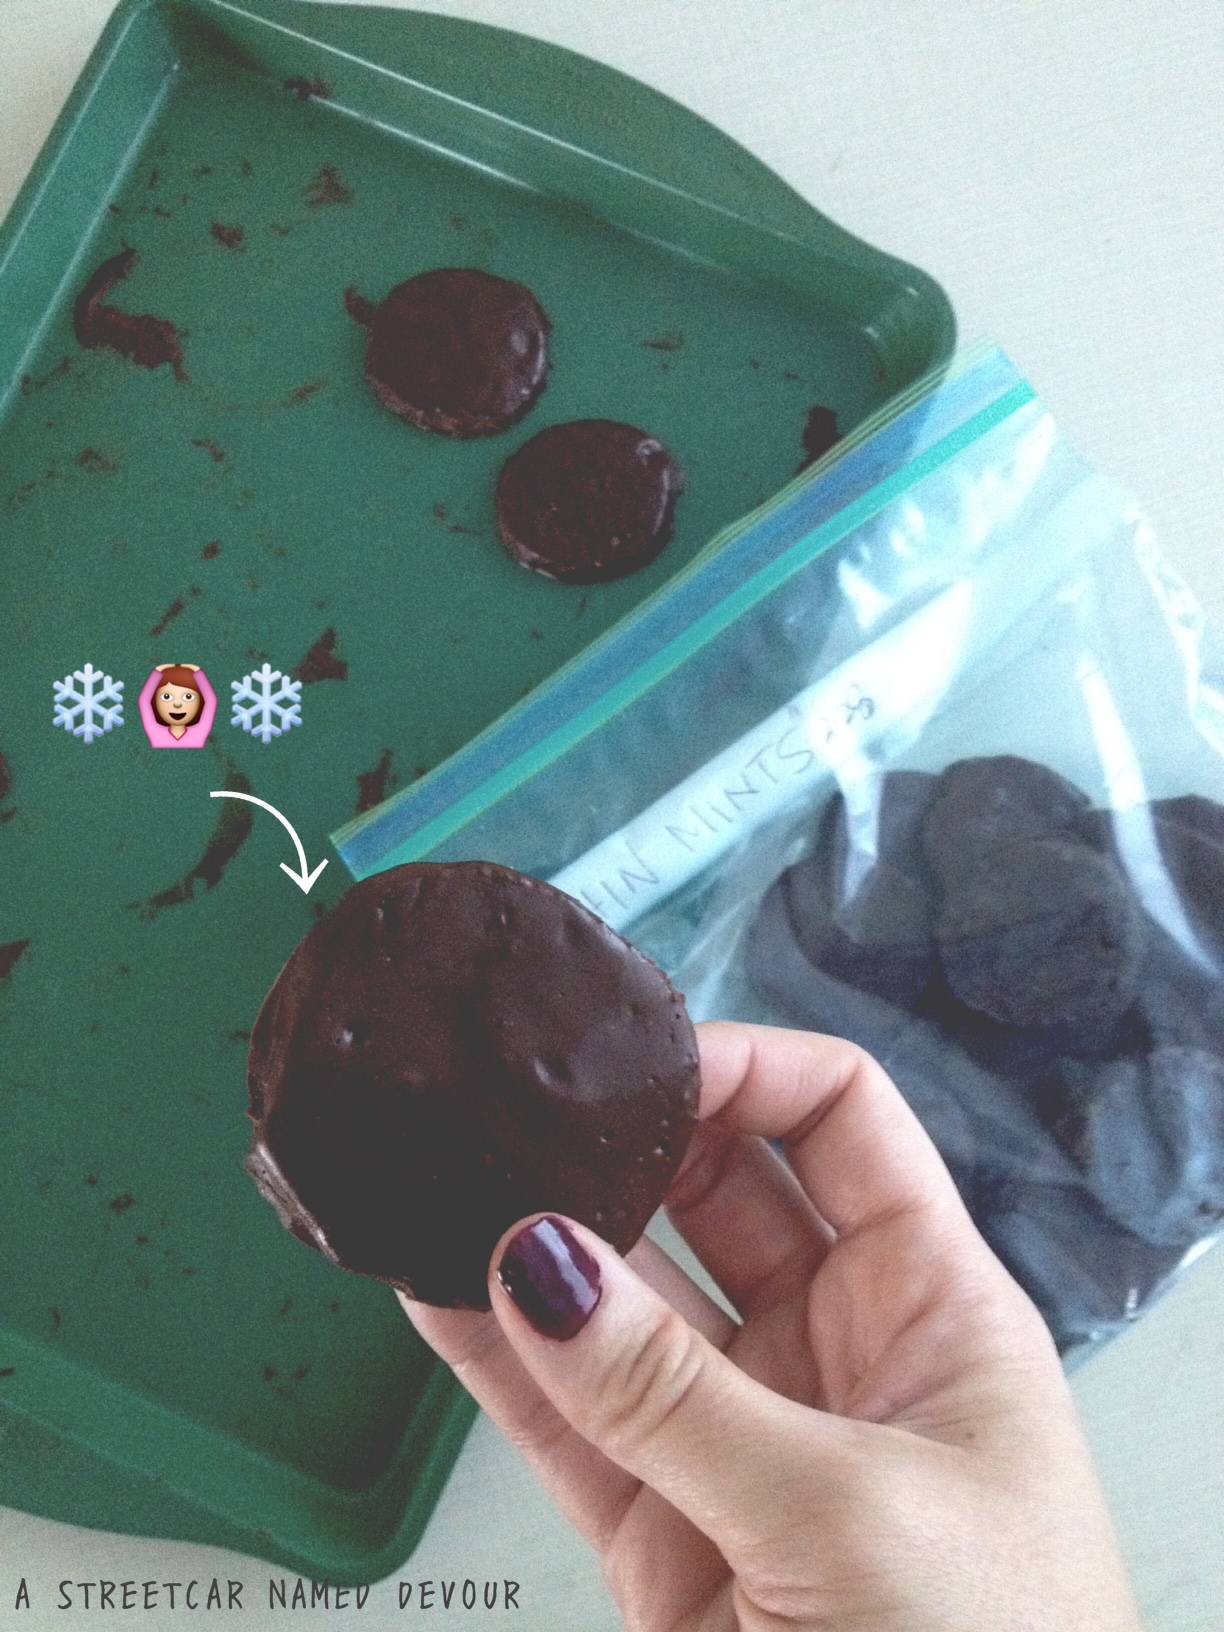
Slowly drop the cookies into the melted chocolate. Turn to coat the cookies entirely, then lift the cookie out of the chocolate with a rubber spatula.
Place the dipped cookies onto a parchment- or Silpat-lined baking sheet. Place the cookies in the freezer to set for at least an hour, preferably overnight if you’re patient!
Now it’s “cookie time, it’s cookie time, it’s cookie time!”
(Editor’s Note: All movie screenshots are property of Weintraub Entertainment Group)
By a show of hands, who’s also obsessed with Fox’s television show, Empire? I just can’t get enough. I was introduced to the show via some friends at work who also share my love for VH1’s Love and Hip Hop.
“Oh girl, you think Love and Hip Hop is good, you definitely need to watch Empire. You’ll thank me later,” one friend said.
“You’re not watching Empire yet? Get on it, girl! It’s like a scripted, well acted version. But 1000-plus times better. Trust me,” another friend exclaimed.
So I gave in to the peer pressure and watched the pilot that night. My expectations were exceeded. Are you kidding? This show is phenomenal. (Know that I don’t use that term lightly.) My girl Taraji P. Henson is KILLING IT as the lead heroine, Cookie Lyon. Mama is fierce! And I just can’t get over how gorgeous Jamaal (portrayed by actor Jussie Smollett) is.
(Side note: Did anyone realize a young Jussie was in THIS movie?) The relationship he and Cookie have is so beautiful to watch, like how a mama lioness watches over her cub. This show proves that a mother’s love is stronger than just about anything.
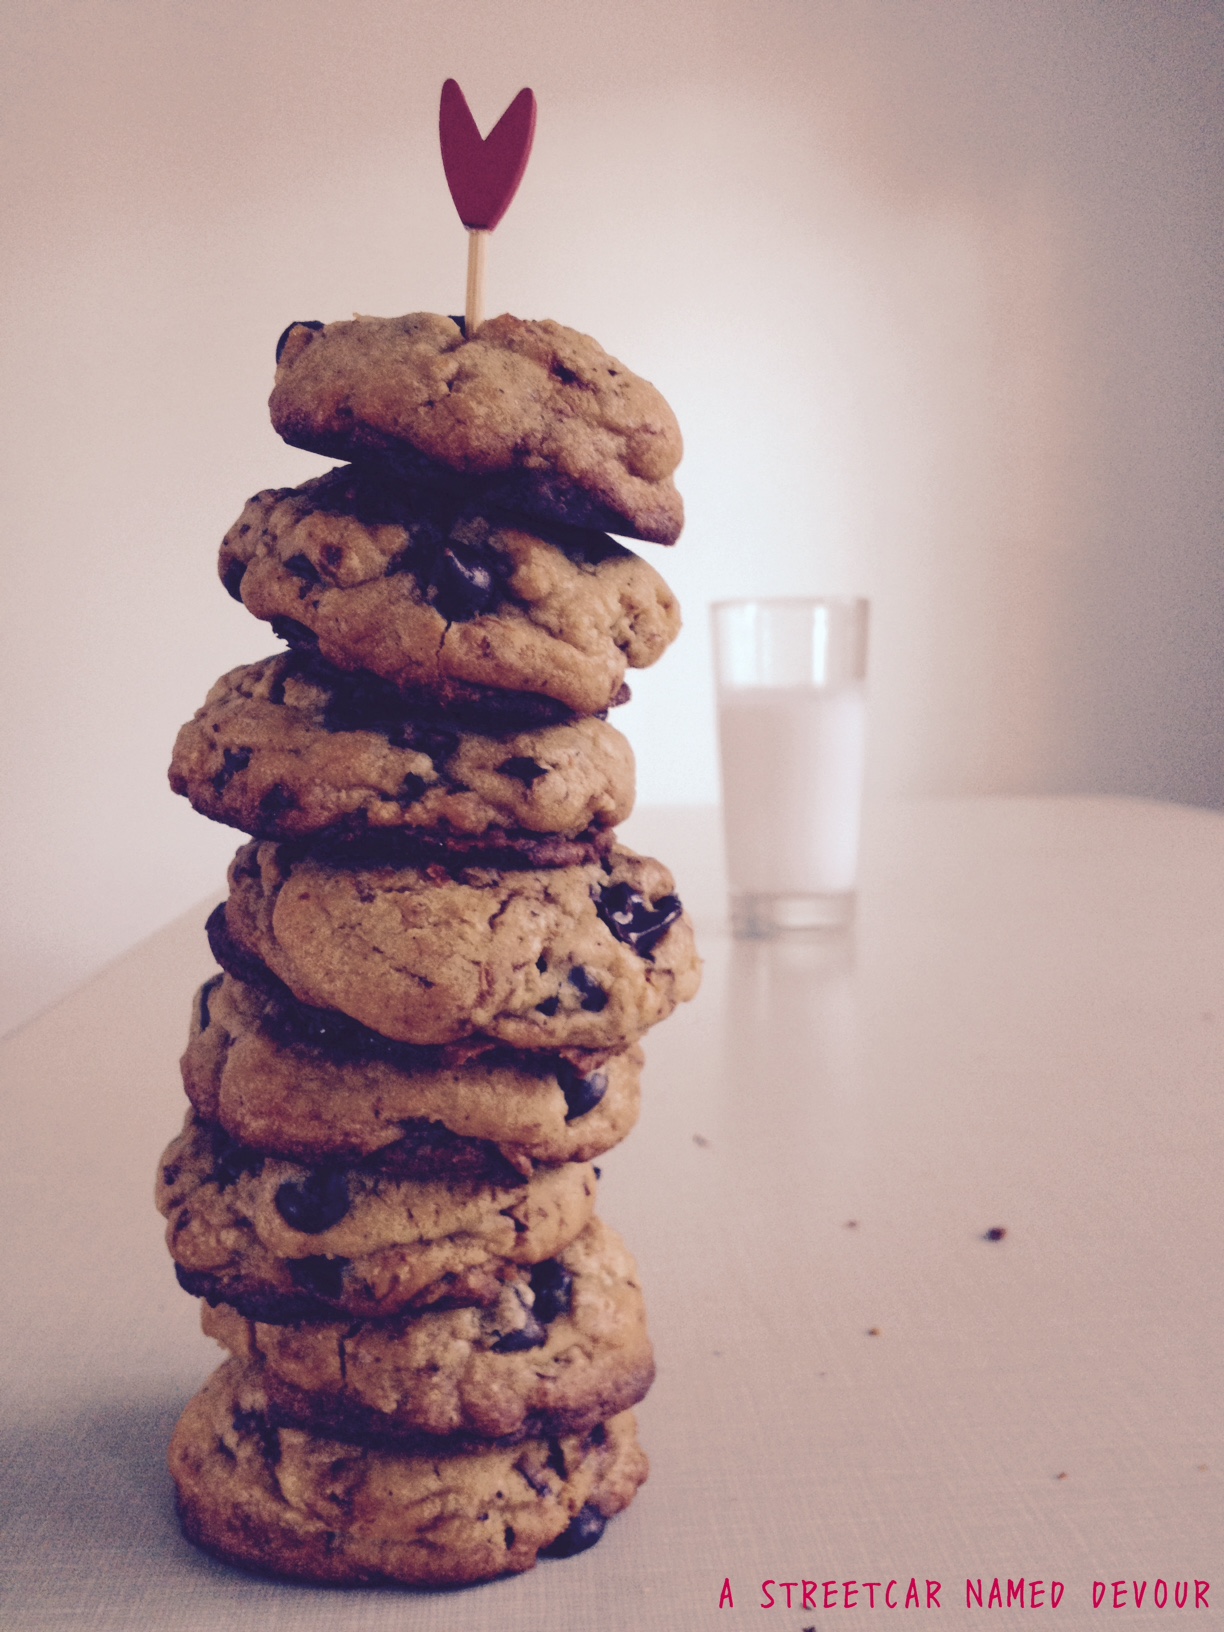
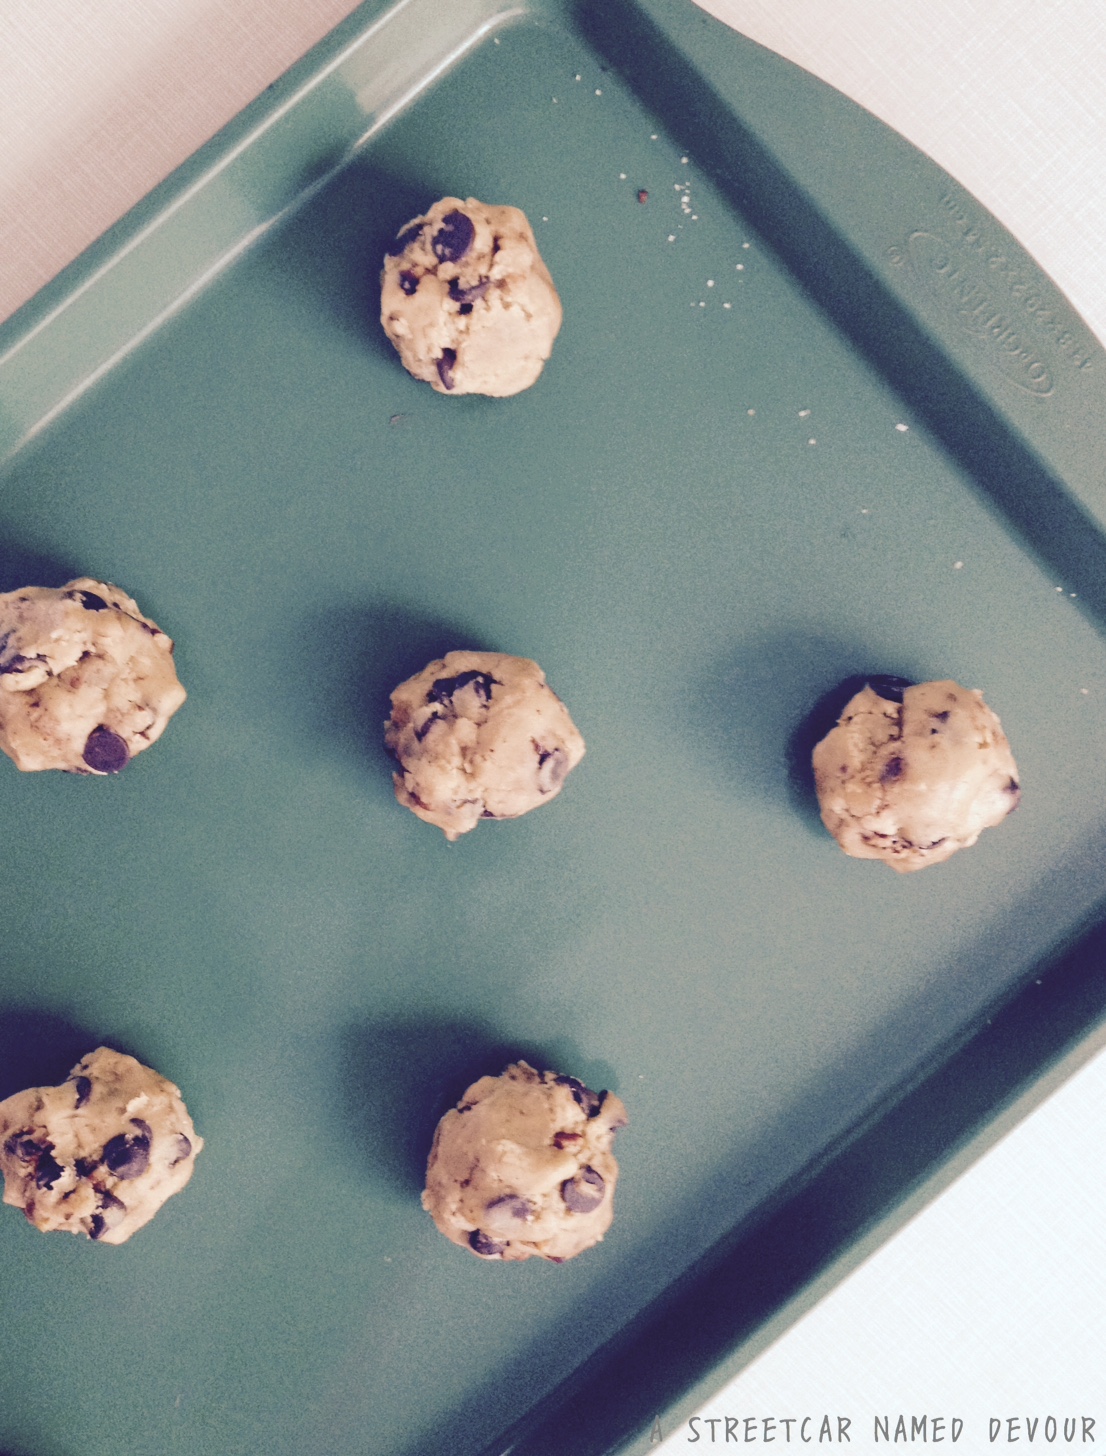
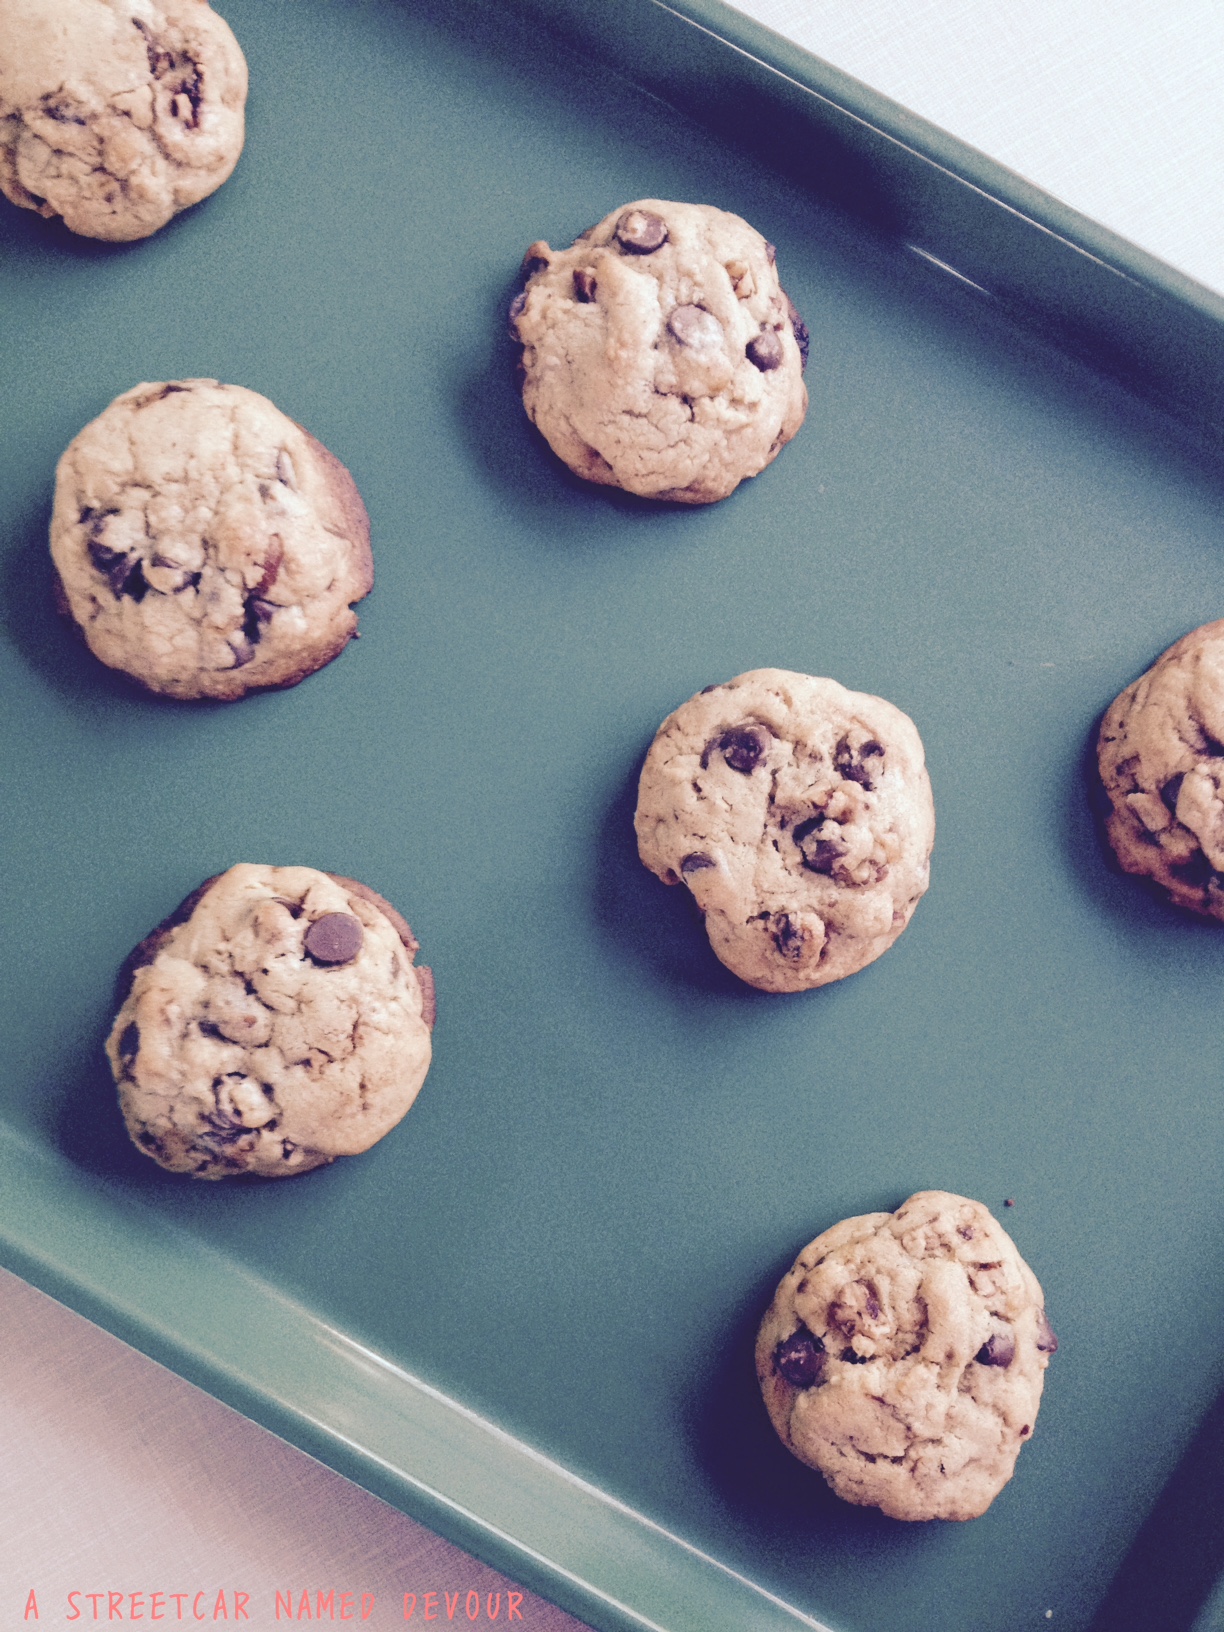
With all this talk about Miss Cookie, I got to thinking: It’s been a few weeks since I’ve made some actual cookies at home. So I got to the kitchen and started baking away. These cookies are such a great twist on the classic chocolate chip cookie. The brown butter deepens the flavor and the pecans add spice with a nice bit of crunch.
(Editor’s Note: All television show screenshots are property of 20th Century Fox.)
==
Brown Butter Spiced Pecan Chocolate Chip Cookies Cookie recipe slightly adapted from Joy the Baker Spiced pecan recipe by A Streetcar Named Devour Yields about 3 dozen cookies
FOR THE SPICED PECANS
INGREDIENTS
1/2 cup brown sugar
1/2 teaspoon Kosher salt
1 teaspoon ground cinnamon
1/2 teaspoon cayenne pepper
1/8 cup water
1 teaspoon olive oil
1 cup pecans, whole
METHOD
Preheat the oven to 300°F. Add all ingredients into a mixing bowl and thoroughly coat the pecans. Spread the pecans into a single layer onto the sheet tray. Place into the oven for 15 minutes. Once done, remove and allow to cool.
FOR THE COOKIES
INGREDIENTS
1 cup unsalted butter
1 cup brown sugar, packed
1/2 cup granulated sugar
1 large egg
2 teaspoons pure vanilla extract
2 1/4 cups all-purpose flour
1 teaspoon salt
1 teaspoon baking soda
1 cup bittersweet chocolate chips
1/2 cup coarsely chopped pecans (recipe above)
METHOD
Place half of the butter into a medium skillet. Melt the butter over medium-high heat, swirling the pan occasionally to avoid burning. The butter will begin to foam while cooking. Once the butter starts to smell nutty and the color is light amber, it’s done. Carefully remove the butter and pour it into a small bowl to cool down.
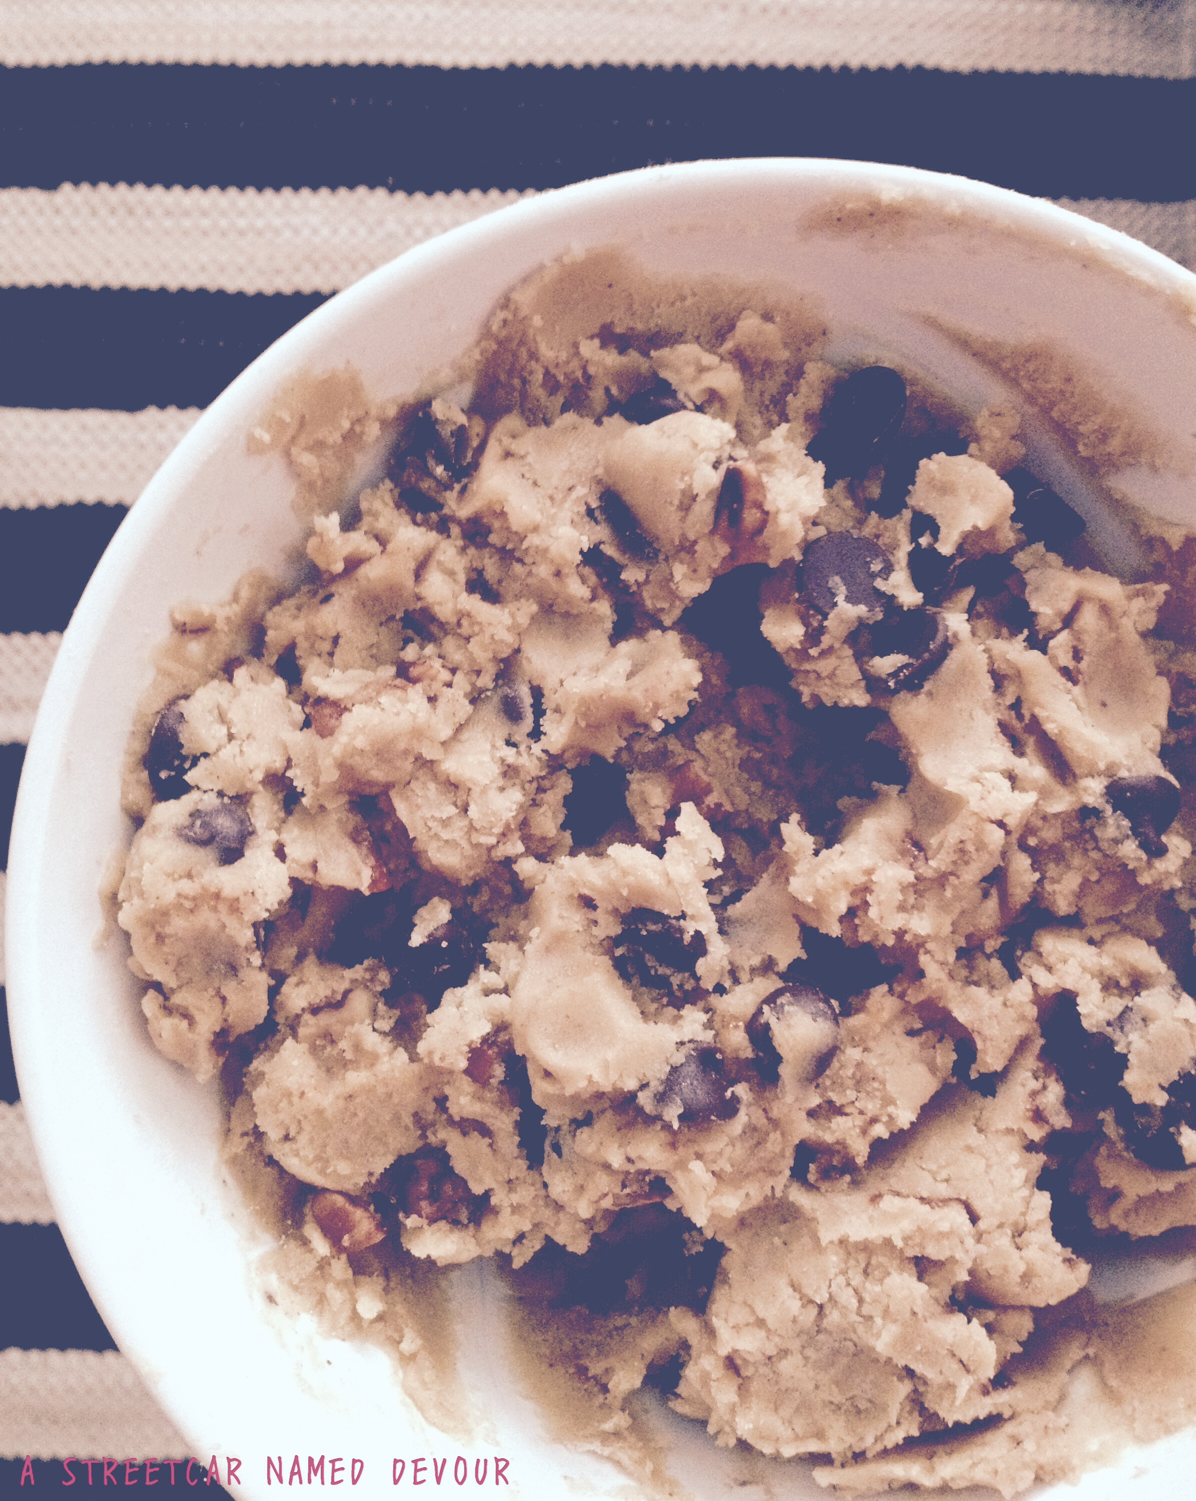
While the brown butter cools, mix the other 1/2 cup of butter with the sugars, until the mixture is well incorporated. Add in the vanilla and the egg. Once cool, pour in the brown butter. Mix until smooth. Slowly add in all the dry ingredients until just incorporated.
Place the dough into a sealable container and into the refrigerator to cool for at least an hour. Even better if it’s overnight.
When you’re ready to bake the dough, preheat the oven to 350°F. Scoop the refrigerated dough in 2-tablespoon scoops onto a parchment- or Silpat-lined sheet tray, lining them so that they have plenty of space as they will spread considerably once baked. Bake the cookies for about 13 minutes, or until they’re a pretty golden brown. Remove from the oven, and allow them to cool for at about 5 minutes.
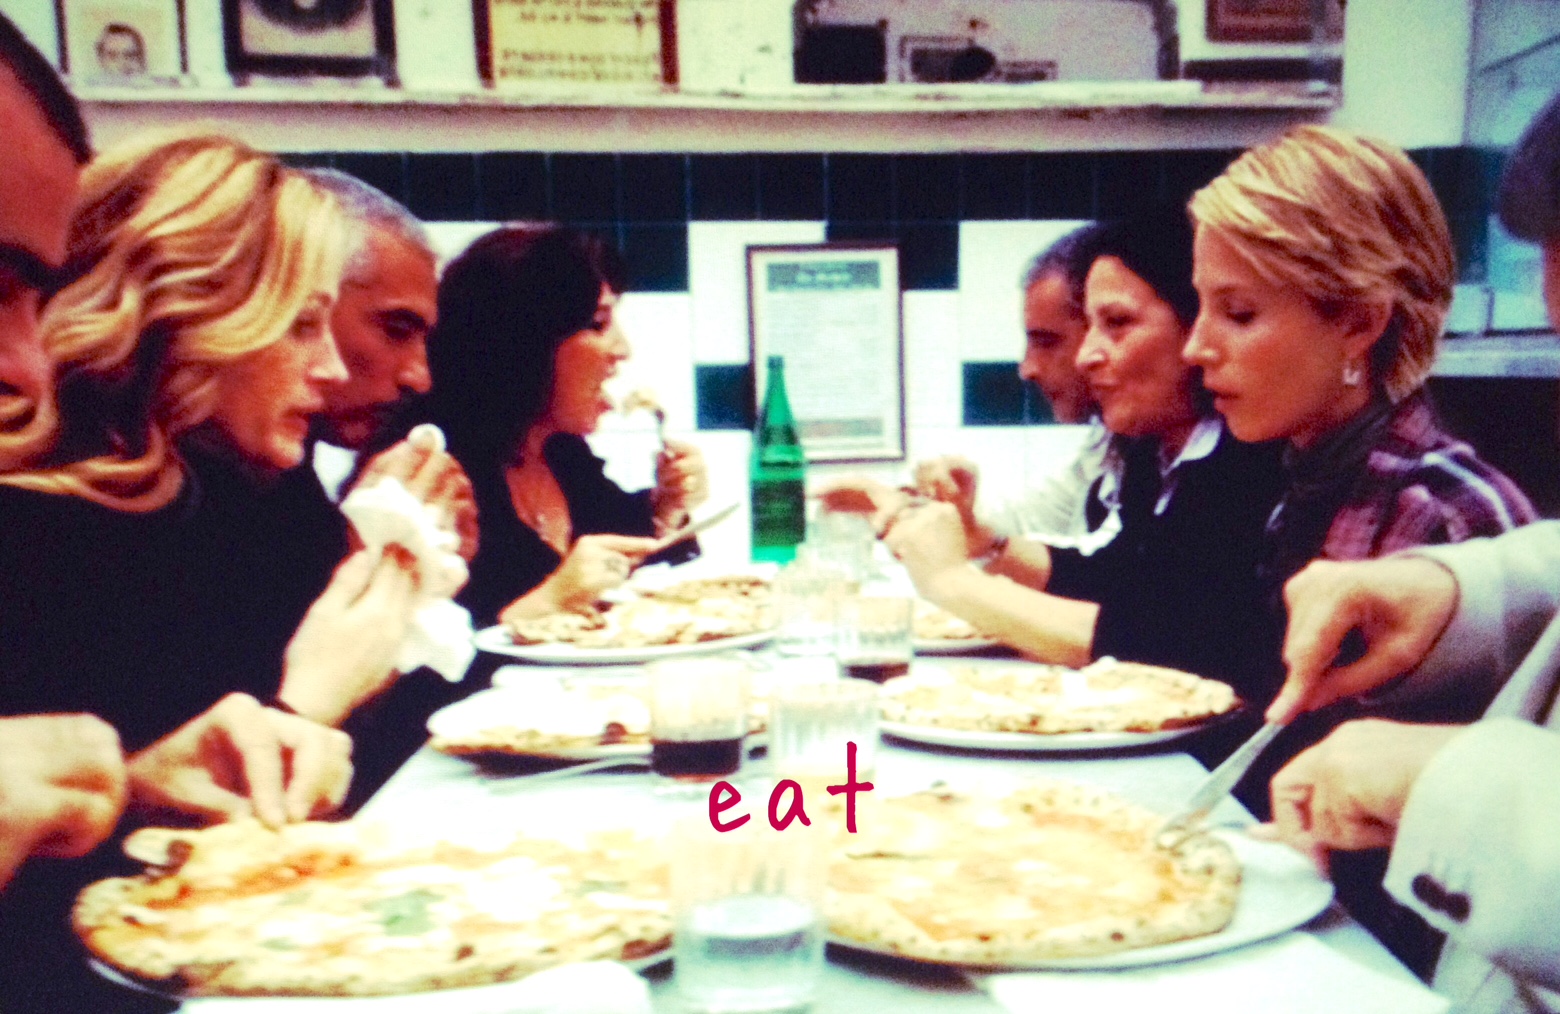
“You know what’s funny? This is the first time in my life there’s no one waiting at home for me. I don’t even have a home to come back to.” -Liz Gilbert in Eat Pray Love
After re-watching that scene, I can’t help but feel the jolt of goosebumps travel from my shoulders, down to my toes, and back up again. The feeling is eerily familiar. I had just experienced my own similar Eat Pray Love journey not too long ago. Liz was leaving behind everyone she loved; everything she knew. I, too, left behind everyone I loved and everything I knew.
I had reached a point in my life back in California, where nothing felt right.
I began to feel the pangs of every decision I had made up to that point. Wasn’t this the life I had procured for myself? I (just like Liz) actively participated in creating this life, so why wasn’t I happy? I began to accept something I knew deep down inside for a very long time–I needed to start over. I wanted to move somewhere where I could become inspired again. I wanted to go to a place where I didn’t know a single person. After telling my story to a well known astrologer/medium in the Bay Area, she agreed and told me (as Ketut Liyer prophesied to Liz in Bali) that I needed to move and start over somewhere new. Together we consulted the spirits, and of all the cities and countries we examined, they (we) chose Portland. That was the moment I decided that I would have to figure out a way to move out of Oakland, and then save up enough money to make my way up North.
I didn’t have any housing planned, nor job lined up. Just the sheer determination and faith in the process that I would make it work. The only thing that had kept me in Oakland for as long as it did, were the friends I made within the four years I lived there. Saying goodbye to those friends truly was the hardest part; my friends are an extension of my family. After four years, I guess you can say I fell out of love with Oakland, as Liz fell out of love in her marriage. So she ended it. And I did as well.
I admit, it wasn’t an easy process, but thanks to my willingness to never give up, and meeting a group of truly amazing people (the new friends I’ve made here have been such a blessing and have helped me get through the many obstacles I encountered) I managed to set out and do exactly what I intended to do: start a brand-new life. The rush of being inspired again gives me goosebumps. The good kind. So while my journey here is far from over, I believe that I’ve started a new chapter in my own Eat Pray Love story.
Because it’s February (with the Hallmark holiday of Valentine’s Day just a few away) I thought I’d partake in the festivities and create a menu of Eat Pray Love-inspired recipes, featuring cuisines from the countries Liz visited.
I hope my story (or Liz’s) inspires you to partake in your own Eat Pray Love journey.