Mint Condition

IMG_0787

Quick question! What’s your favorite ice cream flavor?

Mine?

Mint + Chip.

Why?

‘Cause it’s double the coolness factor. Frozen in temperature and cooling in flavor. It’s next-level sensory overload. All of your senses are tested:

You SEE the bright green color
You SMELL that crisp scent of mint
You FEEL that cold, refreshing cream melt in your mouth as you bite into those chocolate chunks
You TASTE that creamy delicious mint packed with that bittersweet chocolate

And well, HEAR? If you’ve ever sat next to me while enjoying said ice cream (or pretty much any food I thoroughly enjoy), you’re sure to hear lots of “MMM” sounds. Sorry not sorry.

This year we started a garden on our balcony. It’s taken off and has done considerably well. Even with the sudden drop and rise of temperatures all summer long, most of our plants have been pretty happy. Our mint plant, which we originally planted next to thyme and lavender, took off immediately and spread throughout the entire planter within a week! That was an amateur mistake on my own part ’cause I knew that mint likes to take over EVERYTHING. And she did. So we uprooted her and placed her in her own good-sized planter where she was able to stretch and relax without bothering her next-door neighbors.

Having an abundance of mint isn’t a bad thing, either. I decided to harvest a few bunches and steep them into heavy cream as a base for this amazing ice cream recipe I found through David Lebovitz’ book, The Perfect Scoop.

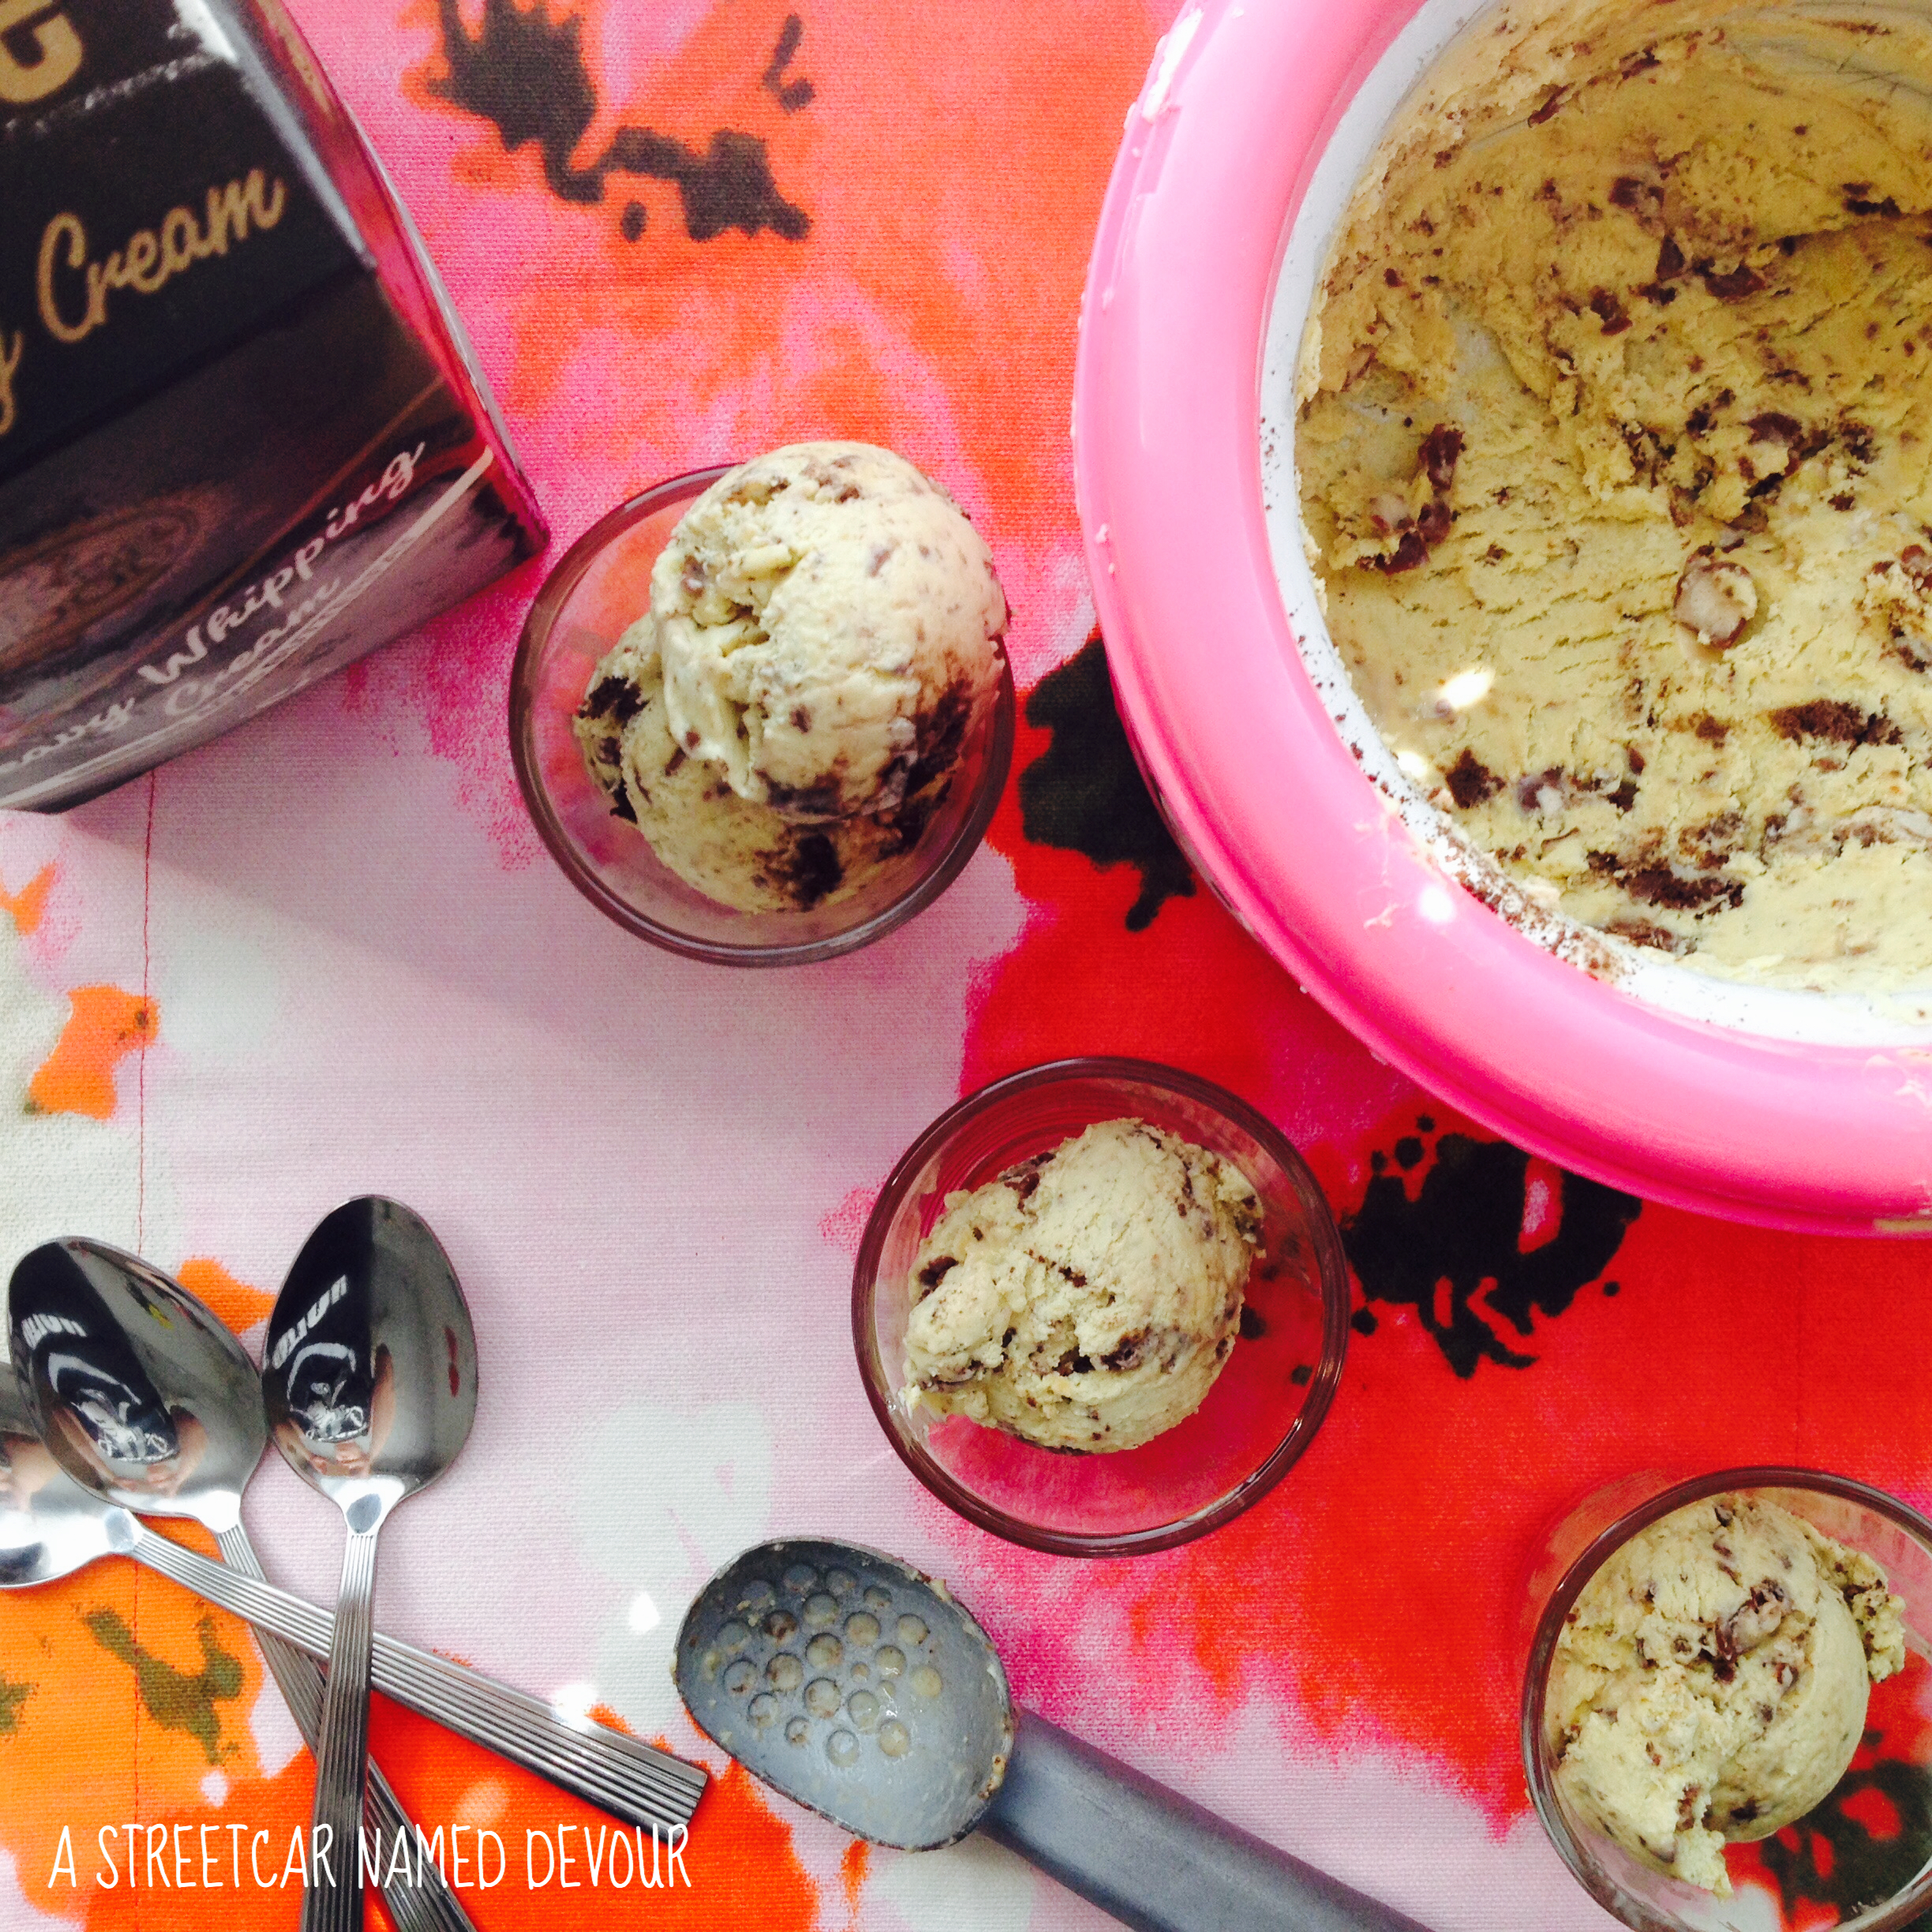
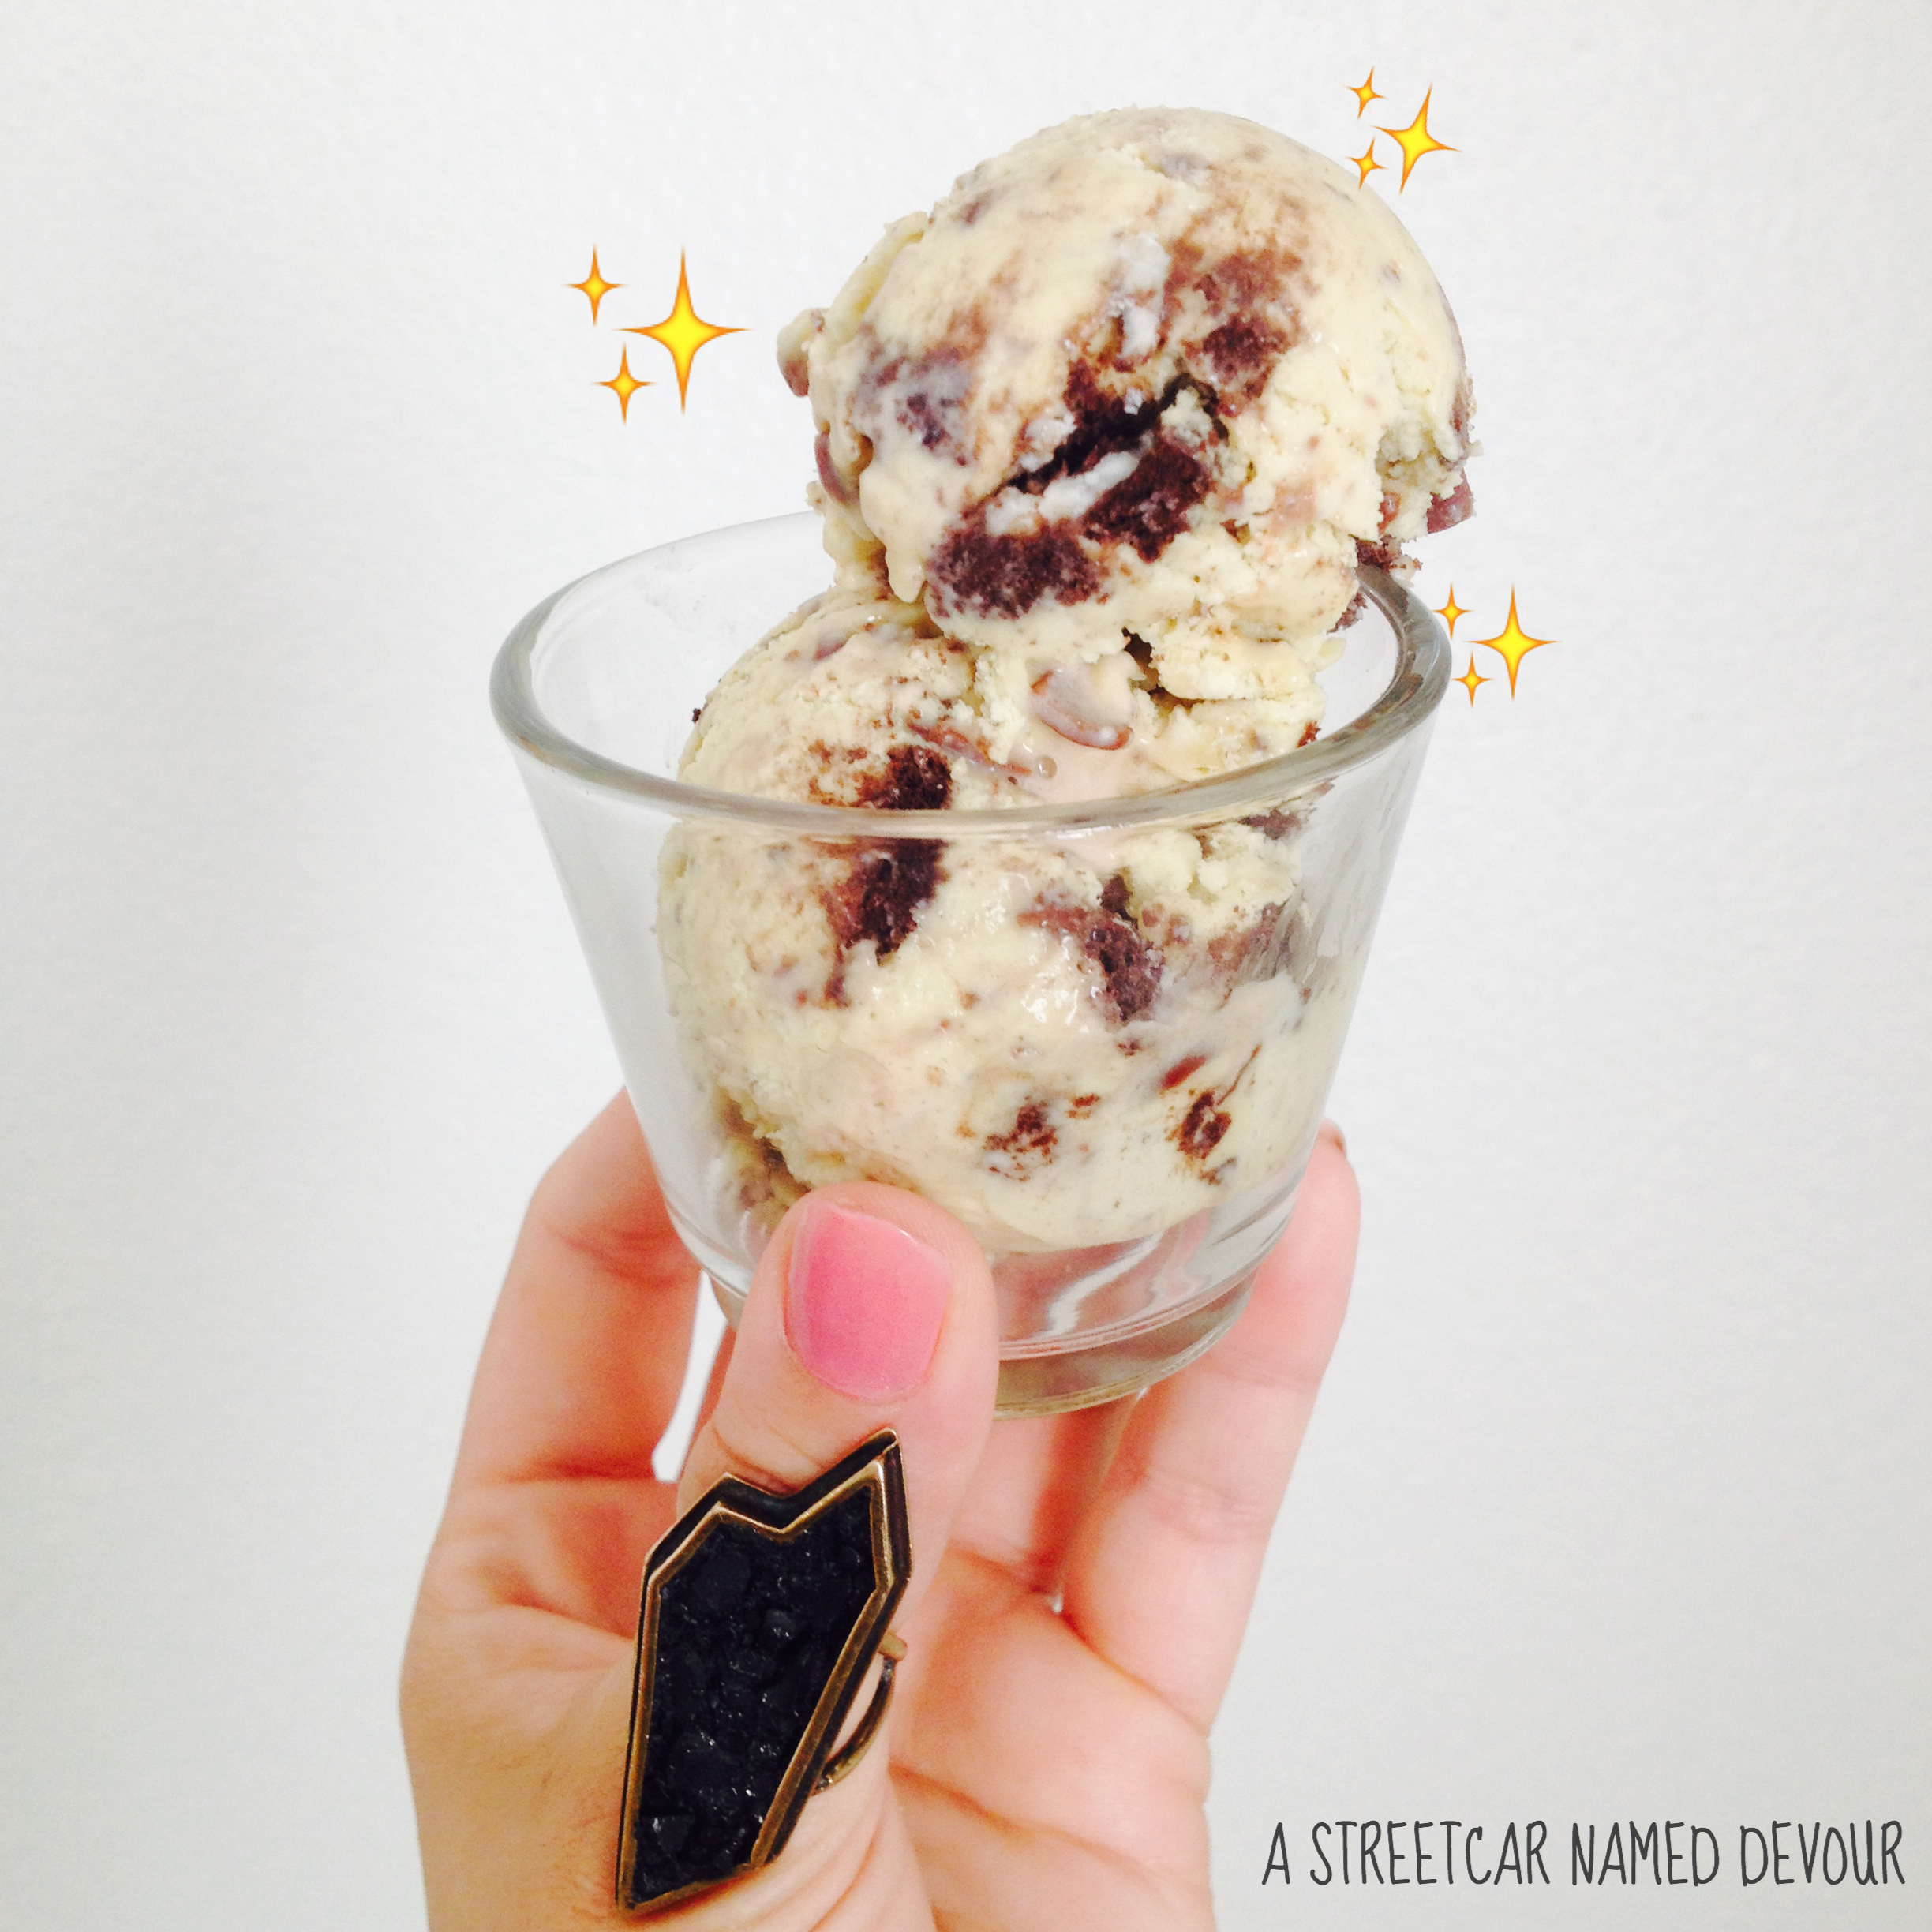
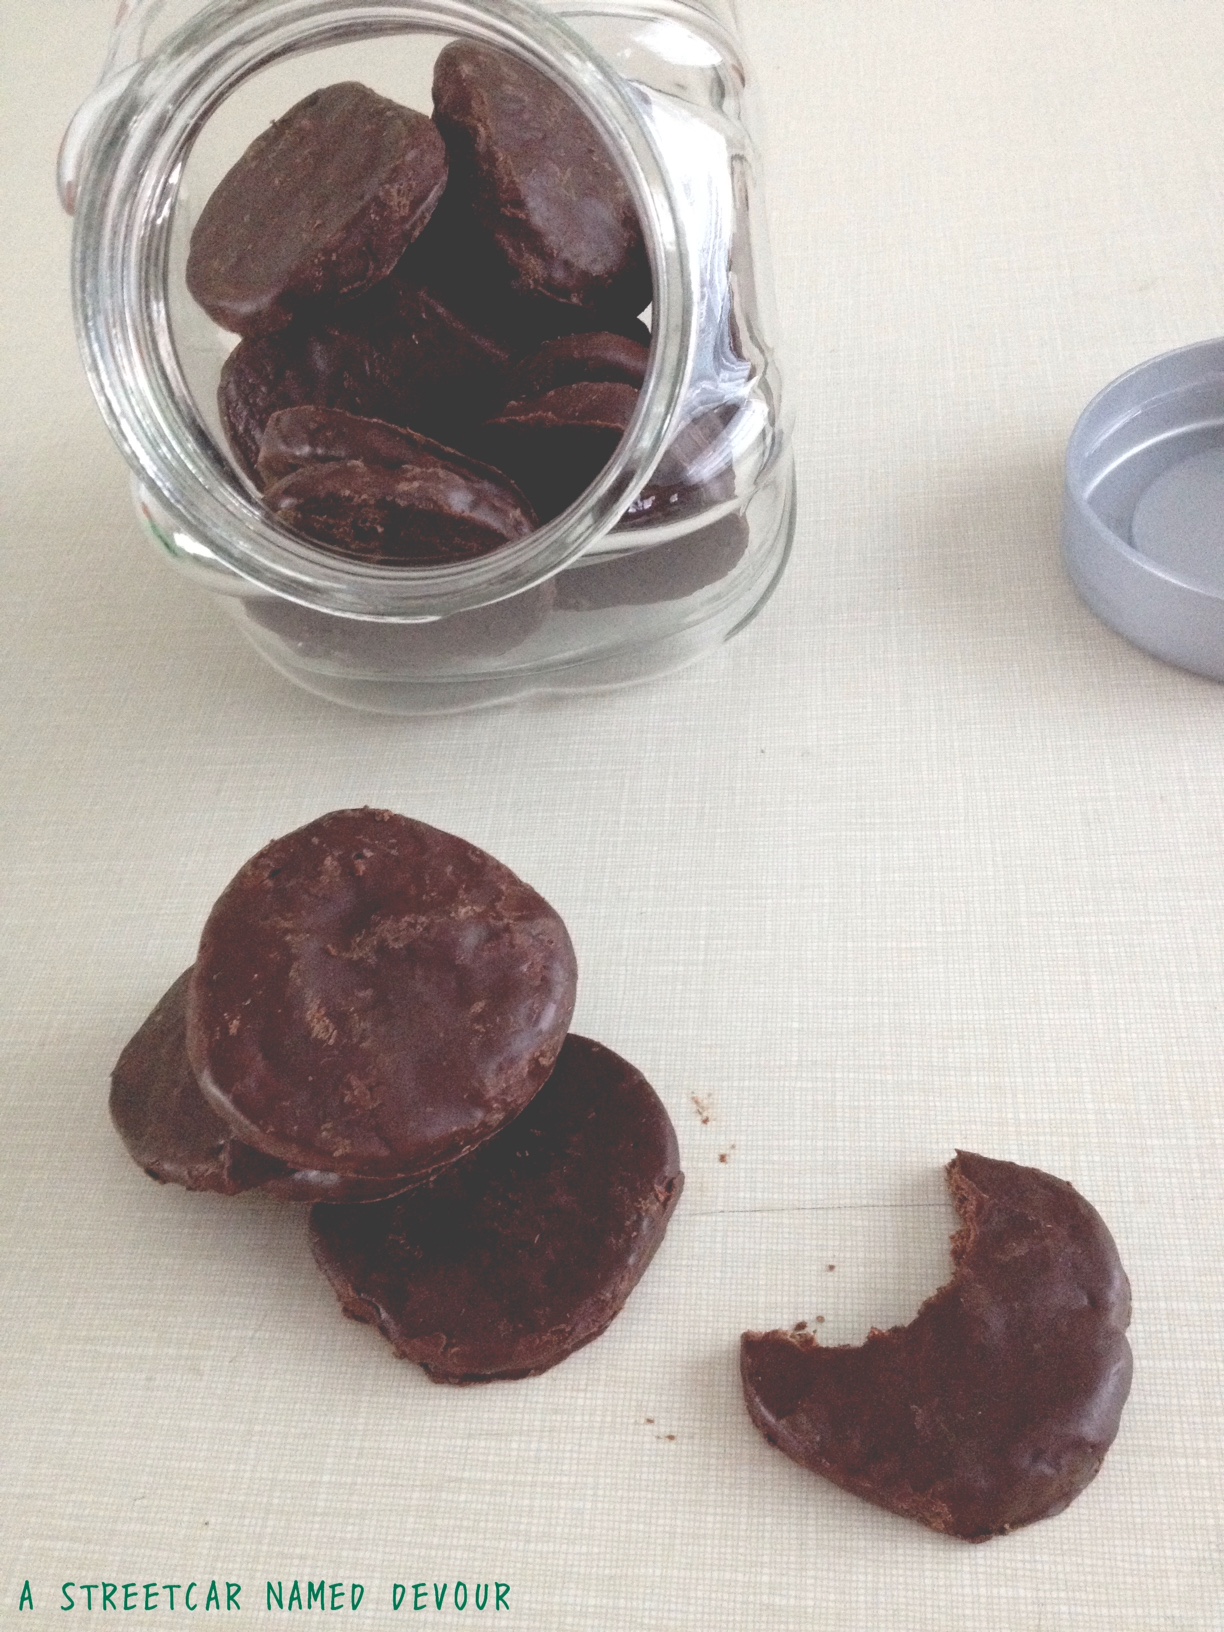
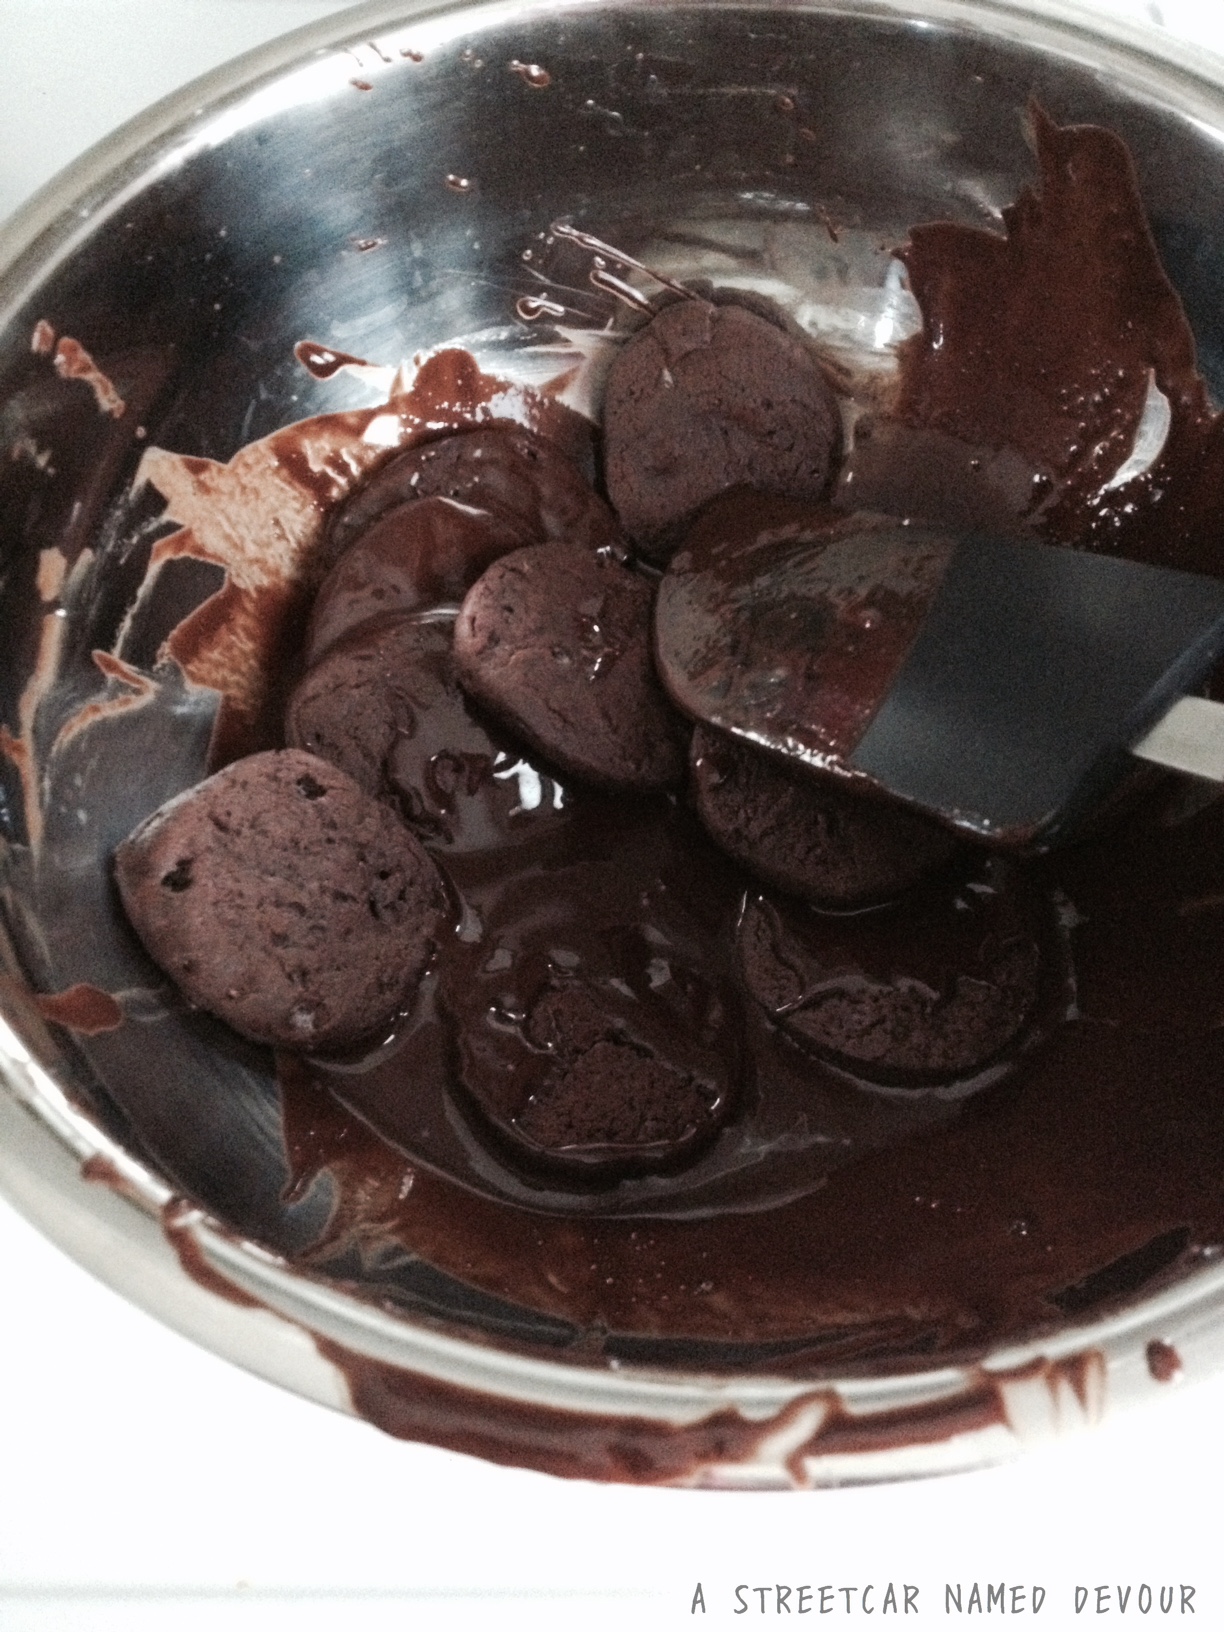
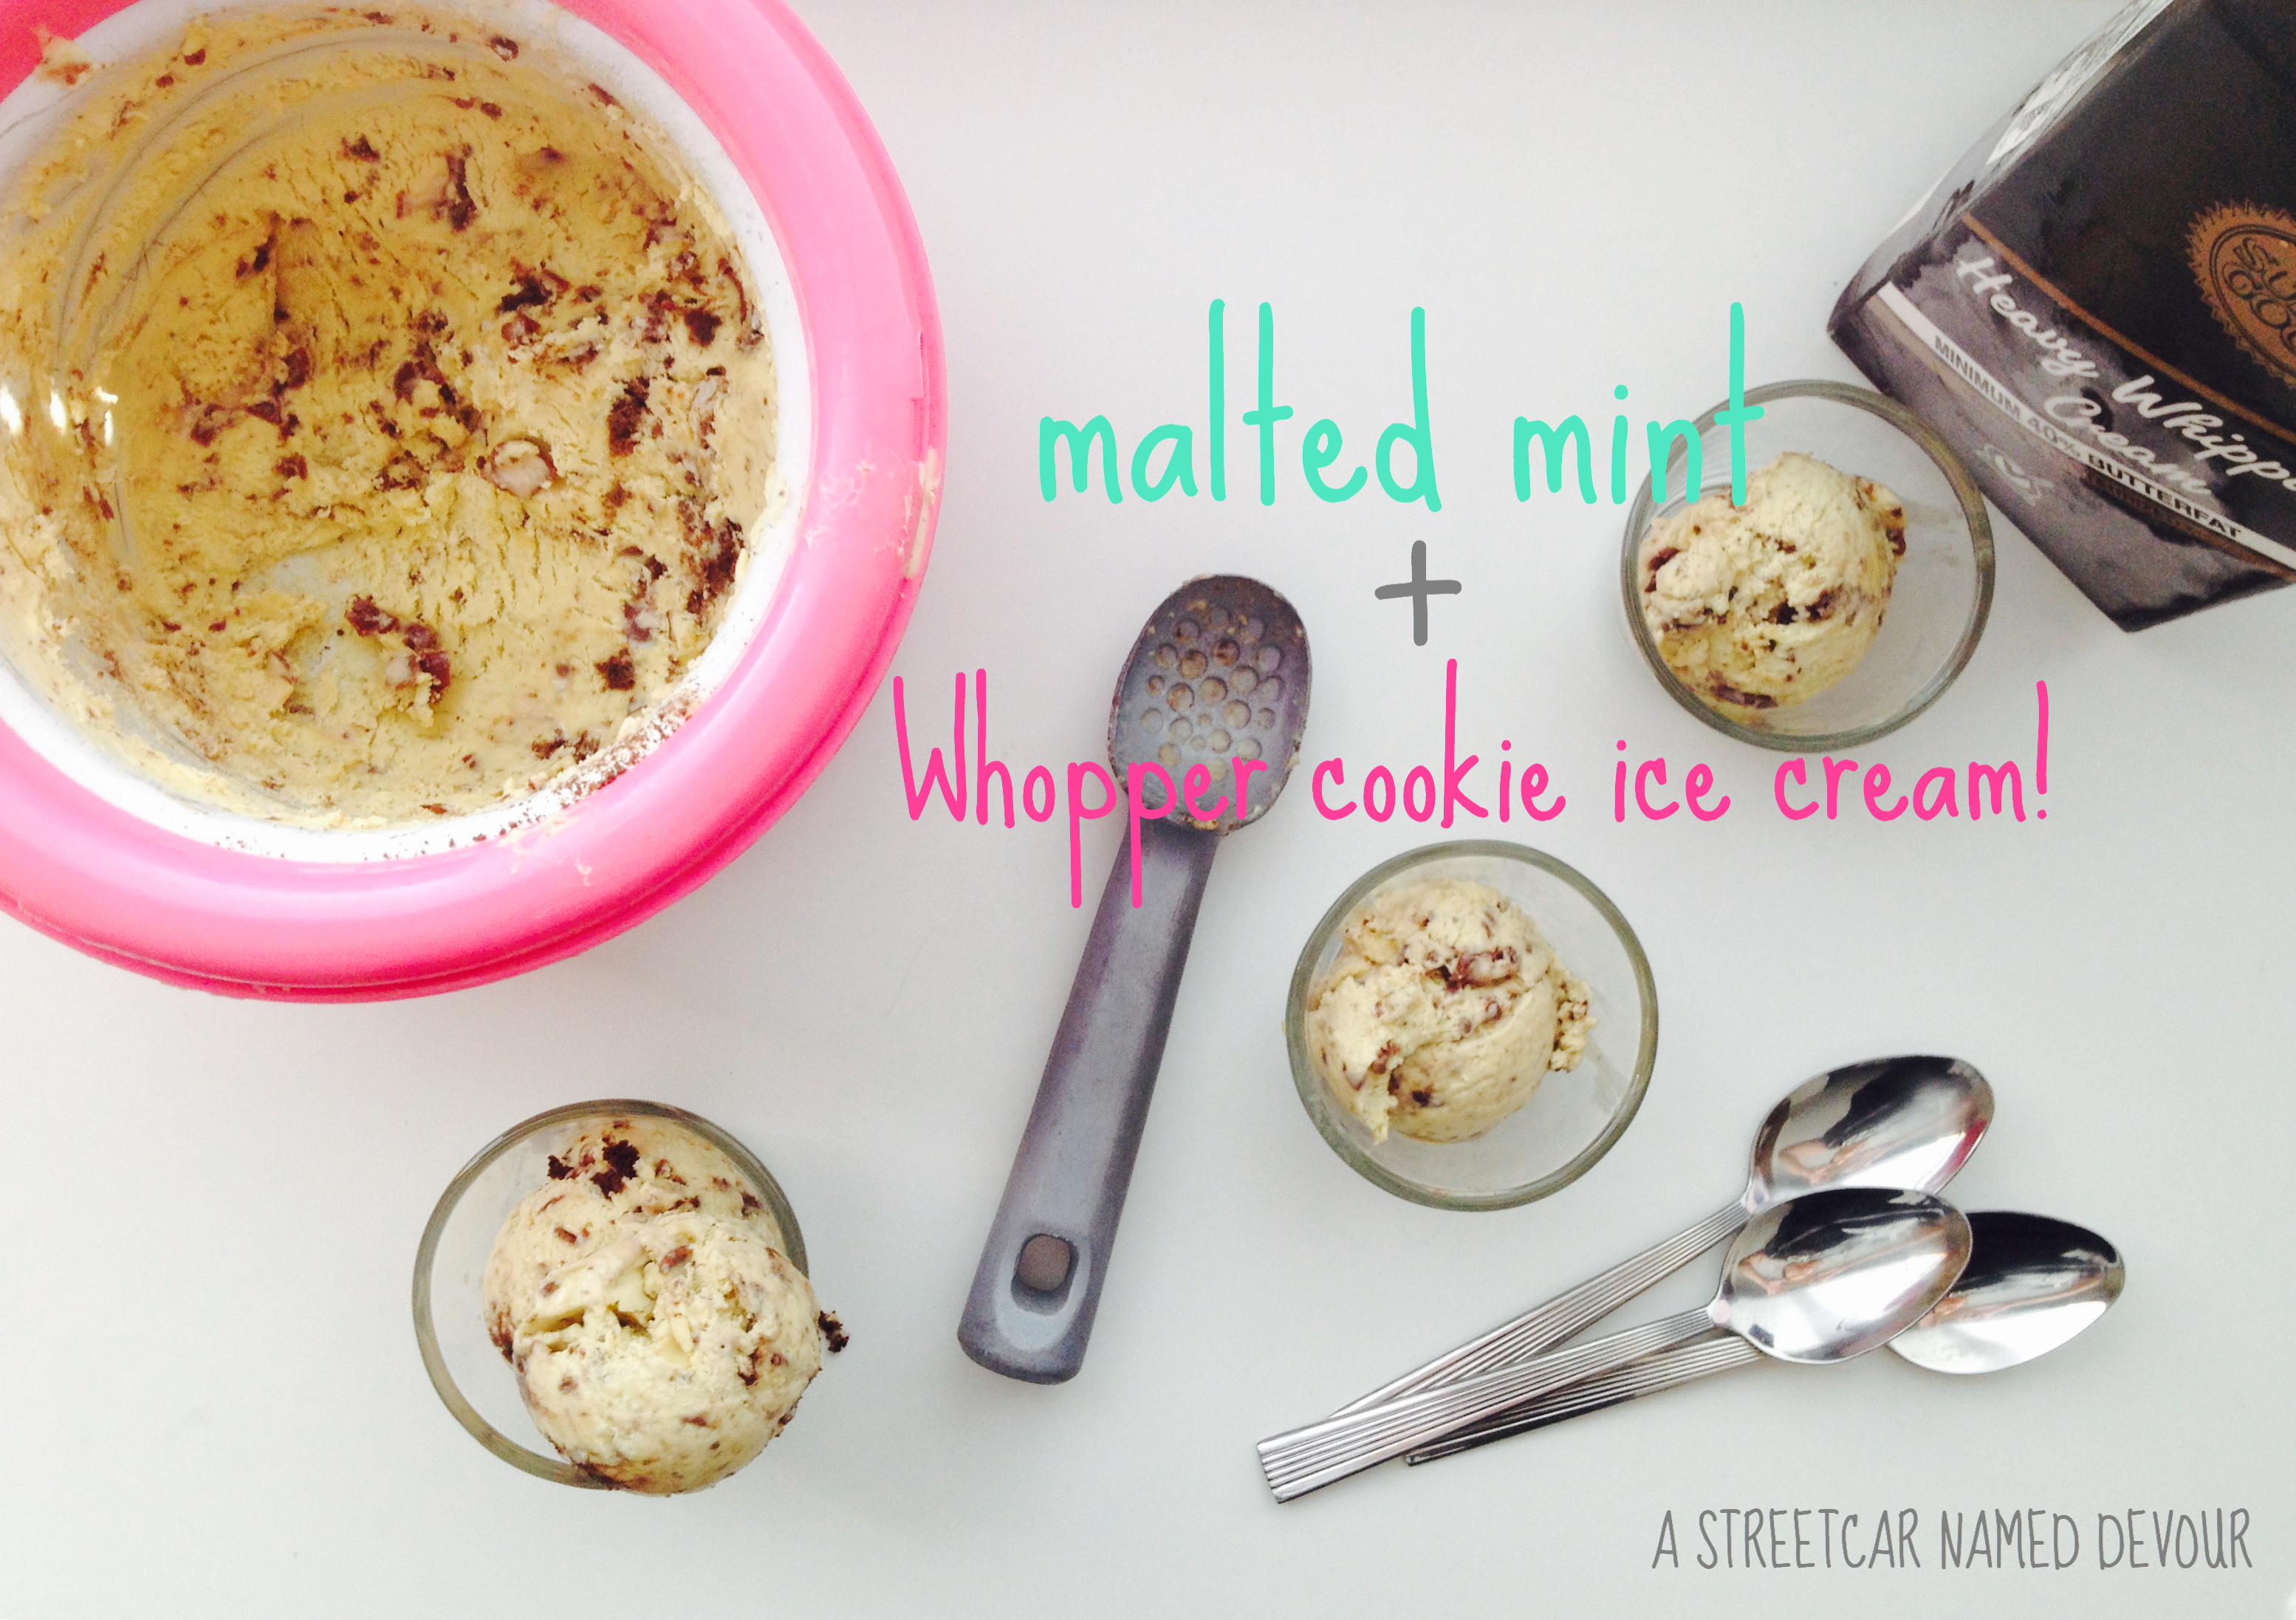
The recipe was originally written for a Chocolate Malt Ice Cream flavor, so I made some adjustments to the recipe, and omitted the cocoa powder, replacing it with a snack-sized box of crushed Whoppers candy and chocolate sandwich cookies like OREO’S. I also added more heavy cream (using one of my local favorites from Sunshine Dairy). The resulting flavor is intensely rich, creamy and so silky smooth. Try it.

IMG_0786

==

Malted Mint Whopper Cookie Ice Cream
Yields 1 quart
Recipe via The Perfect Scoop

INGREDIENTS
3 cups heavy cream, divided
2 cups fresh mint leaves, packed
1 cup whole milk
¾ cup sugar
1 teaspoon Kosher salt
5 large egg yolks
1 teaspoon vanilla
1 cup malted milk powder

METHOD
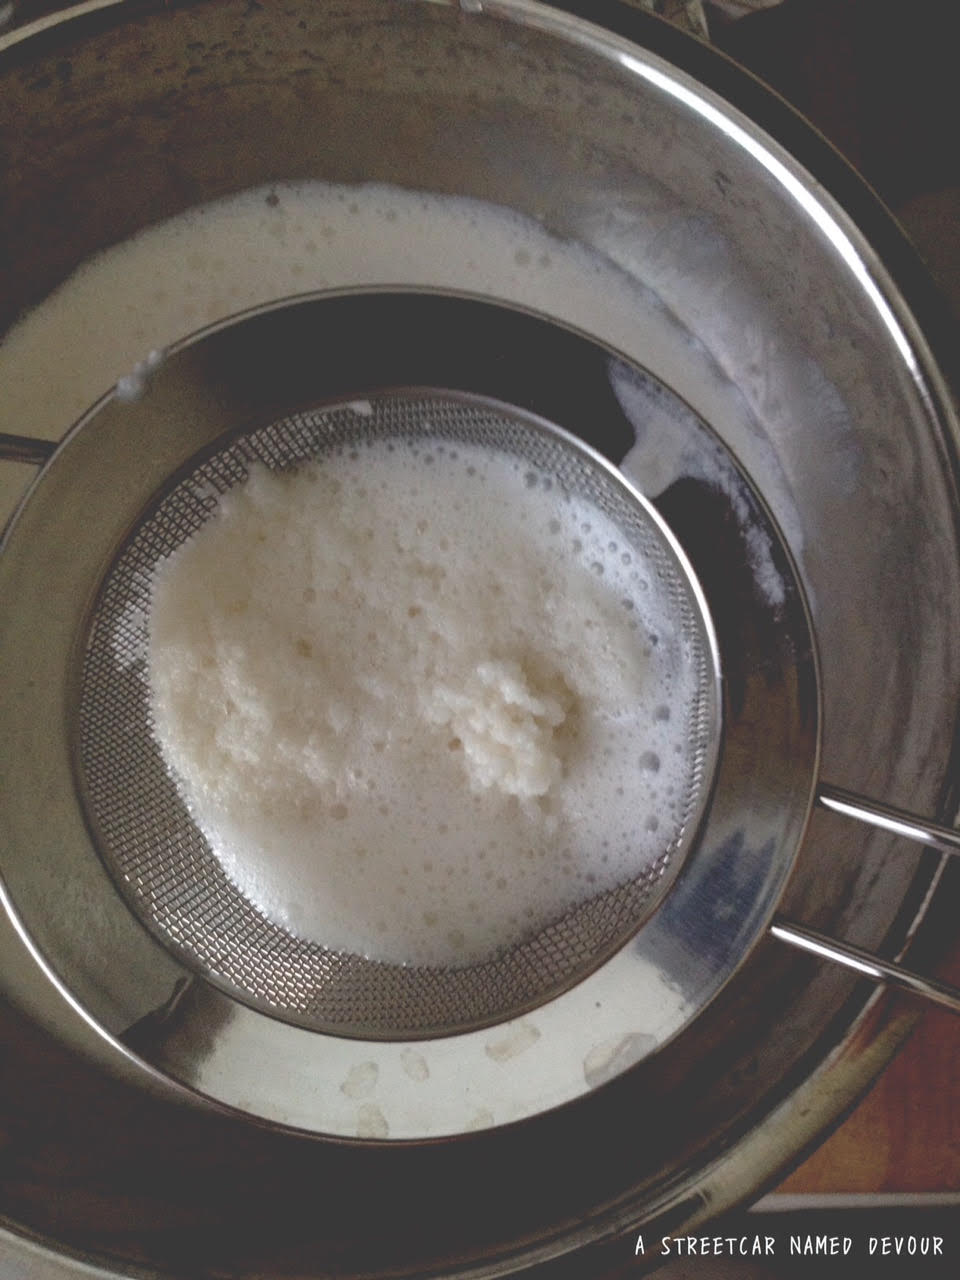
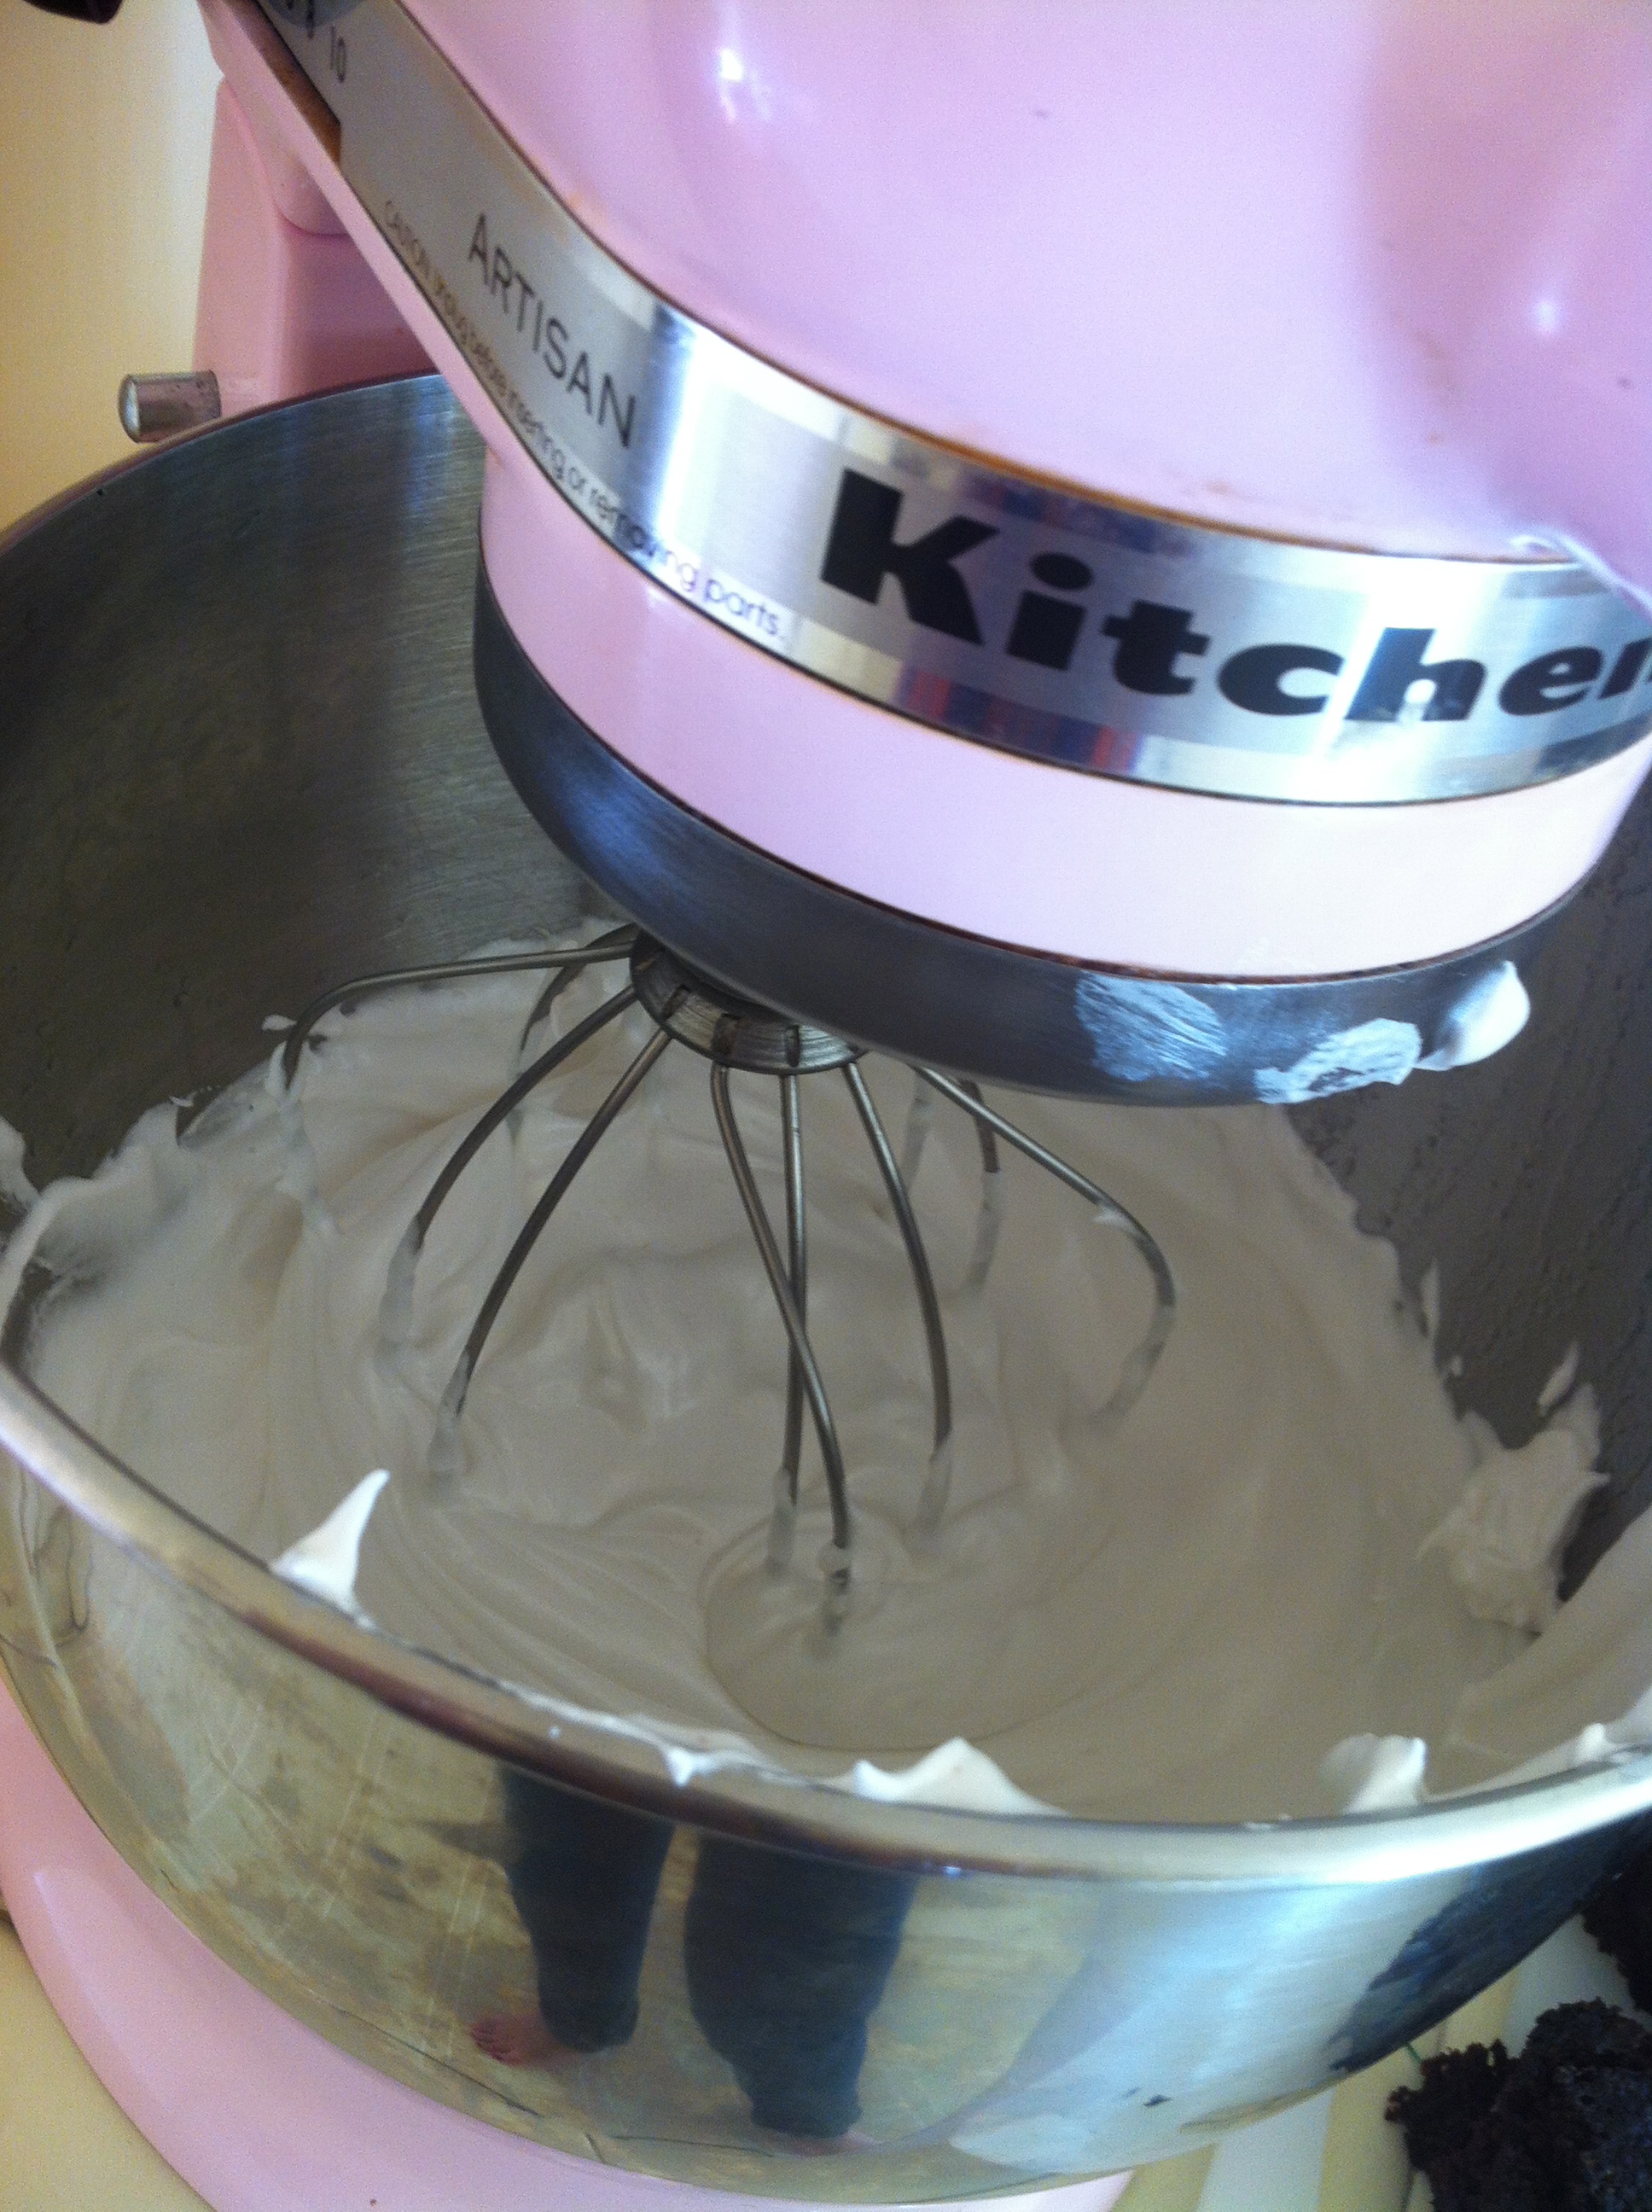
Heat 1.5 cups heavy cream with the mint in a medium-sized saucepan. Once brought to a boil, whisk vigorously and lower heat to a low simmer, continuing to whisk. Remove pan from the heat and strain into a large bowl the rest of the heavy cream into a large bowl, combining the steeped minty cream together.

Gently warm the milk, sugar and salt in the same saucepan. In a medium-sized bowl, whisk the yolks and temper the eggs by slowly adding the warmed milk to the  yolks, continuously whisking and scraping the now tempered egg yolk/milk mixture back in the pan.

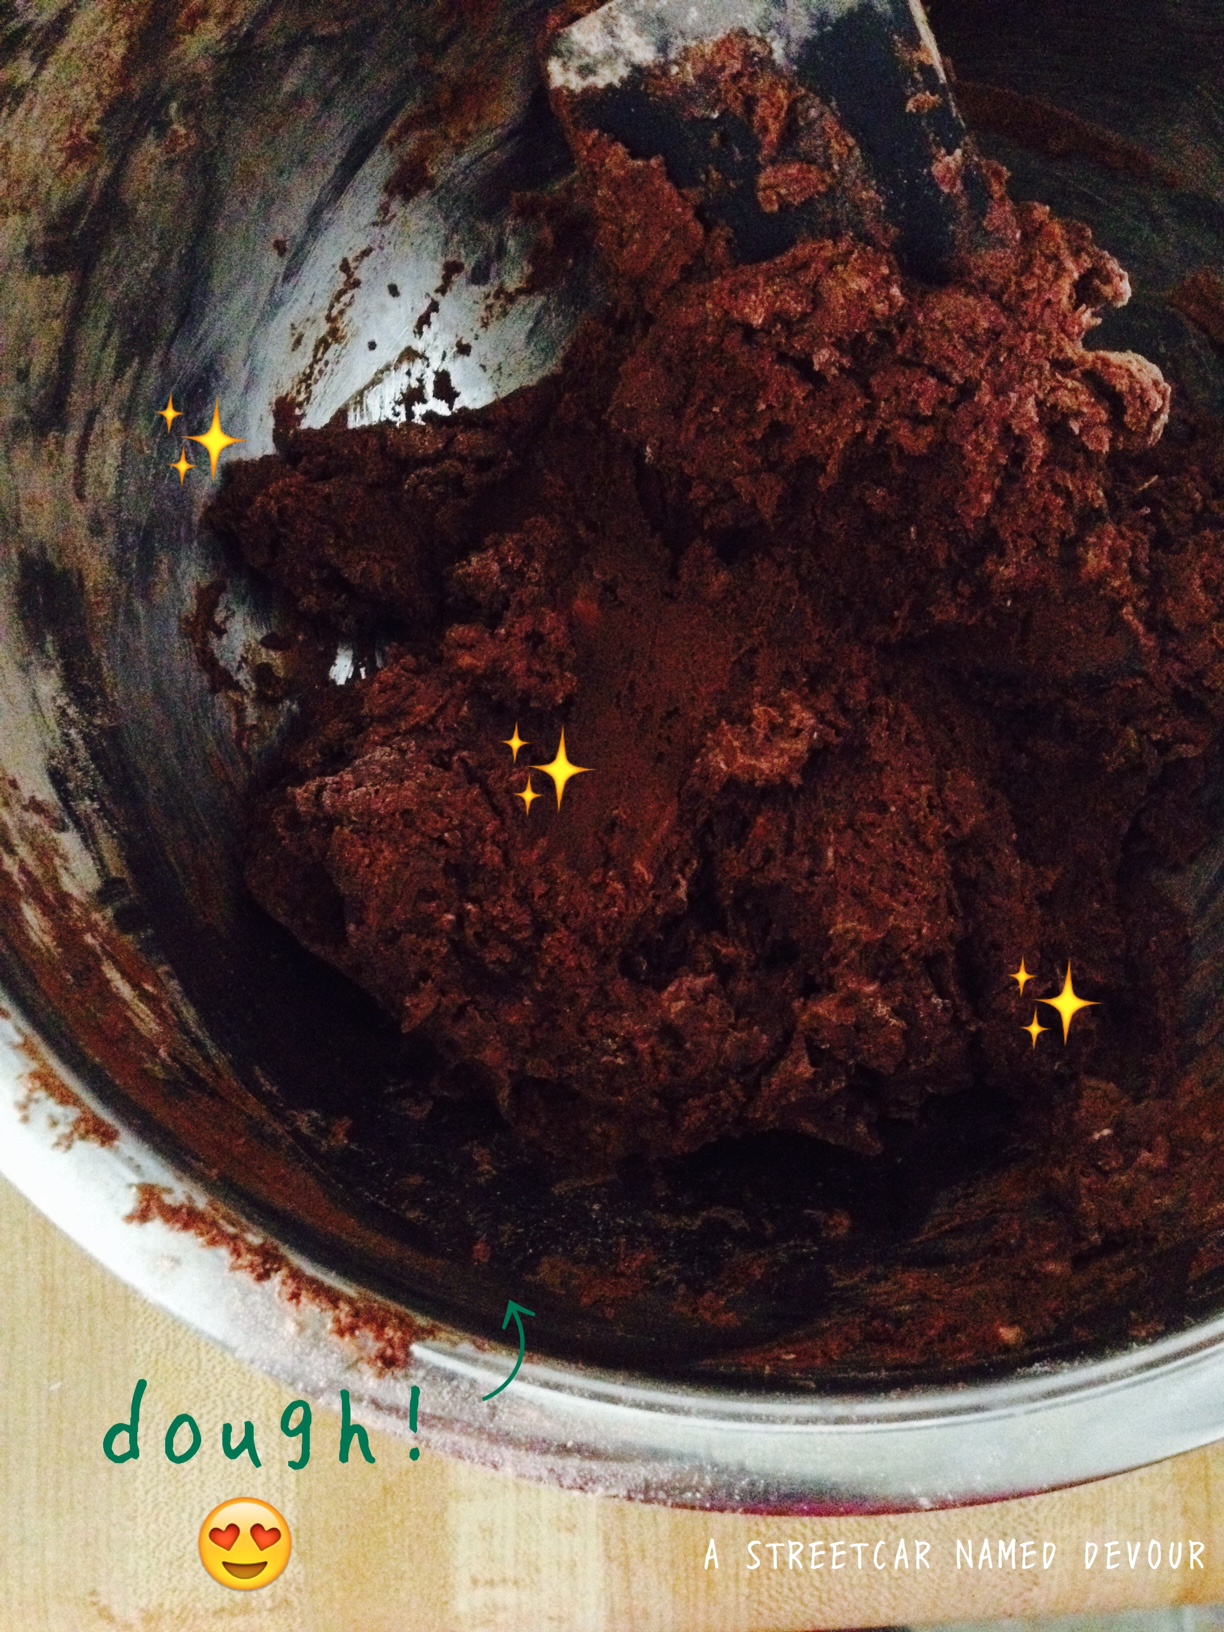
Using a rubber spatula continue to stir and scrape the combined mixture over medium heat, making sure not to “cook” or “curdle” the eggs. Once the mixture is thickened and coats the back of a spatula, immediately remove from the heat and pour through a strainer and into a shallow pan or bowl. Add the vanilla extract and malt powder. Cool the mixture by placing it into the refrigerator till chilled, overnight is preferred.

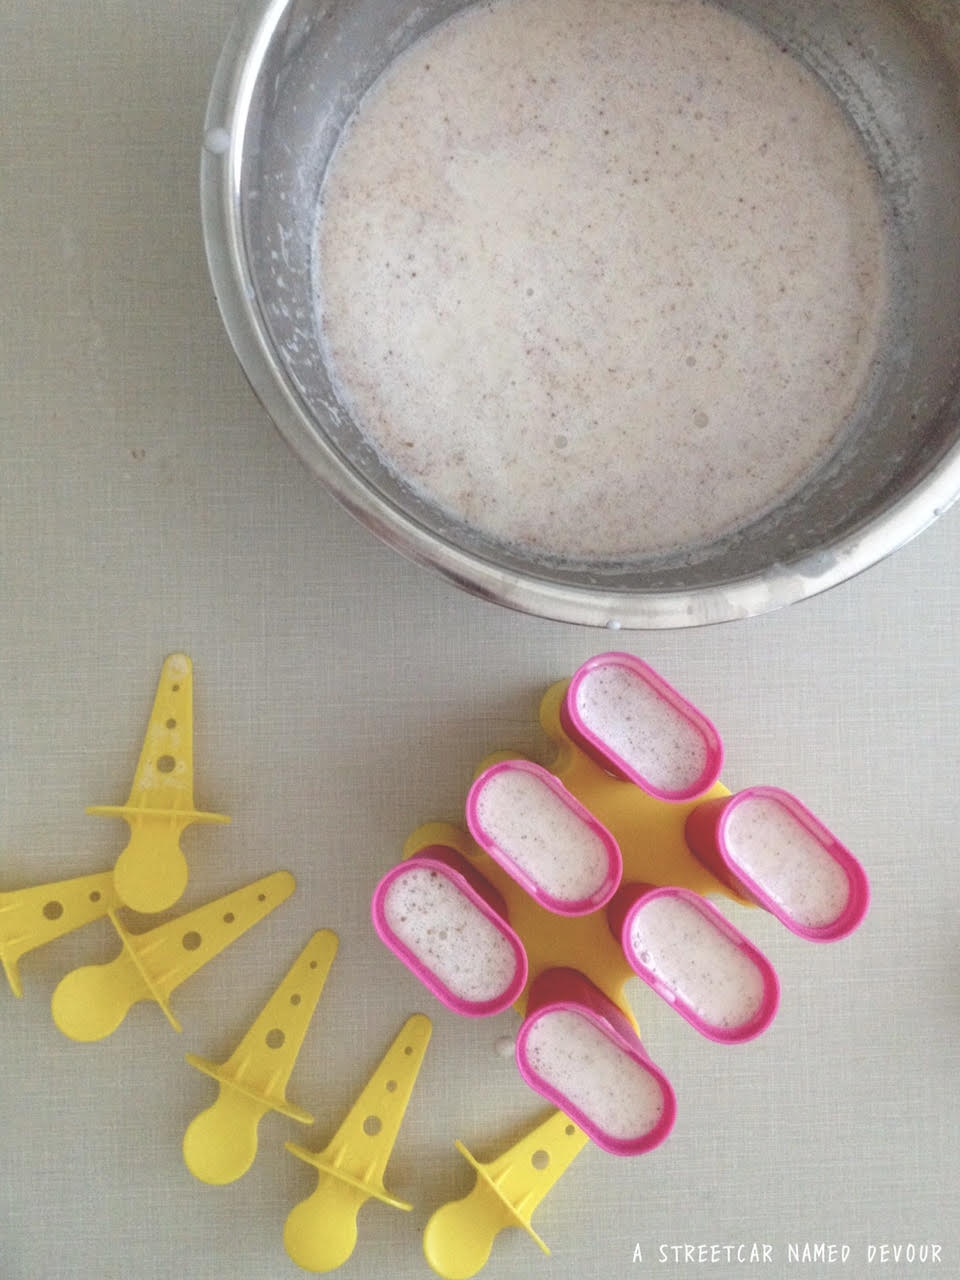
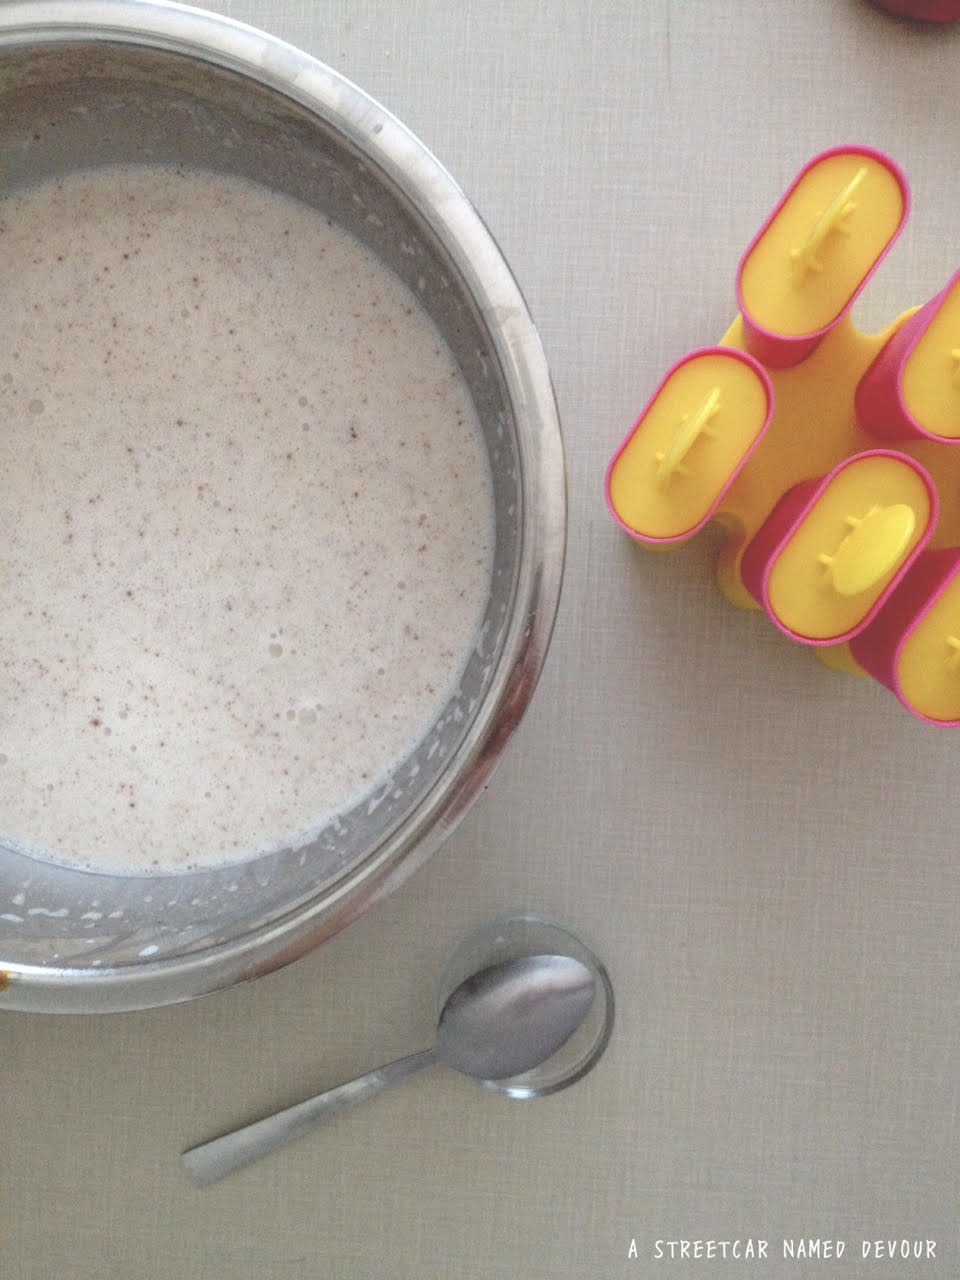
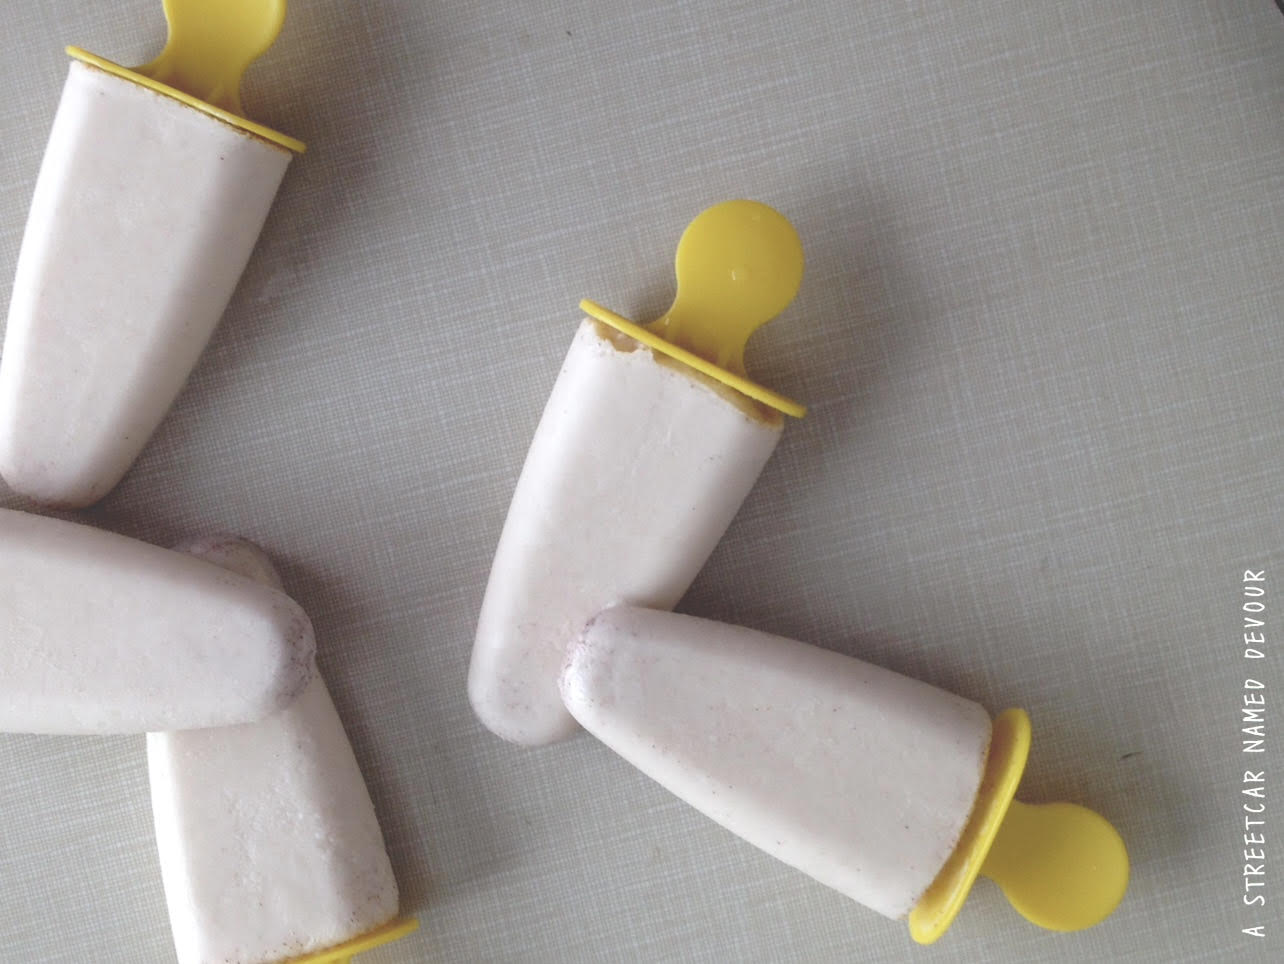
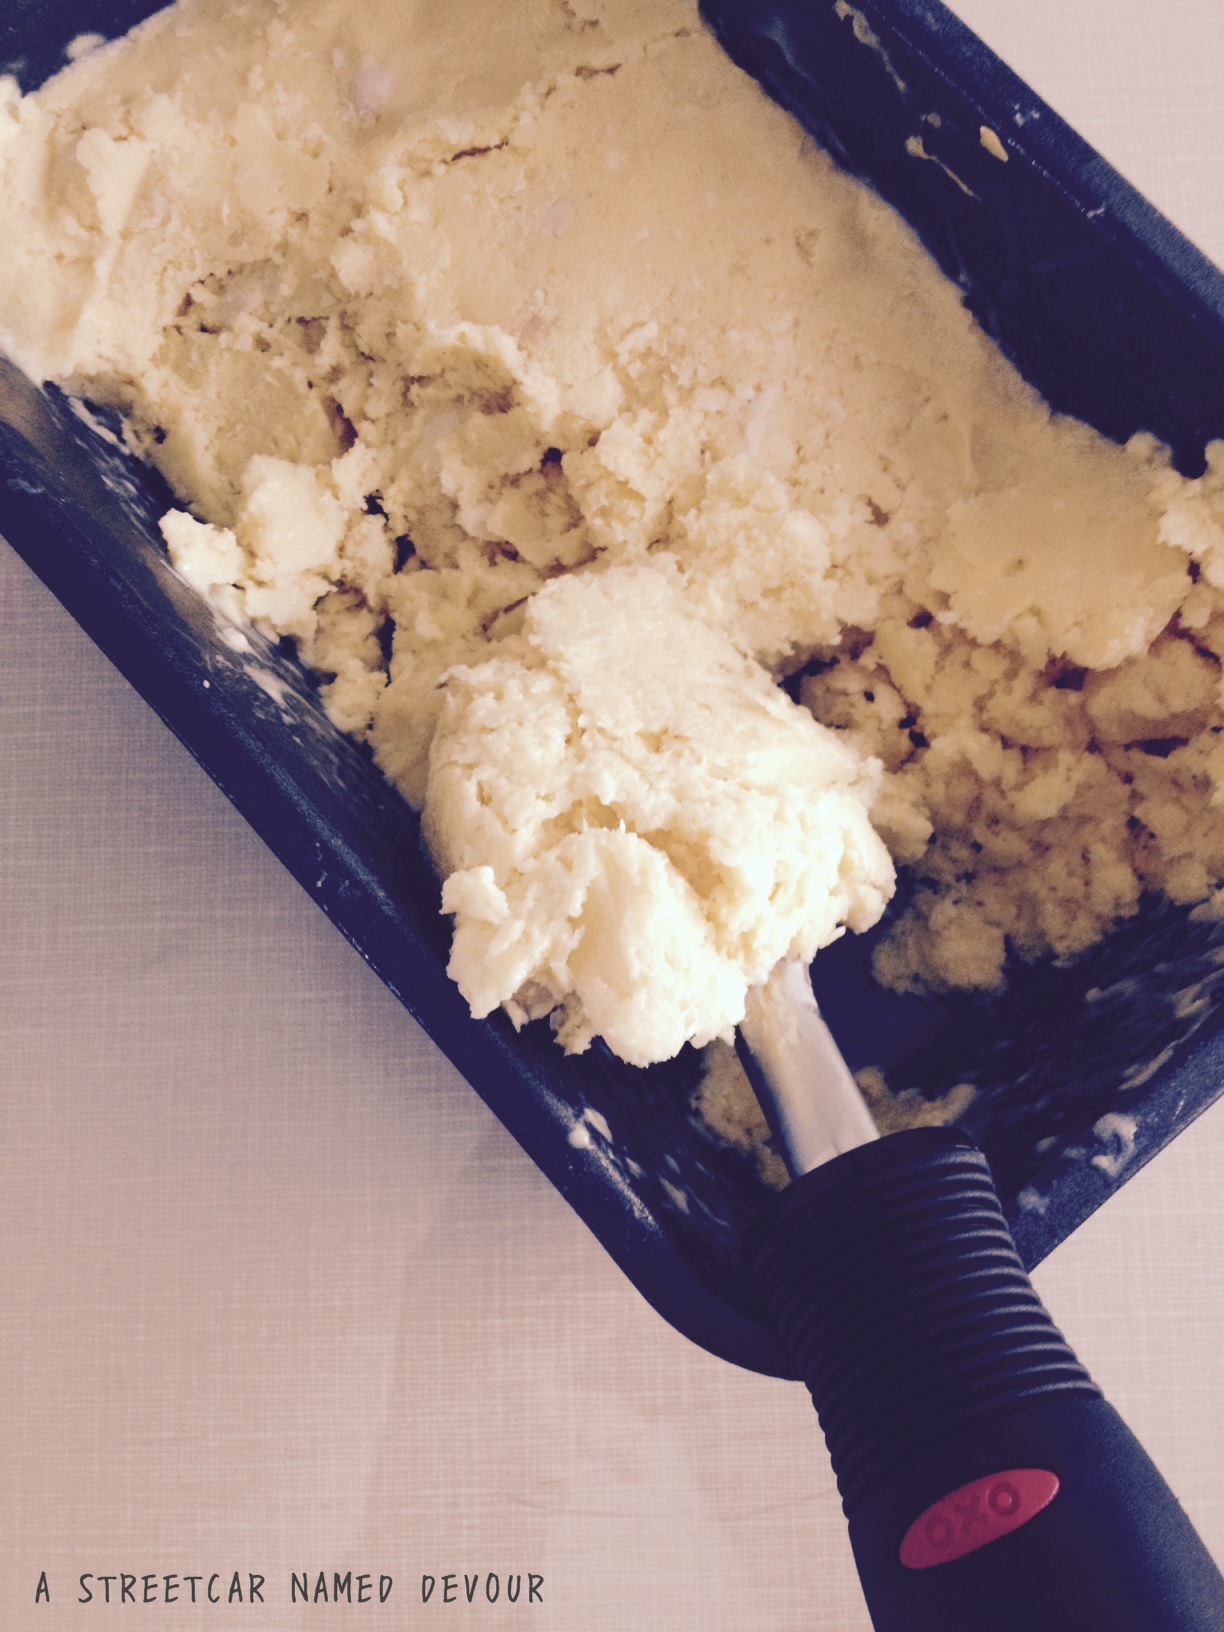
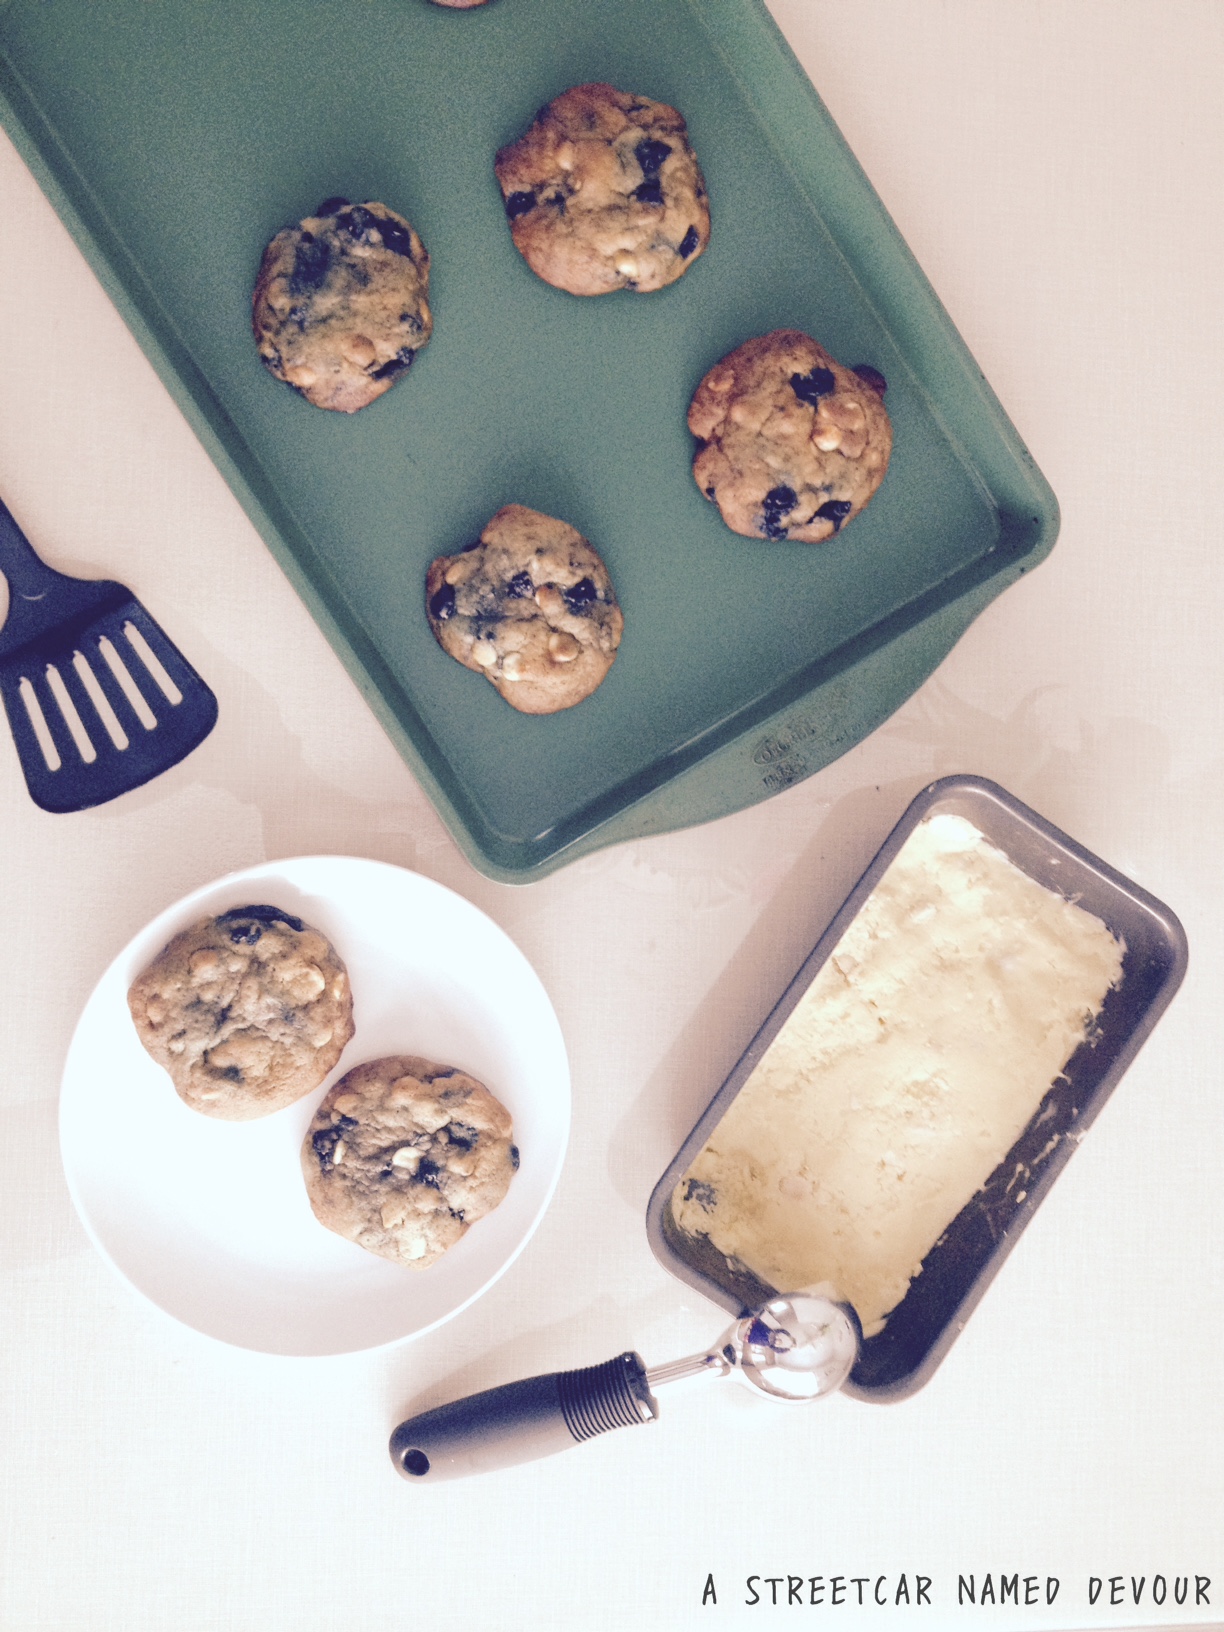
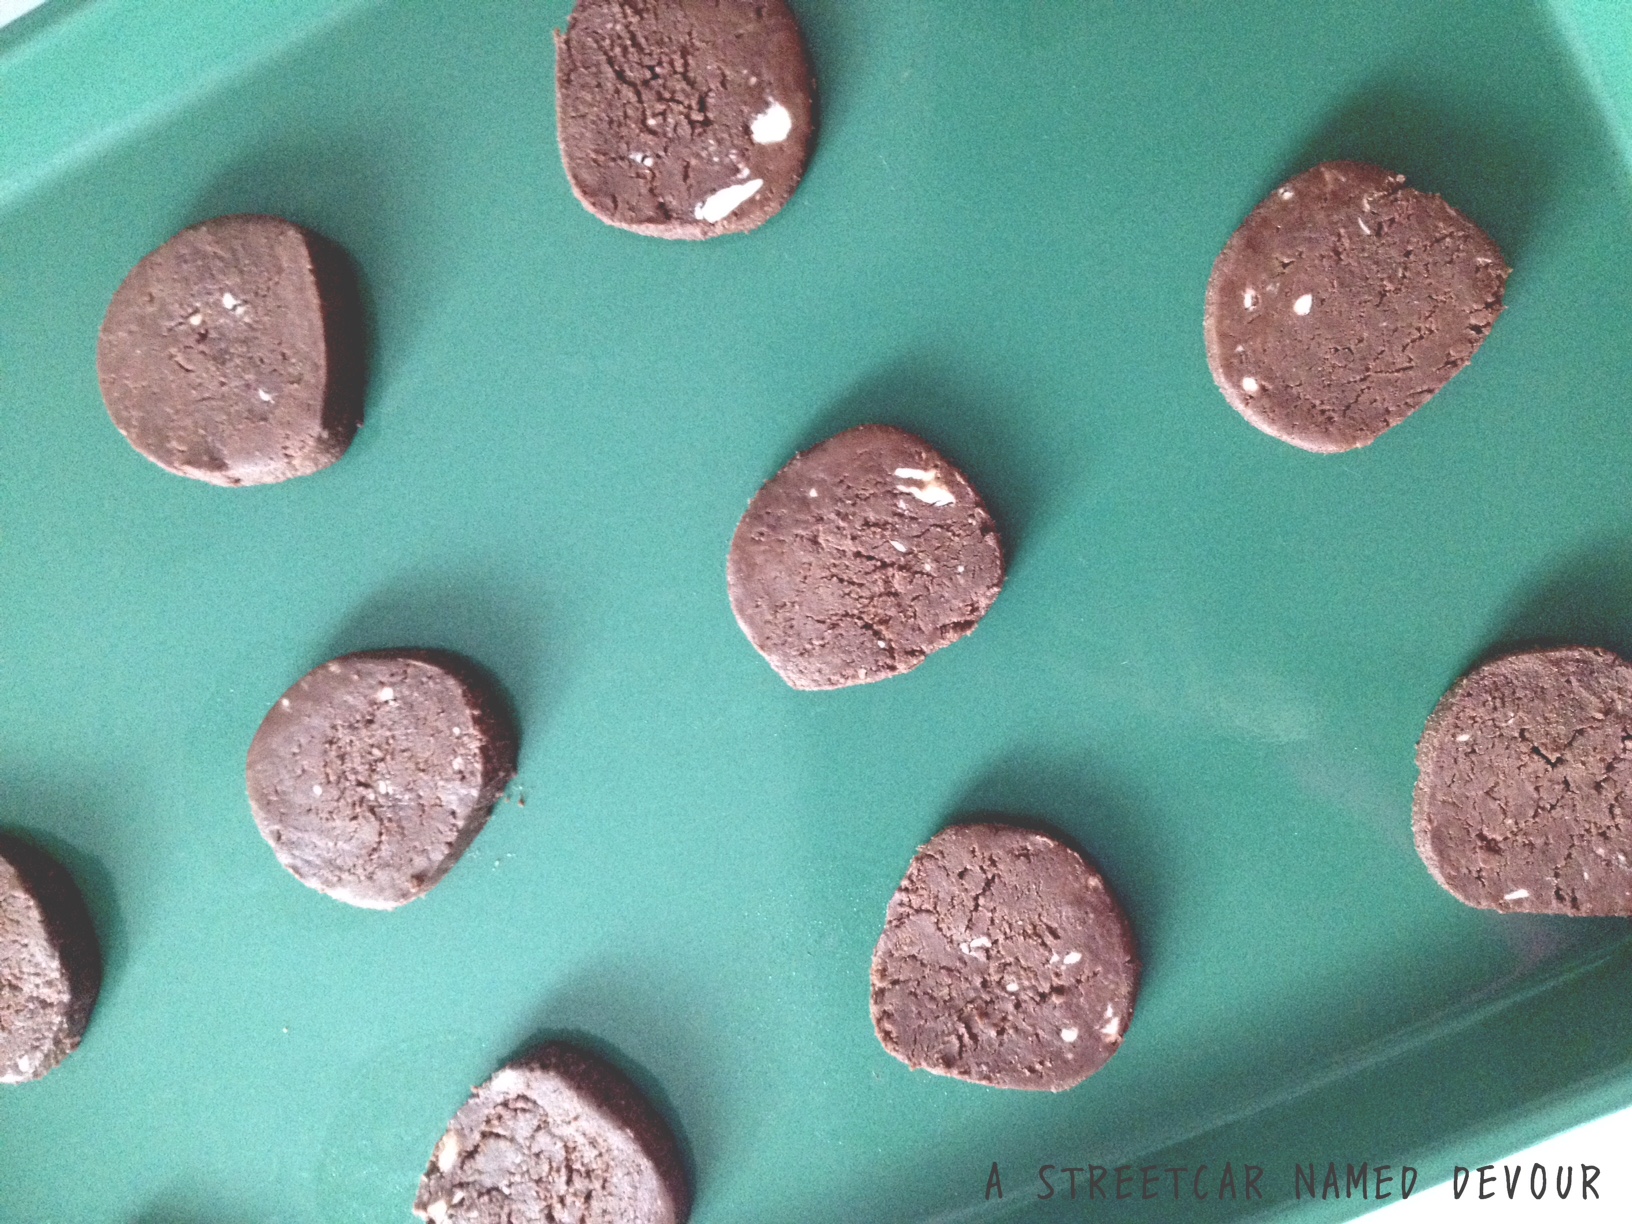
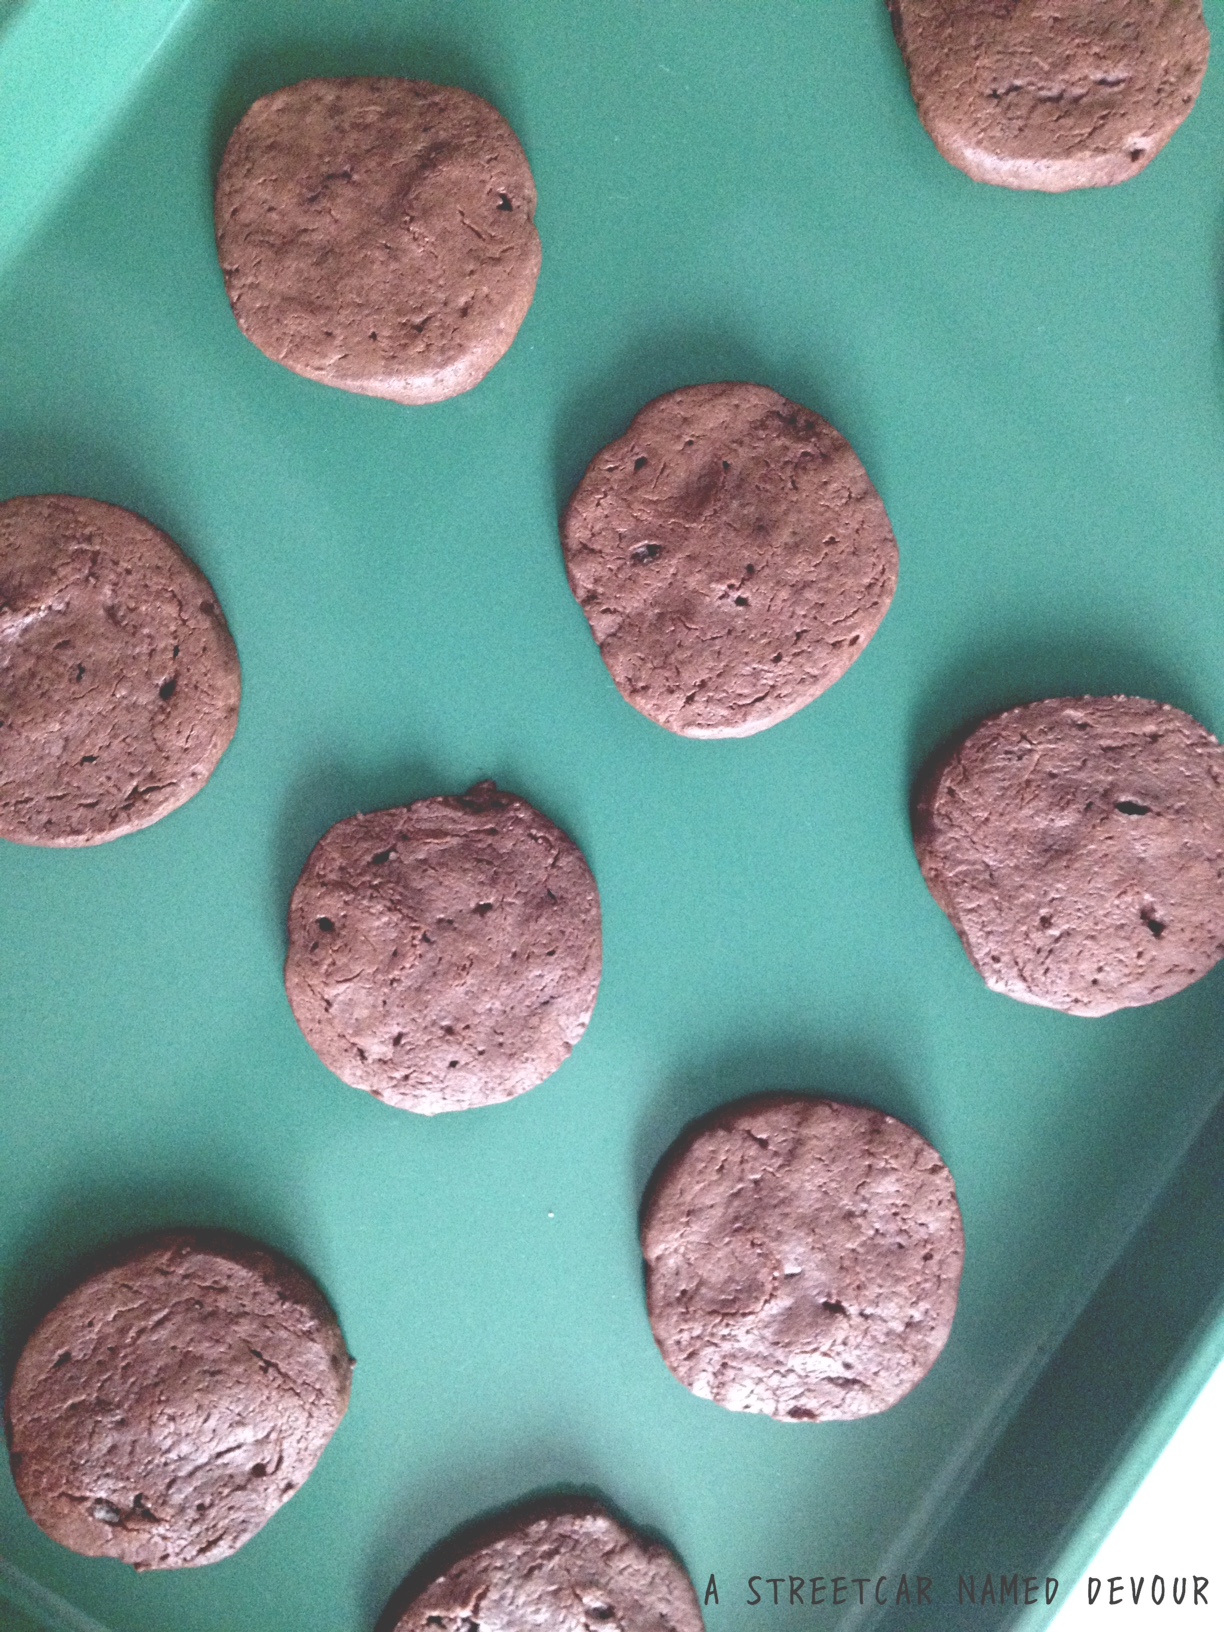
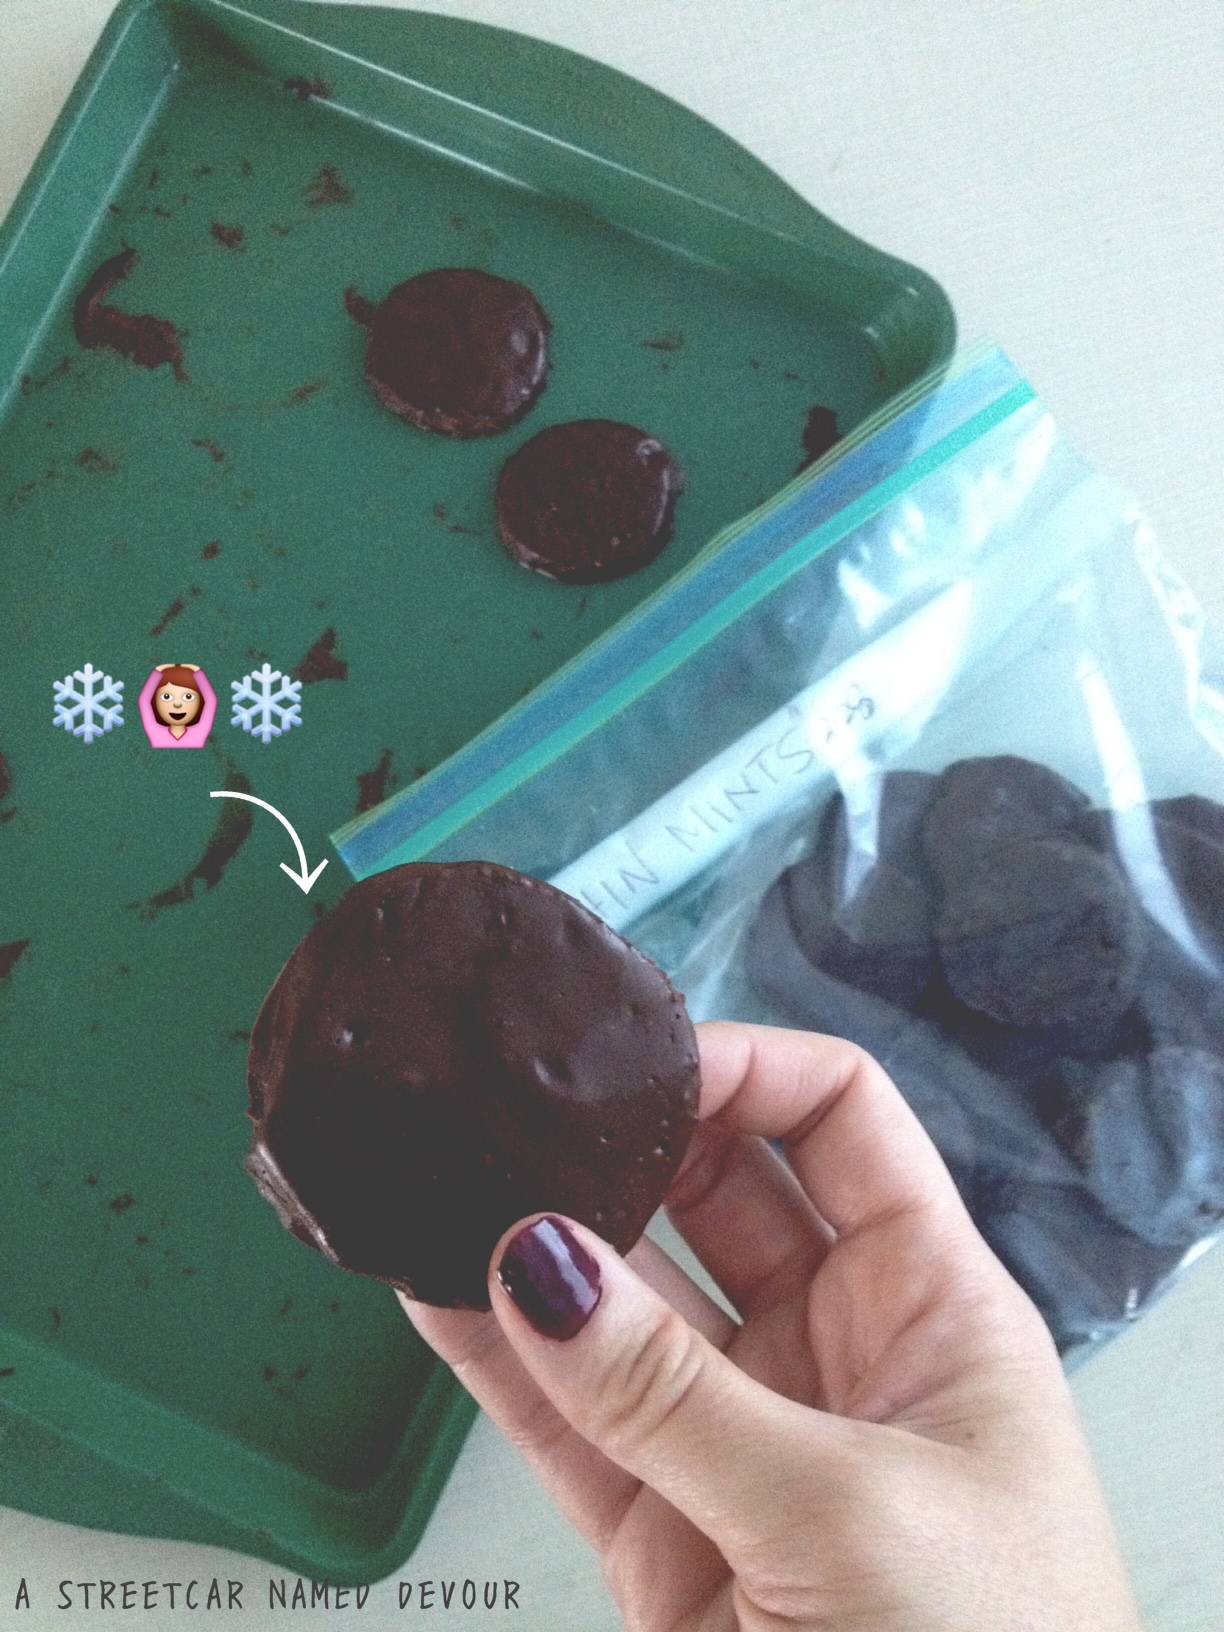
Once ready to churn, operate your ice cream maker and add the crushed Whopper candy and cookies toward the last five minutes of the churning process. Place the ice cream in the freezer to further freeze. Enjoy! (Or have a quick milkshake. Your call.)

IMG_0782

IMG_0781

The Horchata Made Me Do It!

a streetcar named devour horchata

Well, summer is officially here, and temperatures are continuing to rise in Portland. It’s warm at home and it’s doubly horrendous when you work in a hot kitchen all day.

Horchata (or Orxata de xufa, depending upon the flavors and Spanish or Latin American region) was originated in Valencia, Spain, where they traditionally use tigernuts (chufa nuts). In Mexico and Guatemala, they use rice as the base of the drink. The Mexican version is what I grew up drinking. (I have also, however, had the Spanish version a few years ago when I vacationed in Spain. It is also, very very good.)

On my day off last week, I made these Mexican Horchata popsicles to help cool down. (And who doesn’t like horchata? It’s so freaking delicious!) I had some leftover horchata base at home and decided to bring it to work to treat my fellow co-workers.

When I started pouring glasses of the Horchata and distributing them to the prep kitchen, more of my fellow cooks came up to me, asking for a glass. Unfortunately, I hadn’t prepared for such a demand and only had enough to feed a few of my co-workers, so I had to think fast and bulk up the batch I had made on-the-fly.

I slowly went down the line and passed glasses of the ice-cold Horchata I had made to all the line cooks. Even in 100-degree weather and a full house of diners (in arguably one of the busiest restaurants in the city), the guys didn’t hesitate to take a second and gulp down that ice-cold cinnamon sweetness. In just a matter of seconds–faces full of sweat, and urgency turned into big smiles of pure delight and relief.

When I returned to my station and went back to work, in a matter of moments I heard calls for more Horchata.

“I’m gonna need more of that cinnamon drink,” said one.

“That was the best Horchata I’ve ever had,” said another.

“This is my first Horchata and I know it’s the best one I’ll ever have,” exclaimed another.

Haha.

And then my sous chef came up to me and pleaded that I make Horchata for all the Back of House once every week.

OK, alright. That’s a deal.

While this Horchata mix is clearly delightful on its own, freezing them into popsicles makes them even more appealing, especially in 3-digit weather.

unnamed-4

Mexican Horchata Popsicles
Recipe adapted from The Candid Appetite
Yields 10-20 popsicles (depending on the size of your molds)

INGREDIENTS
1½ cups long grain rice (uncooked)
4 cups hot water
1-14 ounce can sweetened condensed milk
½ cup coconut milk
2 cinnamon sticks
1 Tablespoon ground cinnamon
3 Tablespoons granulated sugar
1 teaspoon Kosher salt
2 teaspoons dark rum

a streetcar named devour mep horchata

METHOD
Place the rice, hot water, sweetened condensed milk, coconut milk, and cinnamon sticks into a large bowl. Stir the mixture to combine well.

unnamed-13

Cover the bowl tightly with plastic wrap at room temperature for about 1½ hours. Discard the cinnamon sticks and strain the rice, reserving the liquid in a separate container.

unnamed-14

unnamed-7

Place the rice in a blender or food processor. Blend on medium-high till the rice is pureed and smooth. Slowly add in the reserved liquid. Once all of the liquid has been pureed, strain through a fine-mesh sieve. Discard rice paste remnants.

unnamed-8

Stir in the ground cinnamon, sugar, salt, and rum to the strained mixture. Place the horchata mixture into popsicle molds.

Set popsicles in the freezer for at least 5 hours, preferably overnight before serving.

unnamed-10

When ready to serve, gently run cold water on the outside of the mold to loosen and release popsicle.

unnamed-9

unnamed-12

unnamed-1

Cookie Mom-ster

momlede

For this Mother’s Day I wanted to dedicate this post to my mom. She is an amazing, smart, strong, beautiful, hard-working, loving, and resilient woman. I like to think (and hope) that I inherited all of those beautiful qualities from her.  Happy Mother’s Day, mama!

meandmama


Unlike me, my mom is very particular when it comes to sweets. She loves desserts with fruit, whereas I love rich desserts with chocolate. Remember this post? But one of the desserts my mom and me can agree on are Oatmeal Raisin Cookies. They’re her favorite cookie because they have a form of fruit in them, I imagine.

So when my parents came up to visit me a couple months ago, I asked my mom what kind of snack she wanted me to make for their trip back home. She mentioned oatmeal raisin cookies, so I put this recipe together that I thought she would love. I had a bottle of rum on hand from a rum cake recipe I always make for her, and decided to use it to rehydrate the raisins. I love the rich, caramel-like flavor the rum gives after they’ve been soaking with the raisins, so I added them to the dough. The recipe isn’t too sweet, so I also rolled the dough in sugar to create a pretty sugary crust. The end result is a not-too-sweet, spicy, (a bit boozy) oatmeal raisin cookie with a great depth of flavor.

momstyled1

Snacks intended for their voyage back home, my parents confessed to me that the cookies were all gone way before they even got home. Apparently, my dad was a fan of them, too!

What are your favorite cookie flavors? What recipe reminds you most of your mom? Share your stories in the comments below; I’d love to read them!

==

momheart

Mom’s Favorite Oatmeal Rum Raisin Sugar Cookies
Yields 1 dozen medium-sized cookies

INGREDIENTS 
1/3 cup dark rum, more if needed
1/3 cup raisins
1/2 cup (1 stick) unsalted butter, softened
1/2 cup dark brown sugar, packed
1/4 cup granulated sugar
1 egg
1 Tablespoon pure vanilla extract
1 cups all-purpose flour
1/2 teaspoon baking soda
2 teaspoons ground cinnamon
1 teaspoon ground ginger
1/2 teaspoon salt
2 cups old-fashioned rolled oats
1/2 cup sugar, for dusting

METHOD
To rehydrate the raisins, place them  into a small bowl and pour the rum into the bowl. The raisins should be completely immersed in the liquid. Add more if needed. Set aside.

Using a stand mixer, cream together the butter and sugars on medium-speed till incorporated. Add the egg and vanilla and mix till combined.

Drain the excess rum from the rehydrated raisins, reserving the rum. Set raisins aside. Fold in the rum into the mixture. Use a rubber spatula to scrape down the sides of the bowl to ensure all ingredients are mixed well.

In a separate bowl, mix together the flour, baking soda, spices, salt, and rolled oats. Slowly add the flour mixture into the sugar/butter mixture on low till just combined. (Don’t over-mix.) Fold in the rehydrated raisins to the dough. The dough will be slightly sticky—that’s OK.

momdough

Place the dough in the freezer for about 30 minutes, or until the dough is solidified. (Cook’s Note: If you’re making these a day ahead, wrap and place into the refrigerator overnight.)

While your dough chills, preheat your oven to 350F degrees. Place about a half-cup of sugar into a small bowl. Set aside.

Roll a small ice cream scoopful (or 2 Tablespoonfuls) of dough and place into the bowl of sugar and fully coat the cookie ball. Place the dough ball onto the sheet tray, leaving about 2 1/2 inches of space between each cookie.

momcookies

Bake for about 14-17 minutes or until lightly browned on the edges. When done, remove from the oven and allow to cool for about 10 minutes.

momstyled2

momstyled3


The Cookie Strikes Back

coconutlede

One of my favorite ice cream sandwich memories were in the early-2000s, in the countless times I waited in a line that curved around the corner of a bakery in Westwood (close to the UCLA campus) called Diddy Riese for a sweet treat. Their ice cream sandwiches were a big deal to Angelenos and UCLA students alike. It was a #treatyoself moment every time my friends and I would drive over and grab a sandwich. Back then the cookies sold for .25 each and $1 for a scoop of ice cream to make the sandwich, and you could mix-match whatever cookie and ice cream flavor you wanted. I’d always take an extra bag of cookies back home for sharing and snacking.

I haven’t been to Diddy Riese in years, but I always enjoy a good ice cream sandwich when I can get one, or better yet, make one. The following cookie and ice cream sandwich combo was with some ingredients I already had in my refrigerator and pantry. Tart blueberries and rich white chocolate chips just go so greatly together, and I love the idea of a rum-coconut ice cream with a nice salty macadamia nut note.

==
Brown Butter Blueberry White Chocolate Cookies

Adapted from Keep It Sweet Desserts
Makes about 12 large cookies

INGREDIENTS
1/2 cup (1 stick) unsalted butter, softened
3/4 cup dark brown sugar, packed
1/4 cup granulated sugar
1 large whole egg
1 teaspoon pure vanilla extract
1 1/2 cups all-purpose flour
1/2 teaspoon baking soda
1/2  teaspoon Kosher sea salt
1/2 cup white chocolate chips
1/2 cup fresh blueberries, washed and dried 

METHOD
Brown the butter by heating in a small heavy saucepan over medium heat, stirring constantly. When the butter turns a medium brown color, remove from the heat and pour into a small bowl. Allow to cool.

Once the butter has cooled completely, place into a large bowl of an electric mixer with the sugars; beat on medium-high speed till well combined. Add in the egg and vanilla extract, mix on medium speed until thoroughly combined.

In a separate medium-sized bowl, whisk together the flour, baking soda and salt; slowly add into the wet ingredients with the mixer on low speed till just combined.

Turn off the mixer and with a spatula, slowly stir in the white chocolate chips and then gently fold in the blueberries. Wrap the dough into a container and refrigerate for at least 2 hours, overnight if possible.

streetcardevourdough

When ready to bake, preheat oven to 325 degrees. With an ice cream scoop, scoop the dough (about 4 tablespoons) onto a parchment- or Silpat-lined sheet tray. Bake the cookies till medium golden brown, about 17-20 minutes. Allow to cool for at least 10 minutes before serving.

streetcardevourbake

==

streetcardevouric

Macadamia Nut-Rum-Coconut Ice Cream
Yields 1 pint

INGREDIENTS
3 cups coconut milk
4 egg yolks
1/2 cup honey
1 Tablespoon pure vanilla extract
1/4 cup dark rum
1/2 cup macadamia nuts, roasted and roughly chopped
1 1/2 Tablespoons coarse sea salt

METHOD
Heat the coconut milk in a medium sauce pan over medium-high heat, stirring the bottom every few minutes to avoid scorching.

In a separate bowl, whisk the egg yolks till slightly thickened. Set aside.

When the coconut is heated and it begins to haze, take a ladle or 1/2 cup measuring cup and slowly add in the heated milk into the egg yolks. Whisk quickly to incorporate and to avoid curdling. Slowly add in more milk until 1/2 of the milk is incorporated, then add in all of the egg-milk mixture back into pot and turn the heat down to medium. Whisk the mixture to avoid curdling.

While the mixture heats up, set up an ice bath in a large bowl.  Wait for the custard to thicken enough to coat the back of a spoon. When the custard is thickened, remove from heat and place into a shallow pan or bowl. Stir in the rest of the ingredients.

Place the bowl over the ice bath and whisk the custard to cool down. Allow ice cream base to fully cool down in the refrigerator for at least 2 hours or overnight.

Place ice cream base into your ice cream maker and operate using the machine’s instructions.

assembly1

Cookie Sandwich Assembly
Pair the cookies according to likeness in size. Scoop the ice cream onto the bottom side of one cookie and top with the other. Place into the freezer for about an hour to finally set. Enjoy!

unnamed-7

streetcarhand

You Can’t Have the Mango!

mcclede

Why is it that every time I hear this song by Everything But the Girl, I’m reminded of Chris Kattan’s Saturday Night Live character, Mango? Does it give you flashbacks, too?

I digress. So the whole thing with mangoes started when my parents came to visit me in Portland recently (yay!). I was so excited to host them in my new apartment. We went on a road trip and visited our family in Idaho. It was such a lovely week, I’m so glad to have spent some quality time with my family. Working in the hospitality industry, it’s hard to get the time to take long vacations and spend time with loved ones. I really want to (and will!) make an effort this year to work less and spend more quality time with the special people in my life. Promise.

Back to the point of this story: My mom brought me a bunch of mangoes (it’s her favorite fruit), her reasoning being that I “need to eat more fruit.” (She thinks I don’t eat enough fruit, which is pretty much true.) But I somehow forgot about them, and when I finally remembered that I had them (in actuality, a telephone conversation with my mom asking me if I had eaten said mangoes) I found them overripe in my fridge. I was bummed; they were too mushy to eat raw. And I’m really hesitant to eat things with weird textures. (Random fact about me: I don’t care for eggplants or bananas because of their weird mushiness.) Yet I tasted the overripe mangoes and figured they were still salvageable, so I made this delectable Mango Coffee Cake instead.

The Martha Stewart recipe I adapted it from called for a glaze, but I decided to top the cake with my Vegan Caramel Sauce that I upgraded by steeping the coconut milk with star anise for about an hour.

mcccoconut

This recipe is best served warm and with coffee. (Duh.) Store the cake in room temperature wrapped in plastic. Upon serving, just reheat it in the oven at 350 degrees for about 10 minutes. It still tastes really good even after a week.

==

mcclede2

Mango Coffee Cake with Coconut-Star Anise Caramel
Recipe slightly adapted from Martha Stewart

INGREDIENTS
FOR THE STREUSEL TOPPING AND CENTER
3/4 cups all-purpose flour
1 cup packed dark brown sugar
1 1/4 teaspoons ground cinnamon
1 teaspoon coarse sea salt
1 1/2 sticks cold unsalted butter, cut into small pieces

FOR THE CAKE
1 stick unsalted butter, room temperature, plus more for your baking pan
2 cups all-purpose flour
1 1/4 teaspoons baking powder
1/2 teaspoon baking soda
1 teaspoon coarse sea salt
2 teaspoons ground cinnamon
1 cup granulated sugar
1 large egg
1 1/2 teaspoons pure vanilla extract
3/4 cup sour cream
5 overripe mangoes, flesh scooped and mashed lightly

Vegan Caramel Sauce

METHOD
First make the streusel topping. In a medium-sized bowl, mix together the flour, 3/4 cup brown sugar, 1 teaspoon cinnamon, and 1 teaspoon salt. Cut in the butter using a pastry cutter or rub in with your fingers until small to medium clumps form. Refrigerate until ready to use.

Make the streusel center: Mix together the remaining 1/4 cup of brown sugar and 1/4 teaspoon cinnamon.

Preheat your oven to 350 degrees. For the cake: Butter a 9-inch tube pan with a removable bottom. Place the flour, baking powder, baking soda, cinnamon and 1/2 teaspoon salt into a bowl and mix together.

mccbatter

Beat the butter and granulated sugar with a mixer on medium-high speed till fluffy, about a minute. Add in the egg and vanilla. Beat in the flour mixture in 3 additions, alternating with the sour cream and mashed mangoes, beginning and ending with flour. Continue to beat until well combined.

mccpan

Pour half of the batter into the greased pan. Sprinkle the streusel center mixture evenly over the batter. Pour in the remaining batter, and spread evenly using an offset spatula. Sprinkle the rest of the streusel topping.

mccbaked

Place into the oven and bake until the cake is golden brown and a toothpick inserted into the center comes out clean, about 55 minutes. Transfer the pan to a wire rack, and allow to cool completely. Remove cake from pan, and transfer to parchment.

mccafter

Make the caramel sauce. While still warm, drizzle over cake and let the sauce drip down to the sides. Let set for 5 minutes before serving.

mcc1

unnamed-2

mcc2

unnamed-3

Khaki Wishes and Cookie Dreams

trooplede

I was never a Girl Scout. In lieu of those activities, my mom encouraged me take ballet and tap dance classes, piano lessons and vocal coaching. I was a bit of a singer/dancer as a child, taking any chance I could to steal the limelight to sing in front of an audience (large or small). I loved singing and dancing so much that I didn’t miss or even notice the other activities I could’ve been doing with other kids my age. It wasn’t until I was about 12 years old when I first saw Troop Beverly Hills, a movie about a group of Wilderness Girls from the 90210, led by the fierce (and amazingly dressed) Shelley Long.

trooptitle

troopphyllis

troophannah

Troop Beverly Hills is one of my favorite movies, and after re-watching it in my 20s I immediately recognized one of my favorite artists, a young Jenny Lewis. In fact, the movie is flooded with young stars you may recognize.

troopsale

Looking back, I kind of wish I would’ve been a Wilderness Girl, just so that I could sing the “Cookie Time” song.

So right now (with all of my social media channels flooded with posts of Girl Scout cookies) I’m craving Thin Mints so very much. But no such luck on finding any Girl Scout cookie sales booths. Being the proactive and slightly impatient person that I am, I decided to create my own. The resulting recipe is vegan-optional (if you choose to use margarine instead of butter) and has a very subtle coconut flavor. ‘Cause mint and coconut go together like khaki and green, right? I’m calling ’em “Thick Mints” for obvious reasons.

==

troop3

Homemade Thick Mints
Recipe slightly adapted from BakingBites.com
Yields about 2 1/2 dozen

INGREDIENTS
For the cookies:
8 ounces butter (or margarine)
1 cup unsweetened cocoa powder
1 cup rice flour (I used Mochiko)
1 1/2 teaspoons pure vanilla extract
1 tablespoon peppermint extract
1/3 cup unsweetened coconut milk
1 teaspoon salt
1 ½ cups all purpose flour

For the dipping chocolate:
1 cup semi-sweet chocolate chips
1 tablespoon peppermint extract
1/8 cup canola oil

METHOD
Preheat your oven to 350 degrees. Cream the butter (or margarine) and sugar till fully incorporated. Stir in the salt, extracts, coconut milk and cocoa powder. Mix until the cocoa powder is integrated and the batter looks like chocolate frosting. Add the flours and mix till just combined, making sure to not over-mix.

troopdry

troopbatter

Form the dough into a cylinder-like roll (think rolling pin-sized). Wrap the dough completely in Saran or other plastic wrap tightly. Place the dough into the freezer for at least 3 hours or overnight.

After properly resting, remove dough from the freezer and carefully discard plastic wrap. Using a sharp serrated knife cut dough into 1/2-inch discs, slowly cutting so as to not break the dough.

troopdough

troopbaked
Place the cookies on a baking sheet and bake for 11-13 minutes. Remove the cookies from the oven and allow them to cool completely on a wire rack, about 5 minutes.

While the cookies bake, make the peppermint coating. Heat a sauce pot of water till boiling. Place the baking chocolate into a heat-resistant bowl over the boiling water, making sure not to get water  into the chocolate.

troopdipped

troopemoji

(Cook’s Note: I have read recipes online instructing to place chocolate into a microwave. Please, I repeat, please don’t do that. Heating chocolate in the microwave will oftentimes scorch it. Chocolate is a temperamental food that needs to be treated carefully. On that note, please don’t ever heat chocolate over a direct flame. Melting chocolate over a double-boiler creates a more controllable heat source.)

Once the chocolate has melted, stir in the peppermint extract. Then slowly add in the oil to thin it out.

Slowly drop the cookies into the melted chocolate. Turn to coat the cookies entirely, then lift the cookie out of the chocolate with a rubber spatula.

Place the dipped cookies onto a parchment- or Silpat-lined baking sheet. Place the cookies in the freezer to set for at least an hour, preferably overnight if you’re patient!

Now it’s “cookie time, it’s cookie time, it’s cookie time!”

(Editor’s Note: All movie screenshots are property of Weintraub Entertainment Group)

13 Going on 30

Birthday "Ding Dongs" with Salted Caramel Ganache

Birthday “Ding Dongs” with Salted Caramel Ganache

Hostess Ding Dongs were a common mainstay in my She-Ra lunchbox during grade school. I remember the excitement from opening up my lunch to find that little foil-wrapped cake waiting just for me. Some of my classmates would attempt to “trade” a Ding Dong for something like a baggie of chocolate Teddy Grahams or a bottle of Squeeze-It Juice. As tempting as it was, I never succumbed.

Nearly 25 years later, I still have that taste memory of those cakes fresh in my mind. For my former roommate Gina’s 30th birthday I decided to make her a batch of homemade “Ding Dongs.” Seeing as how Gina favors a salty-sweet taste aesthetic, the cakes are dipped in a salted caramel ganache, inspired by this recipe. And to make her “30, Flirty and Thriving”-themed surprise birthday extravaganza even more special, I cut the cakes into heart shapes.

Cook’s Note: These cakes are super-moist and airy, and the marshmallow filling isn’t as sweet as most recipes I’ve come across. The recipe yields about 12 “Ding Dongs” with plenty of cake scraps to snack on for later, as well as extra caramel ganache that can later used to top ice cream sundaes.

==

Surprise!

Surprise!


dingdongcutout

Allow the cakes to cool before cutting them into shapes (if you decide to do so)

Birthday “Ding Dongs” with Salted Caramel Ganache

FOR THE CAKE
Recipe adapted from Smitten Kitchen and Beantown Baker

INGREDIENTS
2 ounces semisweet chocolate
1 cup hot brewed coffee
2 cups sugar
1 2/3 cups flour
1 cup unsweetened cocoa powder (not Dutch process)
1 1/3 teaspoon baking soda
1/2 teaspoon baking powder
1 teaspoon salt
2 ea. eggs
1/2 cup vegetable or canola oil
1 cup buttermilk
1/2 teaspoon vanilla

METHOD
Preheat oven to 300°F and grease 2 10-inch round cake pans.

Finely chop chocolate and add into a bowl of hot coffee. Stir until chocolate has melted and the mixture is smooth.

Sift together the sugar, flour, cocoa powder, baking soda, baking powder, and salt in a large bowl. In another large mixing bowl beat the eggs until thickened slightly and lemon-yellow in color. Slowly stream in the oil, buttermilk, vanilla, and melted chocolate mixture to eggs, beating until combined well. Add sugar mixture and beat on medium speed until just combined.

Divide the cake batter between pans and bake in the middle rack until a tester inserted in center comes out clean, roughly one hour.

Cool cakes completely in pans on racks. Run a small knife or palette knife around the edges of pans and invert layers onto racks. You can make the cakes one day ahead and wrap them with plastic wrap and left out in room temperature.

*Cook’s Note: If you’re prepping the cakes for the following day, do not place them in the refrigerator, this causes the cake to dry out, no bueno! If you’re prepping a few days in advance, thoroughly wrap the cakes in plastic wrap and into the freezer. Defrost accordingly.

filling

Save your leftover marshmallow filling to top hot chocolate.

FOR THE MARSHMALLOW FILLING
Recipe adapted from Epicurious

INGREDIENTS
1 cup plus 2 tablespoons sugar
3 each large egg whites
1/4 teaspoon cream of tartar
1/8 teaspoon salt
1 tablespoon pure vanilla extract

METHOD
In large mixing bowl, whisk together 1/3 cup water, sugar, egg whites, cream of tartar, and salt. Set bowl over a double boiler of simmering water and mix with a whisk or handheld electric mixer at low speed. Gradually increase speed to high, beating until mixture holds stiff peaks, about 5 minutes.

Remove bowl from double boiler to a rolled up kitchen towel (this helps to keep the bowl in place) onto your counter and continue beating until mixture is cool and billowy, about 2 minutes more. Beat in the vanilla. This filling can be made ahead 4 hours before assembly, just cover with plastic wrap and chill.

FOR THE SALTED CARAMEL GANACHE
Recipe adapted from Bon Appetit

INGREDIENTS
9 ounces bittersweet chocolate, chopped
1 1/8 teaspoon kosher salt
1 cup granulated sugar
1 1/2 cups heavy whipping cream
1 teaspoon pure vanilla extract
Sea salt for garnish

METHOD
Place chopped chocolate and salt into a medium-sized bowl and set aside. Stir the sugar and 1/4 cup of water in a deep medium-sized saucepan over medium-low heat until the sugar dissolves. Increase the heat and cook, swirling the pan occasionally (don’t stir! It will cause the sugar to crystallize!) and brushing down the sides of the pan with a wet pastry brush if you have one. You want to cook the sugar till it is a deep amber color, this takes about 10 minutes. Once you achieve the amber color, remove the pan from the heat and stream in the heavy whipping cream. The mixture will bubble vigorously. Return the pan to cook over medium heat and stir until the caramel bits dissolve. Then pour over this mixture into the bowl of chopped chocolate. Add the vanilla and stir until the chocolate has melted and is smooth. Allow to cool slightly.

dingdongfilled

Assembly gets messy, but it’s so worth it


ganache

Salted caramel ganache! What?!


ASSEMBLY
Once the cake layers have cooled completely, use a small round cookie cutter (in my case I used a heart-shaped cookie cutter) to cut small circles of cake out of the layers. Reserve the cake scraps for future sweet treats!

Using the cone method, scoop out a small portion of cake from each circle. Fill with the marshmallow filling and replace top of cake.

With a pastry brush or spoon, cover individual cakes with salted caramel ganache. Sprinkle a bit of sea salt flakes over cakes for garnish. Allow ganache to completely set up before serving.